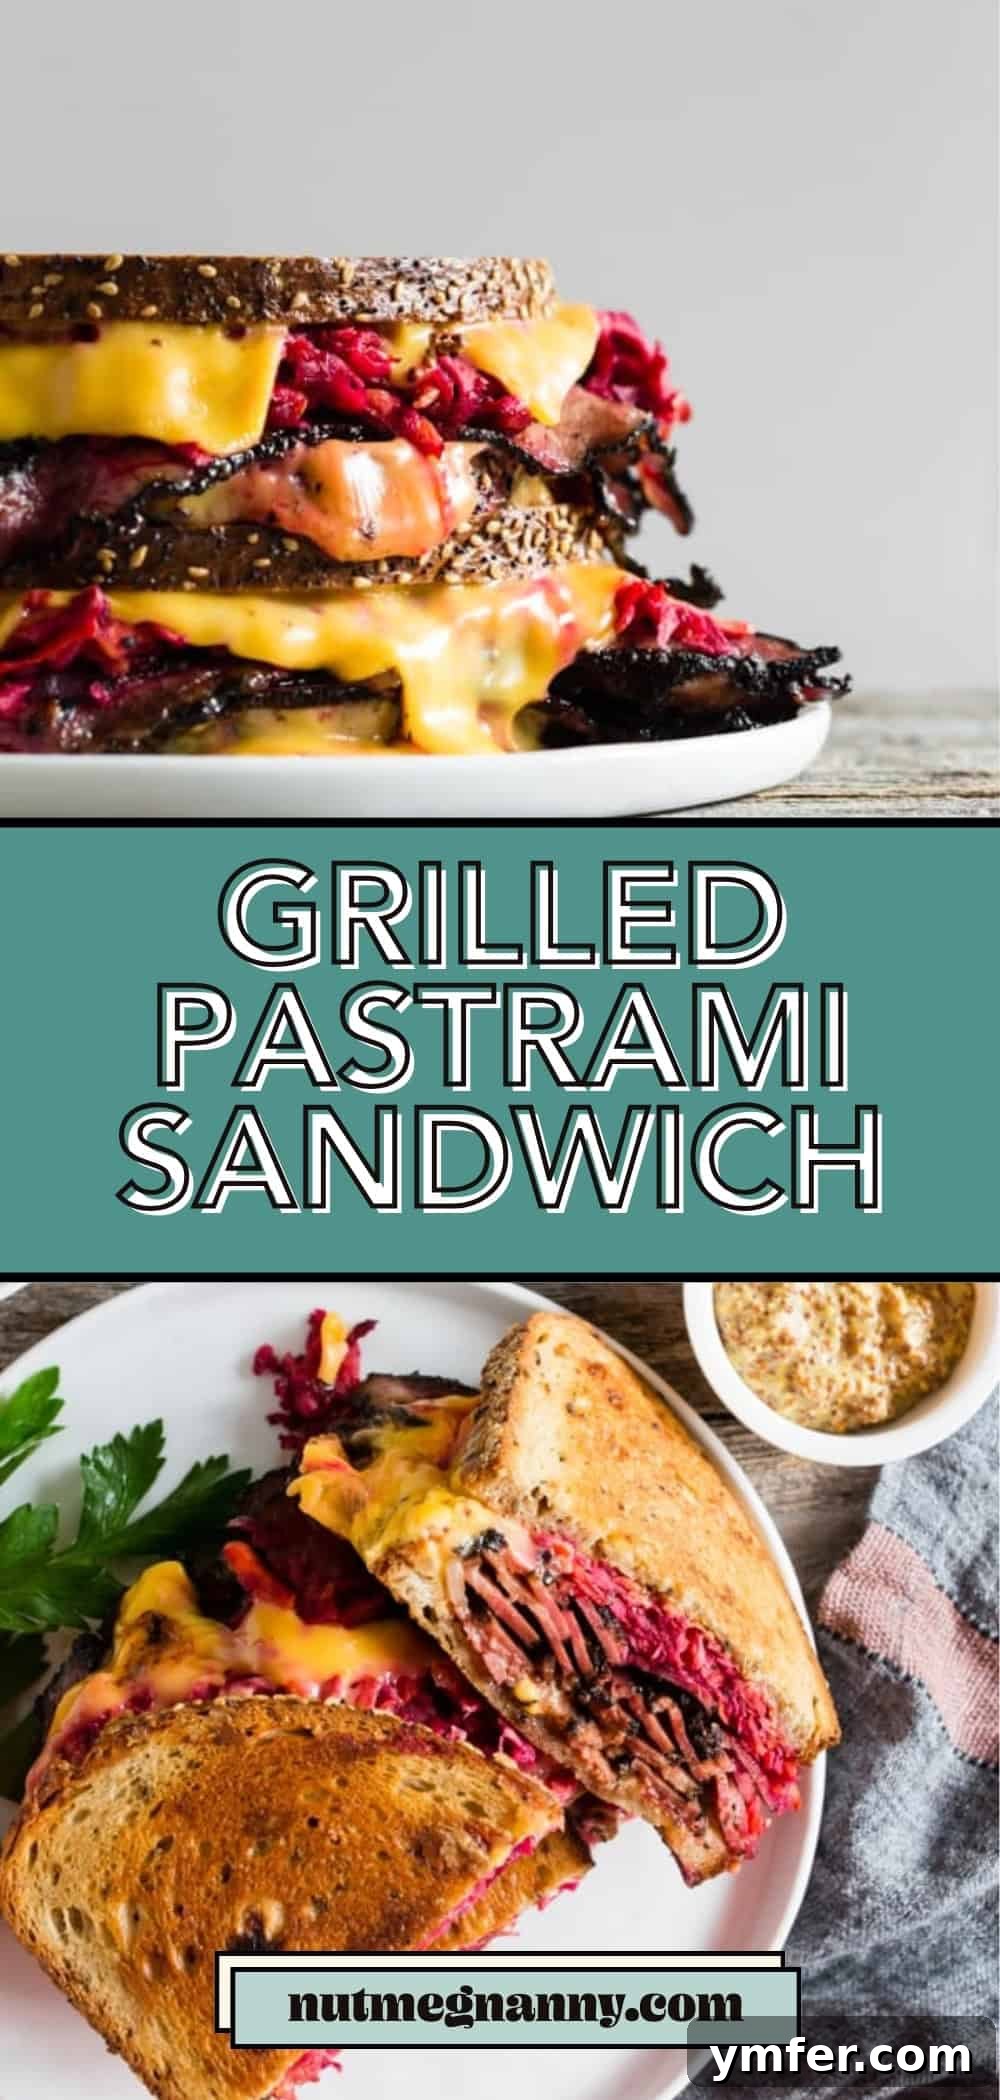
Grilled Pastrami Sandwich with Homemade Root Vegetable Slaw: Your Ultimate Autumn Comfort Food
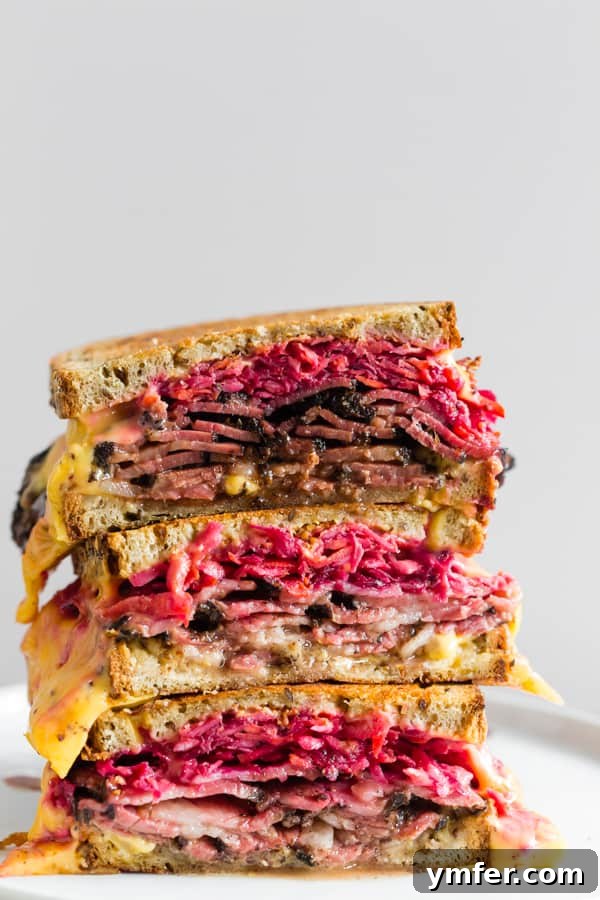
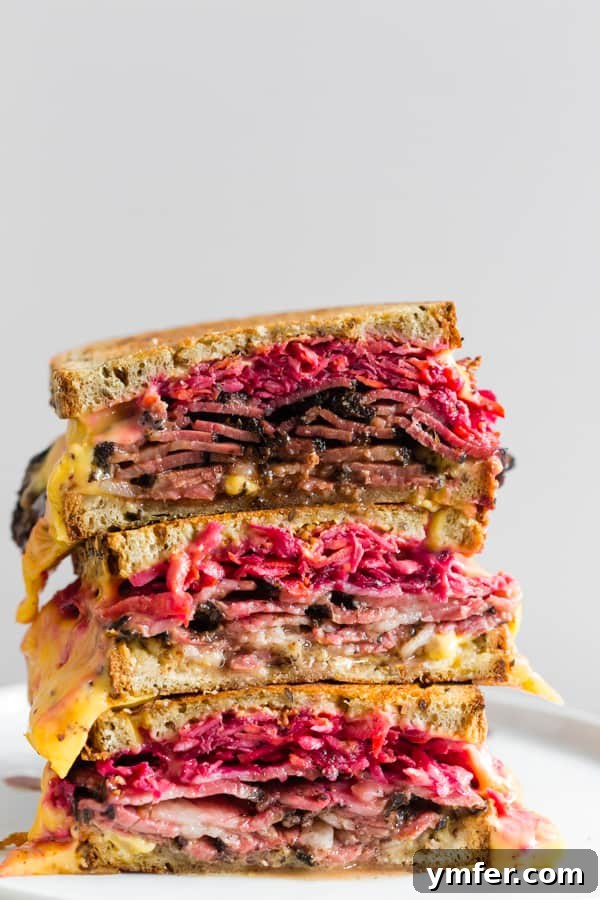
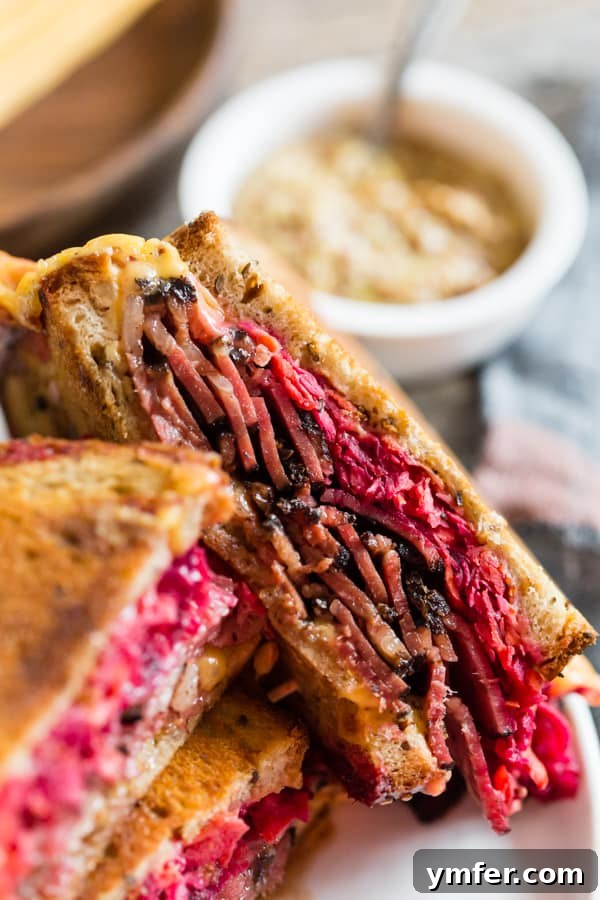
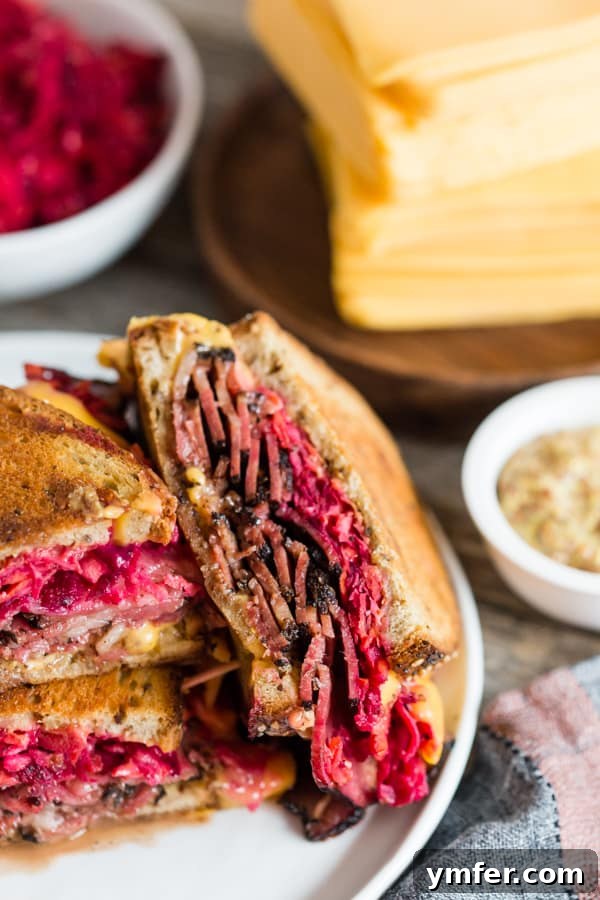
As the leaves begin to turn and the air grows crisp, there’s nothing quite as comforting and satisfying as a warm, hearty sandwich. This particular grilled pastrami sandwich, elevated by a vibrant homemade root vegetable slaw, is truly the embodiment of autumn comfort. Each bite offers a delightful contrast: the gloriously crispy exterior of grilled rye bread gives way to perfectly warmed, savory pastrami, gooey melted cheese, and the fresh, tangy crunch of a unique root vegetable slaw. It’s a culinary experience that transcends your everyday lunch, transforming a simple meal into a memorable feast for the senses.
My passion for sandwiches runs deep, and I find myself constantly exploring new combinations and techniques. Whether it’s for breakfast, lunch, or dinner, a well-crafted sandwich can be incredibly versatile and deeply satisfying. While a classic ham and cheese holds a special place, this grilled pastrami creation with its sophisticated slaw takes things to an entirely new level. It’s not merely a quick bite; it’s a thoughtfully assembled dish designed to warm you from the inside out, making it an ideal choice for a cozy evening or a brisk afternoon.
The magic truly happens when the smoky, peppery pastrami meets the sharp cheddar and the bright, earthy flavors of the root vegetable slaw. This combination creates an explosion of taste and texture that’s simply irresistible. Even my husband, who usually leans towards corned beef, was thoroughly impressed by its deliciousness. The key to achieving the perfect pastrami experience often lies in the quality and cut of the meat. A fantastic tip is to head to your local deli counter and ask for thick slices of pastrami, which provides a more substantial and satisfying bite within the grilled sandwich.
Why This Grilled Pastrami Sandwich Will Become Your New Favorite
There’s a certain alchemy that occurs when humble ingredients are brought together with care and a touch of warmth. This grilled pastrami sandwich is a testament to that. It’s more than just a quick meal; it’s a journey of flavors and textures, making it a perfect candidate for your fall recipe rotation. Here’s why it stands out:
- Unforgettable Flavor Profile: The rich, savory, and slightly smoky pastrami is perfectly complemented by the creamy, tangy, and subtly sweet root vegetable slaw. Add to that the sharp, melty cheese and the earthy rye bread, and you have a symphony of tastes in every mouthful.
- Satisfyingly Hearty: This isn’t a flimsy sandwich. It’s packed with flavor and substance, making it incredibly filling and capable of curbing even the hungriest appetites. It’s the kind of meal that sticks with you without feeling overly heavy.
- Textural Perfection: The goal is a sandwich that’s crispy on the outside from the grill, warm and soft within, with the occasional delightful crunch from the fresh slaw. The buttered rye bread gets beautifully toasted, creating a golden-brown crust that holds everything together.
- Simple Yet Gourmet: While the flavors are complex and satisfyingly “gourmet,” the process of making this sandwich is surprisingly straightforward. It requires minimal effort for maximum reward, which is exactly what you need after a long day.
- Seasonal Appeal: Root vegetables are at their peak in autumn, making this sandwich not only delicious but also wonderfully seasonal. It’s a fantastic way to incorporate fresh, healthy produce into a comforting meal.

The Star Ingredients: What You’ll Need
Crafting this exceptional sandwich begins with selecting fresh, high-quality ingredients. Each component plays a vital role in achieving the perfect balance of flavors and textures.
For the Homemade Root Vegetable Slaw:
- 1 large carrot: Peeled and grated, adding natural sweetness and a vibrant orange hue. Carrots provide a satisfying crunch and are packed with vitamins.
- ½ small red beet: Peeled and grated, offering a beautiful earthy sweetness and an intense crimson color that makes the slaw visually stunning. Beets are rich in antioxidants and give a unique depth of flavor.
- ½ small celery root (celeriac): Peeled and grated, providing a subtle, nutty, and slightly celery-like flavor with a crisp texture. Celeriac adds a gourmet touch and balances the sweetness of the carrot and beet.
- 1 tablespoon red wine vinegar: The tangy backbone of the dressing, cutting through the richness of the pastrami and cheese.
- 1 tablespoon extra virgin olive oil: Adds richness and helps emulsify the dressing, carrying the flavors beautifully.
- 2 teaspoons whole grain mustard: Offers a delightful texture and a pungent, savory kick that complements the root vegetables.
- ½ teaspoon kosher salt: Essential for seasoning and enhancing all the natural flavors.
- ¼ teaspoon black pepper: Freshly ground black pepper adds a touch of warmth and spice.
For the Grilled Pastrami Sandwich:
- 4 slices rye bread: The quintessential choice for pastrami, offering a sturdy base and a distinctive, slightly sour flavor that pairs wonderfully with the meat.
- 2 tablespoons unsalted butter: For achieving that irresistible golden-brown crust and rich flavor when grilling.
- 8 slices mild cheddar cheese: Melts beautifully and provides a creamy, familiar counterpoint to the bold flavors of pastrami and slaw.
- 1 pound thick-sliced deli pastrami: The star of the show. Opt for high-quality pastrami sliced generously from the deli counter for the best texture and flavor.
Crafting Your Perfect Grilled Pastrami Sandwich: A Step-by-Step Guide
One of the best things about a hearty sandwich like this is how effortless it is to create, especially considering the incredible flavor payoff. It’s the ideal meal for when you crave something satisfying and delicious without spending hours in the kitchen.
- Prepare the Root Vegetable Slaw: In a medium-sized bowl, combine the grated carrot, red beet, and celery root. In a separate small bowl, whisk together the red wine vinegar, extra virgin olive oil, whole grain mustard, and kosher salt until well combined. Pour this dressing over the grated vegetables and toss gently to ensure everything is evenly coated. Taste and adjust seasoning with more salt or black pepper if desired. Set the slaw aside to allow the flavors to meld. If you notice any excess liquid accumulating, gently drain it before assembling your sandwiches to prevent sogginess.
- Preheat Your Panini Press: Turn on your panini press and allow it to reach medium heat. This ensures even cooking and a beautiful golden crust.
- Butter the Bread: Lay out all four slices of rye bread. Spread about ½ tablespoon of unsalted butter evenly on one side of each slice. This buttered side will be facing outwards when grilling, creating that delicious crispy exterior.
- Assemble the Sandwiches: Take two slices of bread and flip them over so the unbuttered side is facing up. On each of these two slices, layer two slices of mild cheddar cheese. Then, divide the thick-sliced pastrami evenly between the two. Spoon a generous amount of the prepared root vegetable slaw over the pastrami on both sandwiches. Finally, top each with two more slices of cheese.
- Complete the Sandwich: Place the remaining two slices of buttered bread on top of each assembled half, ensuring the buttered side is facing outwards. Gently press down on the sandwiches to slightly compact the fillings.
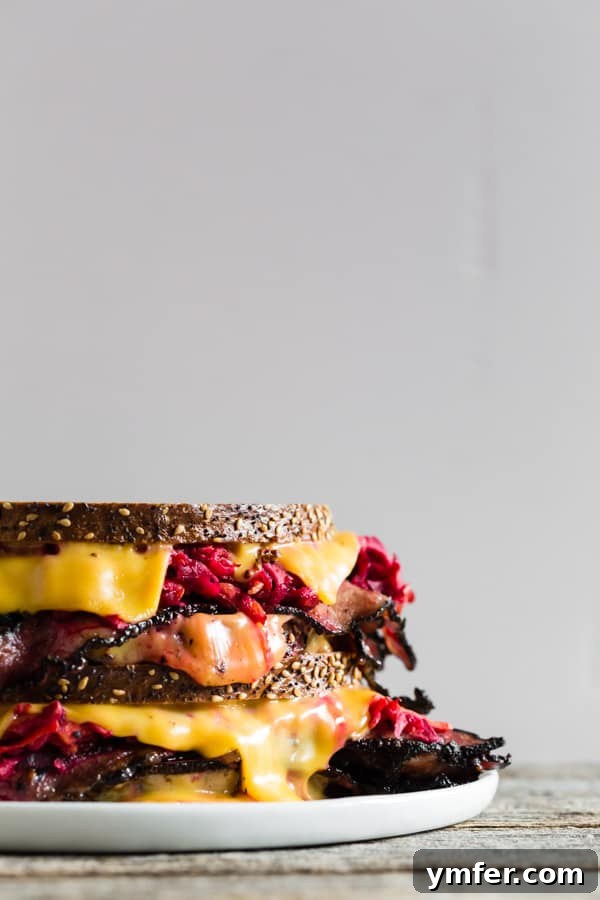
- Grill to Perfection: Carefully place your assembled sandwiches into the preheated panini press. Close the lid and allow them to cook for approximately 10 minutes. The goal is a beautifully toasted, golden-brown exterior, with the cheese melted and the pastrami and slaw warmed through. Remember, cooking low and slow is key here to prevent the bread from burning before the inside is fully heated.
My Pro Tips
Recipe Tips for the Best Results
- Embrace the “Low and Slow” Cooking Method: This is perhaps the most crucial tip for a perfect grilled sandwich. Cooking at a medium-low heat allows the heat to gently penetrate the sandwich, ensuring the pastrami is thoroughly warmed, the cheese becomes delightfully gooey, and the slaw softens just enough, all while the bread toasts to a crisp, golden perfection without burning. Patience truly pays off here.
- Source Quality Deli Pastrami: The foundation of this sandwich is the pastrami. Head to your local deli and ask them to slice it thick. This provides a more substantial texture and a richer mouthfeel than pre-packaged, thinly sliced varieties.
- Serve Immediately for Peak Freshness: Like most grilled sandwiches, this pastrami delight is best enjoyed right off the panini press. The contrast between the crispy bread, warm fillings, and fresh slaw is at its prime when served hot.
- Protect Your Hands from Beet Stains: When grating your red beet, it’s a good idea to wear gloves. Beet juice can easily stain your hands and countertops a vibrant red, which can be tricky to wash off.
- Don’t Overstuff Your Sandwich: While it’s tempting to pile on the fillings, an overstuffed sandwich can be difficult to grill evenly and may lead to ingredients spilling out. Aim for a generous but manageable amount for optimal results.
- Experiment with Pressing: If using a panini press, apply gentle, even pressure. If using a skillet, a foil-wrapped brick or another heavy pan can act as a makeshift press, helping to flatten the sandwich and maximize contact with the heat.
Substitutions and Adaptations: Make It Your Own
While I adore this sandwich exactly as it is, I understand the desire for variety and customization. Here are some fantastic ways to adapt this recipe while maintaining its delicious essence:
- No Panini Press? No Problem!: If you don’t own a panini press, you can easily achieve a similar grilled effect using a standard skillet or griddle. Simply cook the sandwich in a 12-inch pan set over medium-low heat. Cook for about 5-7 minutes per side, or until golden brown and the cheese is melted. For added crispness, you can place a heavy pan or a foil-wrapped brick on top of the sandwich to press it down as it cooks.
- Switch Up the Cheese: While mild cheddar is a solid choice, feel free to experiment with other cheeses. Sliced Swiss cheese offers a nutty flavor, provolone provides a milder, stretchier melt, and muenster cheese brings a buttery, semi-soft texture. Each will offer a slightly different character to your sandwich.
- Corned Beef for a Classic Twist: Although this recipe highlights pastrami, substituting corned beef can create a similar, equally delicious experience, reminiscent of a classic Reuben sandwich. The flavors will be robust and savory, offering a familiar comfort.
- Simplify with Coleslaw Mix: If grating root vegetables isn’t an option or you’re short on time, a store-bought coleslaw mix can be a convenient substitute for the grated root vegetables in your slaw. You’ll still get a lovely crunch, and you can simply mix it with the vinegar, oil, and mustard dressing specified in the recipe.
- Explore Different Breads: Rye bread is traditional and wonderfully flavorful, but other breads can also be delicious. Try using sliced pumpernickel for a darker, more intensely flavored loaf, or sourdough bread for its distinctive tangy notes and excellent toasting capabilities.
- Add a Special Sauce: A drizzle of Russian dressing or a homemade spicy mayo could add another layer of flavor and moisture, taking your sandwich to new heights.
Frequently Asked Questions (FAQs)
What is a panini press?
A panini press is a small electric kitchen appliance designed to grill and press sandwiches simultaneously from both sides. It features hinged, heated plates that cook the sandwich while compressing it, creating a warm interior and a crispy, often grooved, exterior. They are excellent for making large, hearty sandwiches like this one.
What is celery root?
Celery root, also known as celeriac, knob celery, or turnip-rooted celery, is a fascinating root vegetable. It has a gnarled, knobby appearance and offers a subtle, mild celery flavor with a crisp, crunchy texture. It’s a fantastic addition to slaws, soups, and purees, and its unique flavor profile works exceptionally well in this particular slaw.
Can I make this on the stovetop?
Absolutely! If you don’t have a panini press, you can easily make this sandwich on a regular stovetop pan. Use a 12-inch skillet or griddle set over medium-low heat. Cook the sandwich for about 5-7 minutes per side, flipping it halfway through, until the bread is golden and crispy and the fillings are heated and melted. For extra crispiness and a flatter sandwich, you can use a heavy pan or a foil-wrapped brick to press the sandwich down as it cooks.
Can I prepare the slaw ahead of time?
Yes, the root vegetable slaw can be prepared a few hours in advance. In fact, allowing it to sit for a bit helps the flavors meld and deepen. Just make sure to drain any excess liquid that might accumulate before adding it to your sandwiches to prevent them from becoming soggy.
How do I store leftover pastrami?
If you have any leftover thick-sliced pastrami from the deli, store it in an airtight container or tightly wrapped in plastic wrap in the refrigerator. It should stay fresh for 3-5 days. It’s excellent for other sandwiches, salads, or even chopped into scrambled eggs.
More Sandwich Recipes to Inspire You
Cuban Sandwich
Apple Butter BBQ Chicken Sandwich
Pesto Tuna Baguette Sandwich
Turkey BLT Sandwich
Grilled Pastrami Sandwich with Root Vegetable Slaw
Pin Recipe
Share by Email
Print Recipe

Want to save this recipe? Enter your email below and we’ll send the recipe straight to your inbox!
Ingredients
For slaw:
- 1 large carrot, peeled and grated
- ½ small red beet, peeled and grated
- ½ small celery root, peeled and grated
- 1 tablespoon red wine vinegar
- 1 tablespoon extra virgin olive oil
- 2 teaspoons whole grain mustard
- ½ teaspoon kosher salt
- ¼ teaspoon black pepper
For sandwich:
- 4 slices Rye bread
- 2 tablespoons unsalted butter
- 8 slices mild cheddar cheese
- 1 pound thick sliced deli pastrami
Instructions
For slaw:
-
In a medium-sized bowl, add grated carrot, beet, and celery root.
-
In a small bowl whisk together vinegar, olive oil, mustard and kosher salt.
-
Pour over the vegetables and toss to combine. Taste and add more kosher salt and black pepper if desired.
-
Let the mixture sit while you prepare the sandwich. If you notice the mixture giving off a lot of water (which it might) drain the mixture before placing on the sandwich.
For sandwich:
-
Preheat your panini press to medium heat.
-
Lay out your bread and spread 1/2 tablespoon of butter on one side of each slice of bread.
-
Flip over two slices of the bread and top each turned-over slice with two slices of cheese, half of the pastrami, half of the slaw, and two more slices of cheese.
-
Top the sandwich with the remaining slice of bread, butter side out.
-
Add the sandwich to the panini press, close the lid, and let the sandwich cook until the outside is crispy and browned and the inside is warmed through and melted – about 10 minutes.
-
Note: don’t cook the sandwich on too high of a temperature or the outside will cook too fast and the inside will not get warm.
Nutrition
Nutrition information is automatically calculated, so should only be used as an approximation.
Additional Info