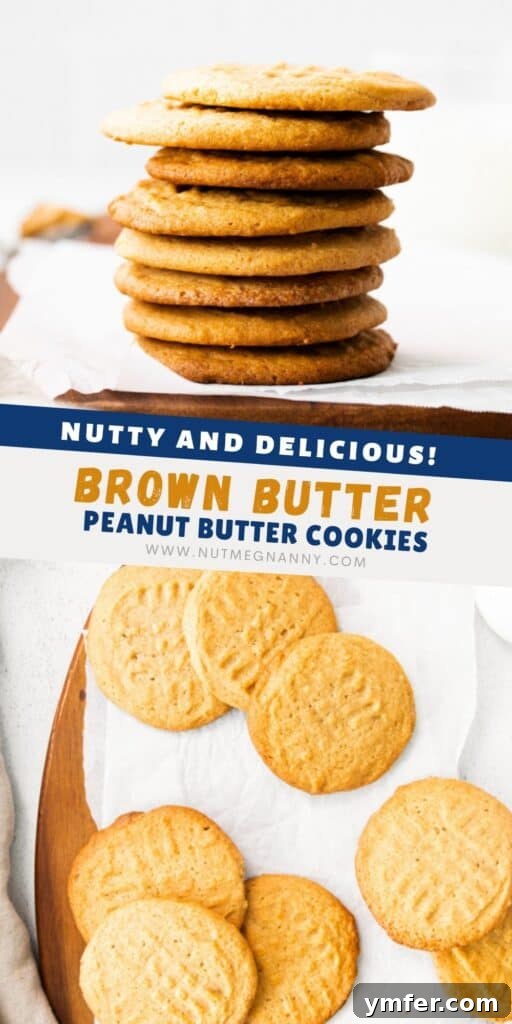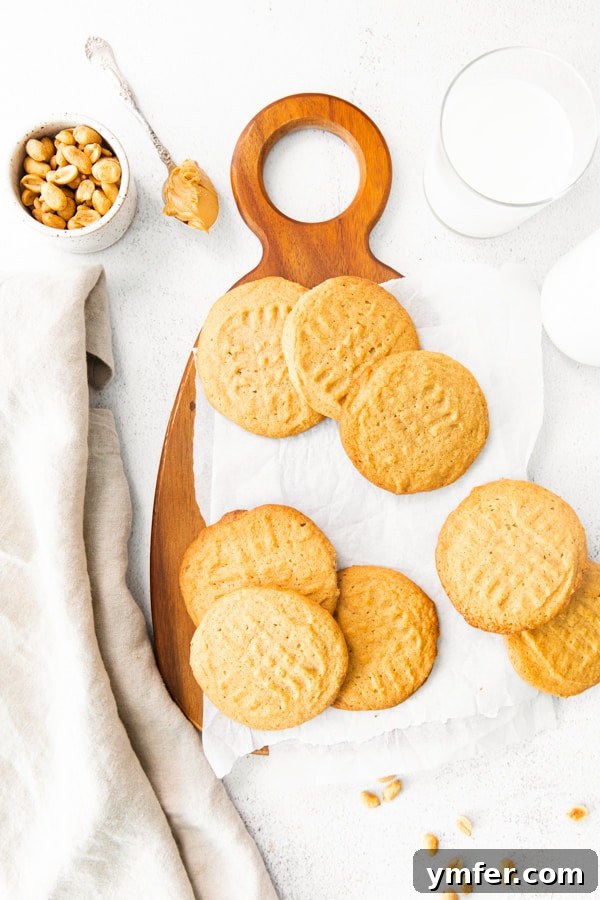
Welcome to the ultimate guide for creating the most unforgettable peanut butter cookies you’ll ever taste! These brown butter peanut butter cookies are a revelation, packed with deep, nutty flavor and a delightfully crisp yet chewy texture that will have you reaching for just one more. If you’re a true peanut butter aficionado, prepare to fall head over heels for this recipe. We’re taking a classic favorite and elevating it with a simple yet transformative technique: browning the butter. This extra step introduces an incredible depth of flavor that complements the richness of peanut butter perfectly, resulting in a cookie that is anything but ordinary. Get ready to bake a batch of pure bliss that will become a staple in your recipe collection!
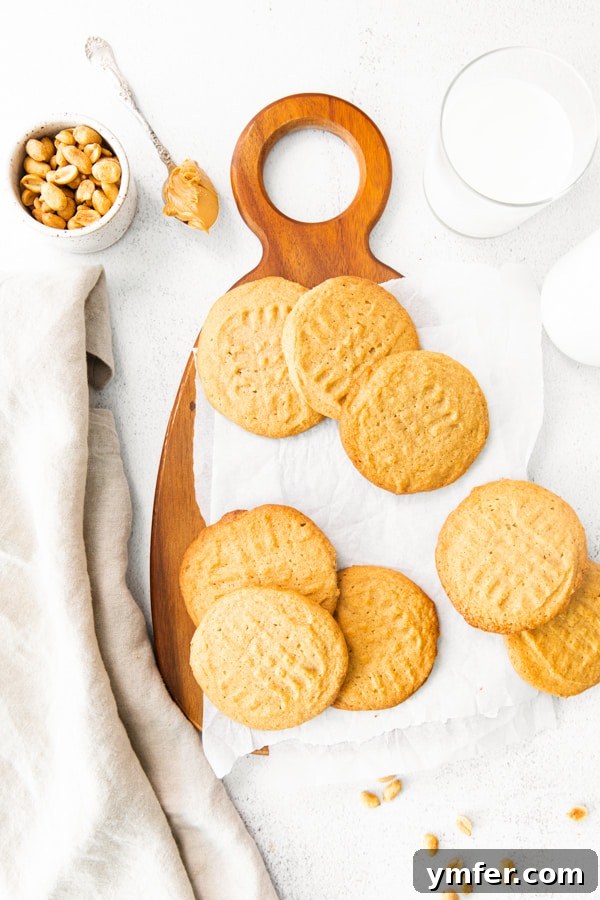
Brown Butter Peanut Butter Cookies: A Delectable Recipe for the Perfect Treat
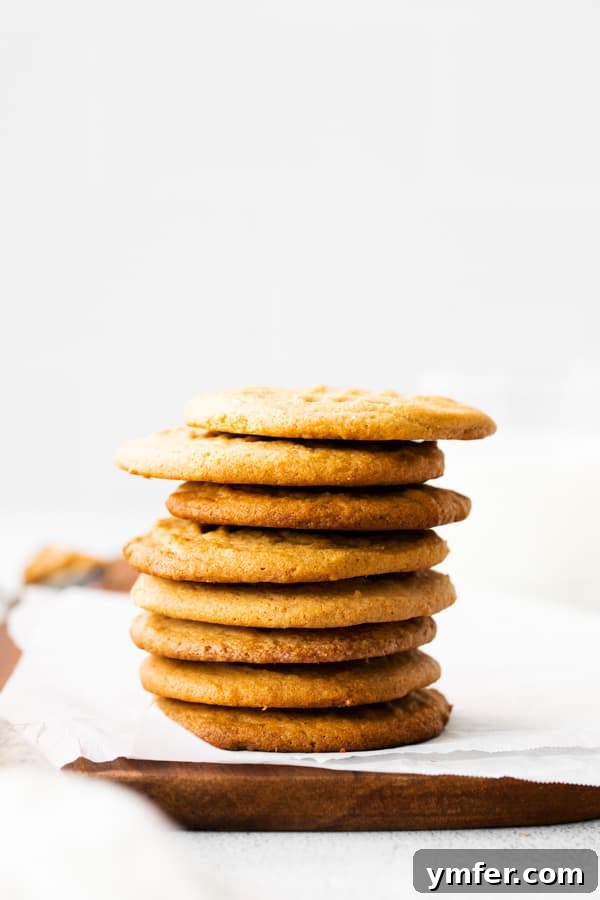
Are you on a quest for that perfect peanut butter cookie—one that boasts an incredible depth of flavor, a satisfying crunch, and a melt-in-your-mouth experience? Look no further! This recipe for brown butter peanut butter cookies delivers on all fronts, promising a truly flavorful and utterly perfect treat. For those who appreciate their cookies with a discernible crispness, these are an absolute dream. Every bite offers that delightful snap, followed by a soft, yielding center.
What sets these cookies apart from your everyday peanut butter cookie is the magical addition of brown butter. This simple technique transforms ordinary butter into a golden, aromatic ingredient, imparting a subtle, toasted nuttiness that elevates the entire cookie experience. It’s a game-changer, adding layers of complexity without making the recipe complicated. If you’re seeking a new signature cookie recipe that impresses with its rich taste and satisfying texture, this is undoubtedly the one you’ve been searching for.
The Secret Ingredient: What is Brown Butter?
Brown butter, also known as beurre noisette, is a culinary marvel that takes basic butter and transforms it into an ingredient with an incredibly rich, nutty, and complex flavor profile. At its core, brown butter is simply regular unsalted butter that has been gently cooked over medium heat until the water evaporates and the milk solids toast to a beautiful golden brown. This process, while straightforward, unlocks a depth of flavor that is unparalleled, adding a gourmet touch to both sweet and savory dishes.
Mastering the Art of Browning Butter for Optimal Flavor
If you’ve never ventured into making brown butter before, a little patience and attention are key. The process typically takes about 5-7 minutes, but it requires constant monitoring to ensure perfection. Here’s a detailed guide to help you achieve beautifully browned butter every time:
- Choose the Right Pan: Use a light-colored, heavy-bottomed saucepan or skillet. The light color allows you to easily observe the browning process, preventing accidental burning.
- Melt Slowly: Place your unsalted butter in the pan over medium heat. Allow it to melt completely.
- Constant Stirring: Once the butter is melted and begins to bubble, stir it continuously with a whisk or wooden spoon. This helps the milk solids brown evenly and prevents them from sticking to the bottom and burning.
- Observe the Transformation: As it cooks, the butter will foam, then the foam will subside slightly, and you’ll see small brown flecks forming at the bottom of the pan. The color will change from pale yellow to golden, then amber, and finally a rich, nutty brown.
- Aromatic Clues: Trust your nose! When the butter starts to brown, it will release a distinctly nutty, toasted aroma, reminiscent of hazelnuts. This is your cue that it’s nearing perfection.
- Act Quickly: As soon as it reaches that beautiful amber-brown color and nutty scent, immediately remove the pan from the heat. The residual heat can quickly take it from perfectly browned to burnt. Pour the brown butter, including all the delightful browned bits, into a small, heatproof bowl to stop the cooking process.
- Cool Completely: Allow the brown butter to cool completely before incorporating it into your cookie dough. It might solidify slightly, but that’s perfectly normal and desirable for this recipe. This cooling step is crucial for achieving the correct texture in your cookies.
The nutty aroma alone is enough to convert anyone into a brown butter enthusiast. This simple step truly elevates these peanut butter cookies, adding an extra layer of gourmet flavor.
Choosing the Best Peanut Butter for Your Cookies
The type of peanut butter you use can significantly impact the texture and overall outcome of your cookies. For these brown butter peanut butter cookies, I generally recommend using smooth, traditional peanut butter rather than natural varieties. Here’s why:
- Smooth vs. Crunchy: While crunchy peanut butter can add an interesting texture, smooth peanut butter typically yields a more consistent and tender cookie crumb. If you prefer extra crunch, you can always add chopped peanuts to a smooth peanut butter base.
- Traditional vs. Natural: “Natural” peanut butter, which often contains only peanuts and salt, tends to separate with oil on top and can have a more variable texture from brand to brand. This inconsistency can affect the cookie dough’s hydration and how the cookies bake. Traditional creamy peanut butter (like Jif or Skippy) contains stabilizers and a bit of added sugar, resulting in a consistent, emulsified texture that bakes more predictably. This reliability ensures your cookies turn out perfectly every time, regardless of the brand you pick up at the store.
Using a consistent, creamy peanut butter ensures that the dough comes together properly and the cookies achieve their signature crisp-yet-chewy texture. My go-to choices are usually Jif or Skippy for their reliable quality and smooth consistency.
Essential Baking Tips for Perfect Peanut Butter Cookies
Achieving the perfect batch of peanut butter cookies goes beyond just the ingredients; technique plays a crucial role. Follow these expert tips to ensure your brown butter peanut butter cookies turn out flawlessly every time:
Ingredients Matter: Room Temperature and Quality
- Room Temperature Eggs: Always use a large egg at room temperature. A room temperature egg emulsifies better with the other ingredients, leading to a smoother, more uniform dough and a better-textured cookie.
- Accurate Measuring: Baking is a science. Use proper measuring cups and spoons, especially for flour. Spoon the flour into your measuring cup and then level it off with a straight edge (like the back of a knife) to avoid over-packing, which can result in dry, dense cookies.
Precise Mixing: The Key to Texture
- Don’t Overmix: Once you add the dry ingredients to the wet, mix only until just combined. Overmixing develops the gluten in the flour, which can lead to tough, rubbery cookies. A few streaks of flour are fine; they will disappear during the brief chilling period.
- Creaming Butter and Sugar: Ensure your brown butter (once cooled and slightly solidified) and sugar are thoroughly creamed together. This step incorporates air, which contributes to the cookies’ light and airy texture.
Chilling the Dough: Why It’s Crucial
- Firm Dough, Better Cookies: Chilling the dough for at least 30 minutes (or even longer) is not optional; it’s essential! Chilled dough is less sticky and easier to handle, preventing the cookies from spreading too much in the oven. It also allows the flavors to meld and the dry ingredients to fully hydrate, resulting in a richer flavor and a chewier texture.
Shaping and Fork Marks: The Classic Look
- Consistent Size: Use a cookie scoop or a tablespoon to ensure all your cookie dough balls are roughly the same size. This promotes even baking.
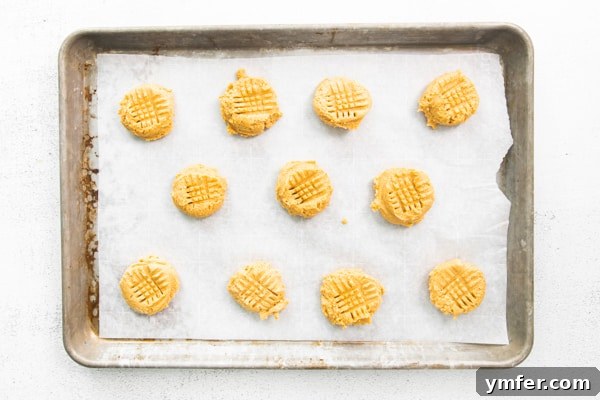
- The Crisscross Pattern: The traditional fork marks on peanut butter cookies aren’t just for aesthetics; they help flatten the dough slightly, ensuring even baking and that signature crisp edge. Dip your fork in a little granulated sugar between cookies to prevent sticking.
Troubleshooting Common Cookie Problems
- Cookies Spreading Too Much: If your cookies are spreading excessively, the dough might not have been chilled enough, or your butter might have been too warm when mixed. Ensure the brown butter is cooled and slightly solid, and always chill the dough for at least 30 minutes. Also, avoid greasing your parchment paper as this can contribute to spreading.
- Cookies Are Too Crumbly/Dry: This is often a sign of too much flour or overbaking. Measure your flour carefully (spoon and level!), and watch your baking time closely. Cookies continue to set as they cool.
- Not Crispy Enough: Baking a minute or two longer can help achieve a crispier edge. Also, ensuring even spacing on the baking sheet allows hot air to circulate properly.
Can I Double This Brown Butter Peanut Butter Cookie Recipe?
Absolutely, you can easily double this delightful cookie recipe! The ingredient measurements are straightforward, making it simple to scale up for larger batches. Just remember a few key considerations when doubling:
- Baking Sheets: You will definitely need more than one baking sheet to accommodate the increased number of cookies. Crowding a baking sheet can lead to uneven baking.
- Mixing Bowl Size: Ensure your stand mixer bowl (or hand mixing bowl) is large enough to handle the doubled volume of dough.
- Chilling Time: A larger batch of dough might benefit from a slightly longer chilling time to ensure it’s firm throughout.
Doubling the recipe is a fantastic idea for parties, holiday baking, or simply ensuring you have enough of these irresistible cookies to last a little longer!
Storing and Freezing Your Delicious Peanut Butter Cookies
Once you’ve baked a batch of these incredible brown butter peanut butter cookies, you’ll want to ensure they stay fresh and delicious for as long as possible. Here’s how to properly store and even freeze them:
How to Store Baked Cookies
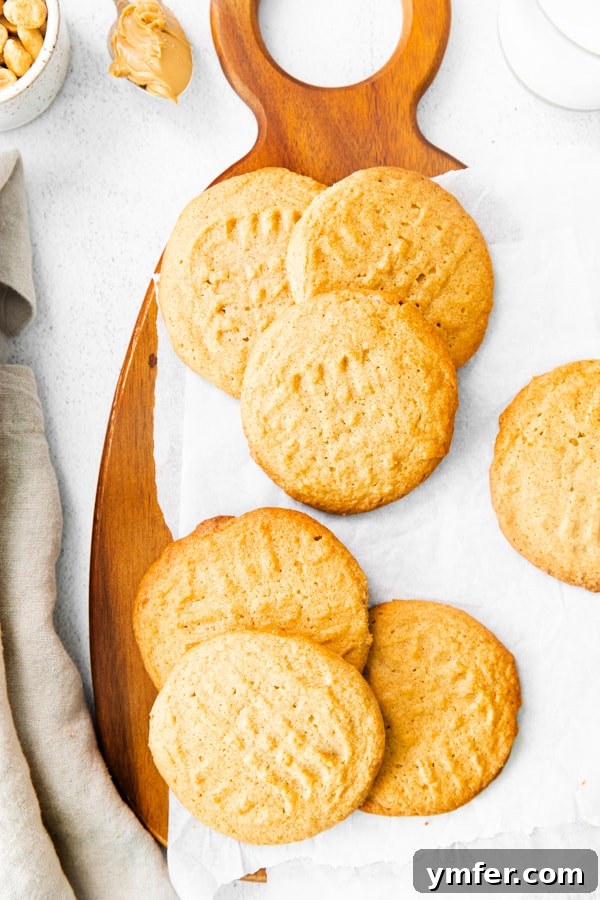
For optimal freshness and to maintain their delightful texture, store any leftover baked cookies in an airtight container at room temperature. They will remain wonderfully fresh and enjoyable for up to 5 days. Keeping them in an airtight container prevents them from drying out and losing their characteristic crispness.
Freezing Options: Dough vs. Baked Cookies
These cookies are perfect for making ahead! You have two excellent options for freezing:
- Freezing Baked Cookies: Once the cookies have cooled completely, you can freeze them. Wrap individual cookies or small stacks tightly in plastic wrap, then place them in a freezer-safe container or a heavy-duty ziptop bag. This double layer of protection helps prevent freezer burn. They can be frozen for up to 3 months.
- Freezing Cookie Dough: For ultimate convenience, you can also freeze the unbaked cookie dough. Scoop the dough into 1-inch balls and place them on a parchment-lined baking sheet. Freeze until solid (about 1-2 hours). Once frozen, transfer the solid dough balls to a freezer-safe ziptop bag. You can bake them from frozen; simply add a minute or two to the baking time. This is fantastic for having fresh, warm cookies on demand!
Thawing for Freshness
To defrost frozen baked cookies, simply remove them from the freezer and let them thaw on the counter at room temperature. They’ll be ready to enjoy in about 30 minutes to an hour, tasting almost as fresh as the day they were baked. If you prefer them warm, a quick zap in the microwave for 10-15 seconds can bring them back to life.
Variations to Elevate Your Peanut Butter Cookie Experience
While these brown butter peanut butter cookies are sensational on their own, there are many ways to customize them to suit your taste or create exciting new flavor combinations:
- Chocolate Chip Delight: Fold in a cup of your favorite chocolate chips (milk, dark, or semi-sweet) into the dough for a classic peanut butter and chocolate pairing.
- Nutty Crunch: Add a half cup of chopped peanuts, pecans, or walnuts to the dough for an extra layer of crunch and nutty flavor.
- Sea Salt Finish: A sprinkle of flaky sea salt on top of the cookies before baking can enhance the sweetness and deepen the nutty notes.
- Spiced Cookies: A pinch of cinnamon or nutmeg can add a warm, comforting twist.
- Different Extracts: Experiment with almond extract or even a touch of bourbon vanilla for a unique aroma.
Frequently Asked Questions About Brown Butter Peanut Butter Cookies
- Q: Can I use natural peanut butter in this recipe?
- A: While you can, traditional creamy peanut butter is recommended for its consistent texture, which leads to more predictable and often better-textured cookies. Natural peanut butter can be oilier and less consistent.
- Q: What if I don’t have a stand mixer?
- A: No problem! You can easily make these cookies with a hand mixer or even by hand using a sturdy whisk and spatula. Just ensure you cream the brown butter and sugar thoroughly and mix the ingredients until just combined.
- Q: How do I know when the brown butter is ready?
- A: Brown butter is ready when it turns an amber-gold color and emits a rich, nutty aroma, with small brown bits visible at the bottom of the pan. Be sure to remove it from the heat immediately to prevent burning.
- Q: Why do I need to chill the dough?
- A: Chilling the dough solidifies the fats, preventing the cookies from spreading too much in the oven. It also allows the flavors to deepen and results in a chewier, more flavorful cookie.
More Irresistible Cookie Recipes to Try
If you’ve loved these brown butter peanut butter cookies, you’ll surely enjoy exploring some of my other delicious cookie creations:
- Soft Gingerbread Cutout Cookies
- Chocolate Peppermint Bark Cookies
- Vanilla Bean Lemon Sugar Cookies
- Peanut Butter Chocolate Chip Cookie S’mores
- Molasses Ginger Raisin Cookies
- Espresso Salted Chocolate Chip Cookies
Brown Butter Peanut Butter Cookies Recipe
These brown butter peanut butter cookies are packed full of delicious flavor and super simple to make. Trust me, if you love all things peanut butter you’re going to LOVE these cookies!
Recipe Details
- Yields: 12 cookies
- Prep time: 15 minutes
- Cook time: 15 minutes
- Total time: 1 hour (includes chilling time)
Equipment You’ll Need
- KitchenAid 5-Quart Mixer or large mixing bowl and hand mixer/whisk
- Parchment Paper Sheets
- Baking Sheet Pan
- Nonstick skillet (light-colored preferred)
- Small heatproof bowl
- Wire cooling rack
Ingredients
- 6 tablespoons unsalted butter
- 1/2 cup granulated sugar
- 1/2 cup creamy peanut butter (Jif or Skippy recommended)
- 1 large egg, at room temperature
- 1 teaspoon vanilla extract
- 1/2 cup all-purpose flour
- 1/4 teaspoon baking soda
- 1/4 teaspoon baking powder
Instructions
- Place the unsalted butter in a nonstick skillet set over medium heat.
- Allow the butter to melt completely, then continue cooking, stirring constantly with a whisk, until it begins to bubble, foam, and eventually brown. This process should take approximately 5-7 minutes. You’ll notice small brown bits forming at the bottom of the pan and a fragrant, nutty aroma.
- Immediately remove the pan from the heat and carefully transfer the brown butter (including the browned bits) to a small, heatproof bowl. Let it cool completely until it’s slightly solidified but still pliable.
- Once the brown butter has cooled, transfer it to the bowl of a stand mixer fitted with the paddle attachment (or a large mixing bowl).
- Add the granulated sugar and beat on medium speed until well combined and creamy, about 2-3 minutes.
- Next, add the creamy peanut butter, large egg, and vanilla extract. Mix on medium speed until all ingredients are thoroughly combined and smooth.
- In a separate small mixing bowl, whisk together the all-purpose flour, baking soda, and baking powder until well combined.
- Gradually add the dry flour mixture to the wet ingredients in the stand mixer. Mix on low speed until just combined. Be careful not to overmix; stop as soon as no dry streaks of flour are visible.
- Cover the bowl containing the cookie dough with plastic wrap and place it in the refrigerator for a minimum of 30 minutes to chill. This step is essential for flavor and texture.
- While the dough is chilling, preheat your oven to 350 degrees F (175°C). Line a baking sheet with parchment paper.
- Once the dough is chilled, scoop it out into 1-inch balls. Place these dough balls onto the prepared baking sheet, ensuring they are spaced 2-3 inches apart to allow for spreading.
- Using the tines of a fork, gently flatten each cookie dough ball and create a classic crisscross pattern on top.
- Bake for about 12-15 minutes, or until the edges of the cookies are golden brown and the centers appear set. The cookies will continue to firm up as they cool.
- Carefully transfer the baked brown butter peanut butter cookies to a wire rack to cool completely. Store any leftover cookies in an airtight container at room temperature for up to 5 days.
Nutrition Information (Approximate Per Serving)
The following nutrition information is automatically calculated and should be used as an approximation. Actual values may vary based on specific ingredients and preparation methods.
- Serving Size: 1 cookie
- Calories: 172 kcal
- Carbohydrates: 15 g
- Protein: 3 g
- Fat: 12 g
- Saturated Fat: 5 g
- Polyunsaturated Fat: 6 g
- Cholesterol: 31 mg
- Sodium: 94 mg
- Fiber: 1 g
- Sugar: 9 g
Additional Information
Course: Dessert
Tried this recipe? Share your creation!
We absolutely love seeing your culinary masterpieces! If you’ve baked these incredible brown butter peanut butter cookies, don’t forget to share your photos and experiences on social media. Mention @NutmegNanny or tag #nutmegnanny! We can’t wait to see your delicious results and celebrate your baking success.