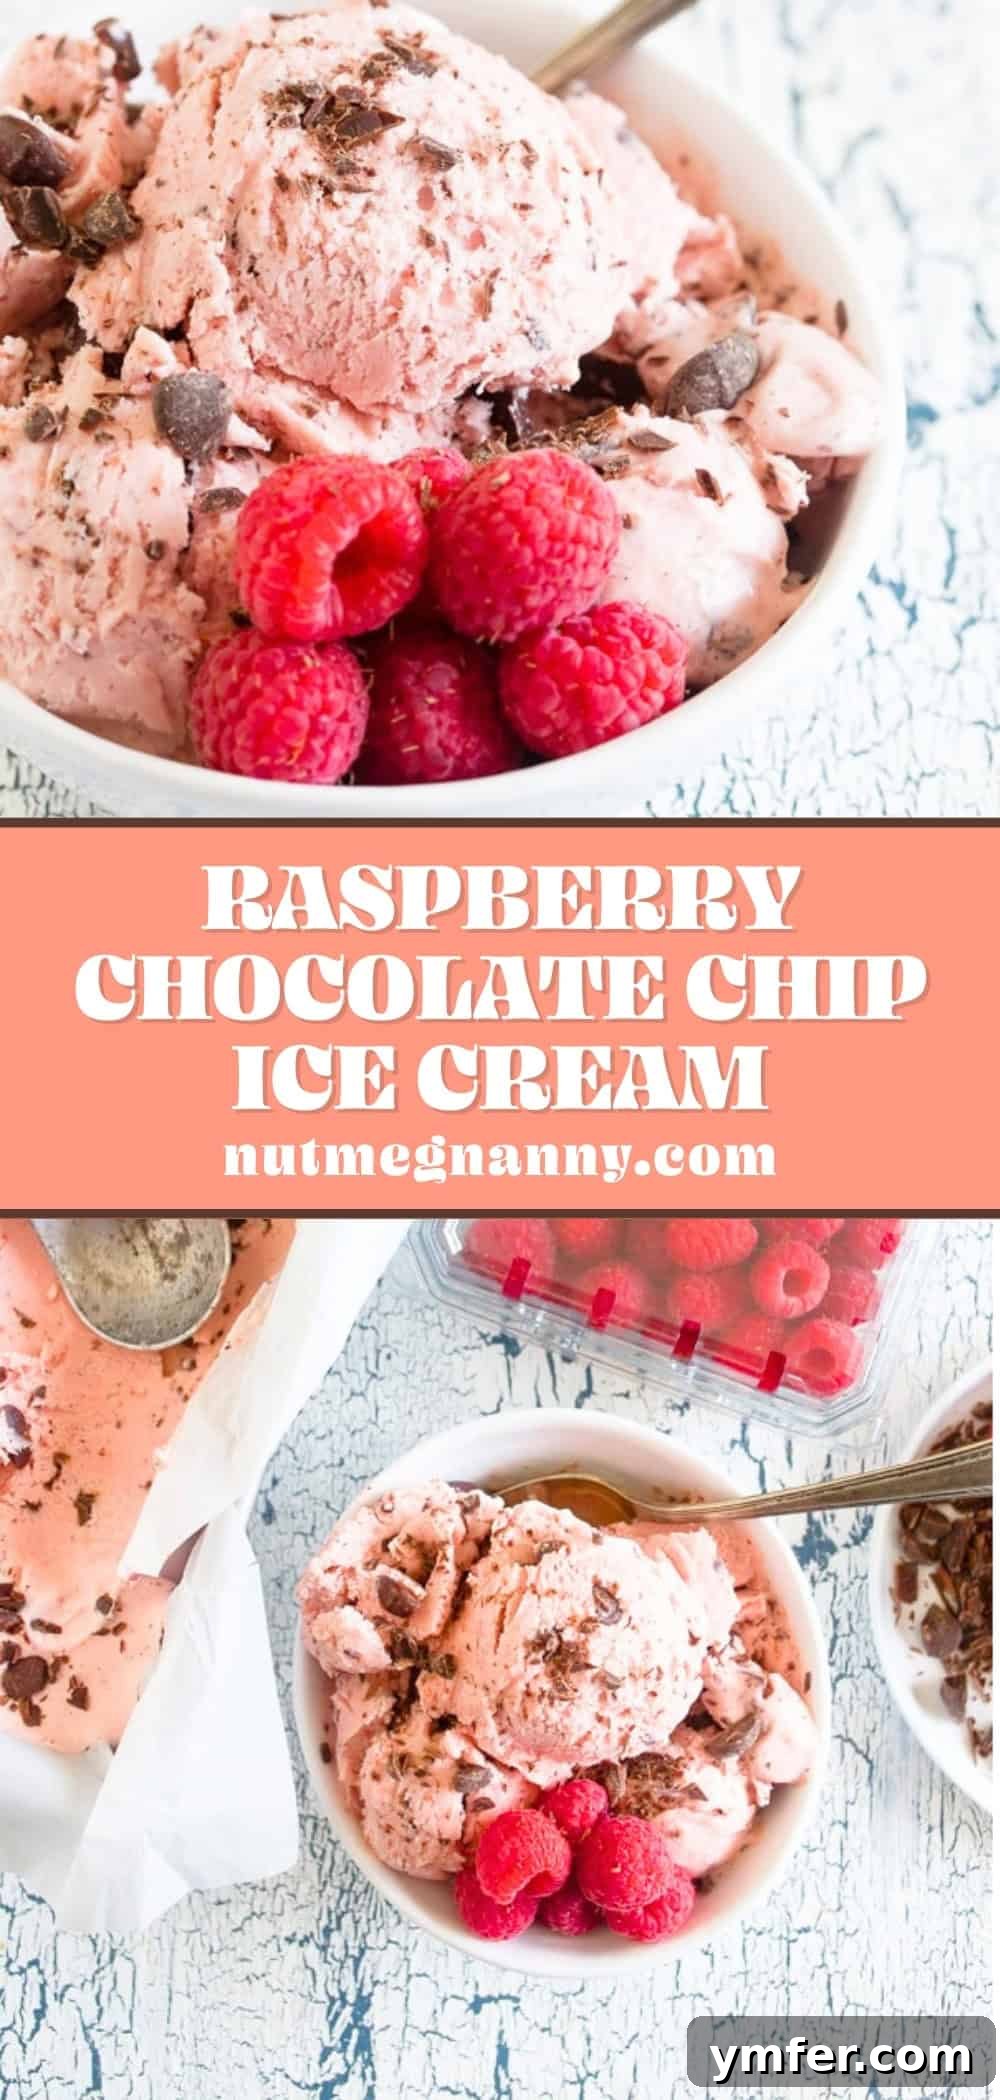
Welcome to your new favorite summer dessert! This incredible raspberry chocolate chip ice cream isn’t just a treat; it’s a vibrant celebration of fresh flavors, creamy textures, and decadent dark chocolate. Perfect for hot days, special occasions, or simply satisfying that sweet craving, this homemade delight promises an unparalleled experience that store-bought versions simply can’t match.
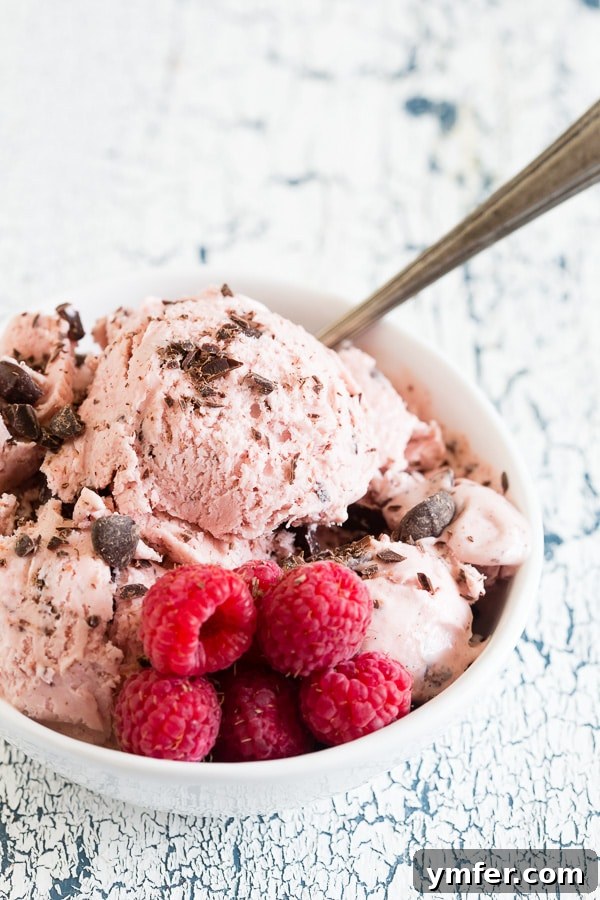
Why You’ll Fall in Love with This Homemade Raspberry Chocolate Chip Ice Cream
There’s a unique magic that comes with homemade ice cream. Forget the bland, overly sweet options from the freezer aisle; this recipe brings a refreshing burst of real fruit flavor combined with the rich, slightly bitter notes of dark chocolate. It’s the kind of dessert that creates memories, whether you’re enjoying it on a quiet evening or sharing it with loved ones at a lively summer gathering.
For me, homemade ice cream has always been a cherished tradition. I remember countless summer afternoons spent helping my dad hand-churn batch after batch. While those memories are precious, I’m certainly grateful for modern ice cream makers! They transform a labor of love into an effortlessly delicious process, allowing us to enjoy gourmet flavors without the exhaustive effort. This recipe embodies that philosophy: maximum flavor, minimal fuss.
What makes this particular combination so irresistible? The natural sweetness and subtle tartness of fresh raspberries cut through the richness of the creamy base, creating a beautifully balanced flavor profile. Then, the surprise of dark chocolate chips adds a delightful crunch and a sophisticated depth that elevates every spoonful. It’s a symphony of tastes and textures that will have you swooning. Once you taste the difference that fresh berries make in homemade ice cream, you’ll never look back at artificial flavorings again.
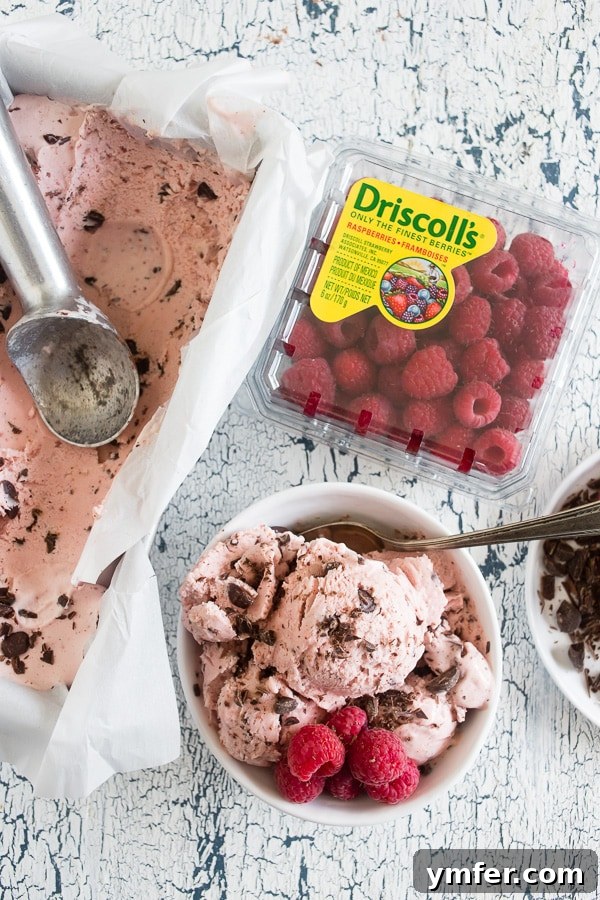
Essential Ingredients for the Perfect Scoop
Crafting exceptional homemade ice cream starts with high-quality ingredients. Each component in this recipe plays a vital role in achieving that perfect creamy texture and vibrant flavor. Here’s what you’ll need:
- Half and half: Provides a lighter base than heavy cream alone, contributing to a smooth consistency without being overly rich.
- Heavy cream: Essential for the luxurious, rich mouthfeel and creamy texture that defines great ice cream.
- Egg yolks: These are key to creating a rich, custard-like base (often called a French-style ice cream). They emulsify the mixture, preventing ice crystals and ensuring an incredibly smooth, decadent scoop.
- Granulated sugar: Sweetens the ice cream, balances the tartness of the raspberries, and contributes to the overall texture by lowering the freezing point.
- Vanilla bean paste: Offers a more intense and complex vanilla flavor compared to extract, with visible specks of vanilla bean for a gourmet touch.
- Raspberry puree: The heart of our flavor! Using fresh or frozen raspberries for a homemade puree guarantees an authentic, bright berry taste.
- Dark chocolate: Whether you choose mini dark chocolate chips or finely chopped dark chocolate, this addition provides a delightful crunch and a beautiful contrast to the sweet raspberries.
Crafting Your Homemade Raspberry Chocolate Chip Ice Cream: A Step-by-Step Guide
Making homemade ice cream, especially a custard-based one like this, involves a few key steps that ensure a perfectly smooth and rich result. While it requires a bit of planning, the process itself is straightforward and incredibly rewarding. Before you begin, ensure you have either a frozen bowl ice cream maker (which requires its bowl to be frozen solid beforehand, typically overnight) or a compressor ice cream maker (which freezes as it churns, offering more spontaneity).
The secret to great custard-based ice cream lies in the tempering process – gently heating the egg yolks with the warm cream mixture. This technique slowly raises the temperature of the eggs, preventing them from scrambling and instead creating a thick, velvety base for your ice cream. Don’t rush this stage, as patience here pays off in the final texture.
- Prepare the Cream Base: In a medium saucepan, combine your half-and-half and heavy cream. Warm this mixture over medium heat, stirring occasionally, until it’s hot but not boiling. Remove it from the heat once warmed.
- Whisk Egg Yolks and Sugar: In a large mixing bowl, whisk the egg yolks until they are smooth and light. Gradually add the granulated sugar, continuing to whisk until the mixture is pale yellow and slightly thickened.
- Temper the Eggs: This is a crucial step! Slowly ladle a small amount of the warm cream mixture into the egg yolk mixture while continuously whisking. This brings the eggs up to temperature gradually. Continue adding more warm cream, a little at a time, until the egg mixture feels warm to the touch. Once tempered, pour the entire egg-cream mixture back into the saucepan.
- Thicken the Custard: Return the saucepan to low heat. Stir constantly with a wooden spoon or spatula, scraping the bottom of the pan to prevent scorching. The mixture will gradually thicken and coat the back of the spoon. Use a thermometer to ensure it reaches 175°F (80°C). Do not let it boil!
- Infuse Flavors and Chill: Remove the thickened custard from the heat and transfer it to a clean storage container. Allow it to cool on the counter for about 30 minutes. Once slightly cooled, stir in the vanilla bean paste and the prepared raspberry puree. Cover the container tightly and refrigerate overnight (at least 8 hours). Chilling the base thoroughly is essential for optimal churning results.
- Churn the Ice Cream: The next day, pour the chilled ice cream base into your pre-frozen ice cream maker bowl or compressor machine. Churn according to your manufacturer’s instructions. This typically takes 20-30 minutes, during which the mixture will transform into a soft-serve consistency.
- Add Chocolate Chips: About halfway through the churning process, or when the ice cream is beginning to firm up, add your mini dark chocolate chips or chopped dark chocolate. Allow the machine to continue churning until the chocolate is evenly distributed.
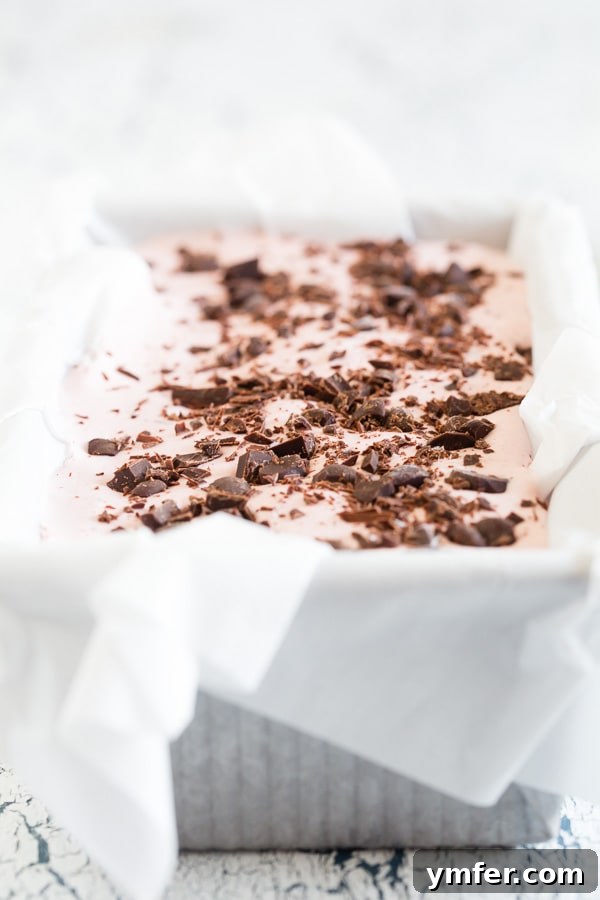
- Freeze to Perfection: Once churned to a soft-serve consistency, transfer the ice cream to a freezer-safe container. Cover the surface directly with parchment paper or plastic wrap, then seal the container with a lid. Freeze for at least 4-8 hours, or until it reaches your desired scoopable firmness.
- Storage: Store your homemade raspberry chocolate chip ice cream in an airtight, freezer-safe container. For the best taste and texture, enjoy it within two weeks. Beyond that, ice crystals may begin to form.
Substitutions and Adaptations for Your Perfect Scoop
One of the joys of homemade ice cream is the ability to customize it to your liking. This raspberry chocolate chip recipe is incredibly versatile:
- You can easily use frozen raspberries instead of fresh ones for the puree. Simply thaw them slightly before simmering, and proceed with the recipe as directed. This makes it a treat you can enjoy year-round!
- Swap out the raspberries for other berries like blackberries or blueberries. Each will lend its unique flavor and color, creating a delightful new variation. Imagine a rich blueberry dark chocolate chip ice cream!
- If dark chocolate isn’t your preference, feel free to use mini semi-sweet chocolate chips or even milk chocolate. White chocolate chunks could also offer a delightful contrast with the tart raspberries.
- For an extra layer of flavor, consider adding a hint of almond extract or a splash of raspberry liqueur to the base before chilling.
Expert Tips for Flawless Homemade Ice Cream
My Pro Tips
Recipe Tips for Homemade Ice Cream Success
- Prevent Ice Crystals and Freezer Burn: After churning and before freezing, place a piece of plastic wrap or parchment paper directly on the surface of the ice cream before putting on the lid. This creates a barrier that minimizes contact with air, significantly reducing ice crystal formation and freezer burn, keeping your ice cream smooth and fresh.
- Master the Tempering Stage: As mentioned, don’t rush the process of adding the warm cream to the egg yolks. Slowly drizzle and whisk continuously to avoid ending up with scrambled eggs. A perfectly tempered base is the foundation of creamy, luxurious ice cream.
- Elevate Your Serving: While this ice cream is fantastic on its own, a drizzle of Homemade Hot Fudge Sauce or a sprinkle of fresh raspberries can take it to the next level.
- Chill Thoroughly: Ensure your ice cream base is completely chilled (preferably overnight) before churning. A well-chilled base freezes faster and results in a smoother, creamier texture.
Recommended Tools for Your Ice Cream Adventure
|
|
|
|
|
Ice Cream Maker Machine (No Pre Freezing needed!)
|
Ice Cream Scoop
|
Ice Cream Containers with Lids for Homemade Ice Cream
|
|
$299.00
|
$6.58
|
$23.99
|
|
Buy Now
|
Buy Now
|
Buy Now
|

Frequently Asked Questions About Homemade Ice Cream
- Why do I need to temper the egg yolks? Tempering is crucial for custard-based ice creams. It slowly raises the temperature of the egg yolks by gradually incorporating warm liquid, preventing them from scrambling. This process creates a stable emulsion, leading to an incredibly smooth, rich, and velvety texture in your final ice cream. Without tempering, you risk having an ice cream with a grainy consistency or bits of cooked egg.
- My ice cream is icy, what went wrong? Icy ice cream can be due to several factors. Ensure your ice cream base is thoroughly chilled before churning; a warmer base can lead to larger ice crystals. Also, make sure your ice cream maker bowl is completely frozen if it’s a freeze-ahead model. Finally, the fat content (from heavy cream and egg yolks) and sugar content are important for preventing ice crystals. Using less sugar or lower-fat dairy can contribute to iciness. Covering the ice cream surface directly with plastic wrap before freezing also helps.
- How long does homemade ice cream last in the freezer? For optimal taste and texture, homemade ice cream is best enjoyed within 1-2 weeks. After this period, it can start to develop ice crystals and lose its creamy consistency, though it’s generally safe to eat for longer. Always store it in an airtight, freezer-safe container.
- Can I make this recipe without an ice cream maker? While this recipe is designed for an ice cream maker for the best results, you can try a “no-churn” method with whipped cream and condensed milk. However, a custard base like this one relies on churning for its specific texture. If you don’t have a machine, you could try freezing the custard in a shallow pan and stirring it every 30-60 minutes for a few hours to break up ice crystals, but it won’t achieve the same smoothness.
- What’s the difference between vanilla extract and vanilla bean paste? Vanilla extract is made by macerating vanilla beans in alcohol. Vanilla bean paste, on the other hand, is a concentrated form of vanilla that includes tiny flecks of vanilla bean. It provides a more intense, complex flavor and the visual appeal of vanilla specks, making it a popular choice for gourmet desserts. You can substitute extract for paste (usually 1:1, but you might want to use a bit more extract for flavor intensity).
The Recipe for Raspberry Chocolate Chip Ice Cream
Raspberry Chocolate Chip Ice Cream

Ingredients
For ice cream:
- 3 cups half and half
- 1 cup heavy cream
- 8 egg yolks
- 1-¼ cup granulated sugar
- 1 teaspoon vanilla bean paste
- 1 cup mini dark chocolate chips or chopped dark chocolate
For raspberry puree:
- 2 cups raspberries
- ¼ cup granulated sugar
- 1 tablespoon lemon juice
Instructions
For raspberry puree:
-
Add all ingredients (2 cups raspberries, ¼ cup granulated sugar, 1 tablespoon lemon juice) to a small saucepan. Simmer over medium heat until the berries start to soften. Mash the berries until juicy and soft. Remove from heat, puree in a high-speed blender or food processor, then strain through a fine mesh strainer to remove seeds and pulp. Set aside and let cool completely.
For ice cream:
-
Set a medium saucepan over medium heat. Pour in 3 cups half and half and 1 cup heavy cream. Simmer the mixture, stirring every so often, until it is warmed. Remove from heat and set aside.
-
In a large mixing bowl, add 8 egg yolks and whisk until smooth. Slowly pour in 1-¼ cup granulated sugar and whisk until combined and pale yellow.
-
To temper the eggs, gradually add a small amount of the warm cream mixture to the egg mixture, whisking constantly until combined. Slowly continue to add more warm cream until the egg mixture is warmed through. Continue whisking in the cream until it’s all been added.
-
Add the entire mixture back into the saucepan and set over low heat. Stir constantly until the mixture has thickened enough to coat the back of a spoon and reached 175°F (80°C).
-
Remove the mixture from the heat and pour into a storage container. Let cool on the counter for 30 minutes, then stir in 1 teaspoon vanilla bean paste and the prepared raspberry puree. Cover and refrigerate overnight (at least 8 hours) until completely chilled.
-
The next day, pour the chilled base into an ice cream maker and process according to the manufacturer’s directions until it reaches a soft-serve consistency.
-
Once the mixture reaches soft-serve texture, stir in 1 cup mini dark chocolate chips or chopped dark chocolate. Continue churning for a few more minutes to distribute evenly.
-
Transfer the ice cream to a freezer-safe container. Cover the surface directly with plastic wrap or parchment paper, then seal the container with a lid. Freeze for at least 4 hours before serving, or until firm.
Nutrition
Nutrition information is automatically calculated, so should only be used as an approximation.
Additional Info