
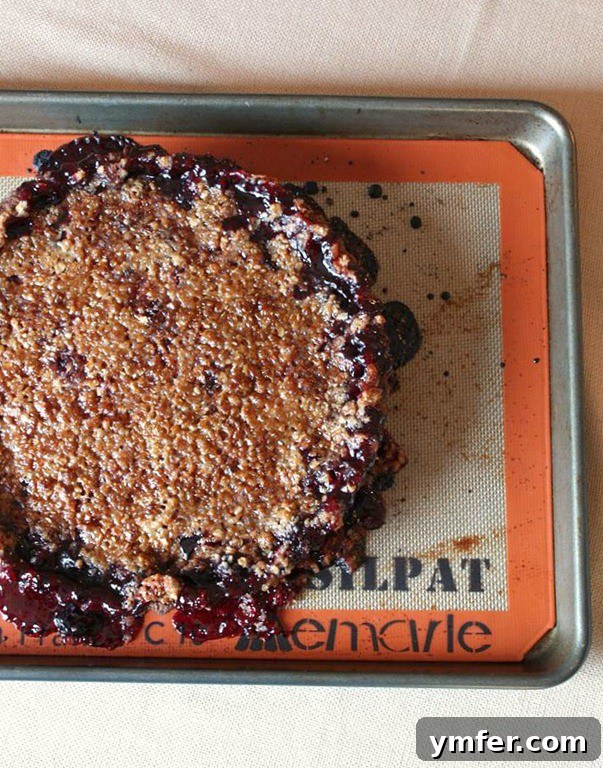
There’s something truly magical about a homemade pie, and when that pie is a sweet cherry pie cradled in a rich chocolate crust, you’ve got a dessert destined for legendary status. Forget the ordinary; we’re diving into a culinary adventure that transforms a classic into an extraordinary experience. This isn’t just any cherry pie; it’s a gourmet delight featuring a decadent chocolate almond crust and a crunchy crumbly topping, making it the ultimate treat for any occasion.
Every year, February 20th brings with it a delightful excuse to indulge: National Cherry Pie Day! And what better way to celebrate this joyful occasion than with a pie that pushes the boundaries of deliciousness? This isn’t just a nod to tradition; it’s an elevated tribute, designed to make your taste buds sing and leave your guests utterly impressed. So, let the cherry pie festivities commence, and prepare to embark on a sweet journey!
My inspiration for this particular masterpiece came directly from my esteemed friends at King Arthur Flour. They reached out with an exciting challenge: to craft my unique spin on the beloved classic cherry pie. Naturally, I was thrilled by the opportunity to blend innovation with tradition, especially when armed with their exceptional ingredients. The thought of creating something truly special, something that honored the classic while adding a modern twist, was an irresistible invitation to the kitchen.
The anticipation of receiving their package was almost as sweet as the pie itself! And when it arrived, it certainly didn’t disappoint. Inside, I found a treasure trove of baking essentials, each promising to elevate my pie-making experience. There was their renowned unbleached all-purpose flour, known for its consistent quality and ability to create perfect crusts. Also included was their incredibly useful pie filling enhancer, a secret weapon for achieving that ideal fruit filling consistency without cloudiness. To protect my creation, a handy silicone pie crust shield made an appearance, alongside a comprehensive pie essentials DVD. But perhaps the most delightful surprise was a copy of their magazine, “The Baking Sheet.” This publication truly lives up to its name; it’s an absolute gem! In fact, I found myself so engrossed in its pages that I completely lost track of time while my pie was baking. Thank goodness for oven timers!
Armed with these fantastic supplies and a surge of creative energy, I eagerly ventured into the kitchen. My mission was clear: take the timeless cherry pie and infuse it with a modern, irresistible twist. The concept of a traditional pastry crust, while perfectly fine, felt a little too ordinary for the vision I had in mind. Instead, I opted for an innovative chocolate almond crust, a rich, nutty, and subtly sweet foundation that would beautifully complement the tartness of the cherries. To further enhance the texture and flavor, I decided to crown this masterpiece with a crunchy, crumbly topping. The combination was pure genius – a cherry pie that truly captured my adventurous spirit and love for decadent desserts!
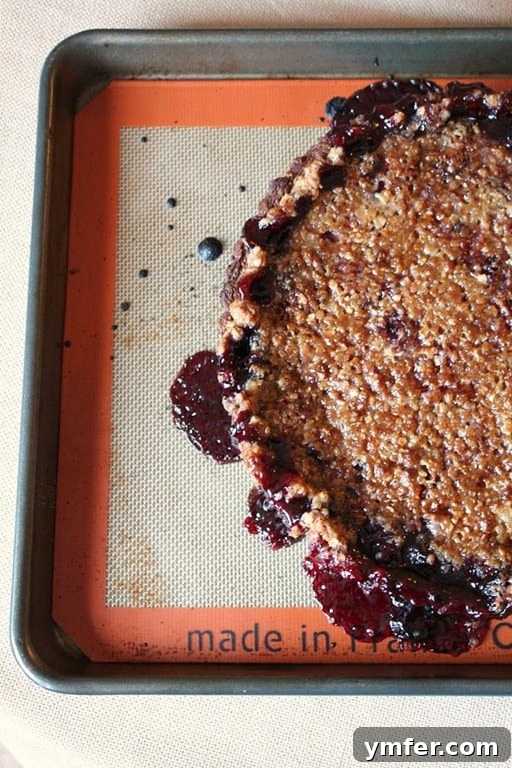
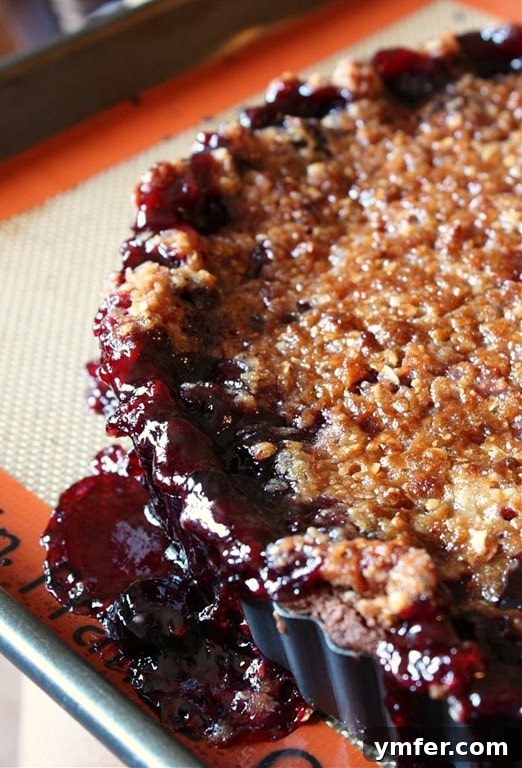
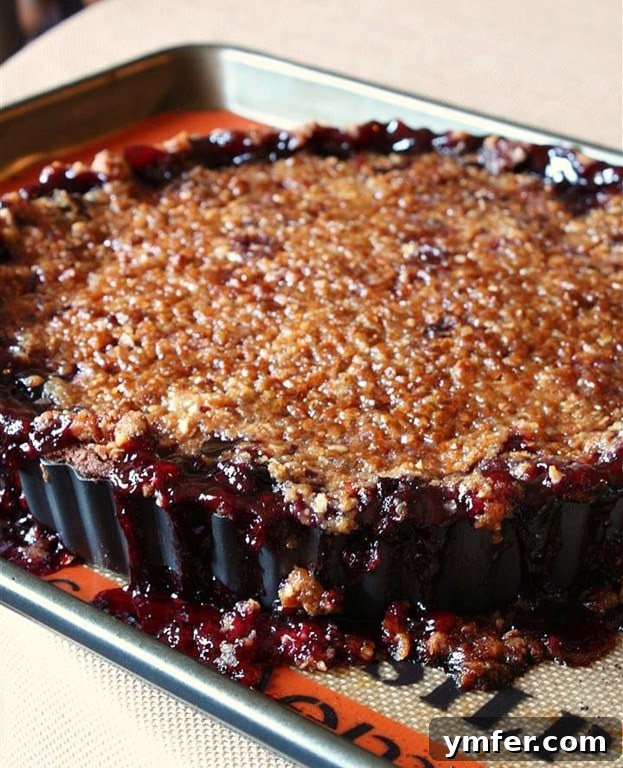
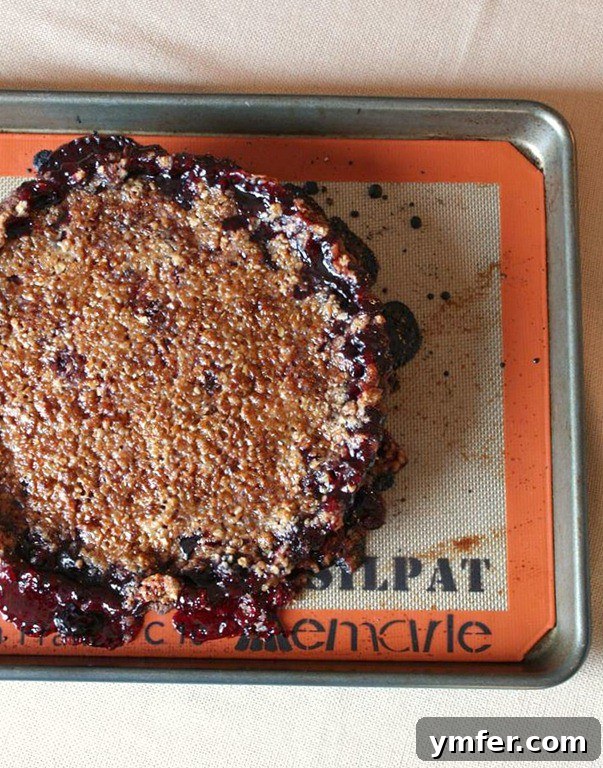
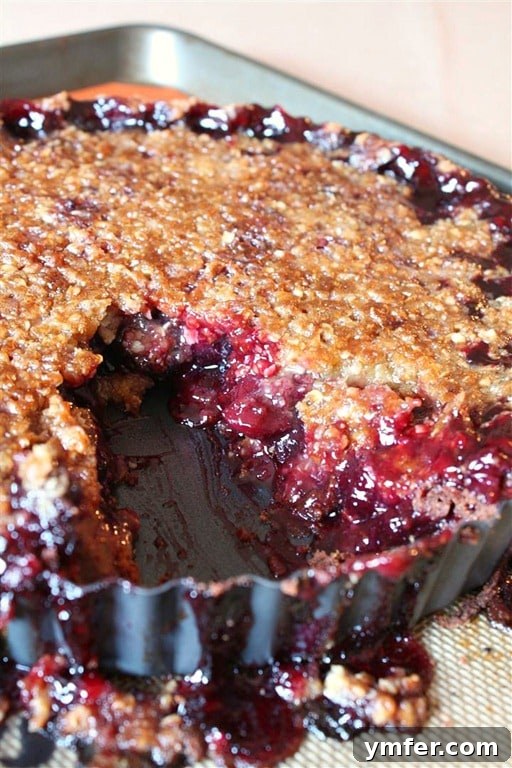
The assembly of this innovative cherry pie followed the familiar rhythm of classic pie-making, but with one intentional deviation: instead of a traditional pie plate, I chose a tart pan. This simple swap offers a significant advantage, making the finished pie incredibly easy to remove and serve with elegant precision. One small challenge I encountered was the occasional overflow during baking. In hindsight, perhaps a slightly less generous filling could have prevented this, but frankly, I couldn’t bear the thought of wasting even a single luscious cherry! And truthfully, the charmingly rustic look of the slightly bubbling-over edges only added to its homemade appeal, making it all the more inviting and tempting to dive into immediately.
Crafting the perfect pie is an art form, a symphony of flavors and textures. The deep, ruby-red hue of the cherry filling, glistening beneath the golden-brown crumbly topping, contrasted beautifully with the dark, rich chocolate almond crust. The aroma that filled my kitchen was intoxicating – a sweet medley of ripe cherries, warm chocolate, and toasted almonds, promising a truly unforgettable dessert experience. This is more than just a recipe; it’s an invitation to create, to innovate, and to share a piece of heartwarming deliciousness with those you cherish. Prepare to impress, prepare to delight, and prepare to fall in love with the ultimate cherry pie with chocolate crust!
Cherry Pie with Chocolate Almond Crust
Experience an elevated classic with this sweet cherry pie, featuring a unique homemade chocolate almond crust instead of traditional pastry. Topped with a delightful crunchy streusel, this recipe creates a truly over-the-top dessert perfect for any celebration or simply a special treat. The combination of rich chocolate, nutty almond, and juicy cherries makes this pie an unforgettable culinary delight.
Yield: 1 (9-inch) pie
Prep Time: 20 minutes
Cook Time: 1 hour 15 minutes
Total Time: 1 hour 35 minutes
Ingredients:
For the Irresistible Cherry Filling:
- 1 cup granulated sugar
- 1/4 cup pie filling enhancer (such as King Arthur Flour’s)
- 1/4 teaspoon kosher salt
- 5 cups (approximately 2 lbs) frozen sweet cherries*
- 1/2 teaspoon pure vanilla extract
For the Decadent Chocolate Almond Crust:
- 1-1/2 cups all-purpose flour (King Arthur Unbleached recommended)
- 3/4 cup almond flour
- 1/2 cup + 3 tablespoons granulated sugar
- 6 tablespoons unsweetened cocoa powder
- Pinch of kosher salt
- 1-1/2 sticks (12 tablespoons) unsalted cold butter, cubed
- 1 large egg
For the Crunchy Crumbly Topping:
- 1 cup packed light brown sugar
- 1/2 cup all-purpose flour
- 1/2 cup quick-cooking oats
- 1/2 cup unsalted cold butter, cut into small pieces
Source: Chocolate Almond Crust adapted from Food & Wine Magazine
Directions:
Preparing the Cherry Filling:
In a large bowl, combine the granulated sugar, pie filling enhancer, and salt. Add the frozen sweet cherries and vanilla extract. Stir everything gently until the cherries are evenly coated. Set this mixture aside while you prepare the crust. The cherries will begin to thaw slightly, making them easier to incorporate.
*Note: The cherries don’t need to be fully thawed, but they should be soft enough to stir easily.
Crafting the Chocolate Almond Crust:
In the bowl of a food processor, combine the all-purpose flour, almond flour, granulated sugar, cocoa powder, and a pinch of kosher salt. Pulse a few times to thoroughly blend the dry ingredients. Add the cold, cubed butter to the food processor. Pulse repeatedly until the mixture resembles coarse meal with some pea-sized pieces of butter remaining. Add the egg and process again until the dough just comes together into a ball. Turn the dough out onto a sheet of plastic wrap, flatten it into a disc, and chill in the refrigerator for at least 30 minutes. This chilling time is crucial for easy handling.
Once chilled, roll the dough out onto a lightly floured surface into a uniform circle large enough to fit your pie or tart pan. Carefully transfer the dough to your chosen pan and press it gently into place, trimming any excess.
Creating the Crunchy Crumbly Topping:
In a medium bowl, combine the brown sugar, all-purpose flour, and quick-cooking oats. Stir well to mix these ingredients. Add the cold, cubed butter. Using your fingertips or a pastry blender, cut the butter into the dry mixture until it resembles coarse crumbs. This topping adds a wonderful texture and sweetness to the pie.
Assembling and Baking Your Masterpiece:
Preheat your oven to 425 degrees F (220 degrees C).
Place your prepared chocolate almond pie crust into the pan. Pour the cherry filling evenly into the crust. Generously sprinkle the crunchy crumbly topping over the cherry filling. For easier cleanup, especially if your pie tends to bubble over, place the pie on a baking sheet lined with a Silpat mat or parchment paper.
Bake the pie at 425 degrees F (220 degrees C) for 15 minutes. After 15 minutes, reduce the oven temperature to 375 degrees F (190 degrees C) and continue to bake for approximately 1 hour longer, or until the filling is bubbly and the topping is golden brown. If the crust or topping starts to brown too quickly, you can use a silicone pie crust shield or loosely cover the edges with aluminum foil.
Once baked, let the pie cool completely on a wire rack before slicing and serving. This allows the filling to set properly, ensuring perfect slices. Serve warm with a scoop of vanilla bean ice cream or a dollop of fresh whipped cream for an unforgettable dessert experience. Enjoy!