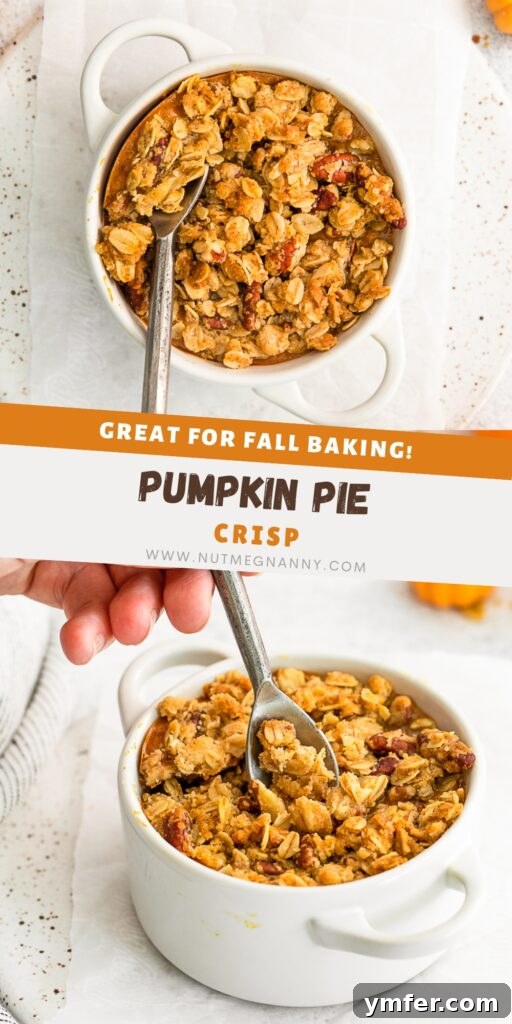
Prepare to fall in love with a dessert that perfectly captures the essence of autumn: this extraordinary pumpkin crisp. It masterfully blends a luxuriously creamy pumpkin filling with a uniquely crunchy, sweet, and nutty oat and pecan crumble topping, promising a truly unforgettable culinary experience.
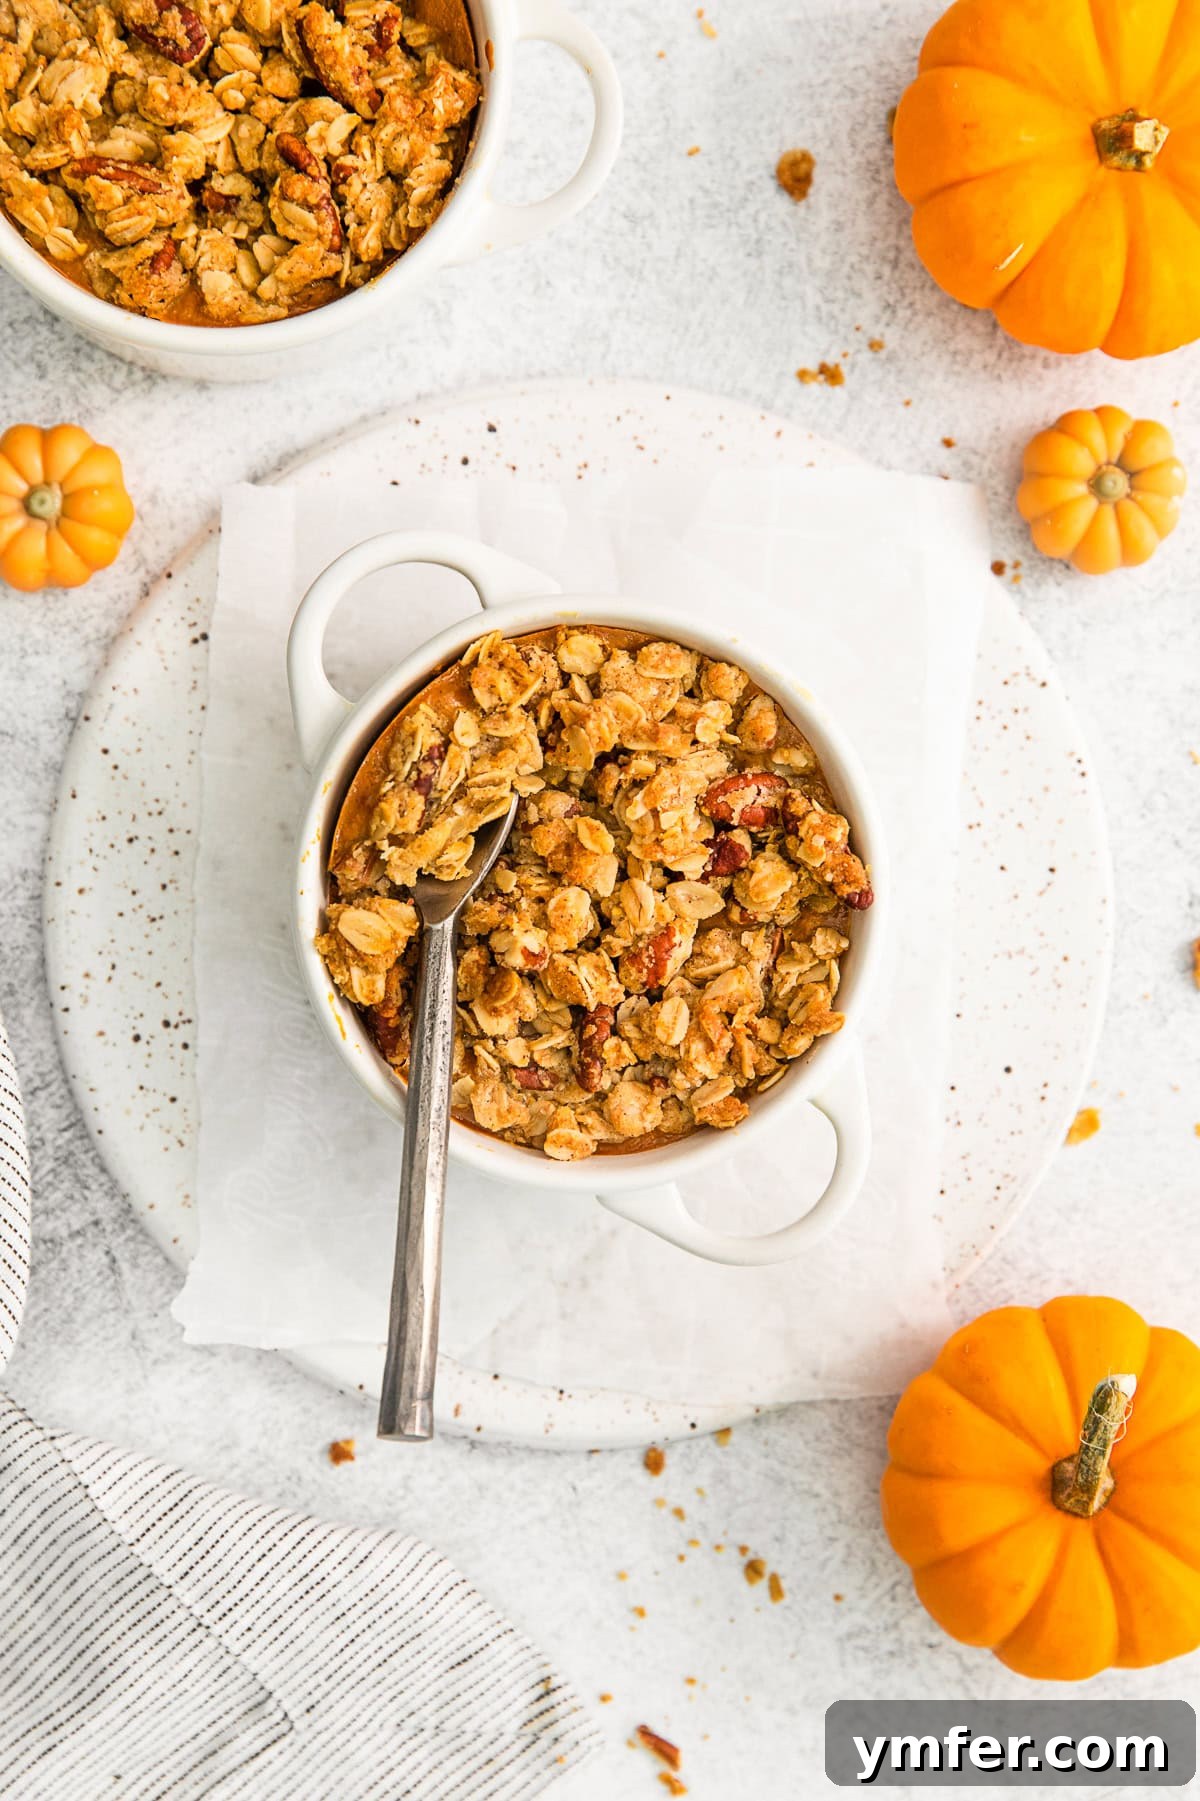
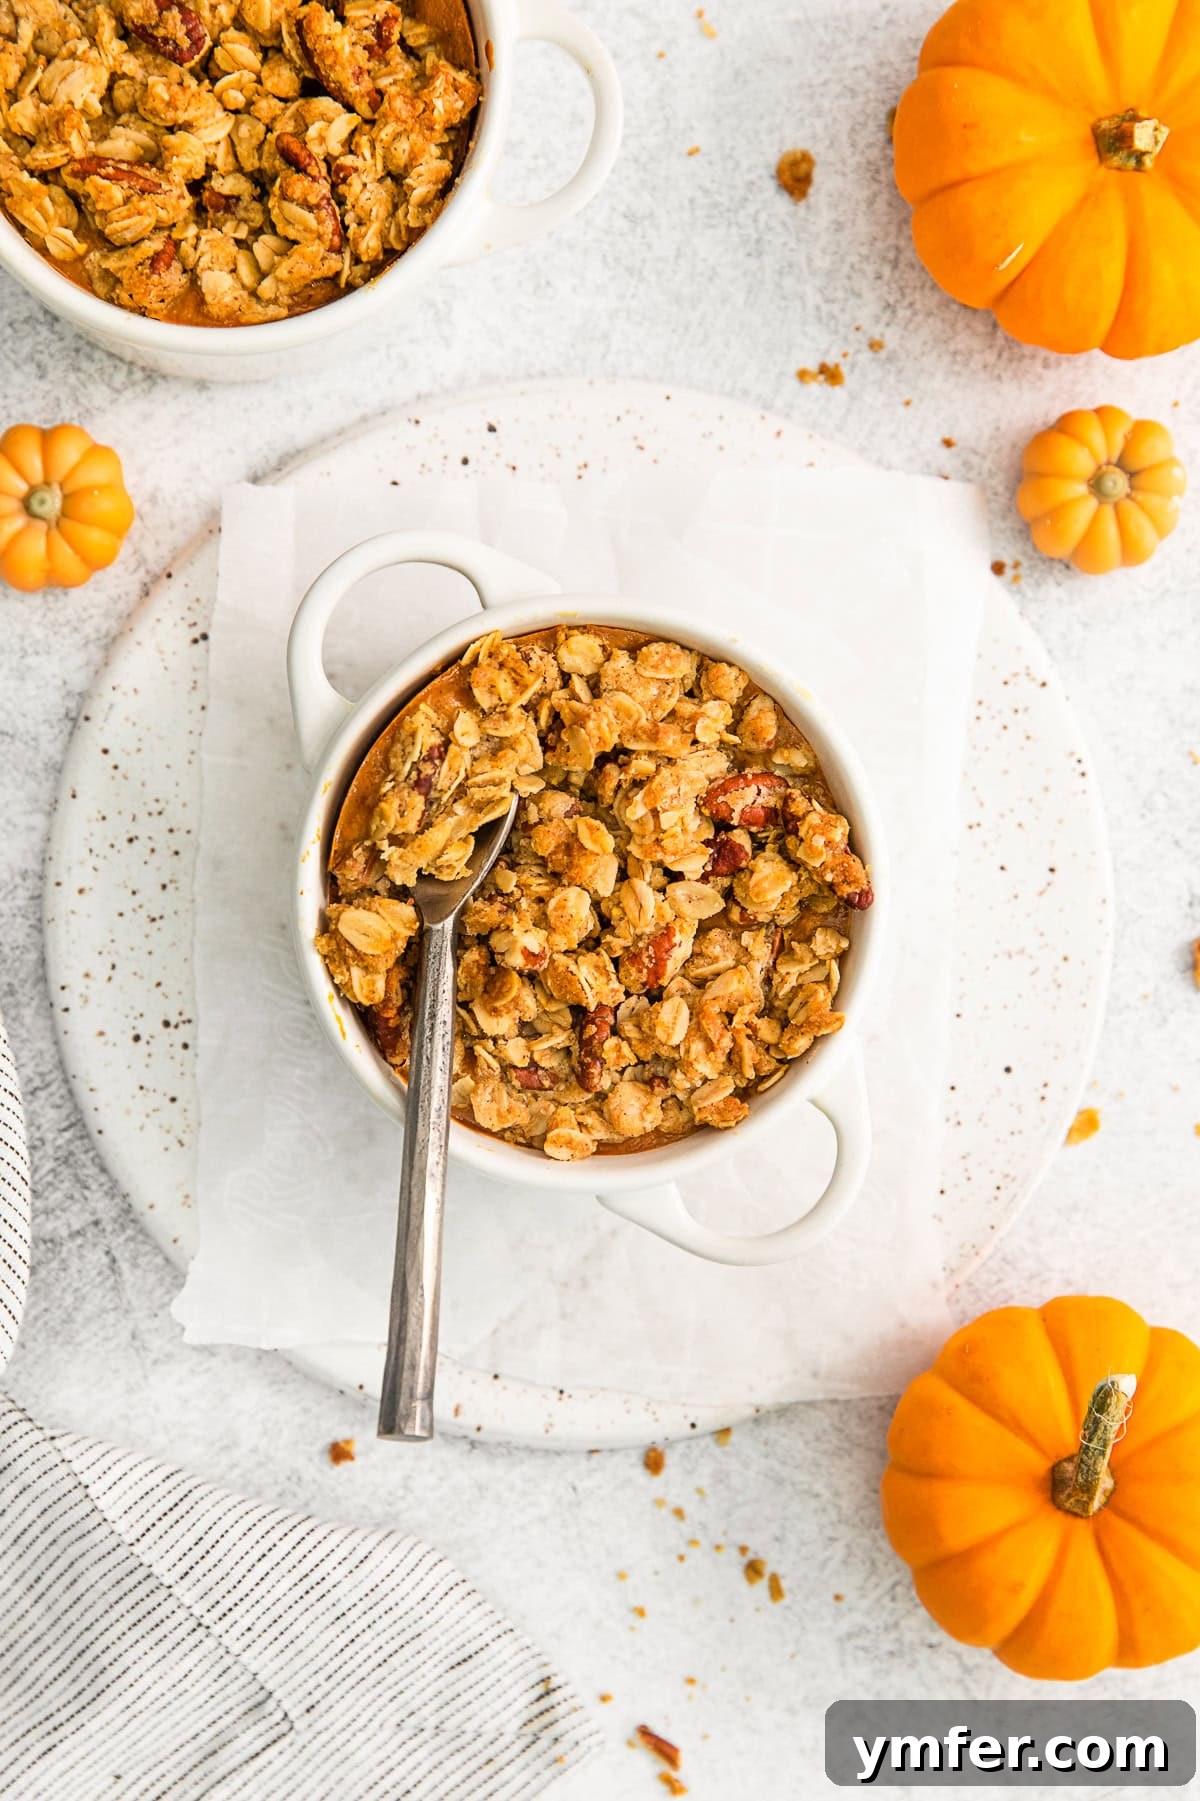
If you’re a devoted fan of traditional pumpkin pie but find yourself yearning for a delightful twist, something a little less conventional yet equally comforting, then your search ends here. We’ve crafted the quintessential autumn dessert that offers all the familiar warmth of pumpkin pie, elevated with an exciting textural contrast.
Our pumpkin crisp features an incredibly smooth and luscious filling, crafted from rich pumpkin puree, infused with an aromatic blend of warm pumpkin pie spices, perfectly sweetened with condensed milk, and bound with eggs for that perfect silken texture. This dreamy base is then crowned with a crispy, buttery crumble that is utterly irresistible. Made with hearty old-fashioned oats, a touch of fragrant cinnamon, and generous handfuls of nutty pecans, this topping delivers a satisfying crunch that beautifully complements the creamy filling below. Every spoonful is a symphony of flavors and textures, making it the ideal cozy fall dessert for any occasion.
Whether you choose to serve it warm with a generous scoop of velvety vanilla ice cream melting over its golden-brown topping, or simply enjoy it straight from the dish with a spoon, you are guaranteed to adore every single bite of this homemade pumpkin crisp. It’s more than just a dessert; it’s an invitation to savor the comforting tastes of the season.
Eager to explore more comforting crisp recipes? Expand your baking repertoire with our delightful Banana Bread Crisp, offering a unique fruity twist, or indulge in the rich, aromatic flavors of our Brown Butter Vanilla Bean Apple Crisp, a true classic perfected.
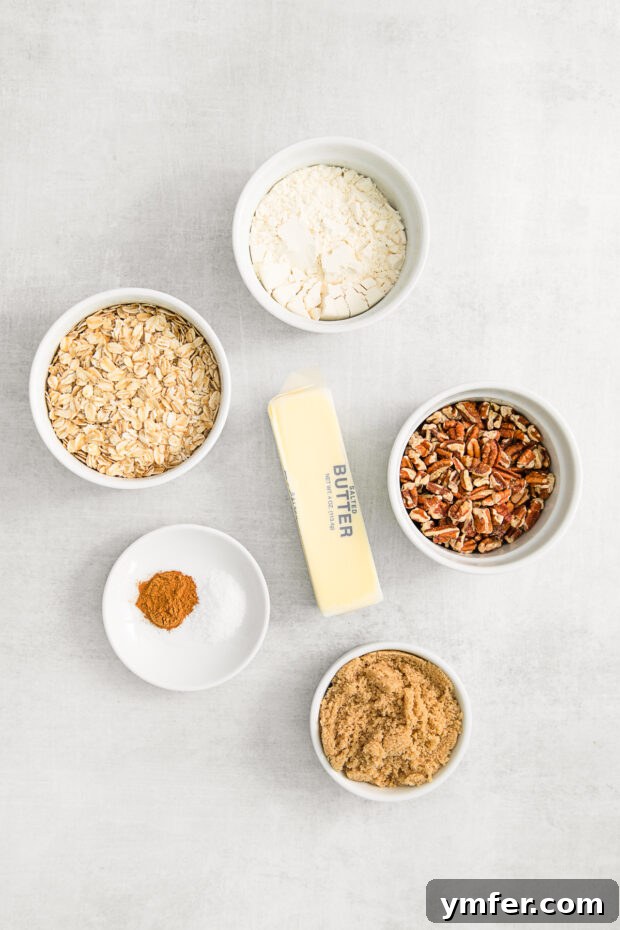
Essential Ingredients for a Perfect Pumpkin Crisp
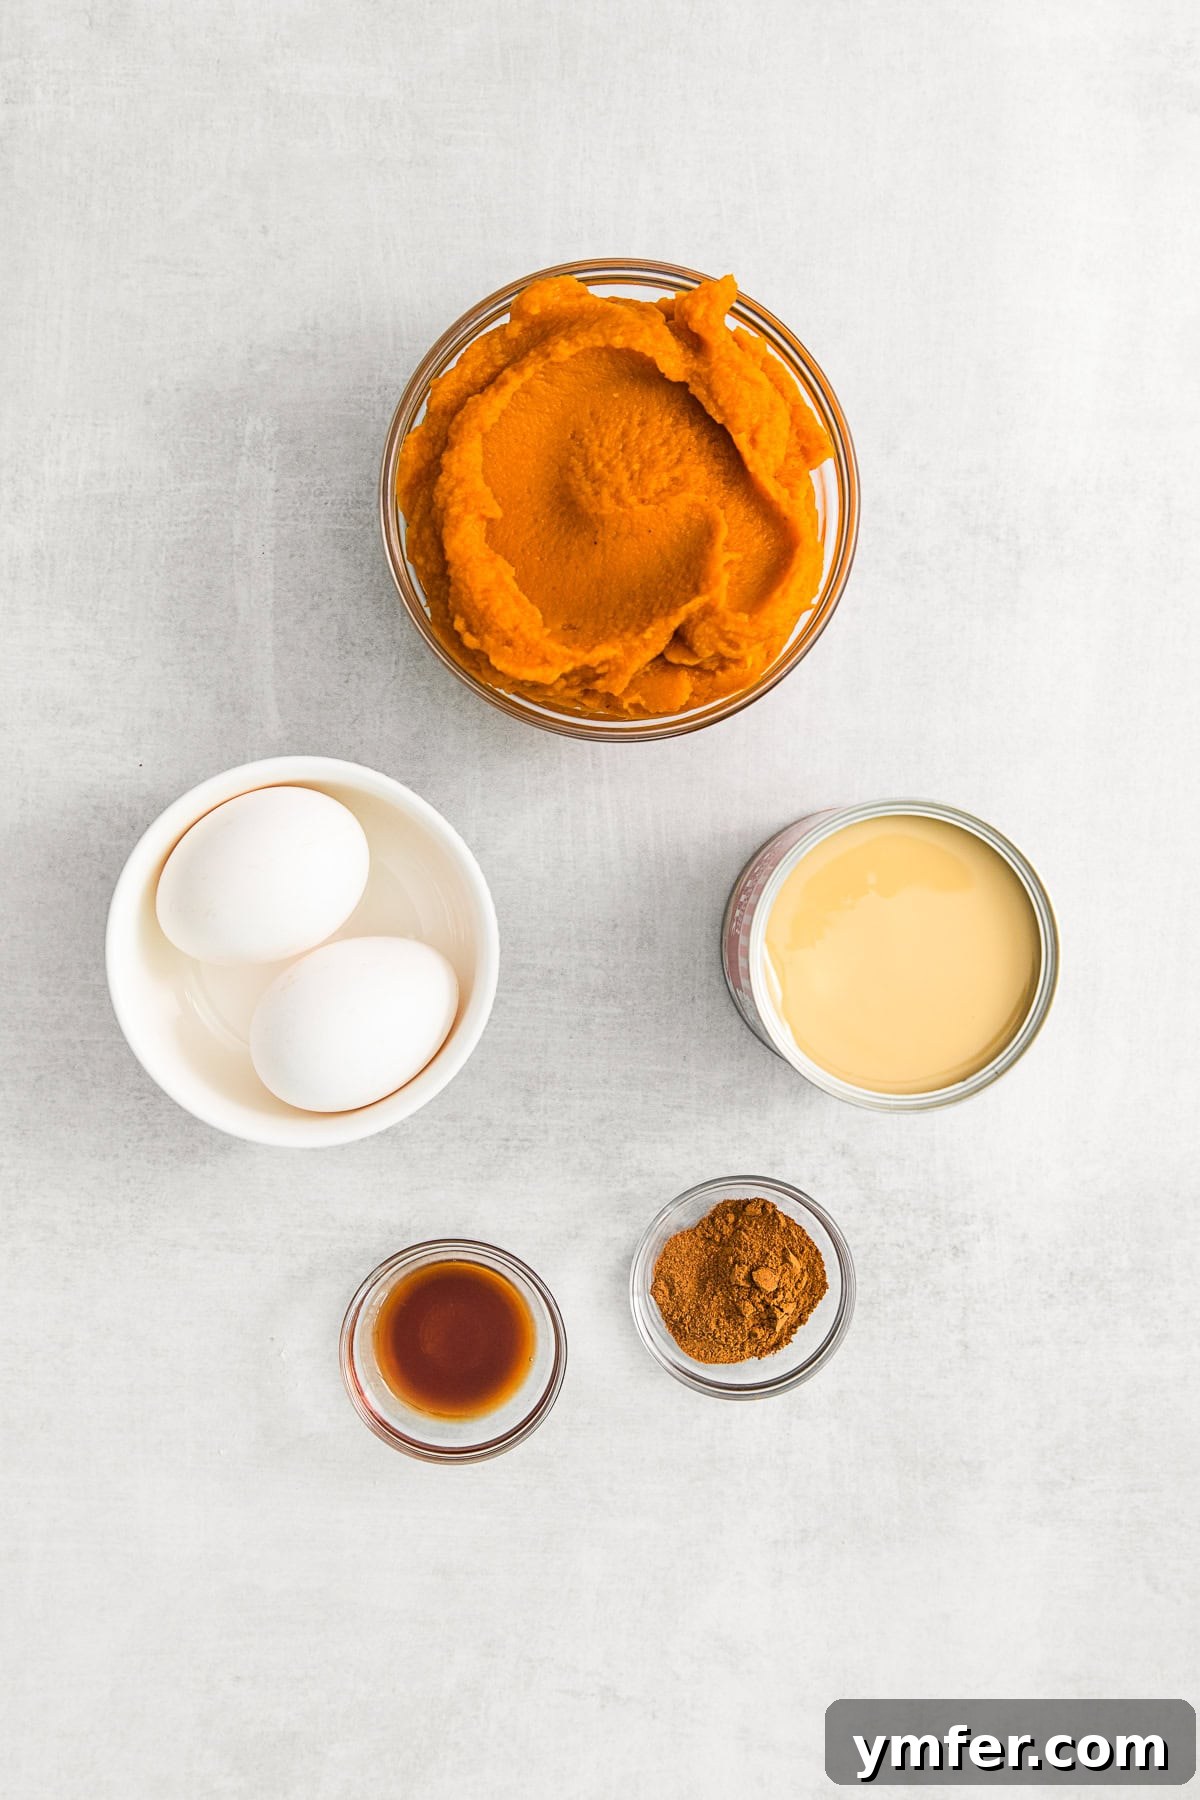
Crafting the perfect pumpkin crisp relies on a few key ingredients, each playing a crucial role in achieving that balance of creamy filling and crunchy topping. Here’s a detailed look at what you’ll need:
For the Creamy Pumpkin Filling:
- Pumpkin Puree: This is the very heart of our delicious pumpkin layer. Ensure you use 100% pure pumpkin puree, not pumpkin pie filling, as the latter contains added sugars and spices that will alter the recipe’s balance. Puree provides a blank canvas for our custom spice blend.
- Sweetened Condensed Milk: This ingredient is essential for both the luscious texture and the rich sweetness of the filling. It contributes a silky smoothness and a depth of flavor that ordinary sugar cannot replicate. Do not substitute with evaporated milk, as it lacks the necessary sweetness and consistency.
- Eggs: Eggs act as the binder, emulsifying all the ingredients together to create a smooth, set filling that holds its shape beautifully once baked. They provide structure and richness.
- Pumpkin Pie Spice: This warm, aromatic blend is the secret to giving our crisp its unmistakable seasonal flavor. It typically includes cinnamon, nutmeg, ginger, and cloves, perfectly complementing the pumpkin.
- Vanilla Extract: A touch of pure vanilla extract enhances all the other flavors, adding a subtle sweetness and a comforting aromatic note that ties the entire filling together.
For the Irresistible Crisp Topping:
- Old-Fashioned Oats: These are my preferred choice for the topping because they provide an exceptional texture. Their larger size and coarser consistency create a delightful chewiness and crunch that stands out against the creamy filling. Quick-cooking oats can also be used, but the texture will be slightly different.
- All-Purpose Flour: A fundamental baking ingredient, all-purpose flour provides the necessary structure and body for our crisp topping, helping it clump together and achieve that desired crumbly consistency.
- Pecans: Chopped pecans are a fantastic addition, contributing a wonderful nutty flavor and an extra layer of crunch to the topping. Their natural oils toast beautifully in the oven, enhancing their taste.
- Brown Sugar: Unlike white sugar, brown sugar brings a deep, molasses-rich sweetness and moisture to the topping. This helps create a more tender crumb and a richer caramel-like flavor when baked.
- Kosher Salt: Often underestimated in sweet recipes, salt is crucial for balancing all the sweetness from the sugars and enhancing the overall flavors in both the topping and the pumpkin filling. It prevents the dessert from tasting one-dimensional.
- Cinnamon: Beyond the pumpkin pie spice, an additional touch of ground cinnamon in the topping adds an extra layer of warm, comforting aroma and flavor, perfectly harmonizing with the oats and pecans.
- Melted Butter: This essential ingredient is what brings the crisp topping together. Melted butter coats the dry ingredients, allowing them to clump into delightful crumbles that brown beautifully and become irresistibly crispy in the oven. It’s the key to that golden, crunchy finish.
Canned Pumpkin Puree vs. Pumpkin Pie Filling: A Crucial Distinction
Understanding the difference between canned pumpkin puree and pumpkin pie filling is paramount for successful baking, as these two products are far from interchangeable. While both originate from pumpkins, their compositions and intended uses are distinct. Here’s a detailed breakdown:
- Ingredients:
- Canned Pumpkin Puree: This product is remarkably simple, containing only one ingredient: pumpkin. It is produced by cooking and then pureeing the flesh of specific pumpkin varieties. Absolutely no sweeteners, spices, or other flavorings are added. Essentially, it’s just cooked and mashed pumpkin, offering a neutral base that is incredibly versatile for both savory and sweet recipes. Its pure form allows you to control all the seasonings.
- Pumpkin Pie Filling: In contrast, pumpkin pie filling is a ready-to-use, pre-mixed product. It contains pumpkin puree, but it also features a carefully balanced blend of sweeteners and spices. Typically, you’ll find sugar, cinnamon, nutmeg, cloves, and often ginger and allspice already incorporated. This pre-seasoned nature gives it a sweet and distinctly spiced flavor profile, specifically formulated to achieve the classic taste of pumpkin pie without requiring additional spice measurements.
- Usage:
- Canned Pumpkin Puree: Due to its unseasoned nature, pumpkin puree is an incredibly flexible ingredient. It serves as a blank canvas for a vast array of recipes. You can seamlessly incorporate it into savory dishes like soups, stews, and chilis, or use it to enrich sweet treats such as muffins, bread, pancakes, cookies, and even smoothies. Its versatility makes it a staple for any creative cook.
- Pumpkin Pie Filling: As its name clearly suggests, pumpkin pie filling is primarily designed and intended for making pumpkin pie. Its sweet and spiced composition means it’s ready to be poured into a pie crust and baked. While you might experiment with it in other dishes if you specifically desire a pre-sweetened and spiced pumpkin flavor, it’s not generally recommended for recipes where you want to control the spice and sugar levels independently.
- Texture:
- Canned Pumpkin Puree: This product typically has a thick, smooth, and dense texture, closely resembling what you would achieve if you cooked and pureed a fresh pumpkin at home. Its robust consistency is perfect for building rich fillings.
- Pumpkin Pie Filling: Thanks to the added sweeteners and sometimes other ingredients, pumpkin pie filling often has a smoother and slightly thinner consistency compared to pure pumpkin puree. This makes it easier to mix and pour, which is convenient when preparing a pie filling.
Pumpkin Pie Spice vs. Apple Pie Spice: The Subtle Differences
As the cooler months arrive, you’ll undoubtedly find yourself reaching for both pumpkin pie spice and apple pie spice. While they both evoke autumnal warmth, have you ever paused to consider what truly sets these beloved spice blends apart?
The good news is, the differences are quite subtle! Both blends typically contain the comforting notes of cinnamon, ginger, and nutmeg, along with a touch of allspice. However, the distinguishing factor often lies in the inclusion of cloves. Pumpkin pie spice almost always features cloves, which lend a slightly more pungent, earthy, and warm undertone that complements the richness of pumpkin perfectly. Apple pie spice, while similar, tends to omit cloves or include them in much smaller quantities, allowing the fruitier notes of cinnamon and nutmeg to shine through with apples.
Given their close aromatic profiles, you can certainly use these spice blends interchangeably in most recipes without drastically altering the outcome. Feel free to use your favorite one based on your personal flavor preference or simply what you have on hand!
Choosing the Right Baking Dish for Your Pumpkin Crisp
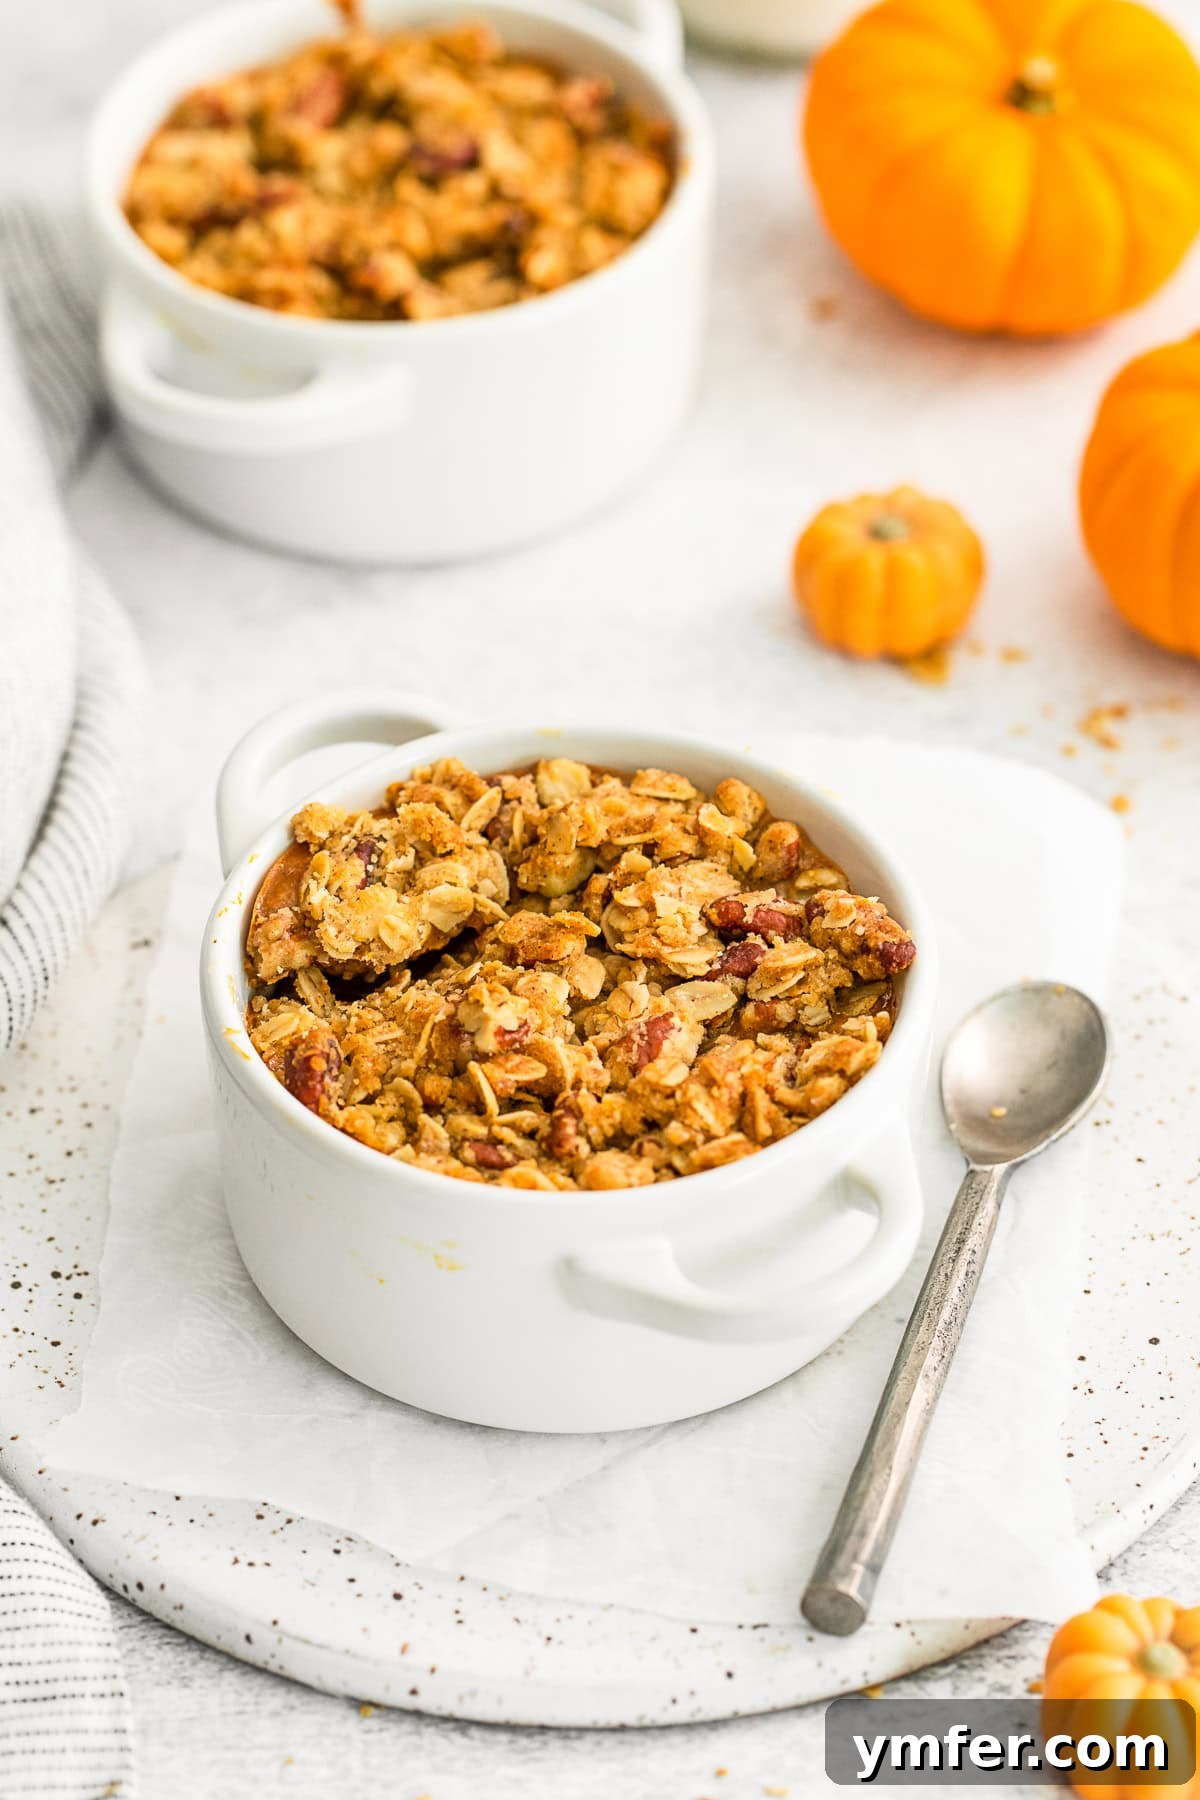
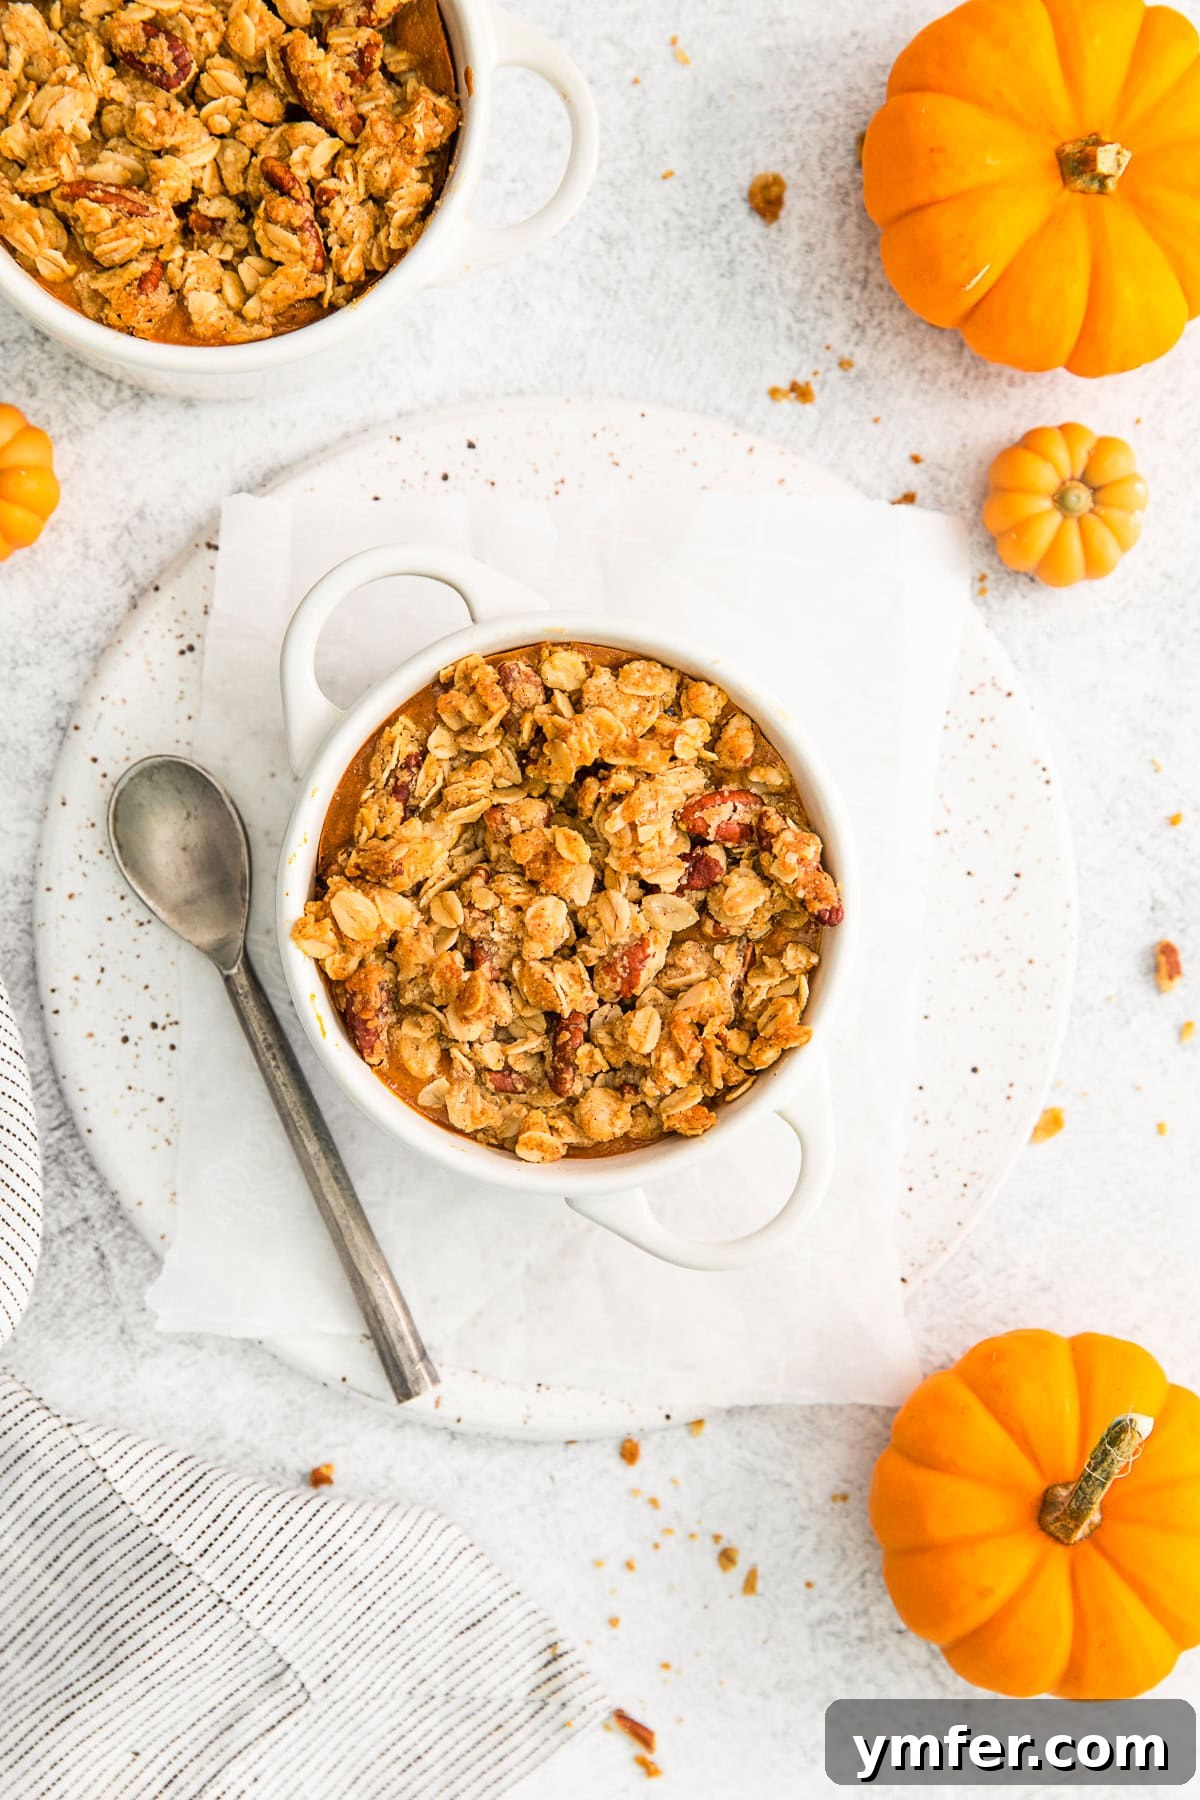
The choice of baking dish can influence both the presentation and the cooking time of your pumpkin crisp. For the photographs accompanying this recipe, we opted for 6 individual 6-ounce ramekins, which are perfect for single servings and make for an elegant presentation. However, this recipe is equally versatile and can be baked in a standard 9×13-inch baking dish, ideal for serving a crowd or larger family gatherings.
Either option will yield a delicious crisp, but it’s important to note that the cooking time will vary. Individual ramekins, due to their smaller volume and larger surface area-to-volume ratio, tend to bake faster. If you choose to bake this crisp in a larger 9×13-inch dish, you will need to increase the cooking time to ensure the center is fully set and the topping is beautifully golden and crispy. Specific timing and detailed directions for both options are provided in the recipe card below, ensuring perfect results no matter your choice of bakeware.
How to Serve Your Irresistible Pumpkin Crisp
One of the many charms of this pumpkin crisp is its versatility – there’s truly no wrong way to enjoy it! Whether you prefer it piping hot straight from the oven or perfectly chilled from the refrigerator, both options are undeniably delicious and offer unique sensory experiences.
However, if you’re looking to elevate your pumpkin crisp and add a little extra “razzle-dazzle” to your dessert, here are some fantastic serving suggestions that will take it to the next level:
- A Drizzle of Maple Butter: For an extra layer of autumnal richness, gently warm some maple syrup and whisk in a pat of butter until fully combined. A generous drizzle over the warm crisp adds a buttery, sweet, and distinctly fall flavor.
- Caramel Sauce: A luscious caramel sauce, whether homemade or store-bought, provides a decadent sweetness that beautifully complements the pumpkin and nutty topping.
- Fresh Whipped Cream: A dollop of light and airy whipped cream offers a refreshing contrast to the warm, spiced crisp. For an extra touch, infuse your cream with a hint of vanilla or cinnamon.
- Vanilla Ice Cream: The classic pairing! A scoop of creamy vanilla ice cream slowly melting into the warm pumpkin crisp creates an incredible temperature and texture contrast that is simply heavenly. Try a cinnamon or salted caramel ice cream for an adventurous twist.
Craving even more pumpkin deliciousness to celebrate the season? You absolutely have to try this incredibly light and airy pumpkin mousse, a delightful treat that’s surprisingly easy to make!
Storing Your Delicious Pumpkin Crisp for Later
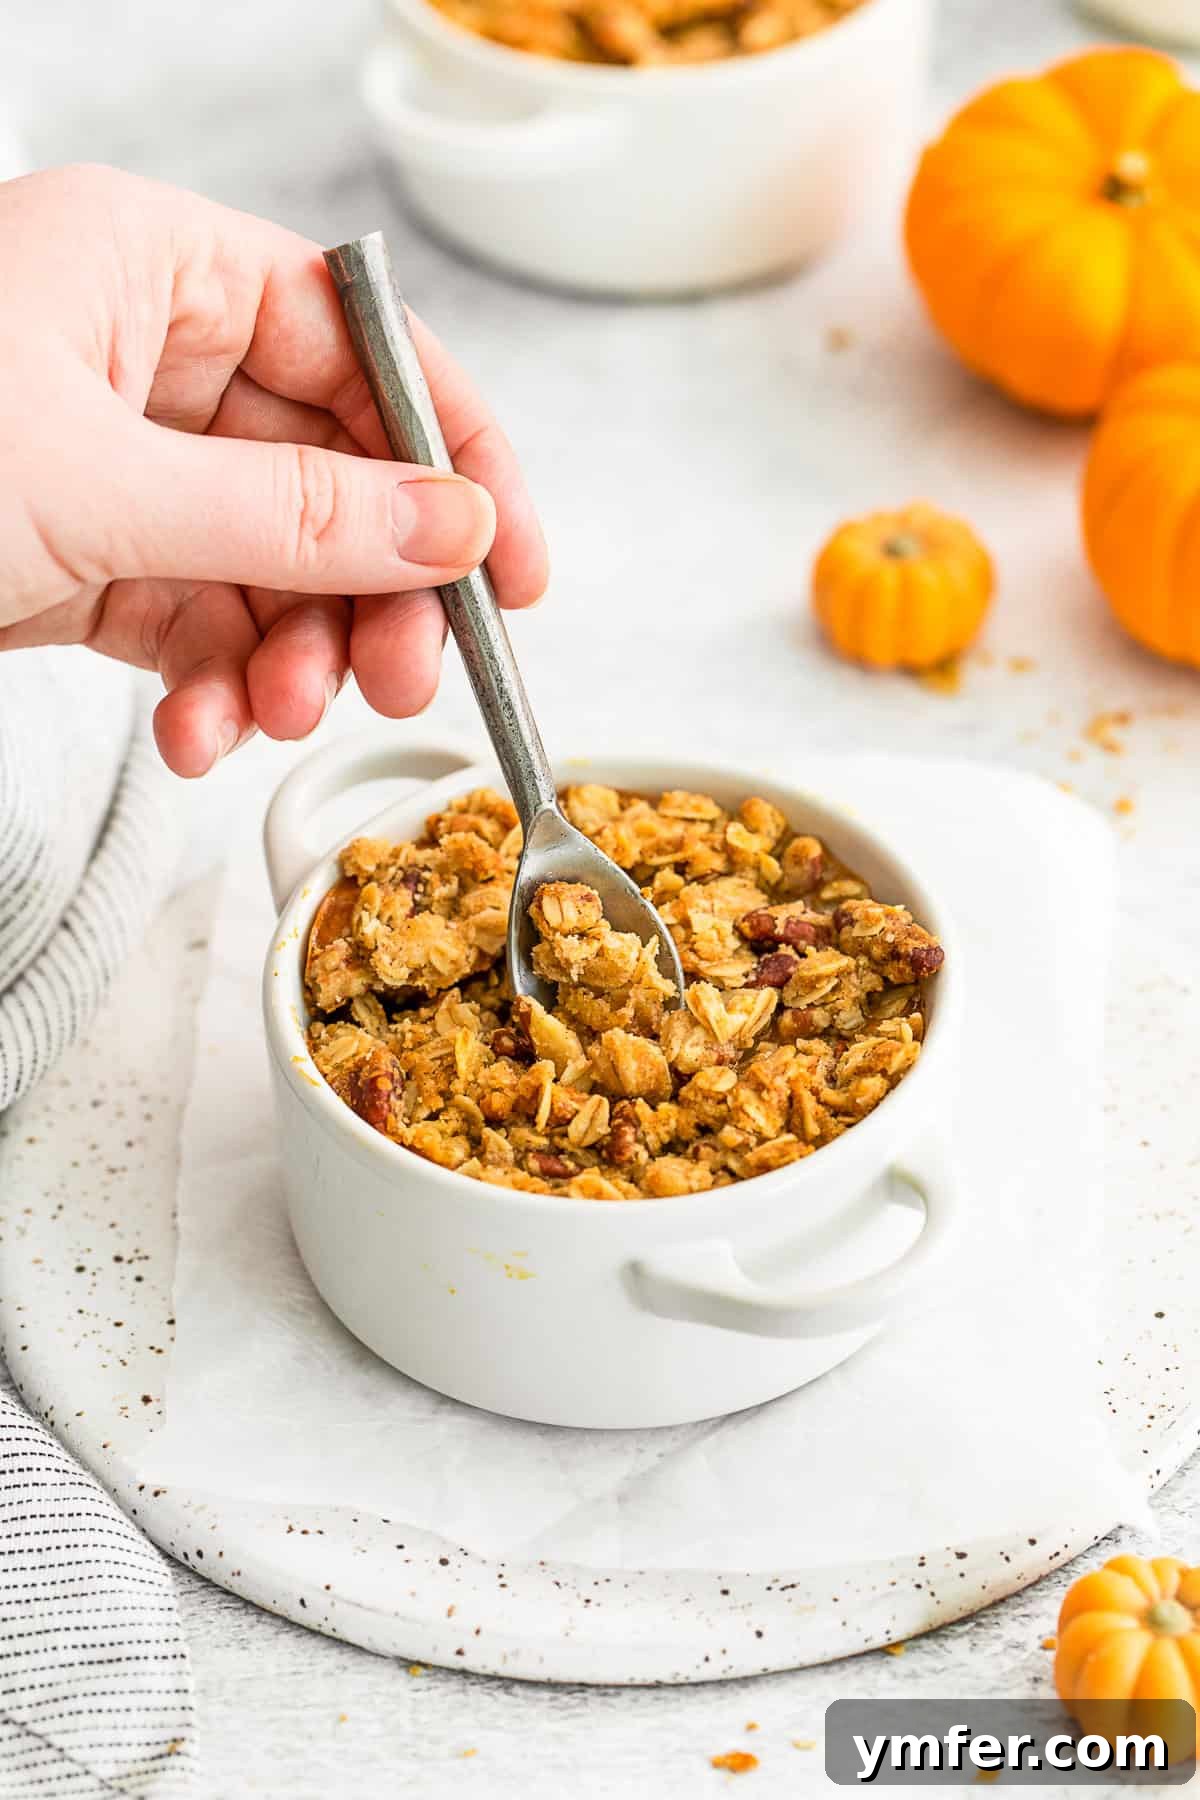
Ensuring your homemade pumpkin crisp stays fresh and delicious is simple. Any leftover pumpkin crisp should be transferred to an airtight container. This will protect it from drying out and absorbing other odors in the refrigerator. Store it in the refrigerator for up to 3 to 5 days. While it’s delightful served warm, the crisp also holds up beautifully when chilled, making it a perfect make-ahead dessert. You can gently reheat individual portions in the microwave or oven for a warm treat, or enjoy it cold for a refreshing bite.
Expert Tips for the Perfect Pumpkin Crisp Every Time
Achieving a truly exceptional pumpkin crisp is easier than you think with a few insider tips. Pay attention to these details, and your crisp will be the star of any fall gathering:
- Room Temperature Eggs: For the smoothest filling, ensure your eggs are at room temperature. This allows them to incorporate more evenly into the pumpkin puree mixture, preventing a curdled appearance and ensuring a consistent, creamy texture.
- Don’t Overmix the Filling: While you want to combine all the filling ingredients thoroughly, avoid overmixing. Vigorous whisking can incorporate too much air, which might lead to cracks in the filling as it bakes and cools. Mix until just combined and smooth.
- Achieve the Perfect Topping Consistency: When combining the melted butter with the dry topping ingredients, aim for a texture that resembles wet sand or coarse crumbs. You want distinct clusters, not a uniform paste. These clusters will bake into beautifully crispy and chewy bits. If it seems too dry, add a tiny bit more melted butter; if too wet, sprinkle in a touch more flour or oats.
- Evenly Distribute the Crumble: Spread the crisp topping evenly over the pumpkin filling. This ensures every bite has that delightful crunch and that the topping bakes uniformly to a golden brown perfection. Don’t press it down too firmly; keep it loose for maximum crispiness.
- Testing for Doneness: For the ramekins, the crisp is ready when the topping is golden brown and the center of the pumpkin filling jiggles only slightly when gently shaken. For a 9×13-inch pan, this slight jiggle should be confined to the very center. An inserted knife or toothpick into the filling (not the topping) should come out mostly clean. Overbaking can lead to a dry filling.
- Cooling is Key: While it’s tempting to dive right in, allowing the crisp to cool for at least 10-15 minutes after removing it from the oven is crucial. This allows the filling to set completely and prevents it from being too runny when served.
The Cozy Charm of Crisps and Crumbles: A Brief History
Crisps and crumbles are beloved desserts, especially during colder months, known for their comforting fruit or cream fillings topped with a buttery, streusel-like layer. While often used interchangeably, “crisp” typically refers to a topping that includes oats, which crisp up when baked, providing a delightful crunch. “Crumble,” on the other hand, traditionally refers to a topping made simply from flour, butter, and sugar, resulting in a more uniform, tender crumb. Regardless of the subtle naming differences, both deliver that irresistible textural contrast that makes them so popular.
The origins of these desserts can be traced back to wartime Britain, when traditional pie crusts were difficult to make due to rationing of flour and butter. Home cooks created simpler, more economical toppings, and these “crumbles” quickly became a staple. Over time, variations emerged, incorporating oats and nuts, leading to the “crisp” as we know it today. These desserts are celebrated for their rustic charm, ease of preparation, and ability to highlight seasonal ingredients, making them timeless favorites.
Discover More Delicious Crisp Recipes
If you’ve fallen for the comforting charm of this pumpkin crisp, you’ll be thrilled to explore other fantastic crisp creations that bring warmth and flavor to any table. Each offers a unique profile while maintaining that irresistible crunchy topping:
- Want a rustic cast iron treat perfect for sharing? Try my Blueberry Peach Cast Iron Crisp, a juicy and bubbly delight.
- Love a medley of vibrant berries? Our Triple Berry Crisp combines the best of summer fruits under a golden crumble.
- Need something with a delightful balance of tart and sweet? My Strawberry Rhubarb Crisp offers a refreshing tangy kick.
- Craving something truly unique and seasonal? Experience the subtle sweetness of my Vanilla Bean Persimmon Crisp, an elegant dessert perfect for late autumn.

Pumpkin Crisp
Brandy O’Neill – Nutmeg Nanny
6
servings
10
mins
30
mins
50
mins
1
hr
30
mins
Share by Email
Print Recipe
Equipment
-
Pumpkin Pie Spice
-
Canned Pumpkin Puree
-
Old Fashioned Rolled Oats
Ingredients
For pumpkin filling:
- 1 15 ounce can 100% pumpkin puree
- 1 14 ounce can sweetened condensed milk
- 2 large eggs
- 2 teaspoons pumpkin pie spice
- 2 teaspoons pure vanilla extract
For crisp topping:
- 1 cup old fashioned oats
- ½ cup all purpose flour
- ½ cup chopped pecans
- ¼ cup light brown sugar
- ½ teaspoon kosher salt
- ½ teaspoon ground cinnamon
- 1/2 cup butter, melted
Instructions
For pumpkin filling
-
Preheat your oven to 350 degrees F (175°C) and lightly grease your chosen baking dish with nonstick baking spray. This recipe yields enough for a single 9×13-inch pan or approximately 6 individual 6-ounce ramekins.
-
In a large mixing bowl, thoroughly whisk together the pumpkin puree, sweetened condensed milk, eggs, pumpkin pie spice, and pure vanilla extract until the mixture is smooth and well combined.
-
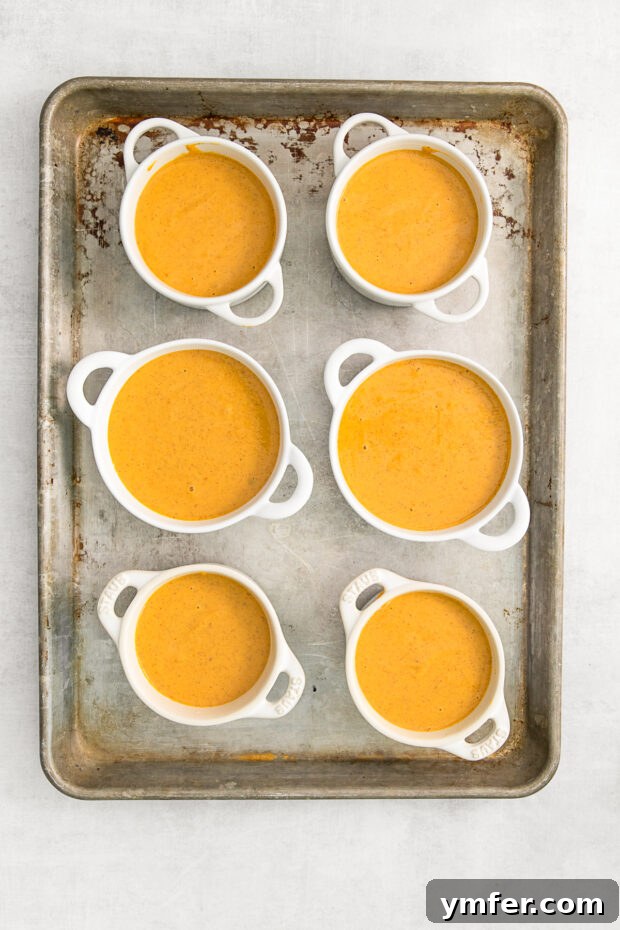
Carefully pour the pumpkin filling batter into the prepared baking pan (or divide it evenly among the ramekins) and set it aside while you prepare the crisp topping.
For crisp topping
-
In a separate medium-sized bowl, whisk together the old-fashioned oats, all-purpose flour, chopped pecans, light brown sugar, kosher salt, and ground cinnamon until all the dry ingredients are evenly distributed.
-
Pour the melted butter over the dry topping mixture. Stir with a fork or your fingers until the ingredients are well coated and the mixture resembles wet sand with distinct crumbs.
-
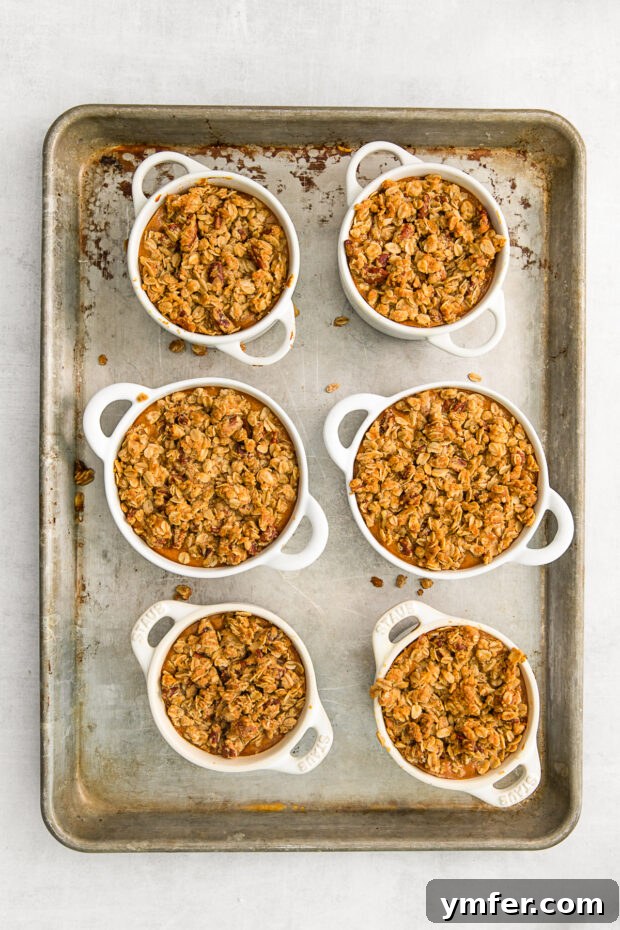
Evenly sprinkle the prepared crisp topping over the pumpkin layer in your baking dish or ramekins, ensuring a consistent layer across the entire surface.
-
Bake the pumpkin crisp in the preheated oven for 28-30 minutes if using ramekins, or 45-50 minutes if using a 9×13-inch pan. The crisp is ready when the topping is golden brown and the pumpkin filling is mostly set, showing only a slight jiggle in the center when gently shaken.
-
Remove the crisp from the oven and allow it to cool on a wire rack for at least 10 minutes before serving. This cooling time helps the filling set further. Serve warm and enjoy with a dollop of whipped cream or a scoop of vanilla ice cream for the ultimate indulgence.
-
Storage: Store any leftover pumpkin crisp in an airtight container in the refrigerator for up to five days.
Notes
- Pumpkin puree forms the essential base of our pumpkin layer – it is crucial to use 100% pure pumpkin puree and not pumpkin pie filling, which is already sweetened and spiced.
- Sweetened condensed milk adds a significant richness and essential sweetness to the pumpkin layer. Ensure you use sweetened condensed milk and never evaporated milk, as they are not interchangeable.
- For the crisp topping, I’ve used old-fashioned oats for their superior texture and chewiness, but you can also use quick-cooking oats if that’s what you have on hand. Note that quick oats might result in a slightly less chunky texture.
Nutrition
Serving:
1
g
Calories:
381
kcal
Carbohydrates:
33
g
Protein:
7
g
Fat:
25
g
Saturated Fat:
11
g
Polyunsaturated Fat:
12
g
Trans Fat:
1
g
Cholesterol:
105
mg
Sodium:
264
mg
Fiber:
4
g
Sugar:
13
g
Nutrition information is automatically calculated, so should only be used as an approximation.
Additional Info
Dessert
American
Tried this recipe?
Mention @NutmegNanny or tag #nutmegnanny!