
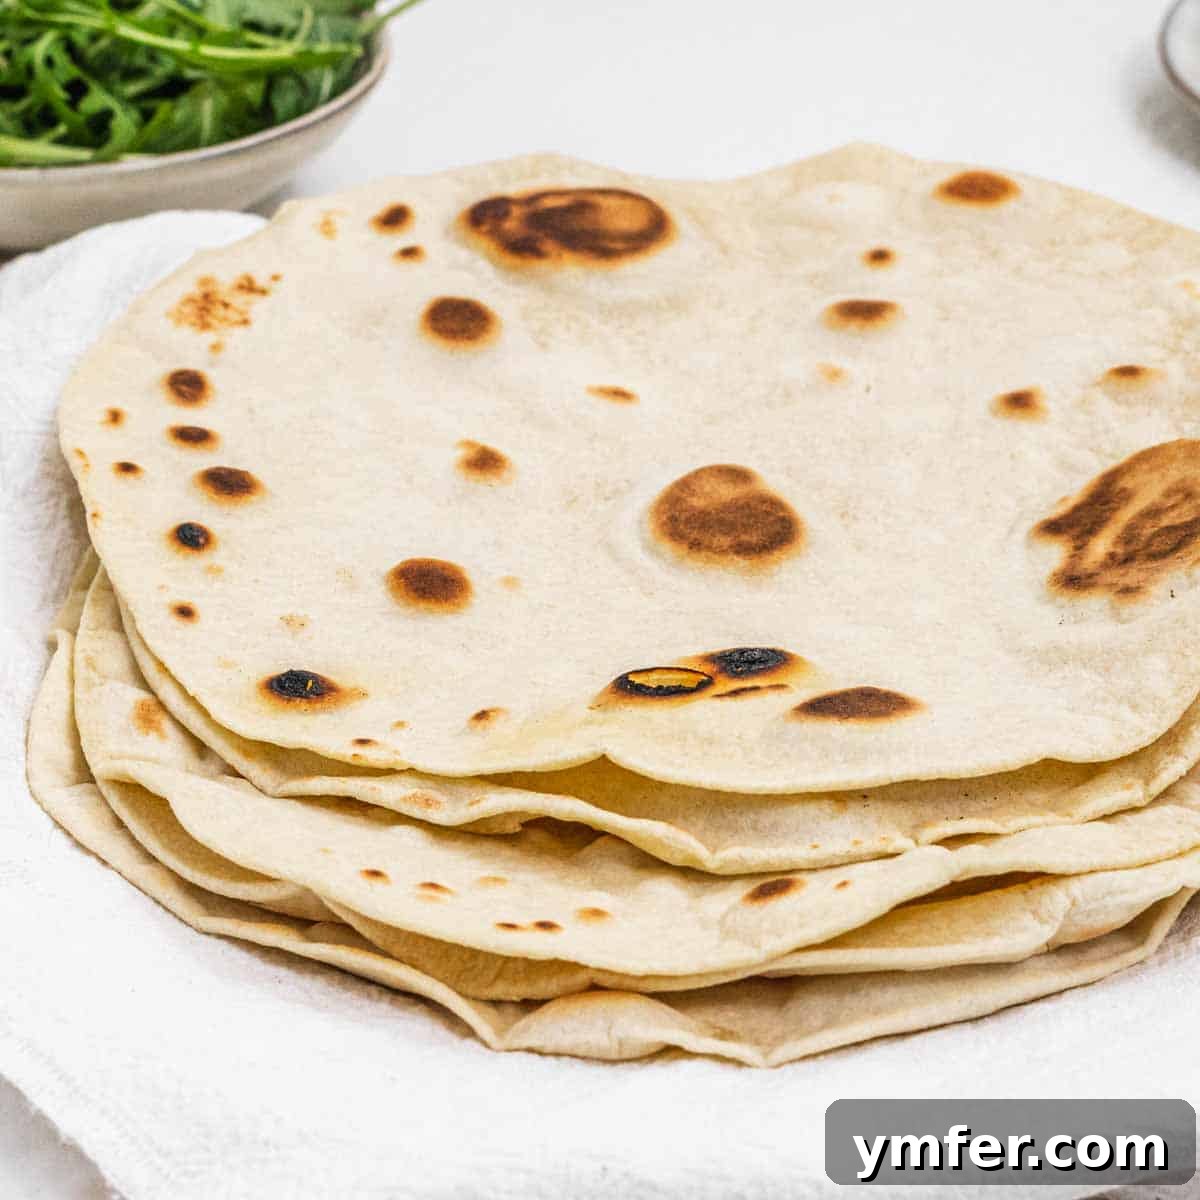
Transport your taste buds straight to the sun-drenched Italian Riviera with homemade Piadina, a beloved thin, yeast-free flatbread that serves as the perfect canvas for a myriad of delicious fillings. Often likened to a soft flour tortilla or a sophisticated wrap, Piadina is incredibly versatile, making it an ideal choice for a light lunch, a satisfying snack, or a quick, flavorful dinner. Its simplicity in preparation, combined with its delightful texture and taste, makes it a staple in Italian homes and a must-try for any food enthusiast.
Our comprehensive recipe demystifies the art of making this iconic Italian flatbread, guiding you through each step to achieve a perfectly soft, foldable, and flavorful Piadina. You’ll need just four fundamental ingredients: high-quality flour, lukewarm water, rich extra virgin olive oil, and a touch of salt. Crafted on a simple nonstick or cast iron skillet, this recipe promises an authentic experience that’s both easy to master and incredibly rewarding.
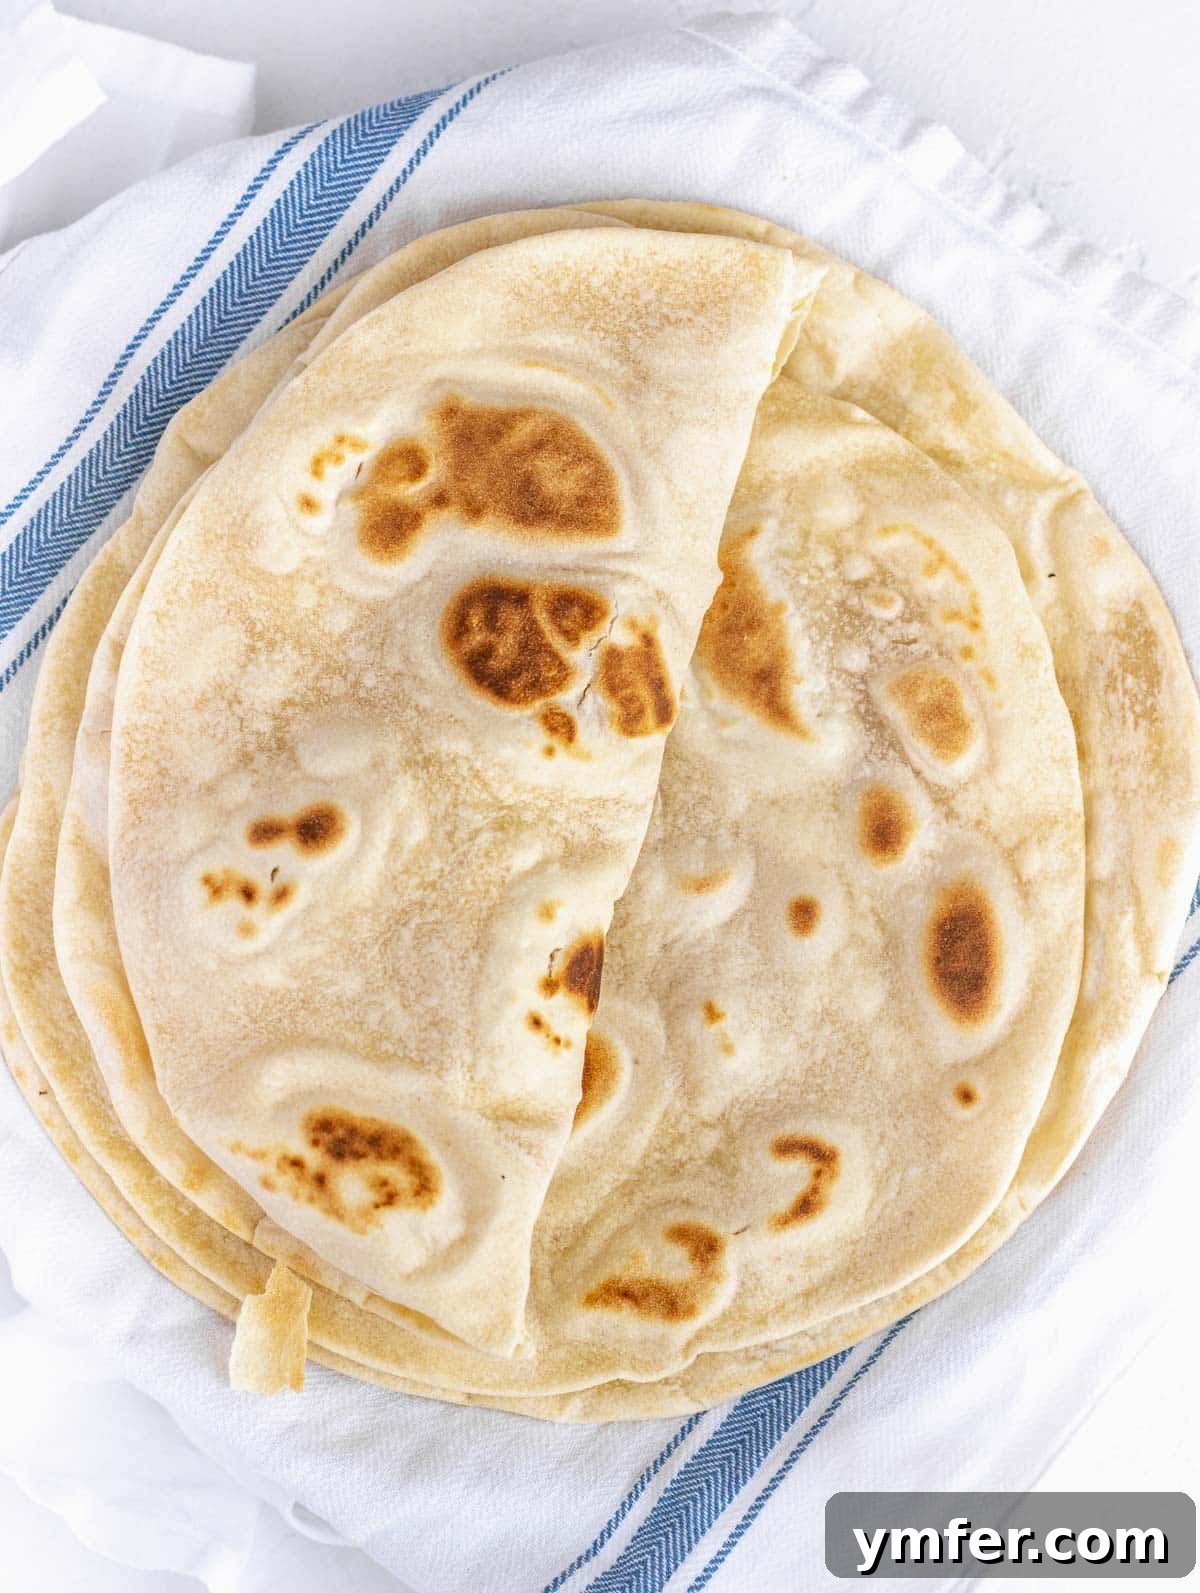
Table of Contents
- Introduction to Piadina
- Why Make Homemade Piadina?
- Ingredients for Piadina
- Essential Equipment
- Step-by-Step Instructions
- Creative Serving Suggestions
- Exciting Piadina Variations
- Expert Tips for Perfect Piadina
- Make Ahead & Storage
- More Delicious Bread Recipes
- Italian Flatbread (Piadina) Recipe
Explore our vibrant collection of the best Italian recipes!
Introduction to Piadina: Italy’s Versatile Flatbread
Imagine strolling along the picturesque Italian Mediterranean Riviera, particularly in the enchanting Emilia-Romagna region, around the vibrant cities of Rimini and Riccione. Here, the aroma of freshly cooked Piadina Romagnola alla Riminese is as ubiquitous as the sea breeze. Every café, kiosk, and street vendor proudly offers this regional delicacy, showcasing its deep roots in Italian culinary tradition.
Piadina is far more than just a simple flatbread; it’s a culinary emblem of Emilia-Romagna. While it shares a superficial resemblance to a Mexican tortilla in its thin, circular form, Piadina boasts a distinct character and flavor profile, owing to its unique ingredients and preparation. Traditionally, it’s an unleavened bread, meaning it’s made without yeast, contributing to its signature thinness and slightly chewy texture.
This remarkable Italian flatbread is incredibly adaptable, serving as a delightful vehicle for countless fillings. Whether you prefer to fold it in half like a sandwich, cut it into triangles for dipping, or roll it into a convenient wrap, Piadina effortlessly adapts to your culinary whims. It can be enjoyed as a quick snack, a fulfilling main course for lunch or dinner, or even as an appetizer.
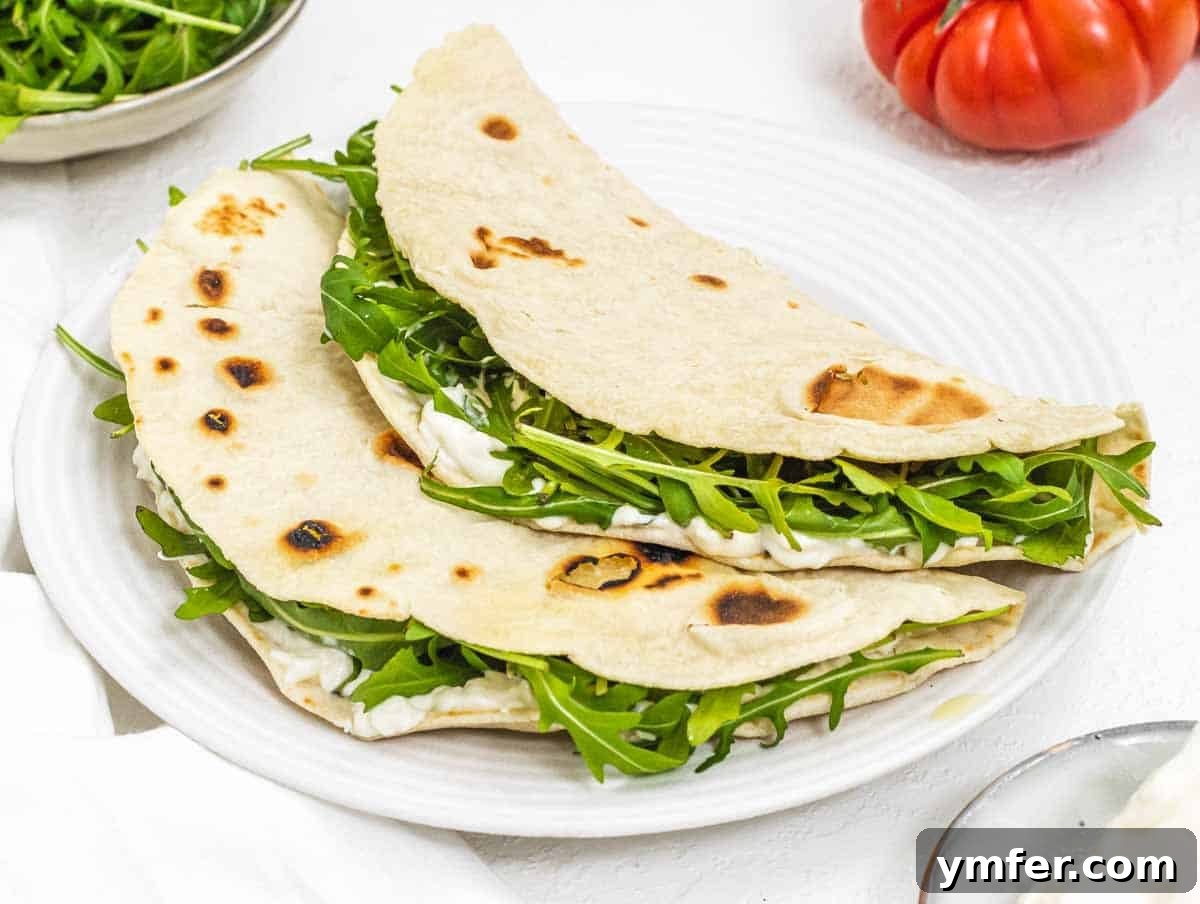
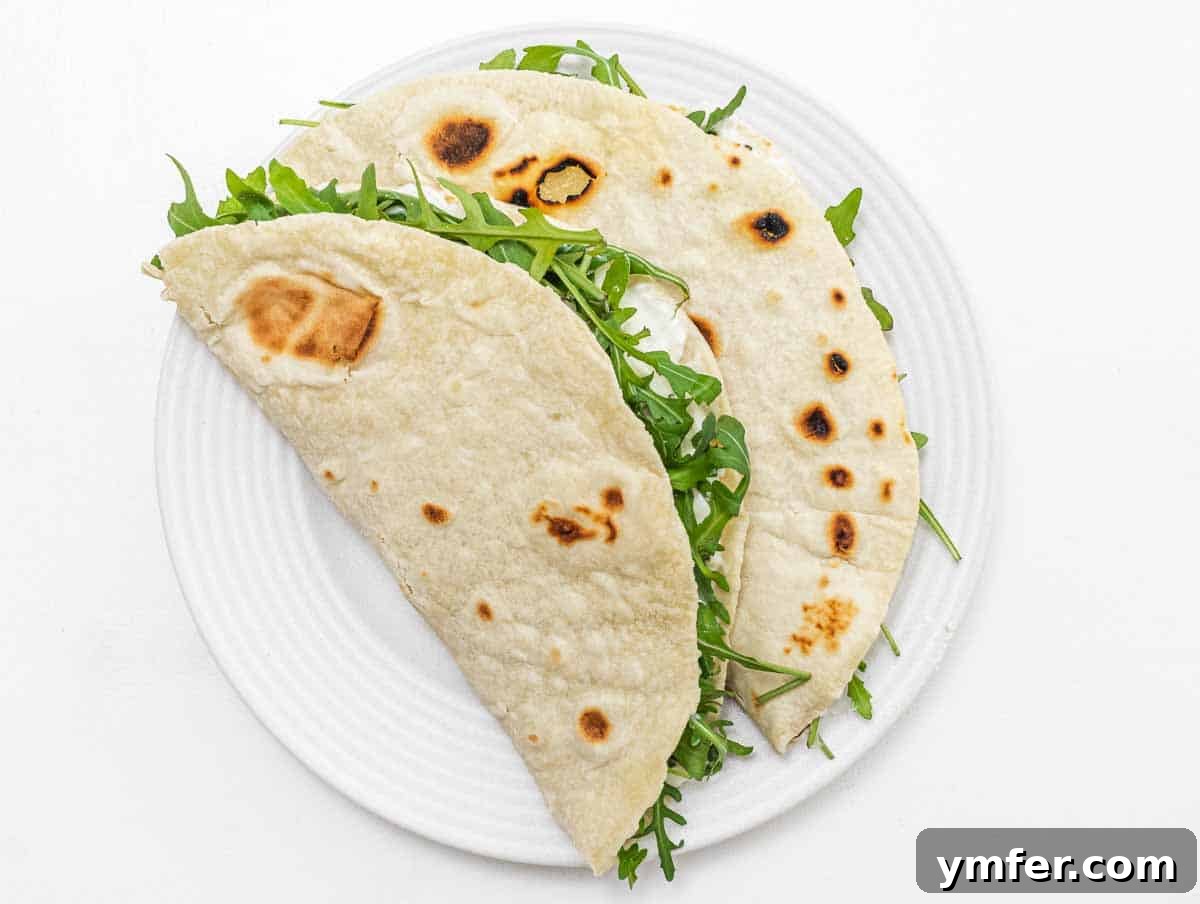
Some of the most cherished and traditional fillings include savory combinations like rich prosciutto and Parma ham (exquisite Italian cured ham) paired with creamy mozzarella. Another classic features soft, fresh Italian cheese like stracchino, often complemented by peppery arugula. For those with a sweet tooth, a Piadina generously slathered with chocolate-hazelnut spread, like Nutella, is an absolute treat.
For our plant-based friends, we are thrilled to offer a dairy-free melty cheese recipe that perfectly mimics the luscious texture and taste of Italian stracchino, making it an ideal vegan companion for this Italian flatbread. With our recipe, you can anticipate crafting a Piadina that is beautifully soft, perfectly thin, wonderfully rollable, easily foldable, and a sheer joy to prepare in your own kitchen.
Why Make Homemade Piadina?
While store-bought options exist, nothing quite compares to the freshness and flavor of homemade Piadina. Crafting this flatbread from scratch offers several compelling advantages:
- Unmatched Freshness: Enjoy Piadina straight off the skillet, warm and pliable, with an aroma that fills your kitchen.
- Control Over Ingredients: Choose high-quality flour and olive oil, and customize the salt level to your preference. This is especially beneficial for those with dietary considerations.
- Superior Texture: Homemade Piadina is incredibly soft and flexible, perfect for wrapping and folding without tearing, unlike some drier commercial versions.
- A Fun Culinary Experience: The process of mixing, kneading, and rolling out the dough is simple, therapeutic, and deeply satisfying. It’s a fantastic recipe for beginner bakers or families looking for a hands-on cooking project.
- Cost-Effective: Made with basic pantry staples, homemade Piadina is a budget-friendly way to enjoy an authentic Italian delicacy.
Ingredients for Piadina: Simple & Wholesome
The beauty of Piadina lies in its simplicity. With just a few staple ingredients, you can create a truly authentic and delicious Italian flatbread. Quality ingredients will elevate the final taste and texture, so choose wisely!
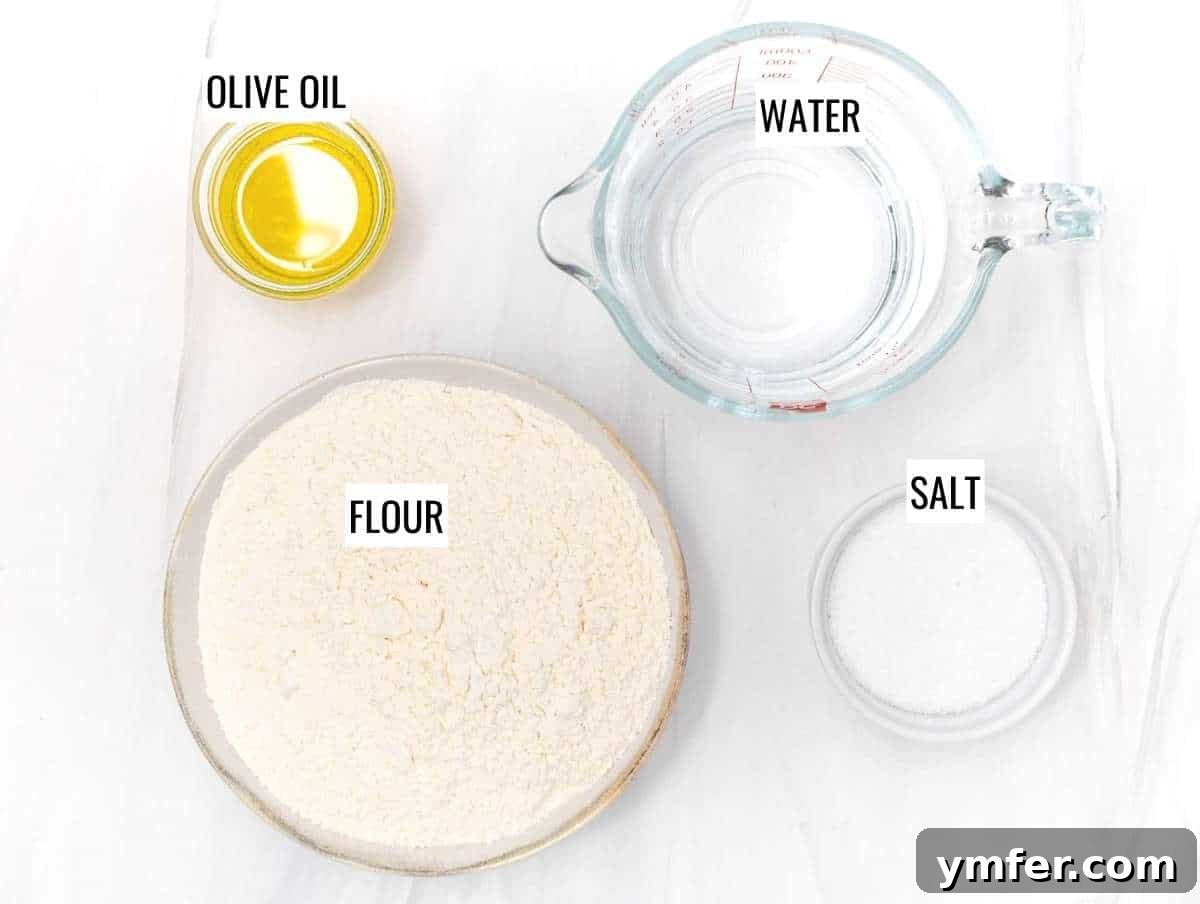
Flour: The Foundation of Your Flatbread
For the best results, we recommend using all-purpose flour or good quality bread flour. All-purpose flour yields a soft, pliable texture that is easy to roll out and fold. While you can experiment with using half all-purpose and half whole-wheat flour, be aware that incorporating whole wheat will result in a denser, slightly harder flatbread that might be less pliable for folding. If you opt for whole wheat, ensure it’s finely ground to minimize impact on texture.
Water: The Hydrating Element
The temperature of your water matters! Using lukewarm water is crucial as it helps hydrate the flour more effectively and allows the dough to come together smoothly and easily. Avoid cold water, which can make the dough stiff, and overly hot water, which can scald the flour.
Olive Oil: For Flavor and Flexibility
Historically, Piadina was often made with lard (strutto) which contributed to its richness and tenderness. However, modern preferences and healthier eating trends have led many, including us, to embrace extra virgin olive oil. Using a good quality extra virgin olive oil not only provides a delicious, subtle flavor but also helps create a wonderfully soft and flexible dough, perfectly suitable for a vegetarian and vegan-friendly version.
Salt: Essential for Taste
A simple but critical ingredient, salt enhances all the other flavors in the flatbread. It also plays a role in the dough’s structure and helps balance the richness of the olive oil.
Essential Equipment for Making Piadina
You don’t need fancy gadgets to make authentic Piadina. A few basic kitchen tools are all you require:
- Clean Worktop: A spacious, clean surface for kneading and rolling out your dough.
- Large Mixing Bowl: For combining your ingredients and forming the initial dough.
- Rolling Pin: Essential for flattening the dough into thin, circular discs.
- Nonstick or Cast Iron Skillet: The perfect cooking surface for achieving that characteristic golden-brown spots and soft texture. A well-seasoned cast iron skillet imparts a beautiful char and even heat distribution.
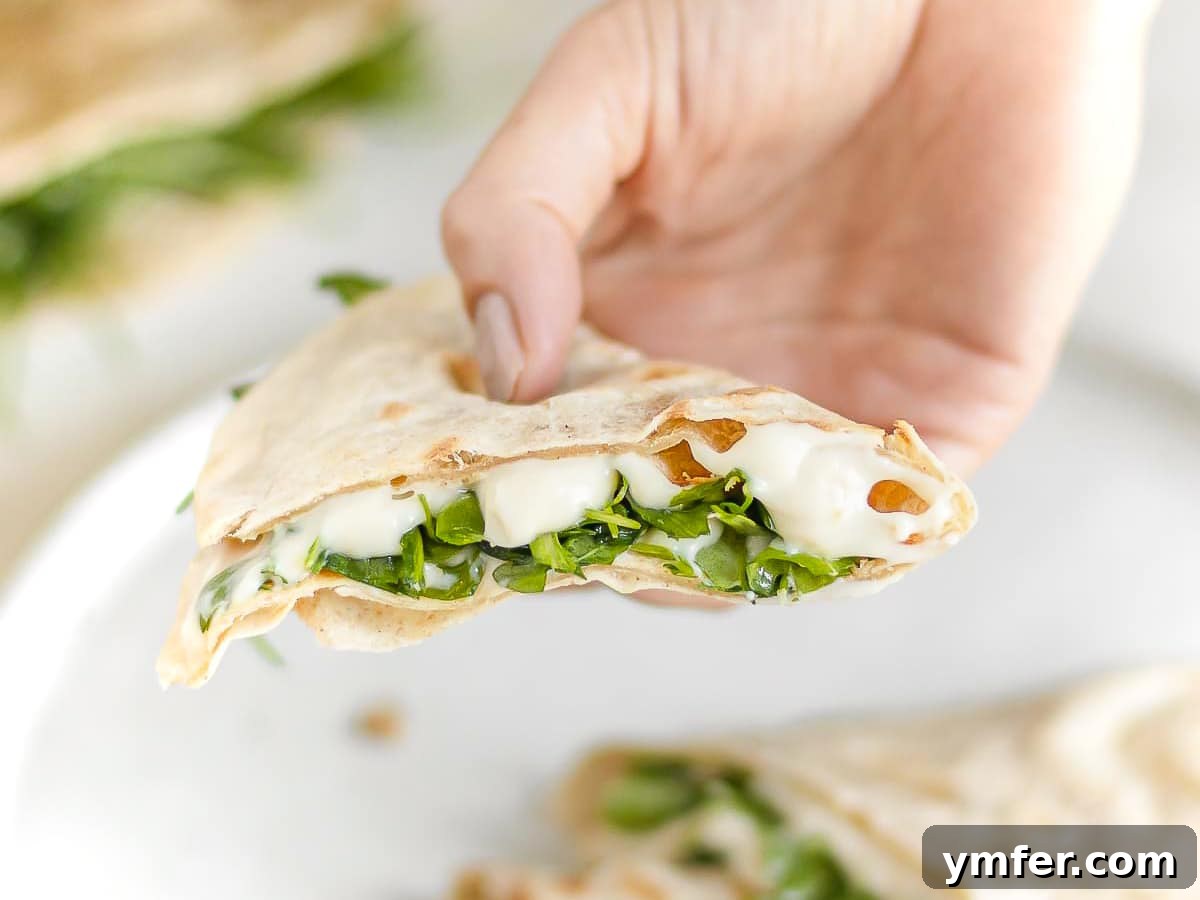
Step-by-Step Instructions for Perfect Homemade Piadina
Making Piadina is a delightful process that’s surprisingly straightforward. Follow these steps for consistently perfect results:
1. Prepare the Dough
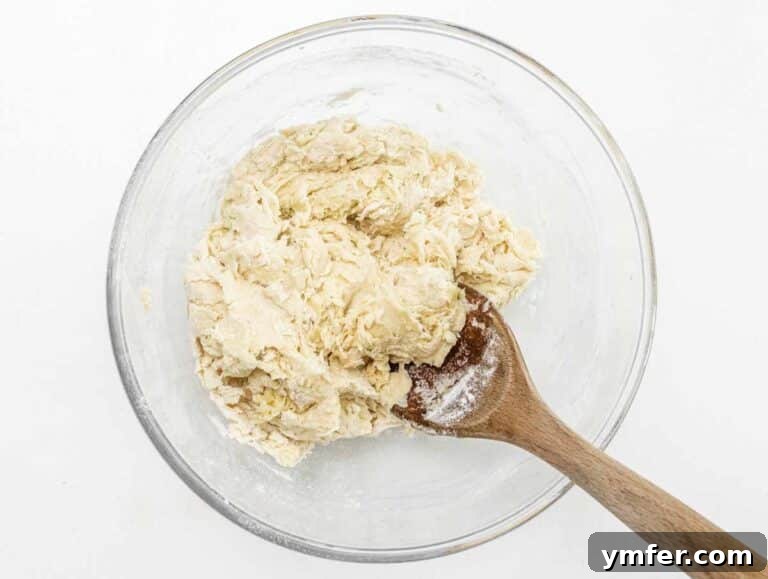
Begin by adding your measured flour, salt, warm water, and olive oil into a large mixing bowl. Using a sturdy spoon or a spatula, mix these ingredients together until they start to come together and form a rough, shaggy dough ball. Ensure all the dry ingredients are incorporated with the wet ones.
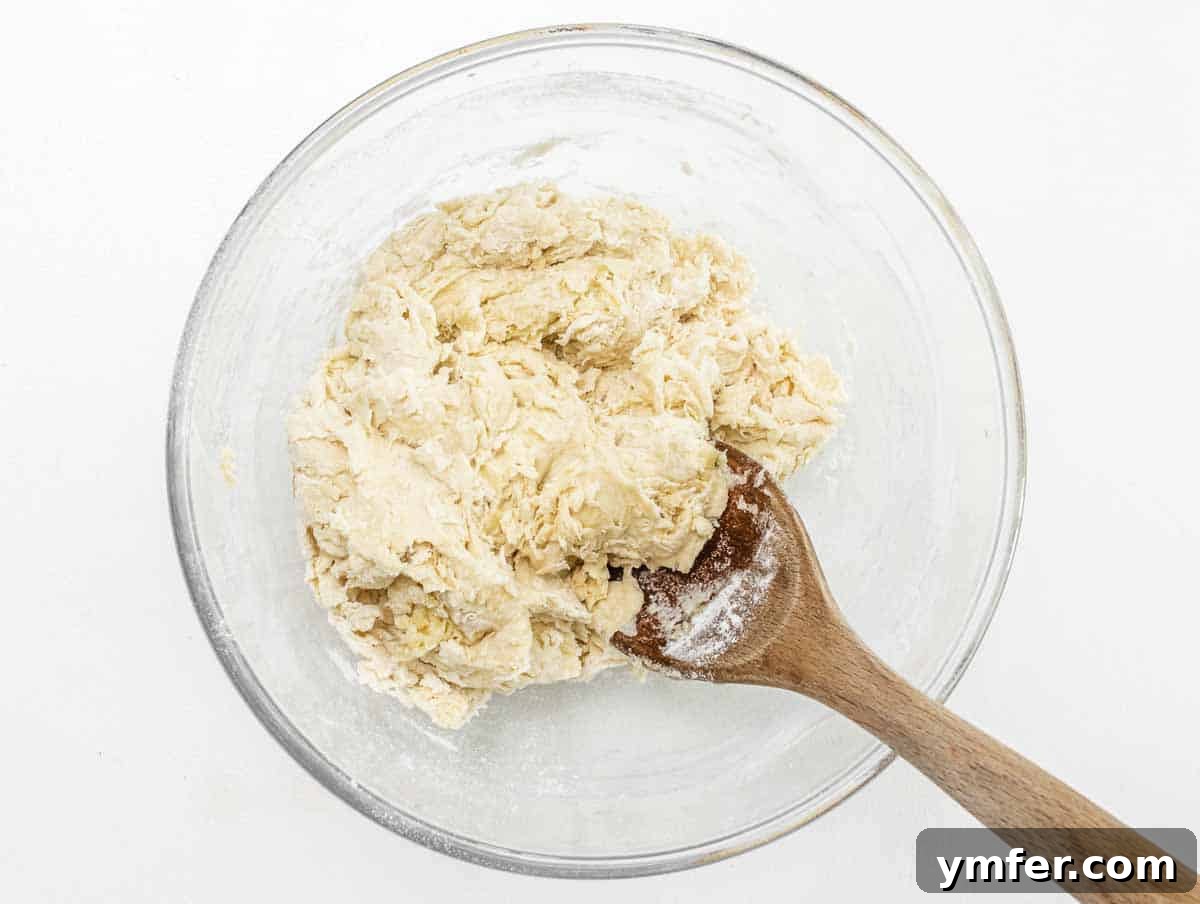
2. Knead the Dough
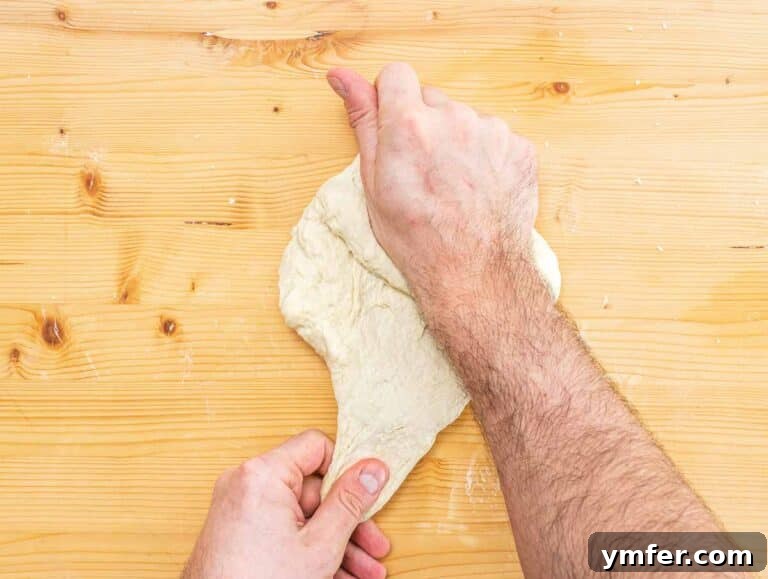
Lightly sprinkle your clean worktop with a little extra flour to prevent sticking. Transfer the dough from the bowl onto the floured surface. Now, it’s time to knead! Work the dough by hand for approximately 5 minutes. The goal is to transform the shaggy mass into a soft, compact, and smooth ball. This kneading develops the gluten, making the dough pliable and easier to roll.
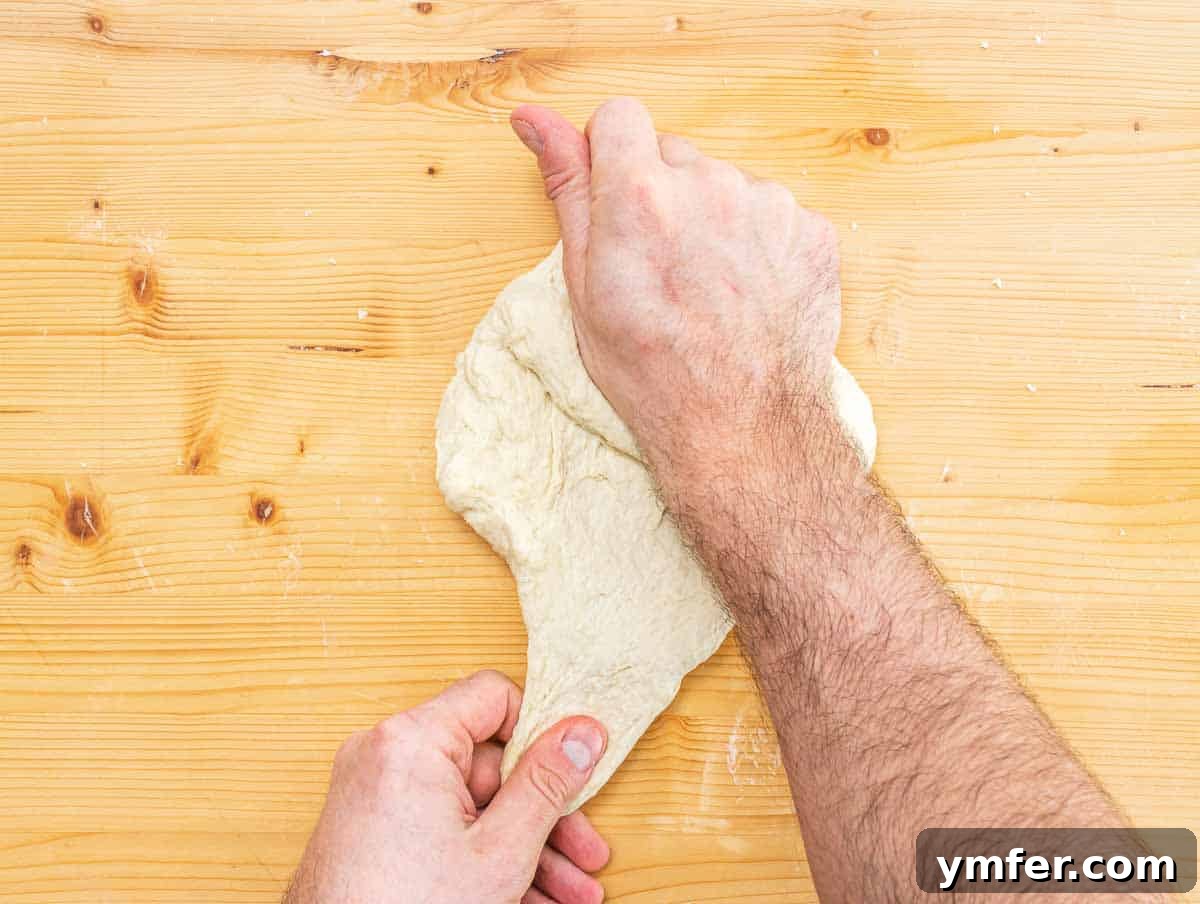
3. Divide and Rest
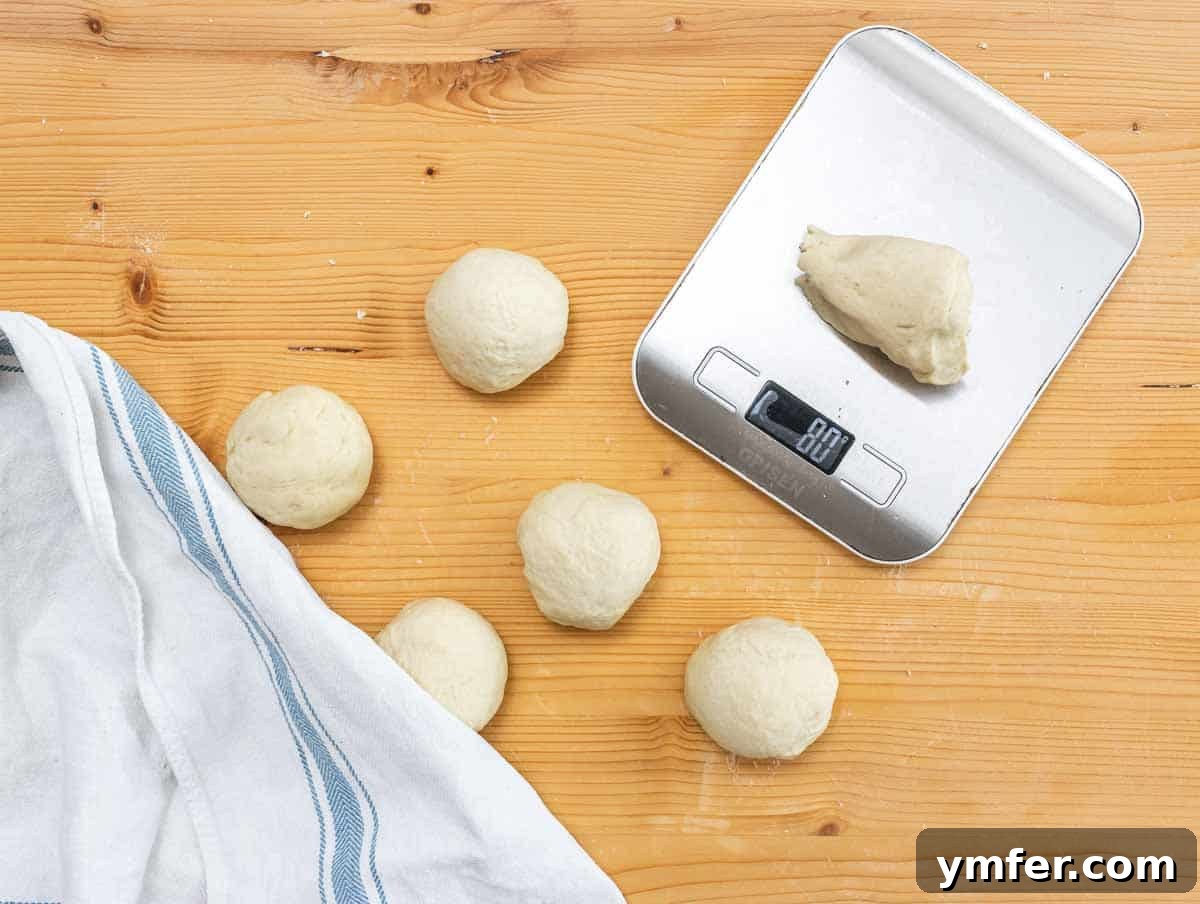
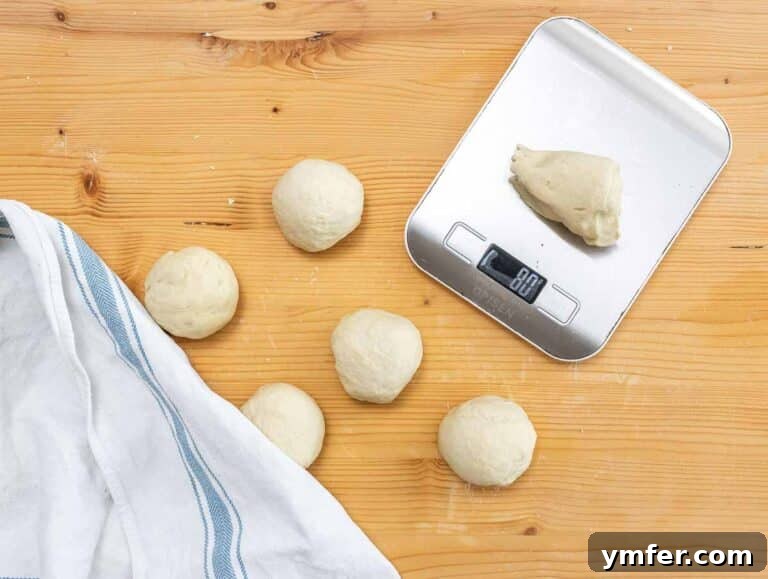
Once your dough ball is smooth, divide it into 6 equal pieces. Each piece should weigh approximately 80 grams (about 2.8 ounces). Roll each individual piece into a small, neat ball. Arrange these dough balls on your worktop and cover them with a clean kitchen cloth or plastic wrap. Allow them to rest for 15 to 30 minutes. This resting period is absolutely essential: it relaxes the gluten in the flour, making the dough much more elastic and easier to roll out thinly without resistance.
4. Prepare Your Skillet
While the dough is resting, place a nonstick or cast iron skillet on your stovetop and begin to warm it up over medium heat. The pan needs to be hot enough to cook the Piadina quickly but not so hot that it burns.
5. Roll Out the Piadina
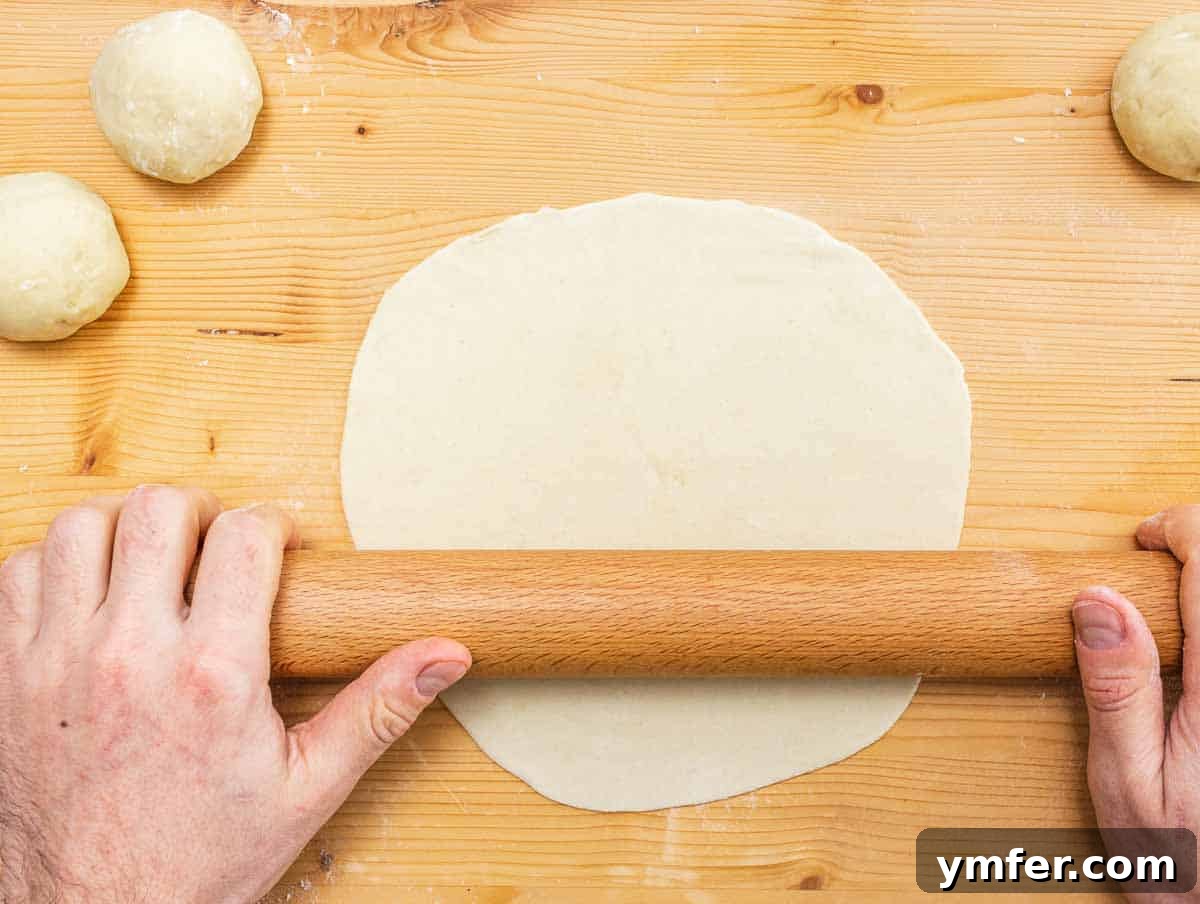
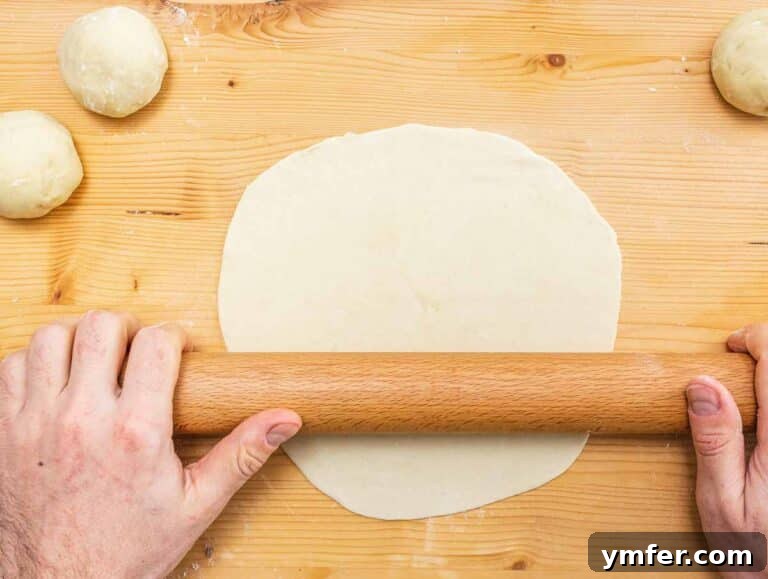
Once the dough has rested and your pan is heating, take one dough ball. Lightly sprinkle your work surface and the dough ball with flour to prevent sticking. Using a rolling pin, gradually flatten the dough into a thin, round flatbread. To achieve a perfectly regular circular shape, remember to rotate the dough often as you roll. Aim for discs that are approximately 2-3mm (about 1/8 inch) thin. The thinner, the better for that authentic Piadina texture.
6. Cook the Piadina
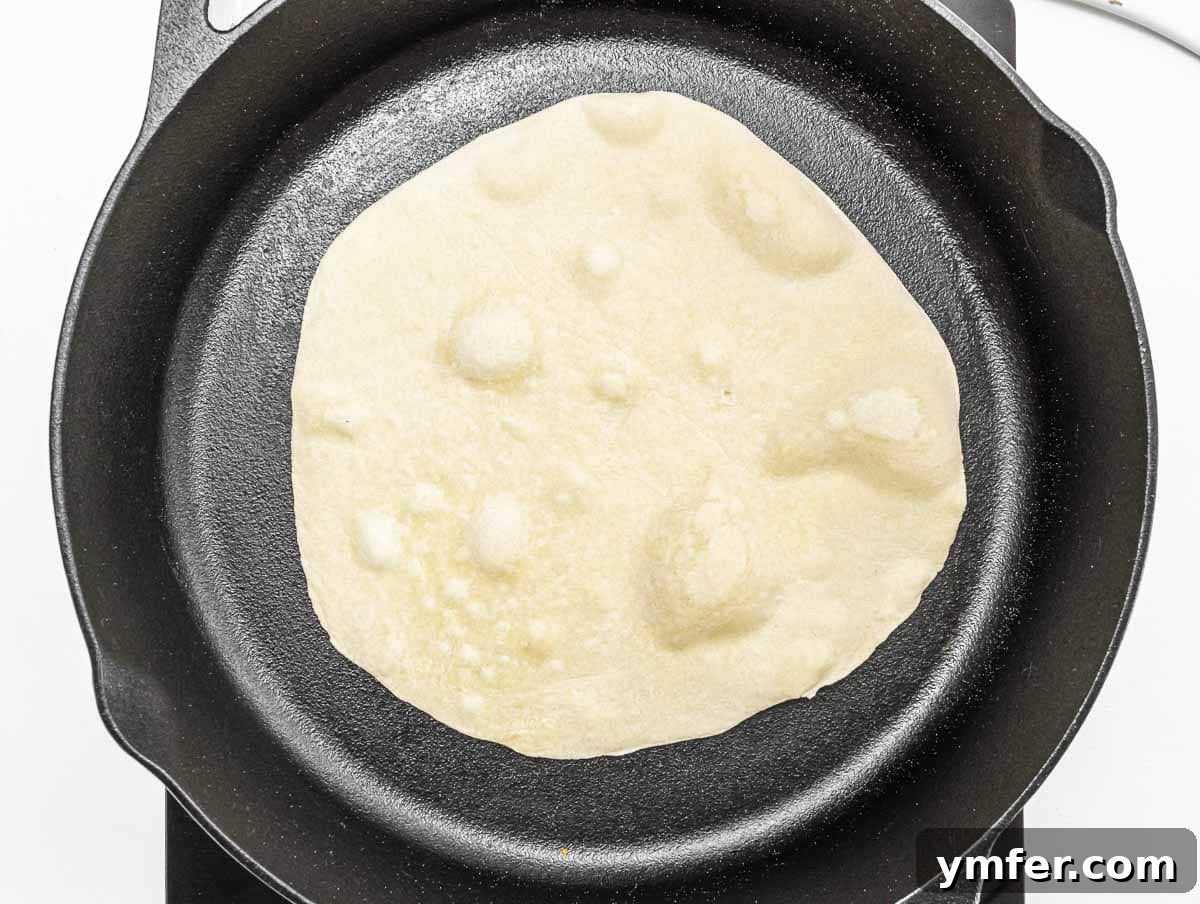
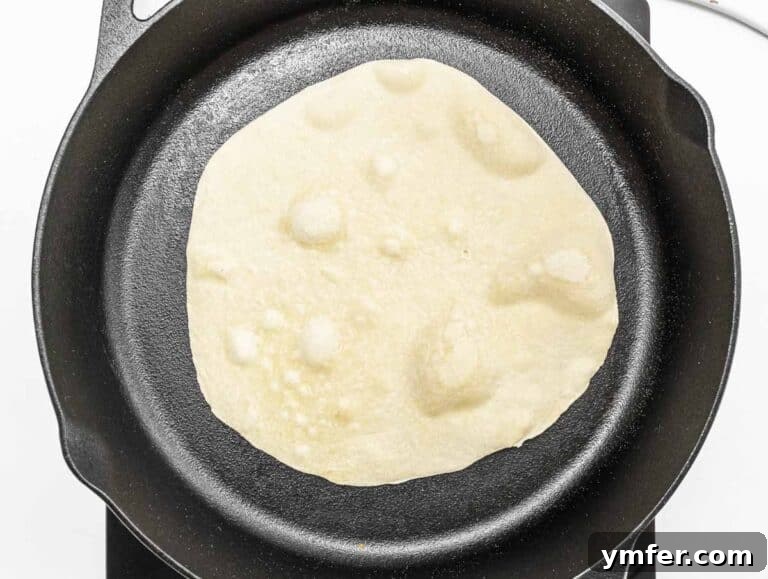
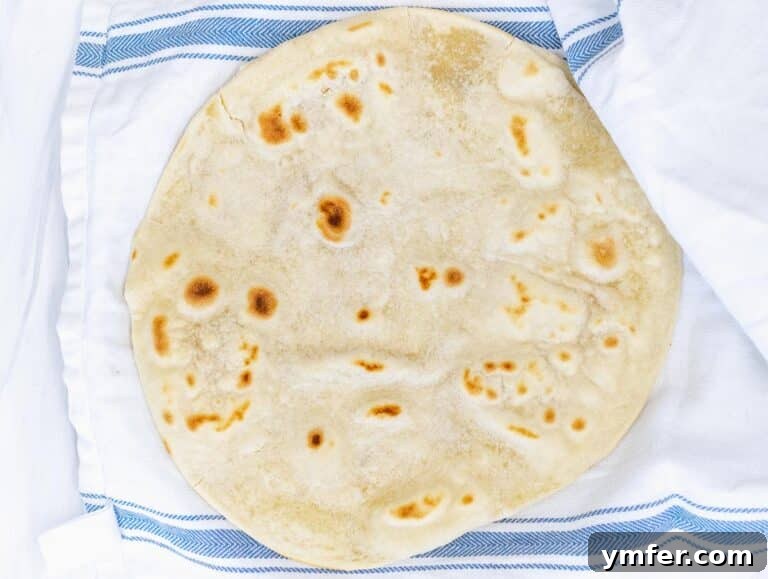
Carefully transfer the rolled-out Piadina to your hot skillet. The pan should be hot, but the heat/flame should be set to medium-low to prevent scorching. Cook the Piadina for about 2 minutes on the first side, until golden-brown spots appear and small bubbles form on the surface. Then, flip it over and cook for another 1 minute on the second side, until it’s lightly golden and cooked through.
7. Keep Warm and Moist
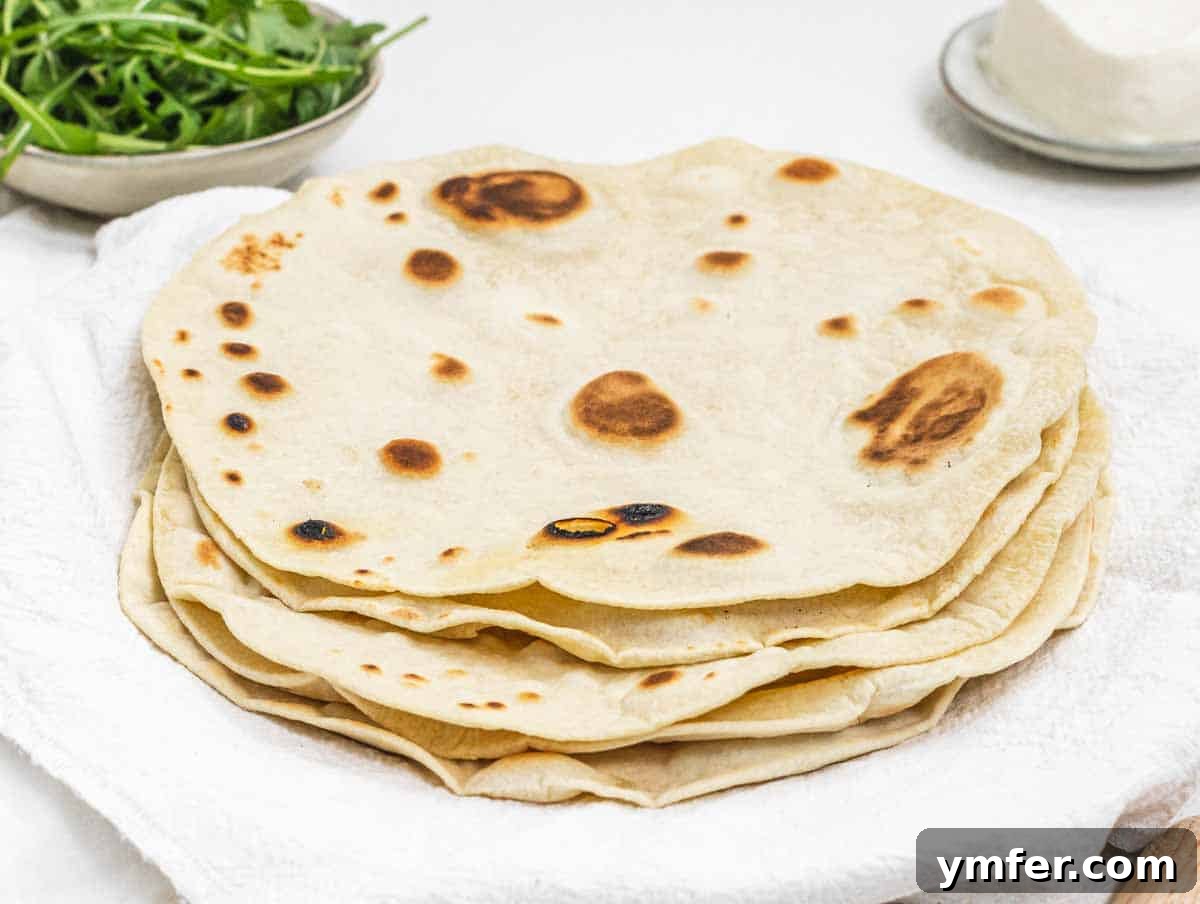
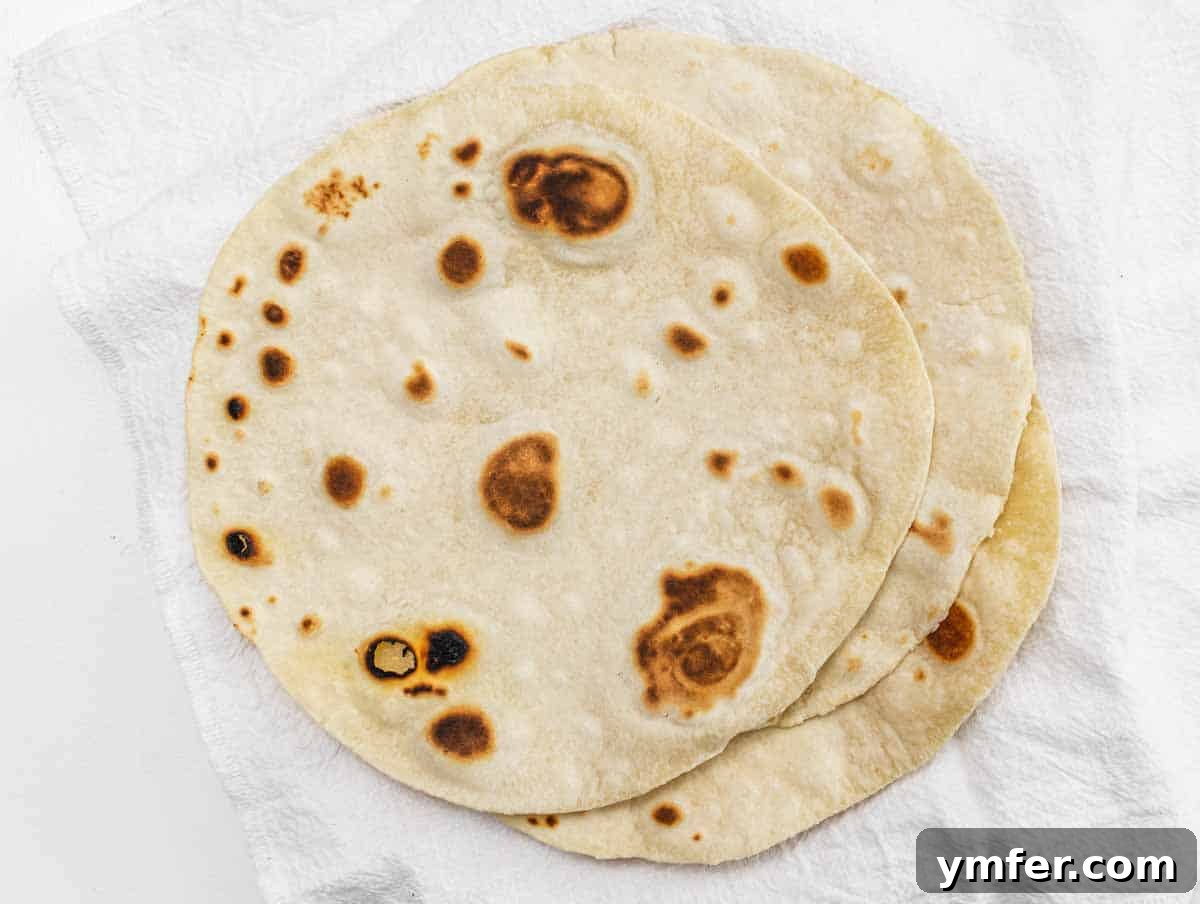
As each Piadina finishes cooking, immediately transfer it to a plate and place it in between a clean kitchen cloth. This simple step is vital for preserving the flatbread’s moisture and keeping it soft and pliable. Continue this process with the remaining dough balls until all your Piadine are cooked and stacked warm under the cloth.
8. Fill and Enjoy!
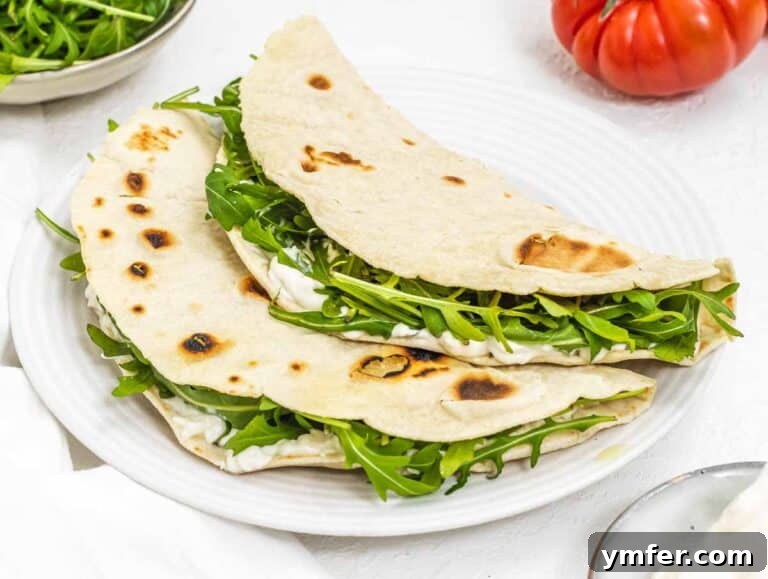
Once all your Piadine are ready, it’s time for the best part: filling them up! We heartily recommend authentic Italian fresh cheeses such as stracchino, robiola, and squacquerone cheese, ideally paired with a generous handful of peppery arugula. For a delicious vegan alternative, don’t forget our melty vegan cheese, which offers a similar creamy texture and taste. Fill, fold, and savor the taste of Italy!
Creative Serving Suggestions: More Than Just a Wrap
Piadina’s incredible versatility makes it suitable for almost any meal or occasion. Here are some inspired ideas to elevate your Piadina experience:
Serve as a Wholesome, Vegetable-Packed Lunch
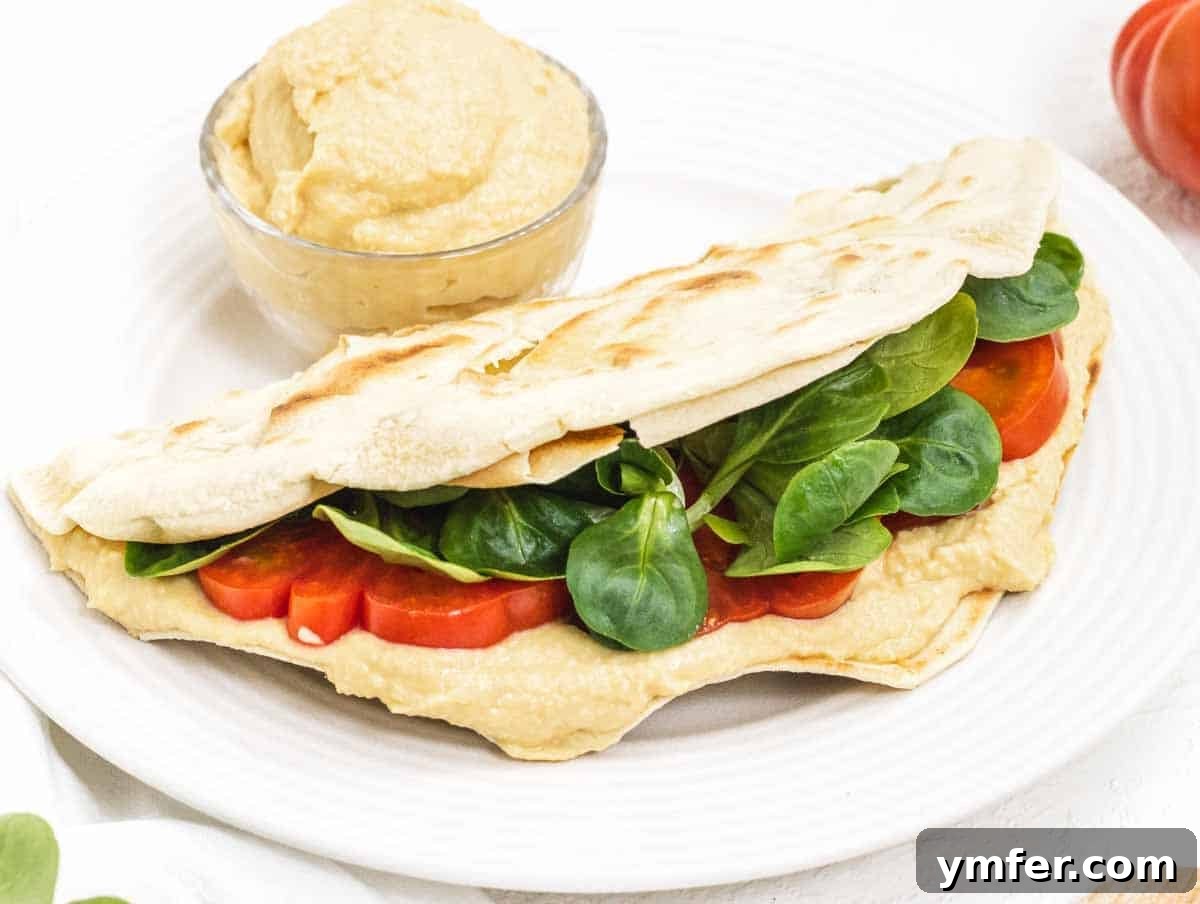
Piadina is an excellent base for a quick, healthy, and wholesome lunch. Its soft texture makes it perfect for holding a variety of fillings. Try it with a savory spread like our mashed chickpea “tuna” salad, or a dollop of creamy-dreamy hummus, complemented by crisp lettuce leaves and other fresh vegetables. These combinations are not only delicious but also fantastic for meal prep, providing a nutritious and satisfying option for busy weekdays.
Pair with a Variety of Spreads and Leafy Greens
The neutral flavor of Piadina allows it to beautifully showcase a wide range of spreads and fresh ingredients. Get creative with these pairings:
- Combine our flavorful chickpea salad with a generous spread of vegan mayo for an incredibly easy yet richly flavored lunch.
- Classic and refreshing: spread a layer of hummus, then add juicy sliced tomatoes and a handful of vibrant green leaves.
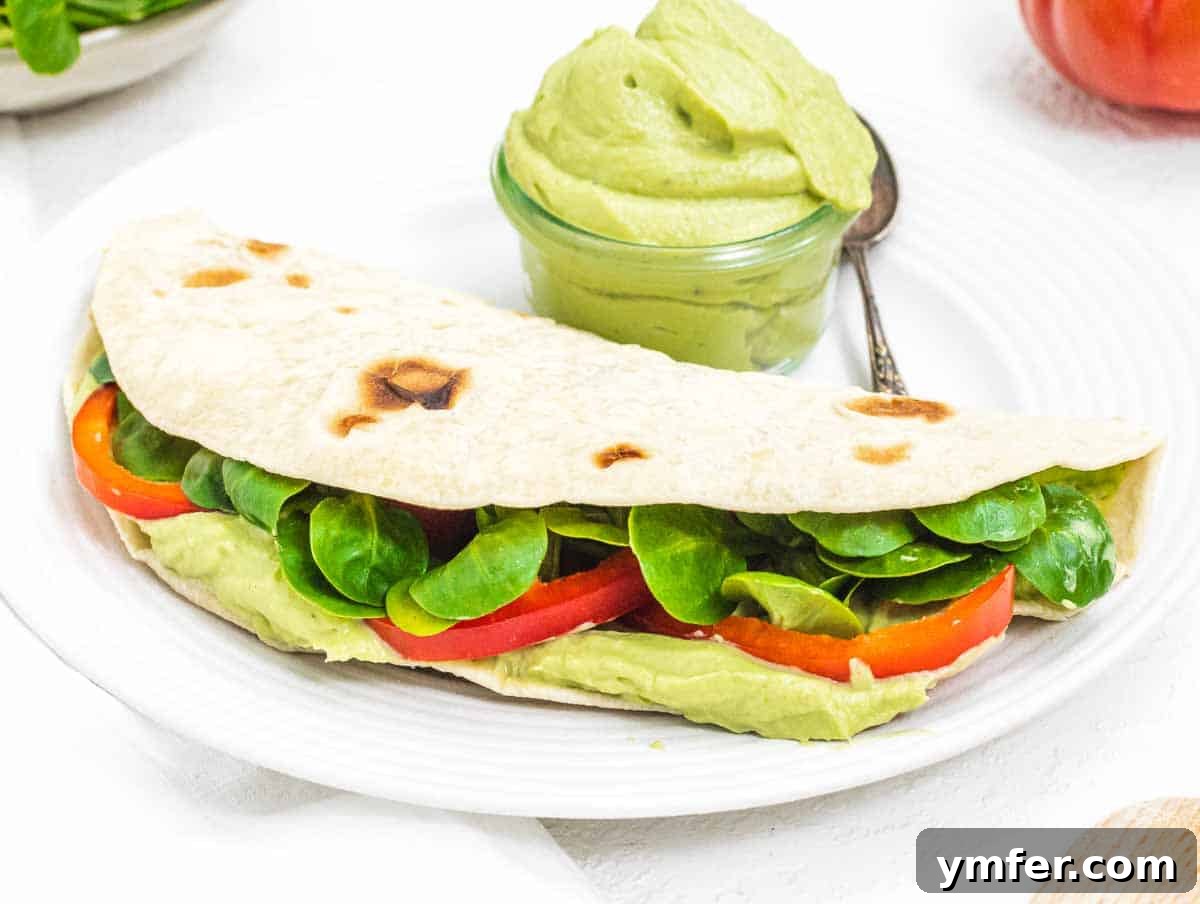
- For a creamy and fresh option: use our avocado spread, topped with fresh tomato slices and mixed greens.
- Nutrient-dense and satisfying: spread lentil hummus and pile on your favorite raw or roasted veggies.
An Easy Dinner Companion
Piadina makes an excellent accompaniment to a heartier meal, perfect for an easy and satisfying dinner. Its soft texture is ideal for scooping up sauces or enjoying alongside a stew:
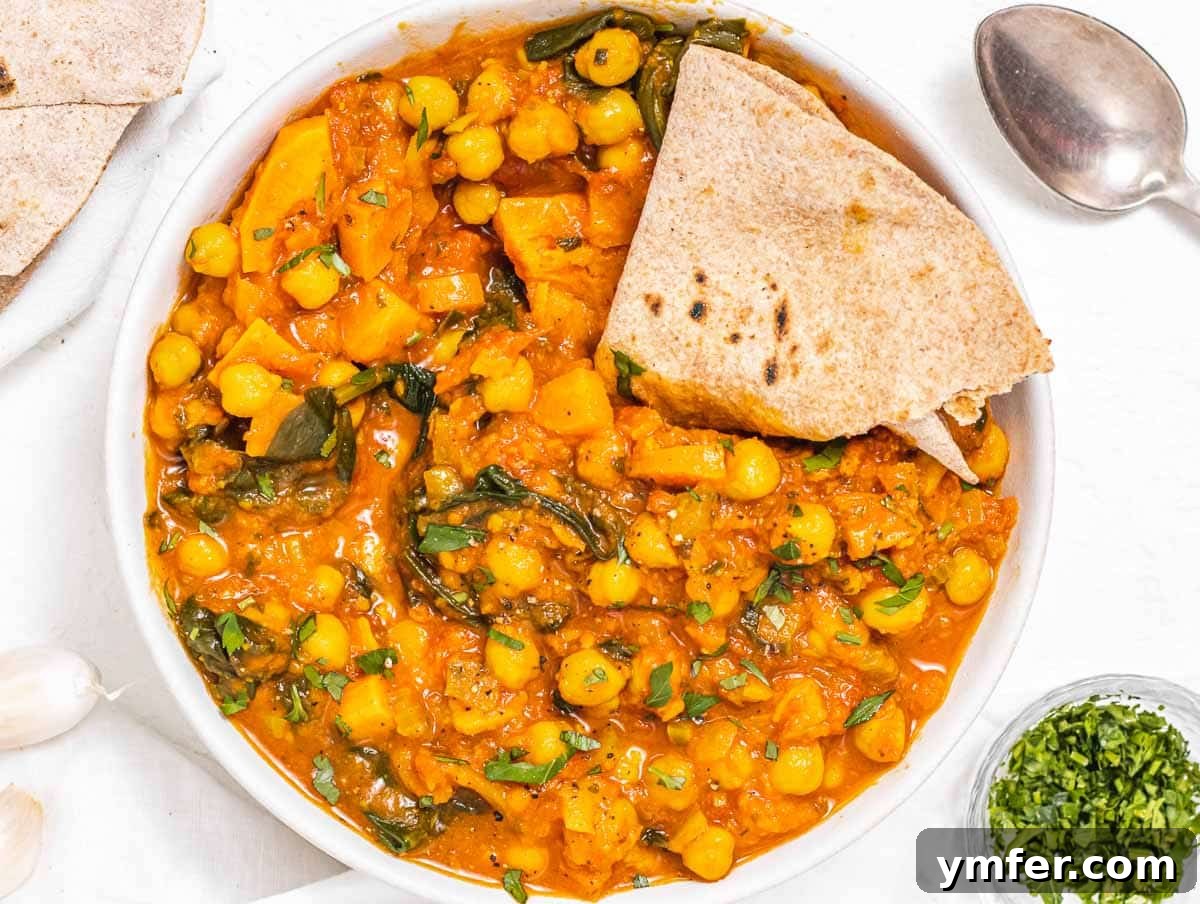
- Serve alongside a comforting chickpea stew with a side of light cauliflower rice for a balanced and flavorful meal.
- Pair with a rich and aromatic vegan butter chicken (made with tofu, vegan cream or cashew nuts, tomato paste, and fragrant spices like coriander).
- Enjoy with a spicy and vibrant chana masala, packed with canned tomatoes, chickpeas, turmeric, cumin, and coriander.
- It’s the perfect bread for dipping into any curry or soup of your choice, soaking up all the delicious broths and flavors.
Exciting Piadina Variations: Beyond the Traditional
While we deeply respect Italian culinary traditions, we also love to explore new and exciting flavor combinations. If you enjoy blending classic techniques with modern twists, these non-traditional Piadina fillings are a must-try. Prepare to be surprised and delighted!
Hummus and Falafel: A Middle Eastern Fusion
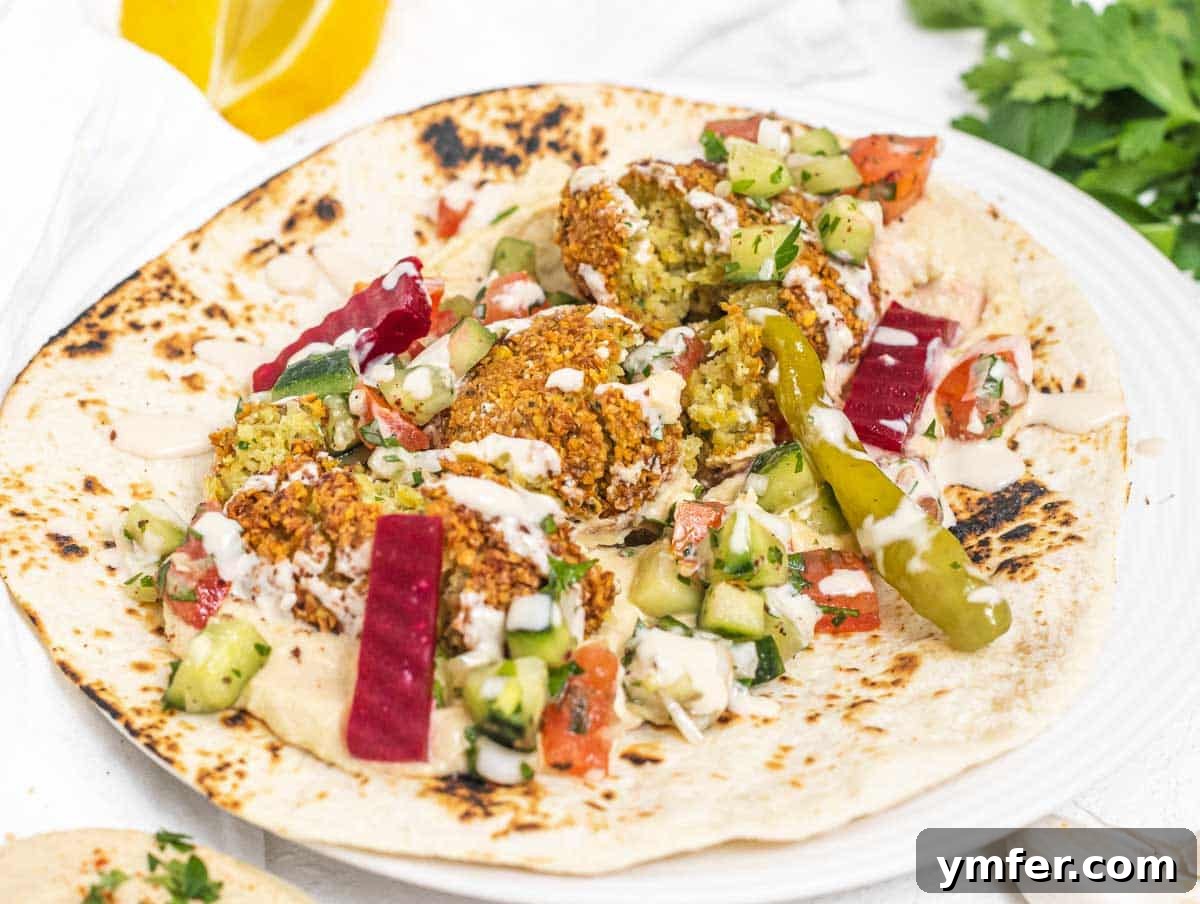
This vibrant fusion is one of our absolute favorite non-traditional fillings. Begin by spreading a generous, creamy layer of homemade hummus across the center of your warm Piadina. Add freshly cooked falafel, gently smashing them with a fork to distribute their savory goodness. Elevate this wrap with crisp shirazi salad, a scattering of spicy jalapeños, tangy pickled vegetables, and a final drizzle of rich tahini sauce. It’s a riot of textures and flavors – we can’t wait to hear what you think!
Sweet Potato Hash: A Hearty and Nutritious Option
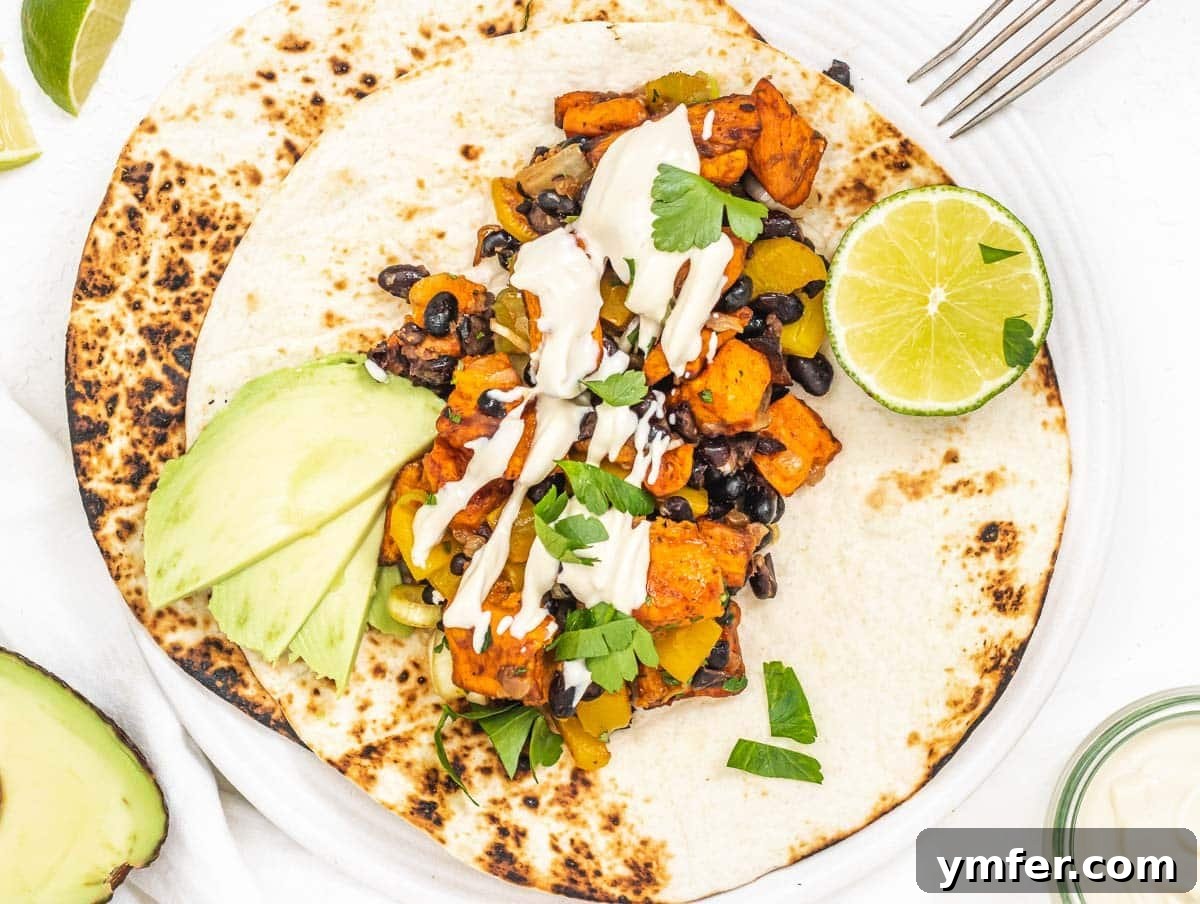
For a deliciously satisfying and highly nutritious meal, consider filling your Piadina with a flavorful sweet potato hash. This makes for a fantastic breakfast, lunch, or dinner wrap. We love to crown this hash with creamy sliced avocado, a dollop of tangy cashew sour cream, a squeeze of fresh lime juice, and a sprinkle of bright cilantro. The combination of sweet and savory, along with varied textures, is simply irresistible.
Breakfast Wrap Filling: A Mexican-Inspired Start to Your Day
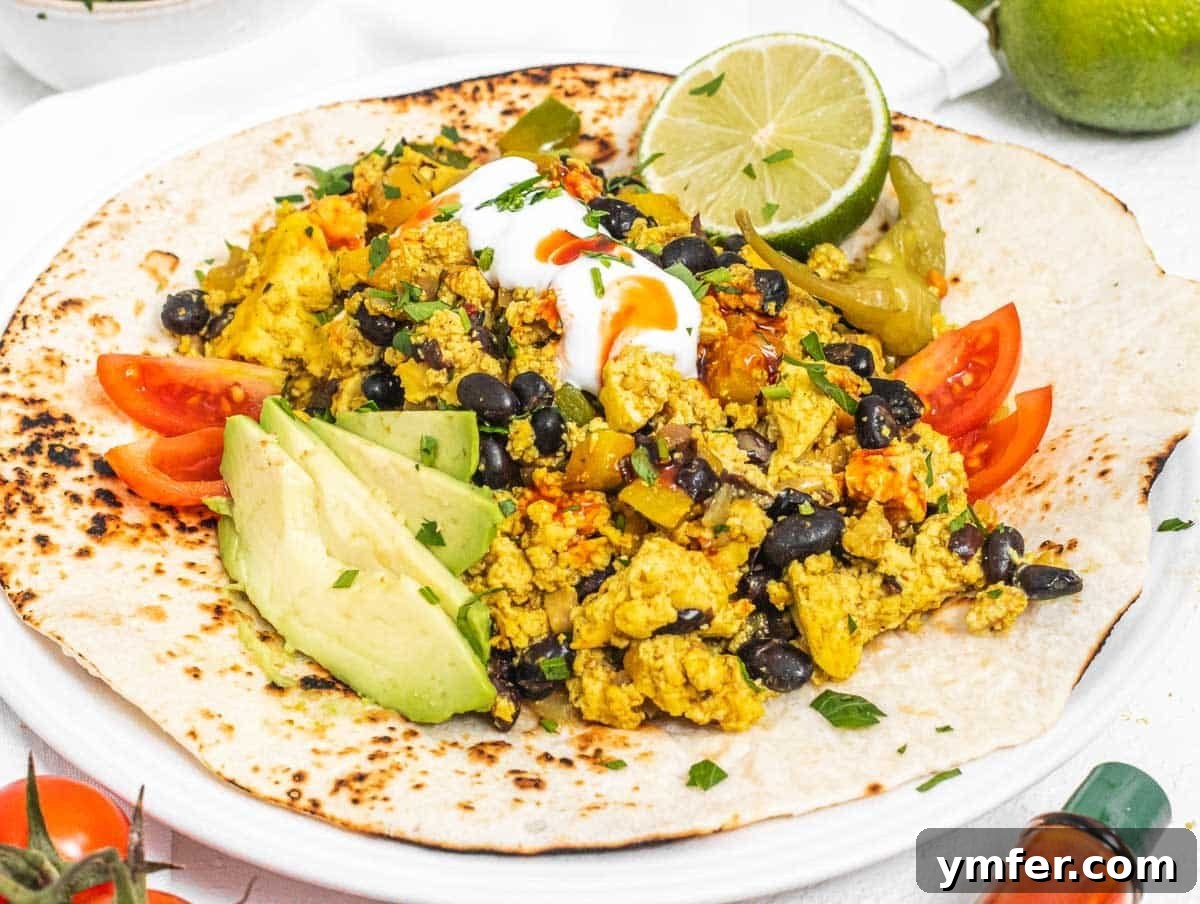
Who says Piadina can’t do breakfast? Our Mexican-inspired breakfast wrap filling is an excellent choice for a hearty and flavorful start. Featuring a robust tofu scramble, hearty black beans, colorful bell peppers, and a blend of savory spices, this filling transforms Piadina into a surprisingly easy-to-make, incredibly delicious, and truly fulfilling breakfast or brunch option. It’s equally wonderful in traditional tortillas!
Expert Tips for Perfect Piadina Every Time
Achieving perfectly tender and pliable Piadina is easy with these expert tips:
- Allow the Dough to Rest Properly: This step is non-negotiable for success. Resting the dough for 15 to 30 minutes allows the gluten network within the flour to relax significantly. This relaxation is crucial because it makes the dough much more elastic and easier to roll out into very thin discs without snapping back or tearing. Always keep the dough covered with a clean kitchen cloth during this resting period to prevent it from drying out.
- Prevent the Dough from Drying Out: Exposure to air can quickly dry out your dough, making it stiff and difficult to work with, ultimately resulting in a harder, less pliable Italian flatbread. Ensure your dough portions are always kept covered with a cloth or plastic wrap, especially while you are working on rolling out individual pieces.
- Roll Out One Piadina at a Time: For optimal freshness and ease of handling, it’s best to roll out each Piadina just before you cook it. This method prevents the dough from drying out and ensures each flatbread is as soft and fresh as possible when it hits the skillet.
- Preserve Moisture After Cooking: As you cook your flatbreads one after another, stack the freshly cooked Piadine on a plate, immediately covering them with a clean kitchen cloth. This technique traps the steam and warmth, keeping the Piadine moist, soft, and beautifully pliable until you’re ready to fill and serve them.
- Monitor Skillet Temperature: A common mistake is cooking on a skillet that’s too hot or not hot enough. The skillet should be adequately preheated on medium heat, then adjusted to medium-low when cooking. Too hot, and the Piadina will burn before cooking through; too cool, and it will dry out and become stiff.
Make Ahead & Storage: Enjoying Piadina Anytime
Piadina is a fantastic dish for meal prepping, allowing you to enjoy fresh flatbreads even on busy days. Here’s how to make them ahead and store them:
- Make Ahead (Dough): You can prepare the dough in advance. After kneading and forming the individual balls, wrap them tightly in plastic foil or place them in an airtight container. Store them in the refrigerator for up to 8 hours. When you’re ready to cook, let the dough come to room temperature for about 15-20 minutes before rolling.
- Make Ahead (Cooked Piadina): Cooked Piadine can also be prepared ahead. Allow them to cool completely before storing. They can be kept fresh for up to two days. Wrap them tightly in plastic wrap or place them in a plastic bag to prevent them from drying out.
- Reheating: To reheat, simply warm them in a microwave for a few seconds until soft, or gently heat them on a nonstick skillet for a minute on each side until pliable and warm.
- Freezer Storage: For longer preservation, Piadine freeze beautifully. Once completely cooled, layer them with parchment paper in between (to prevent sticking) and transfer them into a freezer-friendly plastic bag or an airtight container. They can be frozen for up to 3 months. Thaw at room temperature or gently reheat from frozen on a skillet.
More Delicious Bread Recipes to Explore
If you’ve enjoyed making this traditional Italian flatbread, you’ll surely love exploring our other delightful bread recipes. Each offers a unique flavor and texture profile, perfect for expanding your baking repertoire:
- No-Knead Focaccia Bread: A wonderfully aromatic Italian flatbread, this recipe features simple ingredients like flour, rosemary, sugar, instant dry yeast, and coarse sea salt, yielding a remarkably light and airy loaf with minimal effort.
- Vegan Flatbread Pizza: Transform everyday ingredients like all-purpose flour, instant dry yeast, sugar, garlic, and parsley into a delicious and quick pizza base. It’s a fantastic canvas for your favorite plant-based toppings.
- Easy Mini Pizzas: Perfect for parties or a fun family meal, these mini pizzas use store-bought pizza dough as a shortcut, topped with classic flavors like canned tomatoes, oregano, and black olives.
- Homemade Naan Bread: Experience the soft, fluffy, and slightly chewy texture of traditional Indian naan. Made with all-purpose flour, instant dry yeast, sugar, olive oil, and often infused with garlic and parsley, it’s perfect for dipping into curries.
Bread Recipes
Naan Bread
Recipes
Flatbread Pizza
Bread Recipes
Focaccia
Starters
Mini pizzas
For even more inspiring bread ideas, make sure to visit our dedicated bread category page.
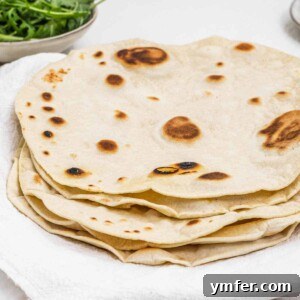
Italian Flatbread (Piadina)
Our recipe is easy to make on a nonstick or cast iron skillet and with four simple ingredients: flour, water, olive oil, and salt.
Print Recipe
Share on Facebook
Video
Equipment
-
Rolling pin
-
Nonstick or cast iron skillet
Ingredients
For 6 flatbreads (USA Measures):
- 2 cups all-purpose flour
- ½ cup + 2 tablespoons water warm
- 2 tablespoons extra virgin olive oil
- 1 teaspoon salt
For 6 flatbreads (Metric Measures):
- 300 grams all-purpose flour
- 150 grams water warm
- 30 grams extra virgin olive oil
- 6 grams salt
Instructions
-
Add flour, salt, warm water, and olive oil to a large mixing bowl.
Mix the ingredients with a spoon until you have a dough ball.

-
Transfer it to a worktop sprinkled with flour, and knead for 5 minutes until you have a soft, compact, and smooth ball.
-
Cut the dough into 6 equal pieces of about 80 grams each (2.8 ounces).
Shape each piece into a ball. Cover with a cloth and rest for 15 to 30 minutes.
-
Flatten the first ball into a thin, round flatbread.
Rotate the dough often while you roll it out to get a regular round shape. You should aim for 2-3mm thin discs.
Sprinkle your work surface and the dough with flour to prevent it from sticking.
-
Cook the piadina on a hot skillet on medium-low heat. Let cook for about 2 minutes on one side and 1 minute on the other.
-
When cooked, put it on a plate in between a clean kitchen cloth to preserve moisture.
Repeat with the other flatbreads till you are done.
-
Fill up with your favorite filling, and enjoy!
We recommend Italian fresh cheese like stracchino, robiola, and squacquerone cheese with plenty of arugula.
Notes
For more ideas on how to eat piadina, check out our “serving suggestions” and “variations” chapters above.
MAKE AHEAD & STORAGE
– Make ahead: you can make the dough ahead of time and let it rest in the fridge for up to 8 hours, wrapped in foil. You can also cook the piadina and keep it for two days before it gets stale.
– Plastic bag: store it in a plastic bag for up to 2 days. It can be reheated in a microwave or skillet for a few minutes.
– Freezer: let them cool down completely, transfer them into a freezer-friendly plastic bag, and freeze them for up to 3 months.
Nutrition
If you liked this recipe, you might also like:
Collections
30 Easy Italian Recipes
Collections
40 Italian Vegetarian Dishes
Collections
30 Vegan Appetizers
Collections
What to eat with Hummus