
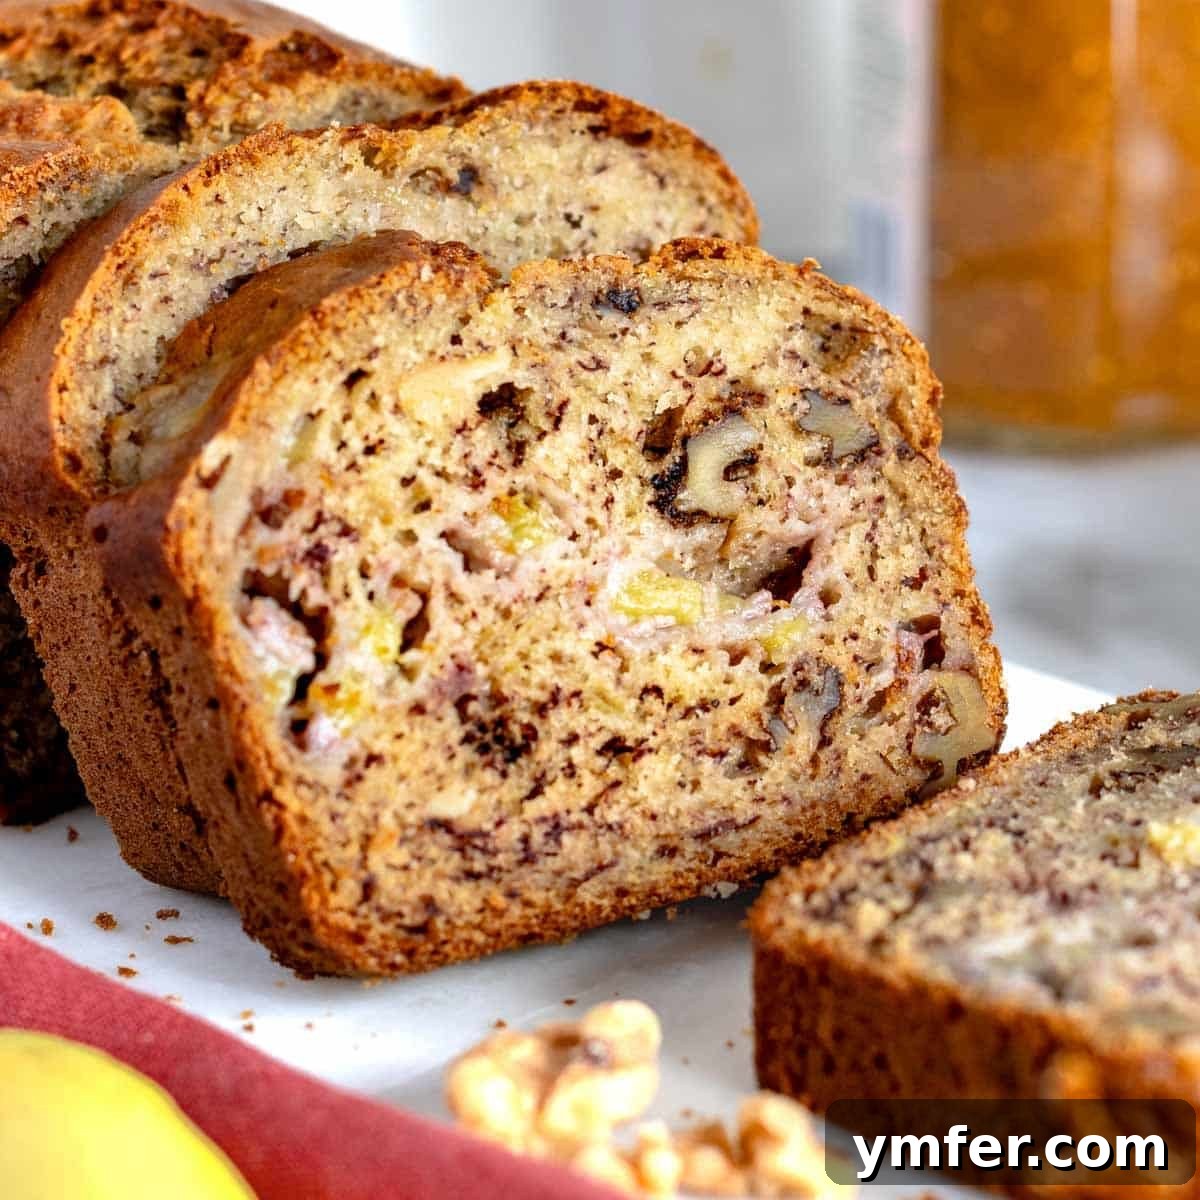
Welcome to the ultimate guide to making the most exquisite banana nut bread you’ll ever taste! Our perfected recipe delivers a loaf that is exceptionally soft, moist, and wholesome, boasting an easy-to-slice crumb, delightful crunch from nuts, and an explosion of genuine banana flavor. Forget complicated techniques; we show you how to create this comforting masterpiece using nothing but simple pantry staples, all mixed in one bowl and with just one fork. Get ready to bake a truly unforgettable treat that will become a cherished staple in your home.
Explore more delightful recipes: Vegan Banana Bread, Healthy Banana Bread, Vegan Banana Muffins.
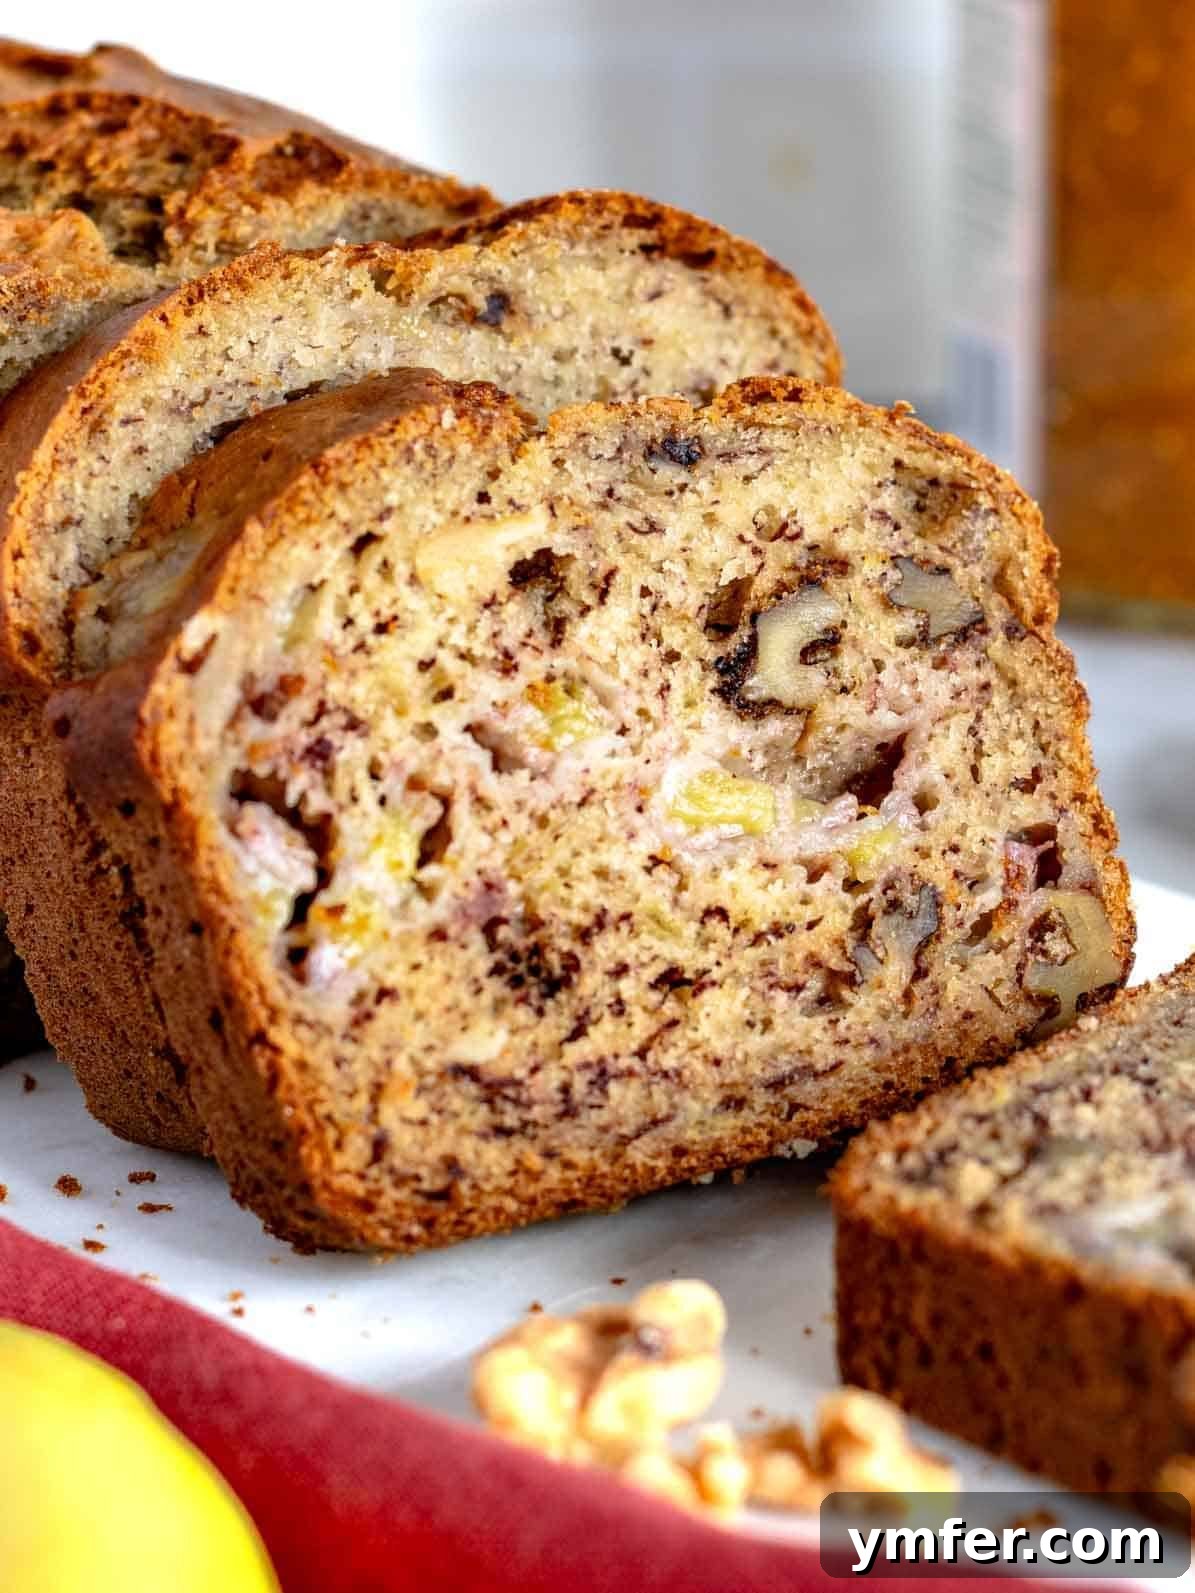
Table of Contents
- What is Banana Nut Bread?
- The Secret to Our Moist Banana Nut Bread
- Essential Ingredients & Smart Substitutions
- Step-by-Step: How to Make Banana Nut Bread
- Delicious Variations
- Baking Perfection: Key Tips
- Common Questions (FAQ)
- Storage & Freshness
- More Baking Inspiration
- Banana Nut Bread Recipe Card
What is Banana Nut Bread?
Banana nut bread is a beloved quick bread that marries the sweet, comforting flavor of ripe bananas with the satisfying crunch of various nuts. Typically, it’s a moist, cake-like loaf perfect for breakfast, brunch, or a delightful snack. While many recipes simply incorporate mashed bananas and chopped nuts, our unique approach elevates this classic to new heights by including extra chunks of banana alongside the nuts, creating an unparalleled texture and depth of flavor.
Our method draws inspiration from other popular fruit-laden baked goods, such as our Vegan Zucchini Bread, Apple Bread, and Vegan Carrot Cake. If these recipes benefit from succulent fruit pieces, we thought, “why not apply the same magic to banana nut bread?” The result is truly extraordinary.
The Secret to Our Moist Banana Nut Bread: More Banana Chunks
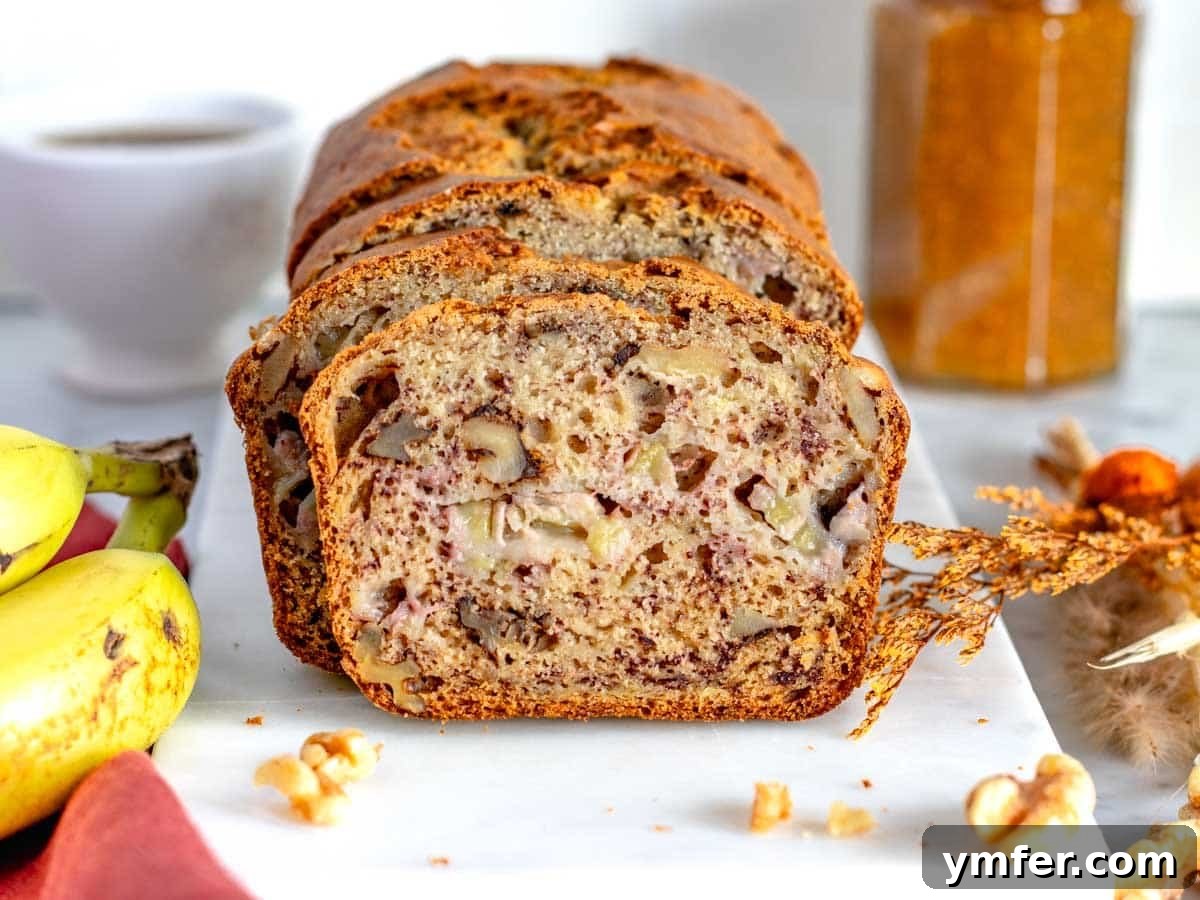
Here’s the game-changer: more banana equals unbelievably delicious bread! While most recipes rely solely on mashed bananas for moisture and flavor, we take it a step further by folding in extra banana chunks into the batter. These delightful morsels create an exceptional combination of textures that will surprise and satisfy your palate.
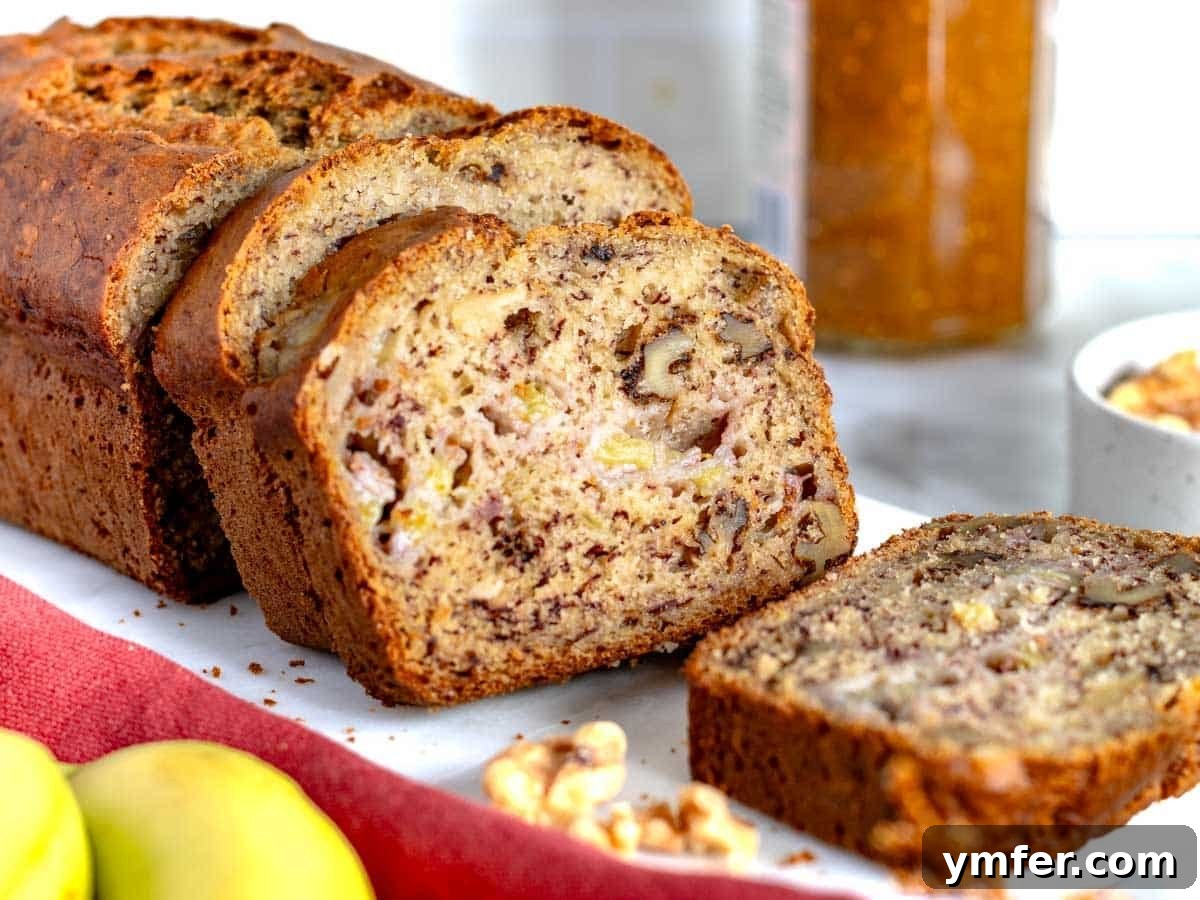
Imagine this: a wonderfully soft, tender crumb interspersed with the pleasant crunch of toasted nuts, all beautifully complemented by pockets of moist, almost gooey banana pieces. This contrast elevates the entire experience, making each slice a journey of delightful sensations. It’s like a homemade “chunky monkey” banana bread, rich in natural sweetness and captivating textures.
For those feeling adventurous, you can even add a handful of dark chocolate chips to transform this into a truly decadent “chunky monkey banana bread.” But for today, we’re embracing the pure, wholesome goodness of bananas and nuts – though we might just give in to chocolate next time! 😉
Just like many of our fruit-packed baked creations—think Vegan Apple Cake, Lemon Blueberry Cake, and Banana Zucchini Bread—this banana nut bread is also naturally plant-based and vegan-friendly. It’s a testament to how flavorful and satisfying vegan baking can be, without compromising on taste or texture.
Whether you grab a slice for a quick and easy breakfast, a satisfying afternoon snack, a delightful addition to your brunch spread, or a comforting plant-based dessert, this banana nut bread promises pure joy. We believe this is banana bread perfection, and we can’t wait to hear your thoughts!
Essential Ingredients & Smart Substitutions
Crafting the perfect banana nut bread starts with understanding your ingredients. Our recipe uses common pantry items, ensuring accessibility and ease. Below, we dive into each component and offer helpful substitutions to suit your dietary needs or what you have on hand.
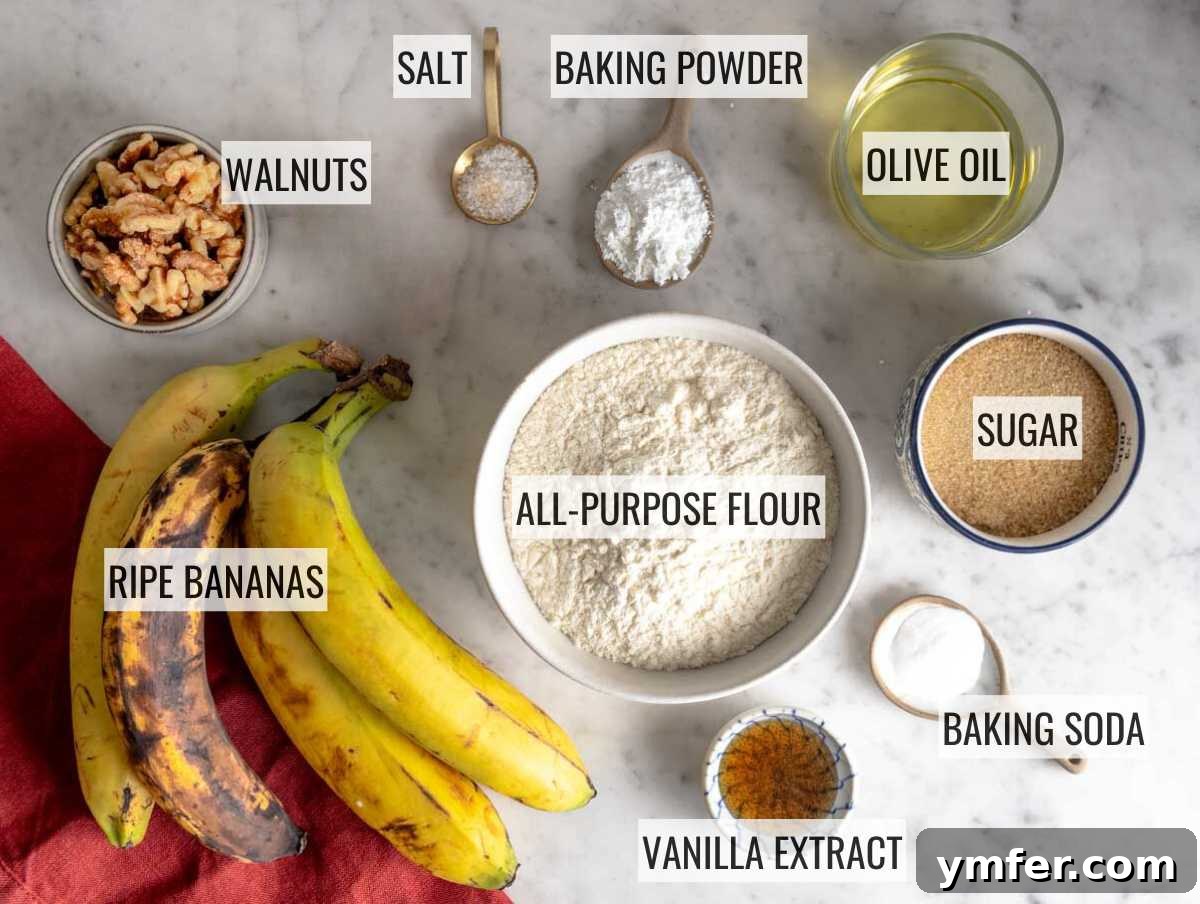
Exact quantities for each ingredient can be found in the comprehensive recipe box at the bottom of this page.
Bananas: The Star of the Show
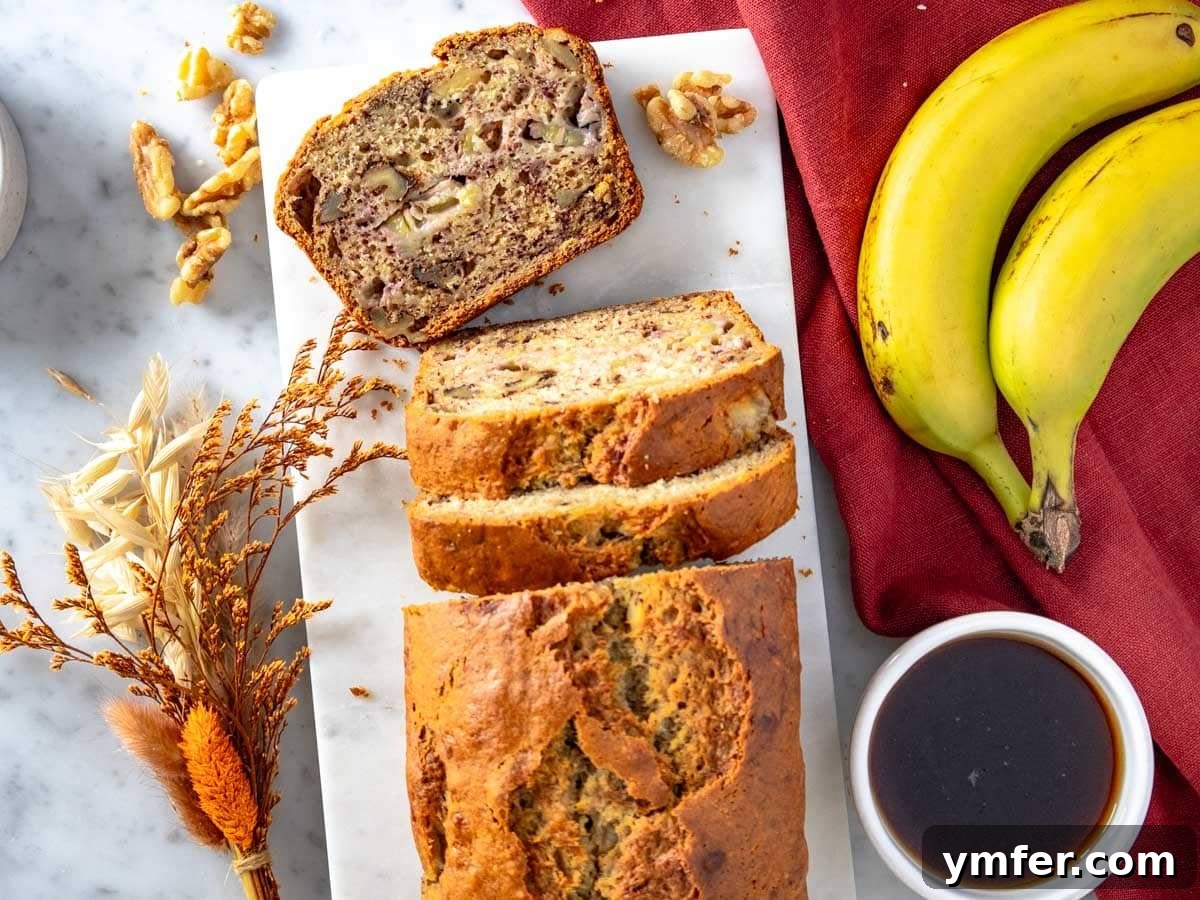
For the best flavor and easiest mashing, always use ripe or even overripe bananas. These are the ones with plenty of dark spots on their peel – they are naturally sweeter and have a softer texture, which integrates beautifully into the batter. If your bananas aren’t quite ripe enough (mostly yellow with few spots), you can still use them, but we recommend adding an extra 1/4 cup of sugar to compensate for their lower natural sweetness. The riper the banana, the more intense the banana flavor and the moister the bread will be.
Nuts: Adding Crunch and Earthiness
Walnuts are our top choice for their earthy flavor and delightful crunch, which complements the sweet banana perfectly. We prefer to chop them coarsely to ensure you get substantial nutty bites in every slice. However, feel free to get creative with your nuts! Pecans, almonds, cashews, or hazelnuts are all excellent alternatives that will add their own unique character to the bread. Toasting your nuts lightly before adding them can also enhance their flavor.
Flour: The Foundation of the Loaf
Our recipe calls for standard all-purpose flour, which provides a tender and consistent crumb. For those looking to boost the fiber content, you can easily use a blend of half all-purpose flour and half whole-wheat flour. If opting for whole-wheat flour, you might need to add approximately 2 tablespoons of extra milk to the batter, as whole-wheat flour tends to absorb more liquid, ensuring your loaf remains moist.
Milk: Enhancing Moisture and Texture
We typically use almond milk in our recipe to keep it plant-based and light. However, any other type of milk will work perfectly well. Feel free to substitute with soy milk, oat milk, rice milk, or traditional dairy milk based on your preference or what you have available. The milk contributes to the overall moisture and helps create a tender crumb.
Olive Oil: For a Perfectly Moist Crumb
While some traditional banana bread recipes use butter, we strongly prefer olive oil. It produces an incredibly softer crumb and keeps the banana bread moist for a significantly longer period. This is especially beneficial if you plan to enjoy your loaf over several days. If olive oil isn’t your preference, canola oil, sunflower oil, or avocado oil are excellent neutral-flavored alternatives. For butter enthusiasts, you can substitute 1/3 cup of melted unsalted butter or a dairy-free butter alternative for the oil. Keep in mind that butter tends to result in a slightly denser, more compact, and often drier loaf compared to oil.
Sugar: Balancing Sweetness
We use plain white granulated sugar for a clean, sweet taste. Brown sugar, coconut sugar, or palm sugar can also be used, each adding a slightly different flavor profile. Since our recipe features extra bananas, which contribute natural sugars, you have flexibility with the amount of added sugar. For a less sweet loaf, you can reduce it to 1/4 cup. If you have a sweeter tooth, you can increase the sugar up to 1 cup for a truly indulgent banana nut bread.
Vanilla Extract: Aromatic Comfort
Vanilla extract is a crucial addition, imparting a warm, comforting aroma and depth of flavor that complements the bananas beautifully. Don’t skip this ingredient, as it truly rounds out the taste of the bread.
Baking Powder and Baking Soda: The Leavening Agents
Baking powder is essential for giving the bread its beautiful domed top and overall rise. Baking soda is optional but highly recommended; it reacts with the acidity in the bananas to create a lighter, more tender crumb and helps the bread spread in the pan. Together, they ensure a perfectly risen and airy loaf.
Salt: Flavor Enhancer
A small pinch of salt might seem counterintuitive in a sweet bread, but it’s a secret ingredient for flavor balance. It won’t make your bread salty; instead, it brings out and enhances all the other flavors, making the loaf taste richer and more complex. If you are on a low-sodium diet, you can omit the salt without significantly impacting the bread’s structure.
Optional Add-ins: Customizing Your Loaf
- Cinnamon: Add 1 teaspoon for a warm, spicy note that pairs wonderfully with banana.
- Dark chocolate chips: For a decadent “chunky monkey” twist, fold in 1/2 cup.
- Raisins or cranberries: Incorporate 1/2 cup for bursts of chewy sweetness and tang.
Equipment: Choosing Your Loaf Pan
The size of your loaf pan will influence the final height and shape of your banana nut bread. Here are your options:
- 8 x 4 inches (20 x 10 cm): This is our recommended pan size, as it produces the tall, narrow, and visually stunning loaf seen in our pictures. We find it the most aesthetically pleasing.
- 8.5 x 4.5 inches (21.5 x 11.5 cm): This size will yield a loaf that is slightly shorter and wider than those pictured, but equally delicious.
- 9 x 5 inches (23 x 12.5 cm): This larger pan results in a shorter, wider loaf. While it might be less “pretty” in terms of height, it remains incredibly flavorful.
If you prefer individual servings, you can easily substitute a loaf pan with a muffin pan to make 12 muffins. Adjust baking time accordingly (typically 20-25 minutes).
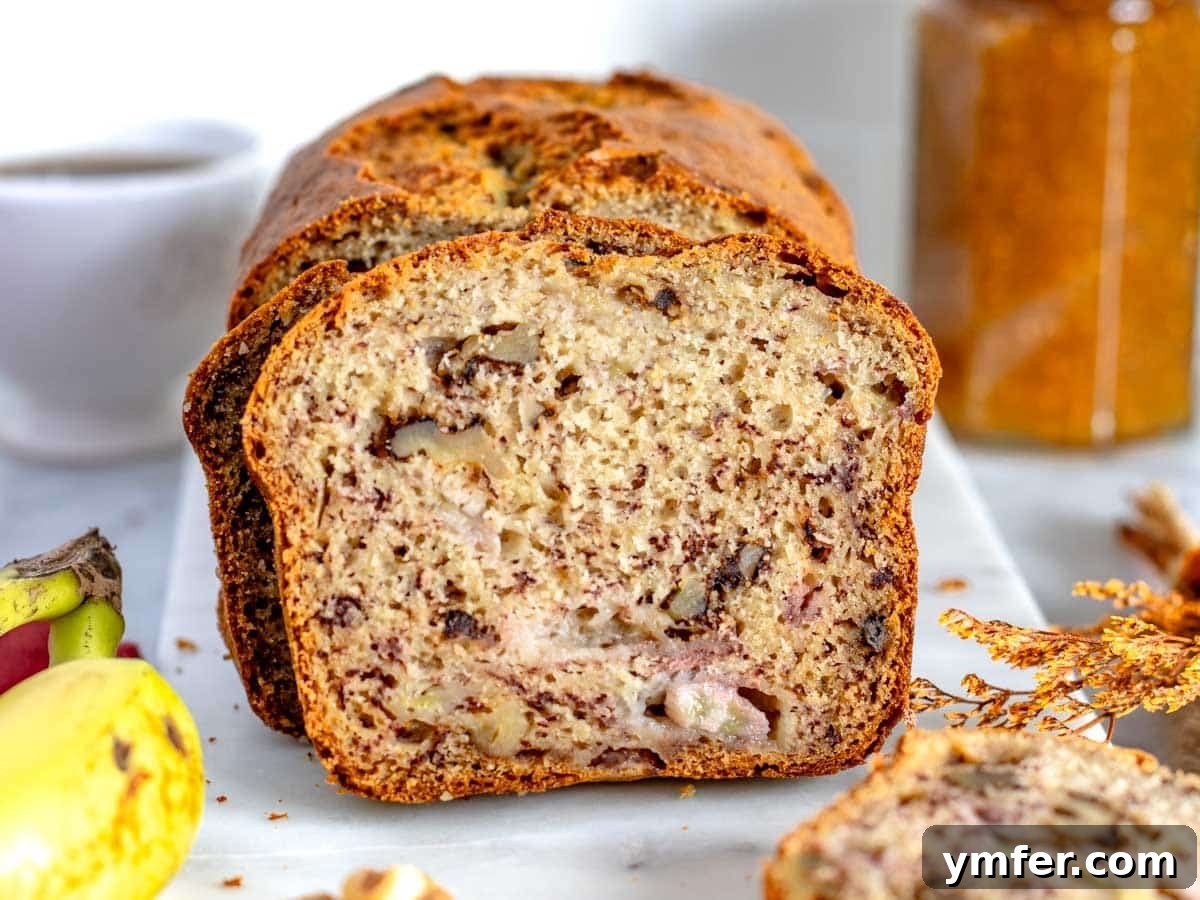
Step-by-Step: How to Make Banana Nut Bread
This recipe is designed for simplicity and maximum flavor, requiring minimal effort and equipment. Follow these easy steps to bake a perfect loaf every time.
For precise US cups and grams measurements, refer to the detailed recipe card at the bottom of this page.
- Prepare Your Oven and Pan: Preheat your oven to 350°F (180°C). Line your chosen loaf pan with parchment paper, leaving an overhang on the long sides to easily lift the bread out later. Alternatively, you can lightly brush the pan with oil or butter and dust with flour.
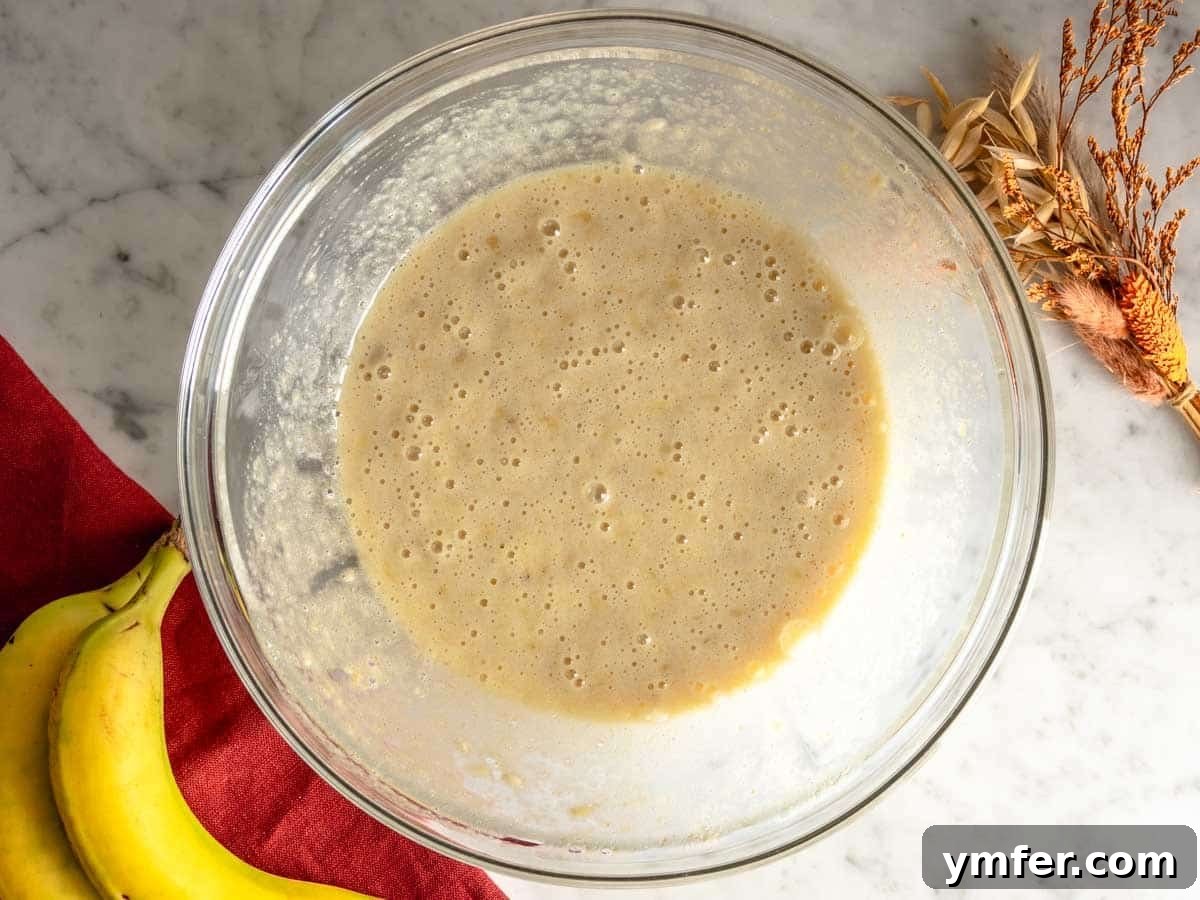
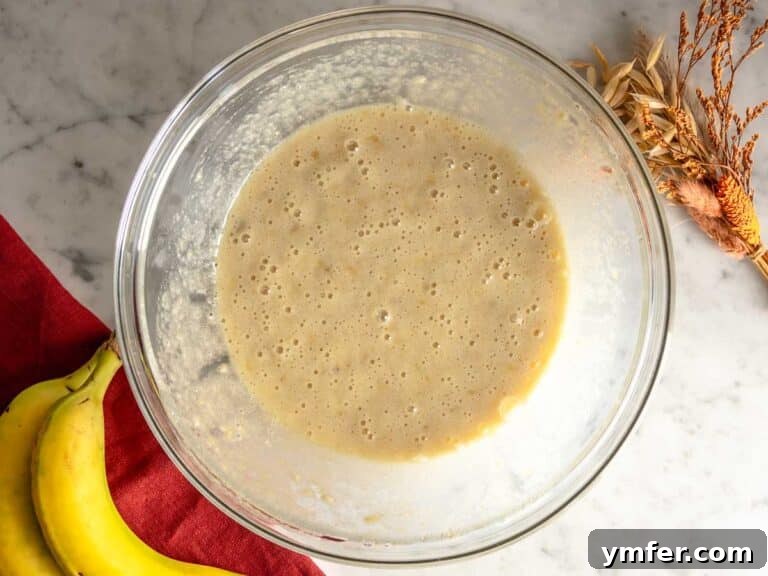
- Mash Bananas & Mix Wet Ingredients: In a large mixing bowl, mash 3 of your 4 ripe bananas with a fork or a potato masher until mostly smooth with a few small lumps. Add the almond milk, olive oil, sugar, and vanilla extract to the mashed bananas. Stir everything together well with your fork until all the wet ingredients are thoroughly combined. This forms the flavorful base of your bread.

Wet ingredients for banana nut bread, smoothly combined. - Combine Dry Ingredients: To the wet mixture, add the all-purpose flour, baking powder, baking soda, and a pinch of salt. Stir gently with your fork until the dry ingredients are just combined with the wet, being careful not to overmix. A few streaks of flour are perfectly fine at this stage.
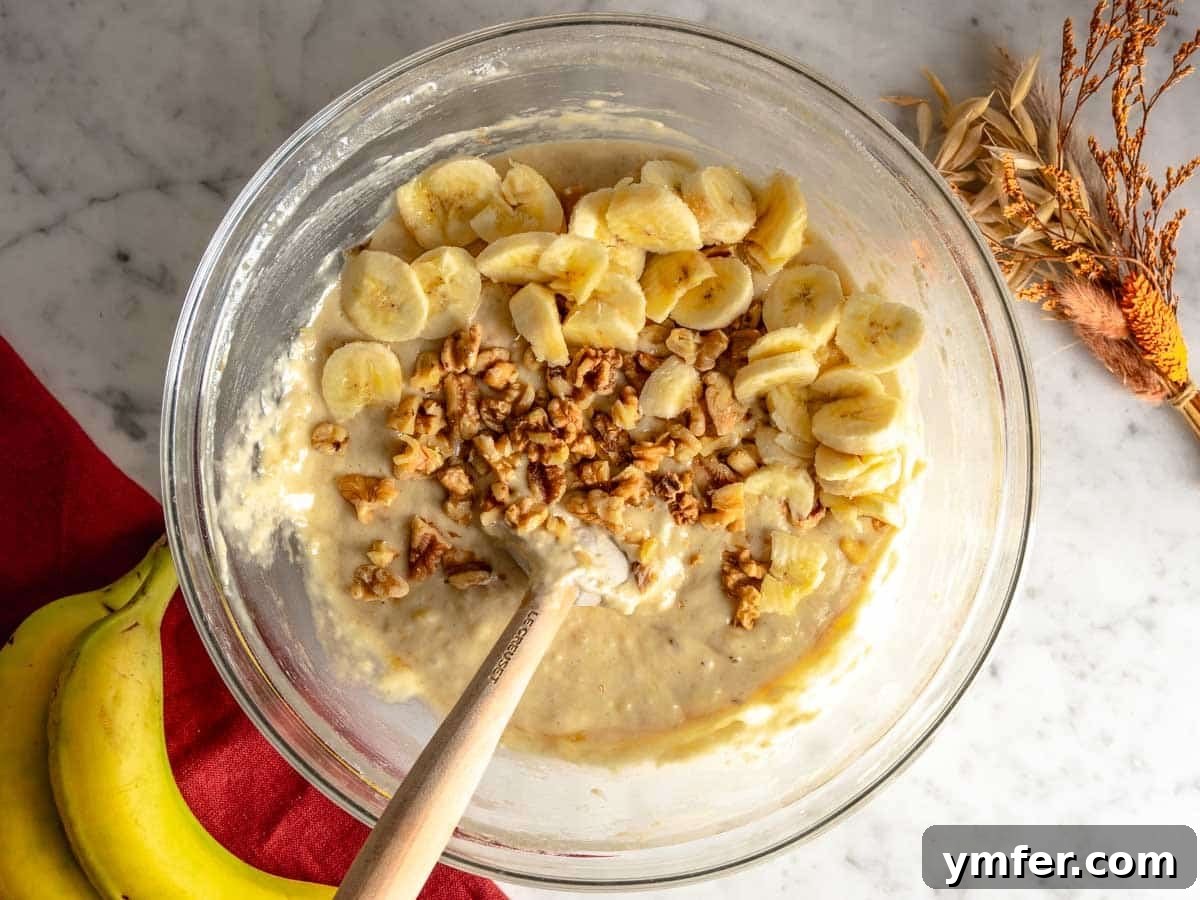
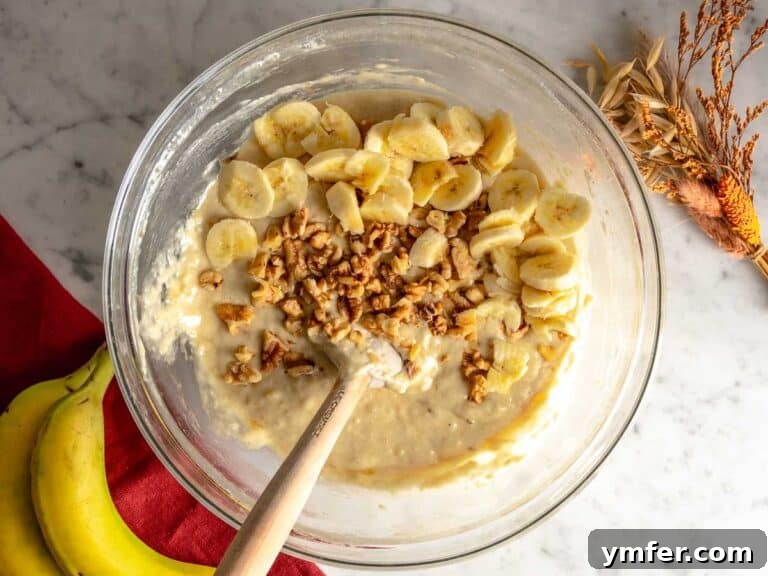
- Fold in Nuts and Banana Chunks: Now, fold in the chopped walnuts and the remaining 1 banana, cut into small pieces. The banana chunks are optional but highly recommended for that extra moistness, delightful texture, and boosted banana flavor that makes this recipe truly special.
- Bake Immediately: Pour the prepared batter into your lined loaf pan. Bake immediately in the preheated oven at 350°F (180°C) for 45 to 50 minutes. The loaf is ready when the top is golden-brown and a wooden skewer or toothpick inserted into the center comes out mostly dry.
The wholesome batter, brimming with walnuts and banana pieces, ready for the oven. Baking Tip: Oven temperatures can vary. Start checking for doneness around the 40-minute mark to prevent overcooking. If not ready, continue baking in 2.5-minute increments until the skewer comes out mostly dry. Overbaking leads to a dry loaf!
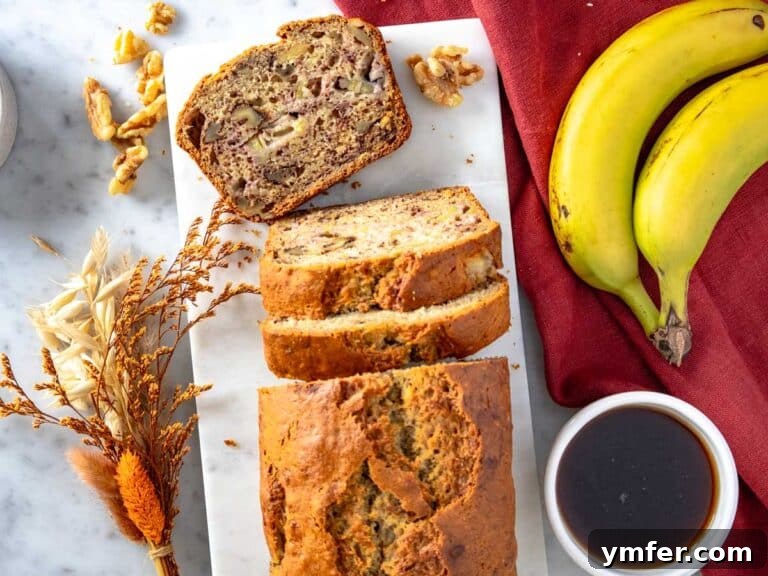
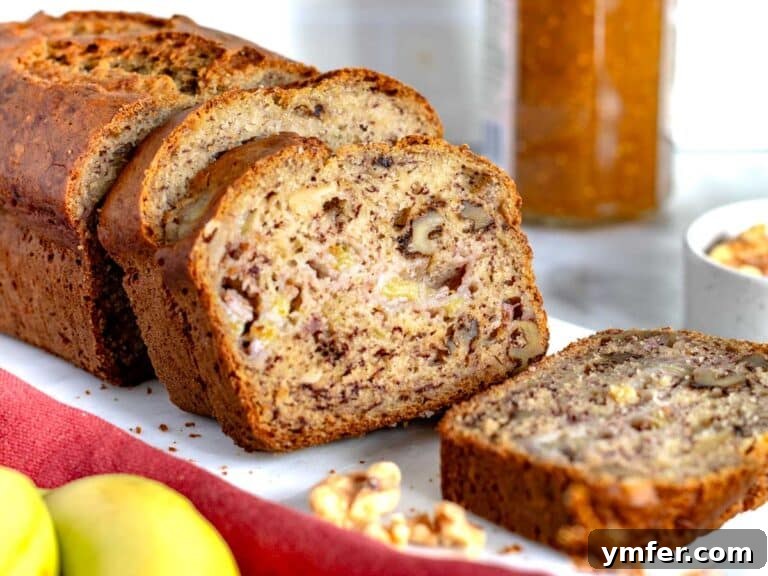
- Cool and Slice: Once baked, let the loaf cool in the pan for about 15 minutes. Then, gently use the parchment paper overhang to lift the banana nut bread out of the pan. Transfer it to a wire rack to cool down completely for at least 1 hour before slicing. This cooling time is crucial, as it allows the bread to set and retain its moisture. Use a sharp bread knife for clean slices. We find that slices cut about 0.8 inches (2 cm) thick offer the perfect bite for maximum enjoyment.
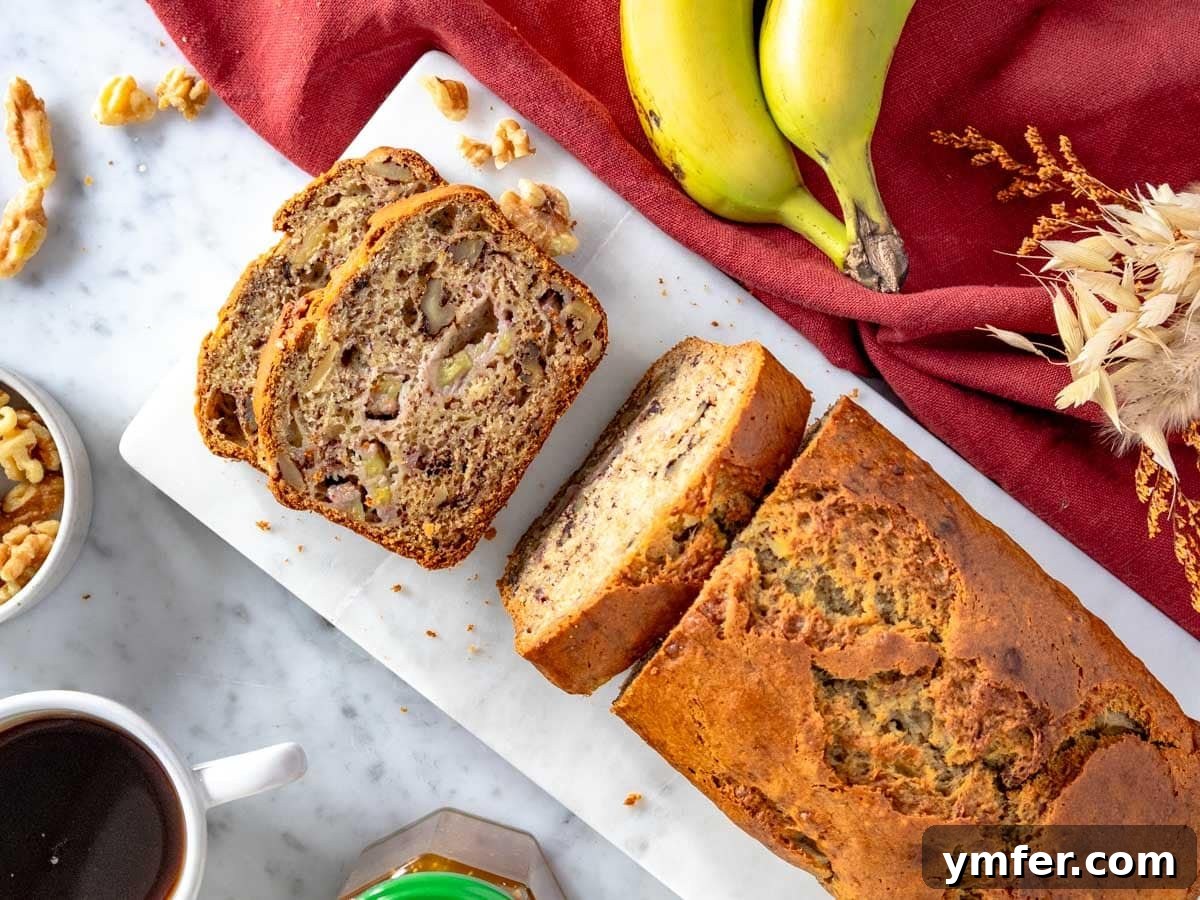
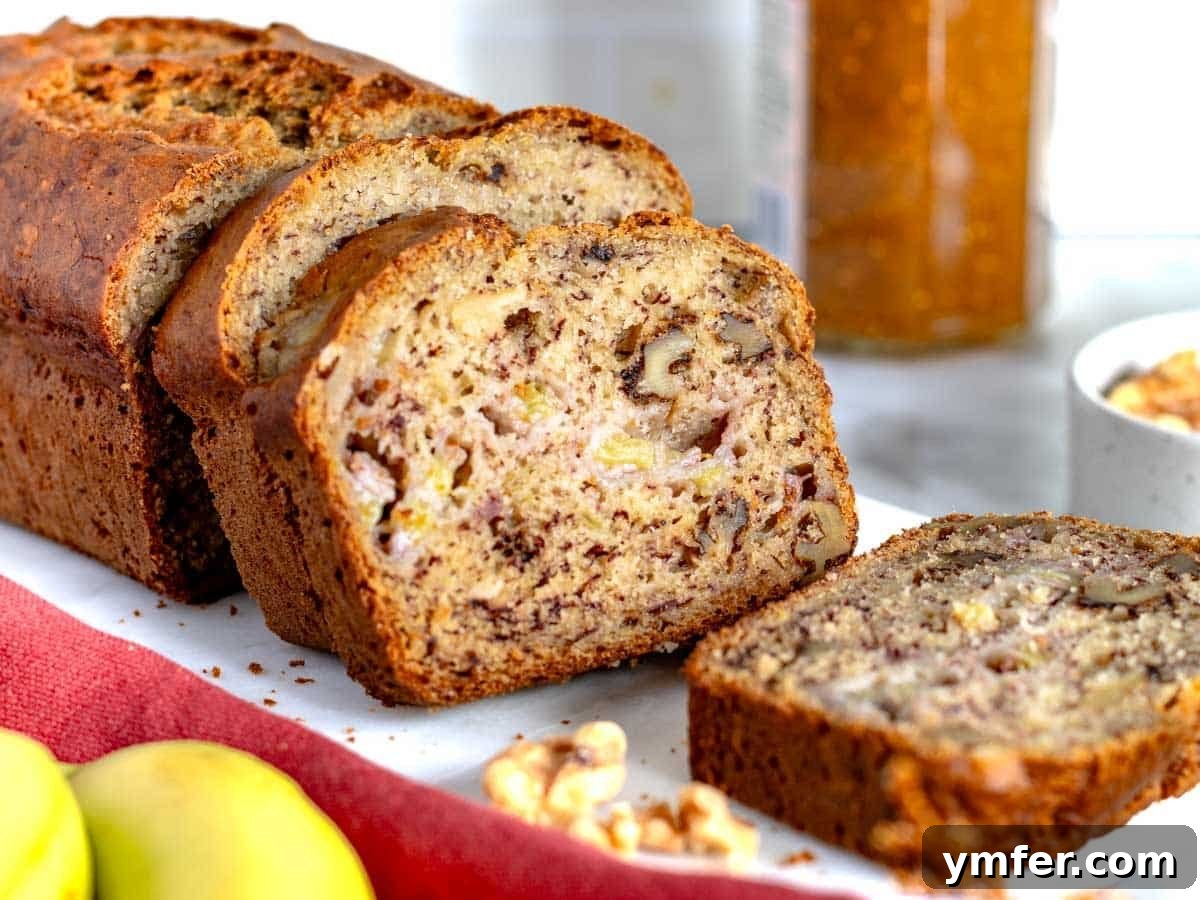
The golden perfection of a freshly baked banana nut bread loaf. Savor the delightful combination of moist banana and crunchy walnuts in every slice.
Delicious Variations for Your Banana Bread
Our banana nut bread recipe is a fantastic starting point, but it’s also wonderfully versatile. Don’t hesitate to experiment with these variations to find your new favorite:
- Classic Vegan Banana Bread: If you love our base recipe but want to focus purely on the banana flavor without nuts, check out our simple, egg-free, and butter-free vegan banana bread.
- Banana Zucchini Bread: Add grated zucchini to the batter for extra moisture and a subtle earthy flavor. It’s a great way to sneak in some veggies! You can even add grated apples for another layer of fruitiness.
- Healthier Banana Bread Options: For a lighter version, explore our healthy banana bread, which features less sugar, wholesome olive oil, and an emphasis on pure banana flavor.
- Apple Bread Twist: Craving something different but with a similar comforting vibe? Swap out the bananas for grated apples to make a delightful apple bread – perfect for fall!
- Chocolate Chip Banana Bread: As mentioned, adding 1/2 cup of dark chocolate chips creates a rich, sweet, and utterly irresistible loaf.
- Spiced Banana Bread: Enhance the warmth by adding 1 teaspoon of ground cinnamon, a pinch of nutmeg, or even a touch of allspice to your batter.
- Tropical Banana Bread: Fold in 1/2 cup of shredded coconut or diced pineapple for a taste of the tropics.
Baking Perfection: Key Tips for Success
Achieving a consistently perfect banana nut bread is easier than you think with these expert tips:
Don’t overmix the batter: This is arguably the most crucial rule for quick breads. When flour and liquid combine, gluten begins to develop. Overmixing leads to excessive gluten development, which can result in a heavy, gummy, and dry loaf. For a tender, moist crumb, you want to mix the batter as little as possible. We recommend mixing with a fork or spatula for literally just 10 seconds, or until the ingredients are just combined. Resist the urge to use a stand mixer, even on low speed, as it can easily lead to overmixing.
Don’t overcook it: Overcooking is another common culprit for dry banana bread. The key is to remove the loaf from the oven as soon as it’s done. Start checking your bread at the 40-minute mark by inserting a wooden toothpick or skewer into the center. If it comes out mostly dry with only a few moist crumbs, your bread is ready. If it’s still wet, continue baking in 2.5-minute increments until it passes the skewer test. Keep a close eye on it!
Common Questions (FAQ)
Several factors can lead to dry banana nut bread. The most common reasons include overcooking the loaf, overmixing the batter (which develops too much gluten), or using bananas that were not ripe enough (less moisture and sweetness). Using butter instead of oil can also result in a drier loaf, as oil contributes more moisture and keeps the bread tender for longer. Make sure to follow our tips on don’t overmix and don’t overcook!
To achieve an exceptionally moist banana nut bread, follow our signature method: add extra banana chunks to the batter in addition to the mashed bananas. These pieces melt into gooey pockets during baking, enhancing moisture and texture. You can add up to 2 extra bananas, chopped into small pieces, with your walnuts. Ensure you use very ripe bananas, avoid overmixing the batter, and do not overcook the bread.
Absolutely! This versatile banana nut bread batter is perfect for making delicious muffins. Simply divide the batter evenly into a standard 12-cup muffin tin (paper liners are recommended). Bake them at 350°F (180°C) for 20 to 23 minutes, or until a toothpick inserted into the center of a muffin comes out clean. Muffins are a great option for portion control and on-the-go snacks!
Storage & Freshness: Keeping Your Loaf Perfect
Proper storage is key to enjoying your delicious banana nut bread for days:
Room Temperature: Once the bread has completely cooled, wrap any leftover banana bread tightly in plastic wrap or aluminum foil. Store it at room temperature for up to 3-4 days. Keeping it well-sealed prevents it from drying out.
Freezer: For longer storage, allow the loaf to cool down completely. Wrap it exceptionally well in multiple layers of plastic wrap, followed by a layer of aluminum foil, or place it in a freezer-safe bag. It can be frozen for up to 3 months. You can also slice the loaf first, then wrap each slice individually before freezing. This allows you to thaw single portions as needed. Avoid freezing and thawing the same portion multiple times.
Thawing: To thaw, simply remove the desired portion from the freezer and let it come to room temperature on your countertop, or gently warm it in the microwave for a quick treat.
More Baking Inspiration: Explore Our Favorites
If you loved this banana nut bread, you’ll surely enjoy these other quick bread and brunch ideas from our collection:
MORE QUICK BREADS: Explore the delightful world of quick breads with these easy-to-make recipes: Easy Apple Bread, Vegan Pumpkin Bread, Sweet Potato Bread, Vegan Zucchini Bread, and our classic Vegan Banana Bread.
VEGAN BRUNCH IDEAS: Elevate your brunch game with these plant-based delights: Vegan French Toast, Vegan Pancakes, Vegan Cinnamon Rolls, Vegan Crepes, Apple Cinnamon Muffins, Banana Muffins, and our savory Egg-Free Frittata.
You Might Also Enjoy:
Breakfast
Banana Pancakes (No Added Sugar)
Breakfast
Vegan Pancakes
30-minute meals
Vegan Frittata
Breakfast
Vegan Banana Muffins
For many more breakfast ideas, explore our dedicated breakfast category page.
Banana Nut Bread Recipe Card
Nico Pallotta
Our banana nut bread recipe makes a soft, moist, and wholesome loaf with an easy-to-slice crumb, crunchy nuts, and plenty of banana flavor. This recipe is naturally plant-based.
15 mins
45 mins
1 hr
12 slices
Breads, Breakfast, Dessert, Snack
American
Equipment
- 8 x 4 inches (20 x 10 cm) loaf pan For a tall and narrow loaf, as pictured.
- or 8.5 x 4.5 inches (21.5 x 11.5 cm) For a slightly shorter and wider loaf.
- or 9 x 5 inches (23 x 12.5 cm) For a shorter, wide loaf.
Ingredients (USA Units)
- 4 ripe bananas
- ⅓ cup almond milk or any other milk
- ¼ cup olive oil or any other vegetable oil
- ½ cup sugar (adjust to ¼ cup for less sweet, up to ¾ cup for sweeter)
- 1 tablespoon vanilla extract
- 2 cups all-purpose flour
- 2 teaspoons baking powder
- 1 teaspoon baking soda
- 1 pinch salt
- 1 cup walnuts chopped
Instructions
-
Preheat the oven to 350°F (180°C). Line your loaf pan with parchment paper or brush it with oil.
In a mixing bowl, mash 3 of the 4 ripe bananas with a fork or potato masher.
Add ⅓ cup almond milk, ¼ cup olive oil, ½ cup sugar, and 1 tablespoon vanilla extract and stir until well combined.
-
Add 2 cups all-purpose flour, 2 teaspoons baking powder, 1 teaspoon baking soda, and 1 pinch salt.
Stir until just combined (do not overmix), then fold in 1 cup walnuts (chopped) and the remaining 1 banana cut into pieces.
-
Pour the batter into the loaf pan and bake at 350°F (180°C) for 40 to 50 minutes, or until the loaf is golden-brown on top and a toothpick inserted in the center comes out mostly dry.
-
Let it cool down for 15 minutes in the pan, then cool down completely on a wire rack (at least 1 hour) before slicing with a bread knife.
We like to cut our slices 0.8 Inches (2 cm) thick for maximum enjoyment.
Notes
SUBSTITUTIONS
All-purpose flour: You can substitute 50% all-purpose flour with whole-wheat flour for added fiber.
Olive oil: Substitute with avocado oil, canola oil, sunflower oil, any other neutral vegetable oil, or 1/3 cup melted dairy or vegan butter.
Walnuts: Feel free to substitute with pecans, hazelnuts, almonds, or cashews for varied flavor and crunch.
Almond milk: Any other milk, such as soy milk, oat milk, rice milk, or cow’s milk, can be used.
Baking soda: While optional, it makes the crumb lighter and is highly recommended.
Sugar: You can reduce the amount of sugar to 1/4 cup (50 grams) without drastically affecting texture. For a very sweet loaf, increase up to 1 cup (200 grams).
STORAGE
Room temp: Wrap leftover banana bread tightly in plastic wrap and store at room temperature for 3 – 4 days.
Freezer: Allow to cool completely, then wrap well in plastic or aluminum foil and freeze for up to six months. You can also slice and wrap each slice individually for convenient single portions. Do not freeze multiple times.
Thaw in the microwave or at room temperature.
TIPS FOR PERFECTION
Don’t overmix the batter: Overmixing develops the gluten in the flour, making the loaf heavier, gummier, and dry.
Mix the batter with a fork, manual whisk, or spatula for literally 10 seconds until it just comes together. Avoid electric mixers.
Don’t overcook it: Overcooking is a major cause of dry banana nut bread. Check your bread at the 40-minute mark with a wooden toothpick or skewer. If it comes out mostly dry, it’s ready. If not, cook in 2.5-minute increments.
Nutrition information is an estimate for one slice of banana nut bread out of 12 servings.
Nutrition (Per Serving)
Carbohydrates: 29g,
Protein: 4g,
Fat: 11g,
Saturated Fat: 1g,
Polyunsaturated Fat: 5g,
Monounsaturated Fat: 4g,
Trans Fat: 0g,
Cholesterol: 0mg,
Sodium: 105mg,
Potassium: 140mg,
Dietary Fiber: 1g,
Sugar: 9g,
Vitamin A: 2IU,
Vitamin B6: 0.1mg,
Vitamin C: 0.2mg,
Vitamin E: 1mg,
Vitamin K: 3µg,
Calcium: 50mg,
Folate: 55µg,
Iron: 2mg,
Manganese: 1mg,
Magnesium: 21mg,
Zinc: 0.5mg
Tried this recipe?
Leave a comment below or mention @theplantbasedschool on Instagram. We love hearing from you ⭐️ 💚.
You might also enjoy:
Collections
35 Vegan Breakfast Ideas
Collections
35 Easy Desserts
Collections
30 Vegan Brunch Recipes
Collections
35 Plant-based Recipes