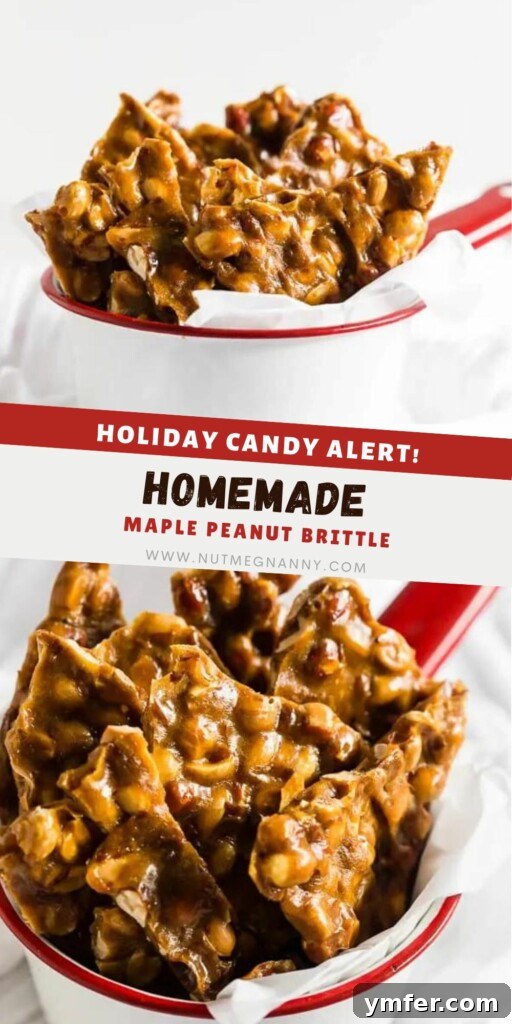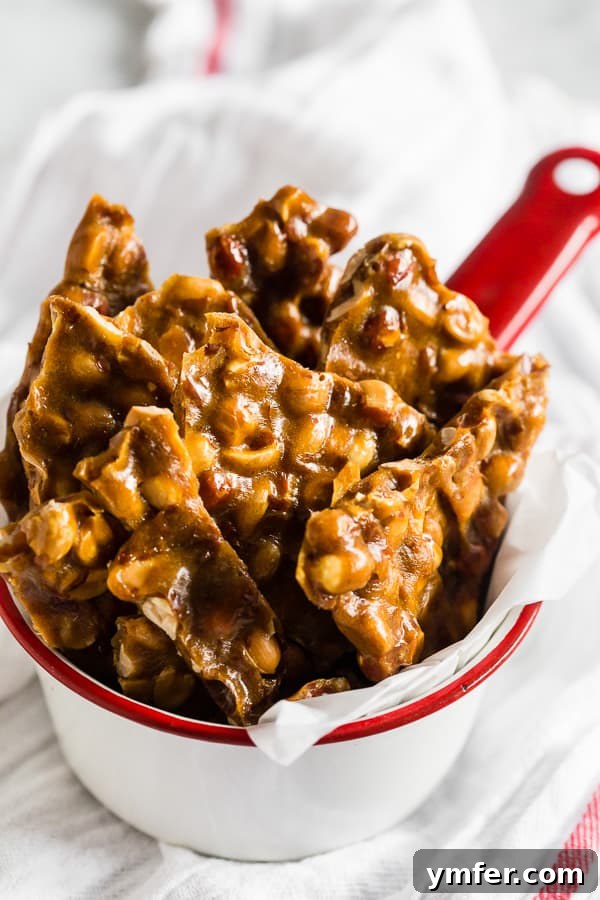
There’s a special kind of magic that fills the air during the holidays, and for many, that magic tastes like homemade candy. Among the most cherished festive treats, peanut brittle holds a classic spot. But what if you could elevate this beloved confection with a sophisticated twist? Introducing our homemade maple peanut brittle – a delightful creation that marries the beloved crunch and buttery richness of traditional peanut brittle with an alluring hint of sweet maple flavor. This isn’t just candy; it’s a nostalgic journey wrapped in a crispy, golden embrace, destined to become a star on your holiday cookie tray and a cherished gift for loved ones.
A Taste of Tradition with a Maple Twist
My childhood Christmases in Ohio were undeniably defined by the contents of our holiday cookie tray. It wasn’t just about cookies; it was about an array of homemade sweets that made the season truly special. And without fail, two staples always graced the spread: classic peanut brittle and those irresistible peanut butter buckeyes. In my experience, it simply wasn’t Christmas in Ohio unless homemade candy was involved. This cherished tradition instilled in me a deep love for creating sweet delights from scratch, a passion I carry with me even after moving to New York.
While New Yorkers certainly appreciate a good treat, I’ve noticed a slight difference in the holiday candy-making culture. Perhaps it’s a regional nuance, but the sheer volume and variety of homemade candies I recall from my Ohio upbringing seem less prevalent here. Personally, I find the process of making candy, especially something as rewarding as this maple peanut brittle, surprisingly straightforward – often easier than baking intricate cookies. It all boils down to familiarity and the right approach. With a few key tips and a dash of patience, you’ll discover that candy making can be an incredibly gratifying experience, transforming simple ingredients into edible works of art.
Mastering the Art of Candy Making: Essential Tips
The secret to successful candy making isn’t magic; it’s precision and preparation. The most crucial tool you’ll need in your arsenal is a reliable candy thermometer. This isn’t an optional gadget; it’s your guide to perfectly cooked sugar, ensuring your brittle reaches that ideal crispy, crunchy texture without being too soft or burnt. Sugar goes through various stages as it heats, and reaching the “hard crack” stage (300°F) is absolutely vital for brittle. Guessing the temperature often leads to less-than-perfect results, so invest in a good thermometer and trust it.
Beyond the thermometer, the golden rule of candy making is “mise en place” – having all your ingredients measured and ready before you start cooking. Candy making is a fast-paced process once the sugar reaches its critical temperature. You won’t have time to measure peanuts or hunt for your maple extract when molten sugar demands your immediate attention. So, get everything prepped: line your baking sheet, measure your nuts, baking soda, and extract, and have them within arm’s reach. This proactive approach ensures a smooth process and prevents frantic scrambling that could ruin your batch.
Safety First: Handling Hot Sugar
When working with boiling sugar, safety is paramount. This isn’t just hot; it’s incredibly hot, capable of causing serious burns if not handled with care. A moment of distraction or a quick impulse can lead to painful consequences. I speak from experience, having once (and only once!) attempted to catch a tiny piece of bubbling hot brown sugar pecan toffee that was about to drip from my spatula. In a split second, I learned a very painful lesson about the intense heat of molten sugar. The realization that I had just put scorching hot toffee directly onto my finger was immediate and unforgettable. Please, learn from my mistake: resist the urge to taste, touch, or handle the hot sugar mixture directly. Use long-handled utensils, wear oven mitts if you feel more comfortable, and keep children and pets away from your workspace. A little caution goes a long way in ensuring your candy-making adventure is enjoyable and safe.
The Maple Magic: Ingredients that Shine
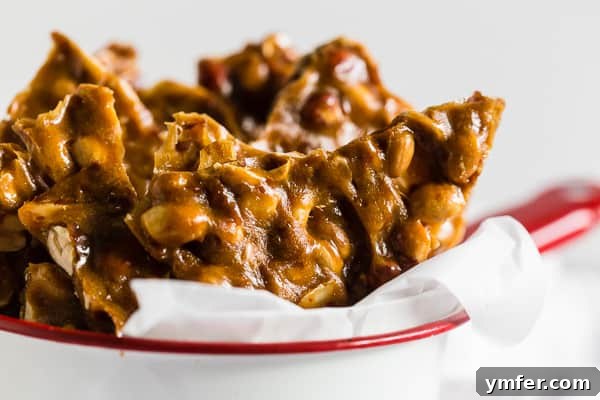
The beauty of this maple peanut brittle lies in its ability to offer the comforting familiarity of classic peanut brittle while introducing a subtle, yet distinct, maple note. This unique flavor profile is achieved by incorporating maple extract, an ingredient readily available at most grocery stores or baking supply shops. Maple extract provides a concentrated maple essence without adding excess liquid, which is crucial for maintaining the brittle’s crisp texture. While pure maple syrup is delicious, its water content can alter the final consistency of the brittle, making extract the ideal choice for this recipe.
When it comes to the peanuts, I have a personal preference for Spanish peanuts. Their smaller size and slightly nuttier flavor, coupled with their thin red skins that add a delightful visual appeal and a touch of extra texture, make them perfect for brittle. However, don’t feel limited! If Spanish peanuts aren’t available, or if you simply prefer them, salted peanuts or even a mix of other nuts like pecans or cashews can be used. Just ensure they are unsalted or lightly salted to control the overall flavor balance. The slight saltiness from salted peanuts can actually enhance the sweet and maple notes, creating a beautifully balanced flavor profile that keeps you coming back for more.
Crafting the Perfect Brittle: Beyond the Recipe
Beyond the basic steps, understanding the nuances of brittle making can elevate your results. The initial boiling of sugar, corn syrup, and water is about creating a stable sugar syrup. Stirring until it boils helps dissolve the sugar crystals, preventing a grainy texture. Once boiling, it’s crucial to stop stirring. Agitating the syrup during boiling can cause sugar crystals to form on the sides of the pan, which can then fall back into the syrup and cause the entire batch to crystallize, resulting in gritty brittle. Using a wet pastry brush to wash down any sugar crystals from the sides of the pot is a pro tip to prevent this.
The rapid addition of peanuts, maple extract, and baking soda at the precise temperature of 300°F (hard crack stage) is critical. The baking soda reacts with the hot sugar to create tiny air bubbles, which makes the brittle slightly porous and gives it that characteristic crisp, airy crunch. Without baking soda, the brittle would be much denser and harder. Once these ingredients are stirred in, the clock is ticking! You need to work quickly to pour the mixture onto your prepared baking sheet and spread it as thinly as possible. The thinner the brittle, the easier it is to break and the more delicate its crunch. A silicone baking mat (Silpat) is a game-changer here, as it ensures easy release and minimal sticking.
Serving, Storing, and Sharing Your Maple Peanut Brittle
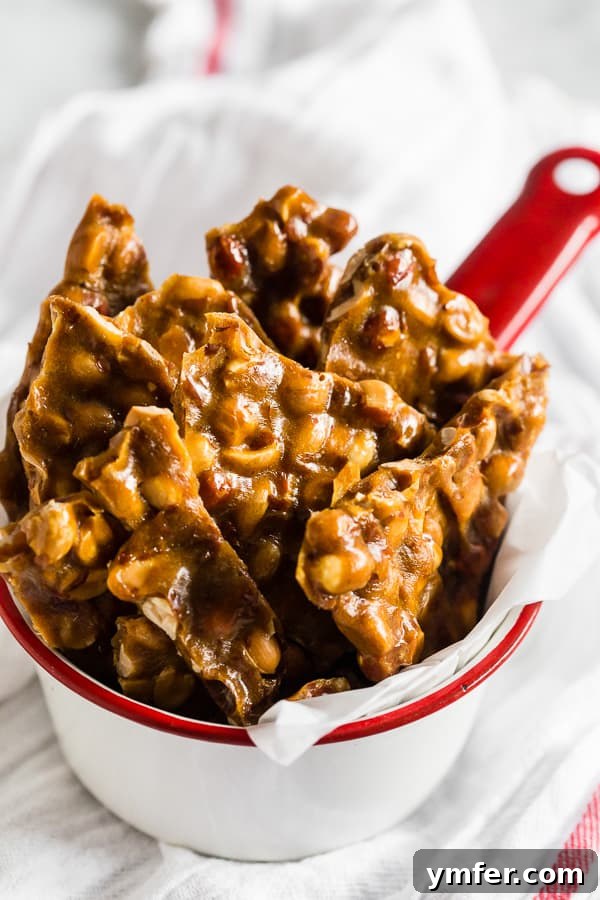
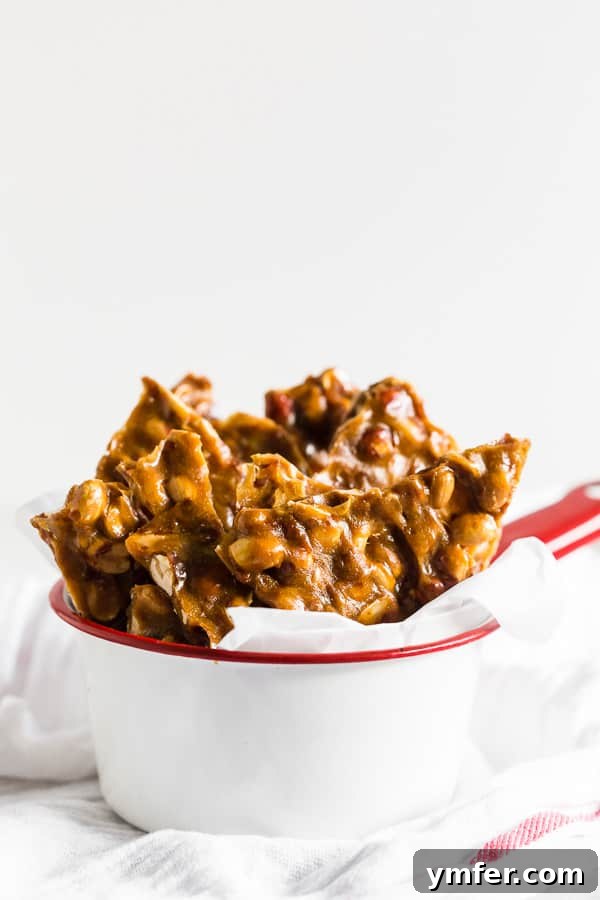
Once your maple peanut brittle has cooled completely, it’s ready to be broken into irregular, tempting pieces. This is often the most satisfying part, a gentle crack signaling your success. The beauty of brittle is its rustic charm, making perfect uniformity unnecessary. Store your brittle in an airtight container at room temperature. Humidity is the enemy of brittle, causing it to become sticky and lose its crispness, so avoid refrigeration. Properly stored, it will maintain its freshness and crunch for up to two weeks, though it rarely lasts that long!
Maple peanut brittle makes an exquisite holiday gift. Package it in pretty tins, cellophane bags tied with festive ribbons, or clear jars. It’s a thoughtful, homemade present that truly conveys warmth and care. You can also serve it alongside coffee or hot chocolate, crumble it over ice cream for a delightful textural contrast, or simply enjoy it as a standalone treat. Its unique maple flavor makes it stand out from traditional brittle, offering a sophisticated twist that guests will adore. Consider making a double batch – one for your household and another for gifting!
More Delicious Homemade Candy Recipes
- Love simple candy? Try my Brown Sugar Pecan Toffee.
- Craving something easy to make? Try my Christmas Oreo Truffles.
- Want an easy recipe? Try my Salted Peanut Clusters.
- Need more chocolate in your life? Try my Classic Chocolate Truffles.
Homemade Maple Peanut Brittle
Brandy O’Neill – Nutmeg Nanny
6
servings
10
15
25
Share by Email
Print Recipe
Equipment
-
Spanish Peanuts (for the recipe, not equipment)
-
Light Corn Syrup (for the recipe, not equipment)
-
Maple Extract (for the recipe, not equipment)
-
Heavy-bottomed saucepan
-
Candy thermometer
-
Rimmed baking sheet
-
Silicone baking mat (Silpat) or parchment paper
Ingredients
- 1 cup sugar
- 1 cup light corn syrup
- 1/4 cup water
- 2 cups Spanish peanuts
- 2 teaspoons maple extract
- 1 teaspoon baking soda
Instructions
-
Line a rimmed baking sheet with a Silpat liner or parchment paper and set aside.
-
In a heavy-bottomed pot, combine sugar, light corn syrup, and water. Place over medium heat and stir constantly until the mixture begins to boil and all sugar is dissolved.
-
Once the mixture is actively boiling, cease stirring. Allow the mixture to boil undisturbed.
-
Attach a candy thermometer to the side of the pot (ensure it doesn’t touch the bottom) and cook until the mixture reaches 285°F (140°C). This is the firm ball stage.
-
Once it reaches 285°F, stir in the Spanish peanuts. Continue cooking, stirring occasionally, until the mixture reaches 300°F (149°C), the hard crack stage.
-
Immediately remove the pot from the heat. Quickly stir in the maple extract and baking soda. The mixture will foam slightly; this is normal.
-
Carefully pour the hot brittle mixture onto the prepared Silpat-lined sheet pan. Using an oiled spatula or the back of a spoon, gently spread the mixture as thinly and evenly as possible. It will be very sticky and hot, so work quickly and with caution.
-
Allow the brittle to cool completely at room temperature until it is hard and firm. This can take about 30-60 minutes.
-
Once cooled, break the brittle into smaller, irregular pieces using your hands or a sturdy utensil. Store in an airtight container.
Nutrition
Calories: 576kcal
Carbohydrates: 87g
Protein: 12g
Fat: 24g
Saturated Fat: 4g
Polyunsaturated Fat: 18g
Sodium: 445mg
Fiber: 4g
Sugar: 79g
Nutrition information is automatically calculated, so should only be used as an approximation.
Additional Info
Dessert
American
Tried this recipe?
Mention @NutmegNanny or tag #nutmegnanny!