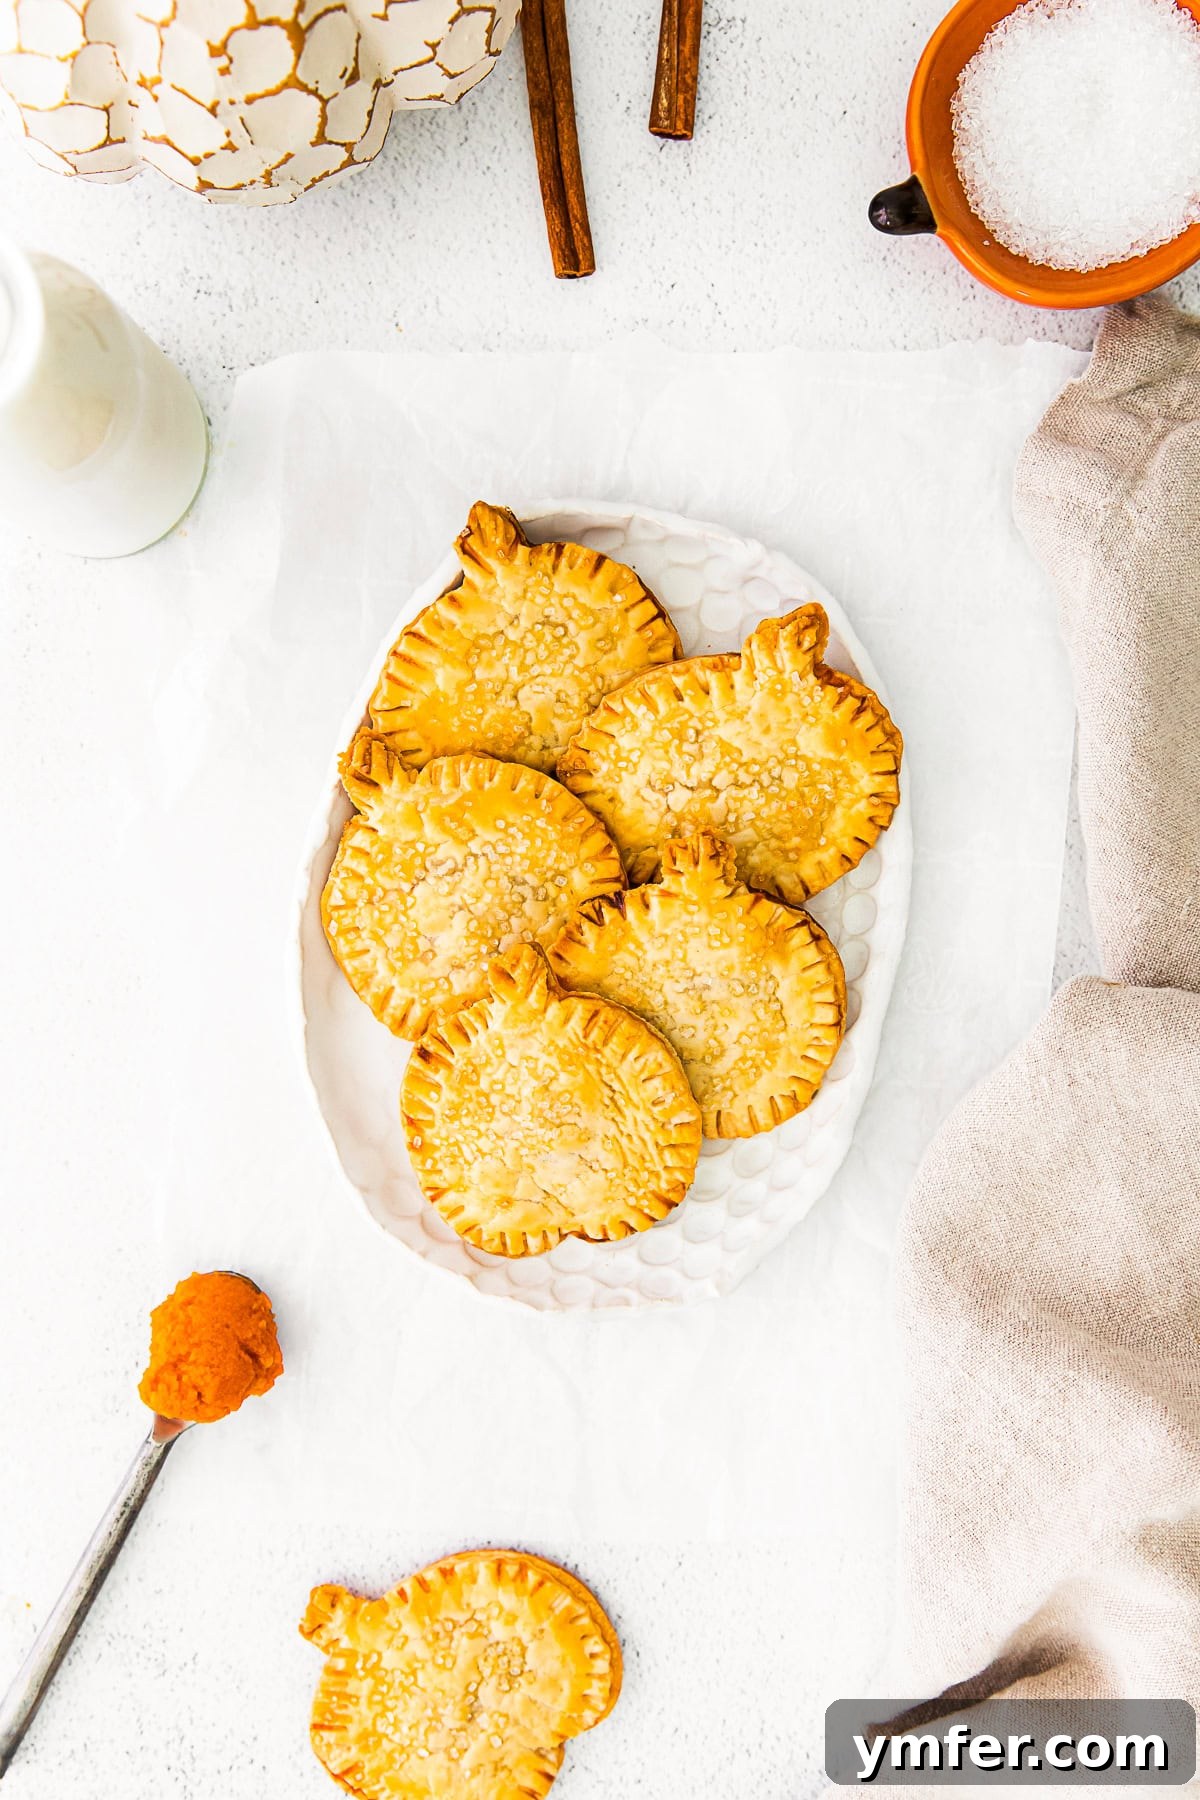
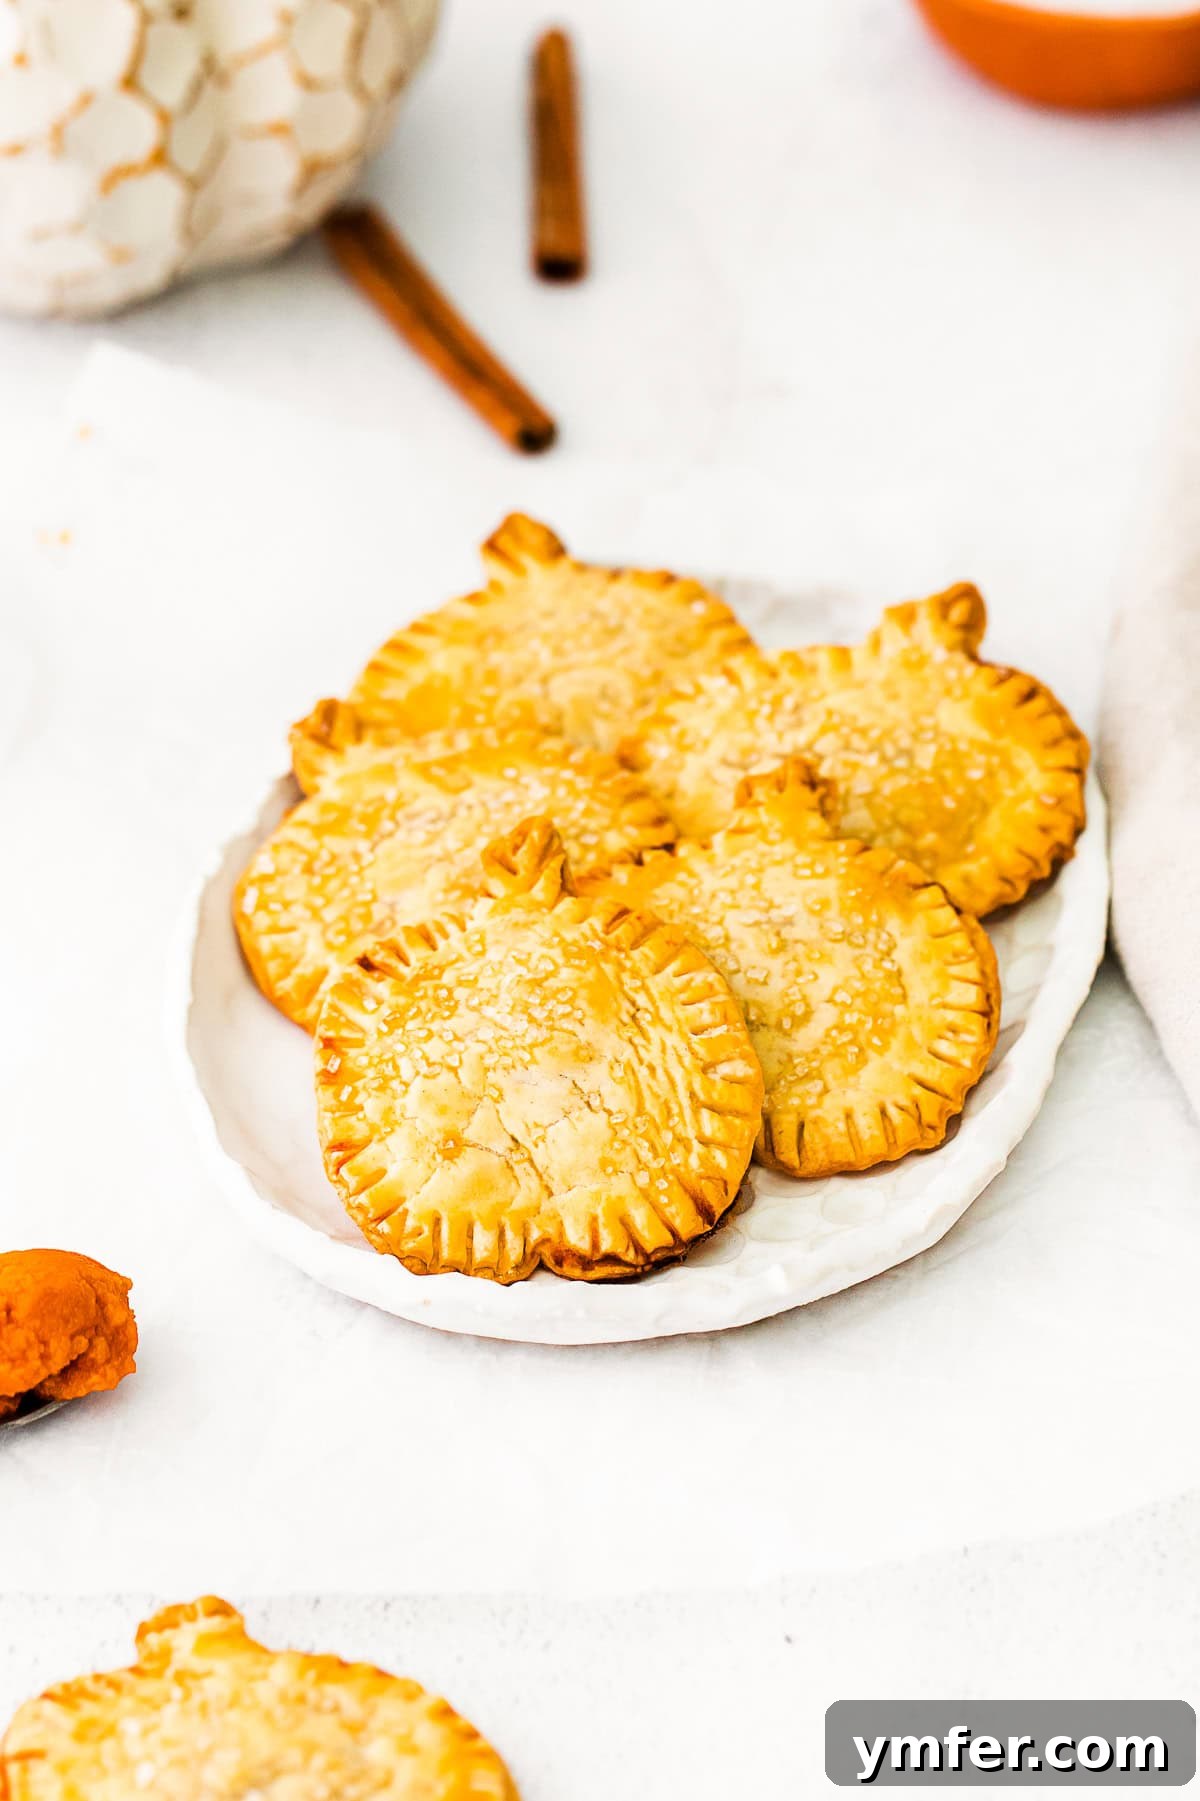
As autumn leaves begin to turn and a crisp chill fills the air, there’s a unique warmth that only homemade treats can bring. Few things capture the cozy spirit of fall quite like the comforting aroma of pumpkin spice wafting from the kitchen. While a traditional pumpkin pie is always a holiday classic, these adorable pumpkin hand pies offer a delightful, individual twist that’s both charming and incredibly convenient. Perfect for a portable snack, a festive dessert, or a fun baking project with the family, these handheld wonders are designed for ease and maximum enjoyment.
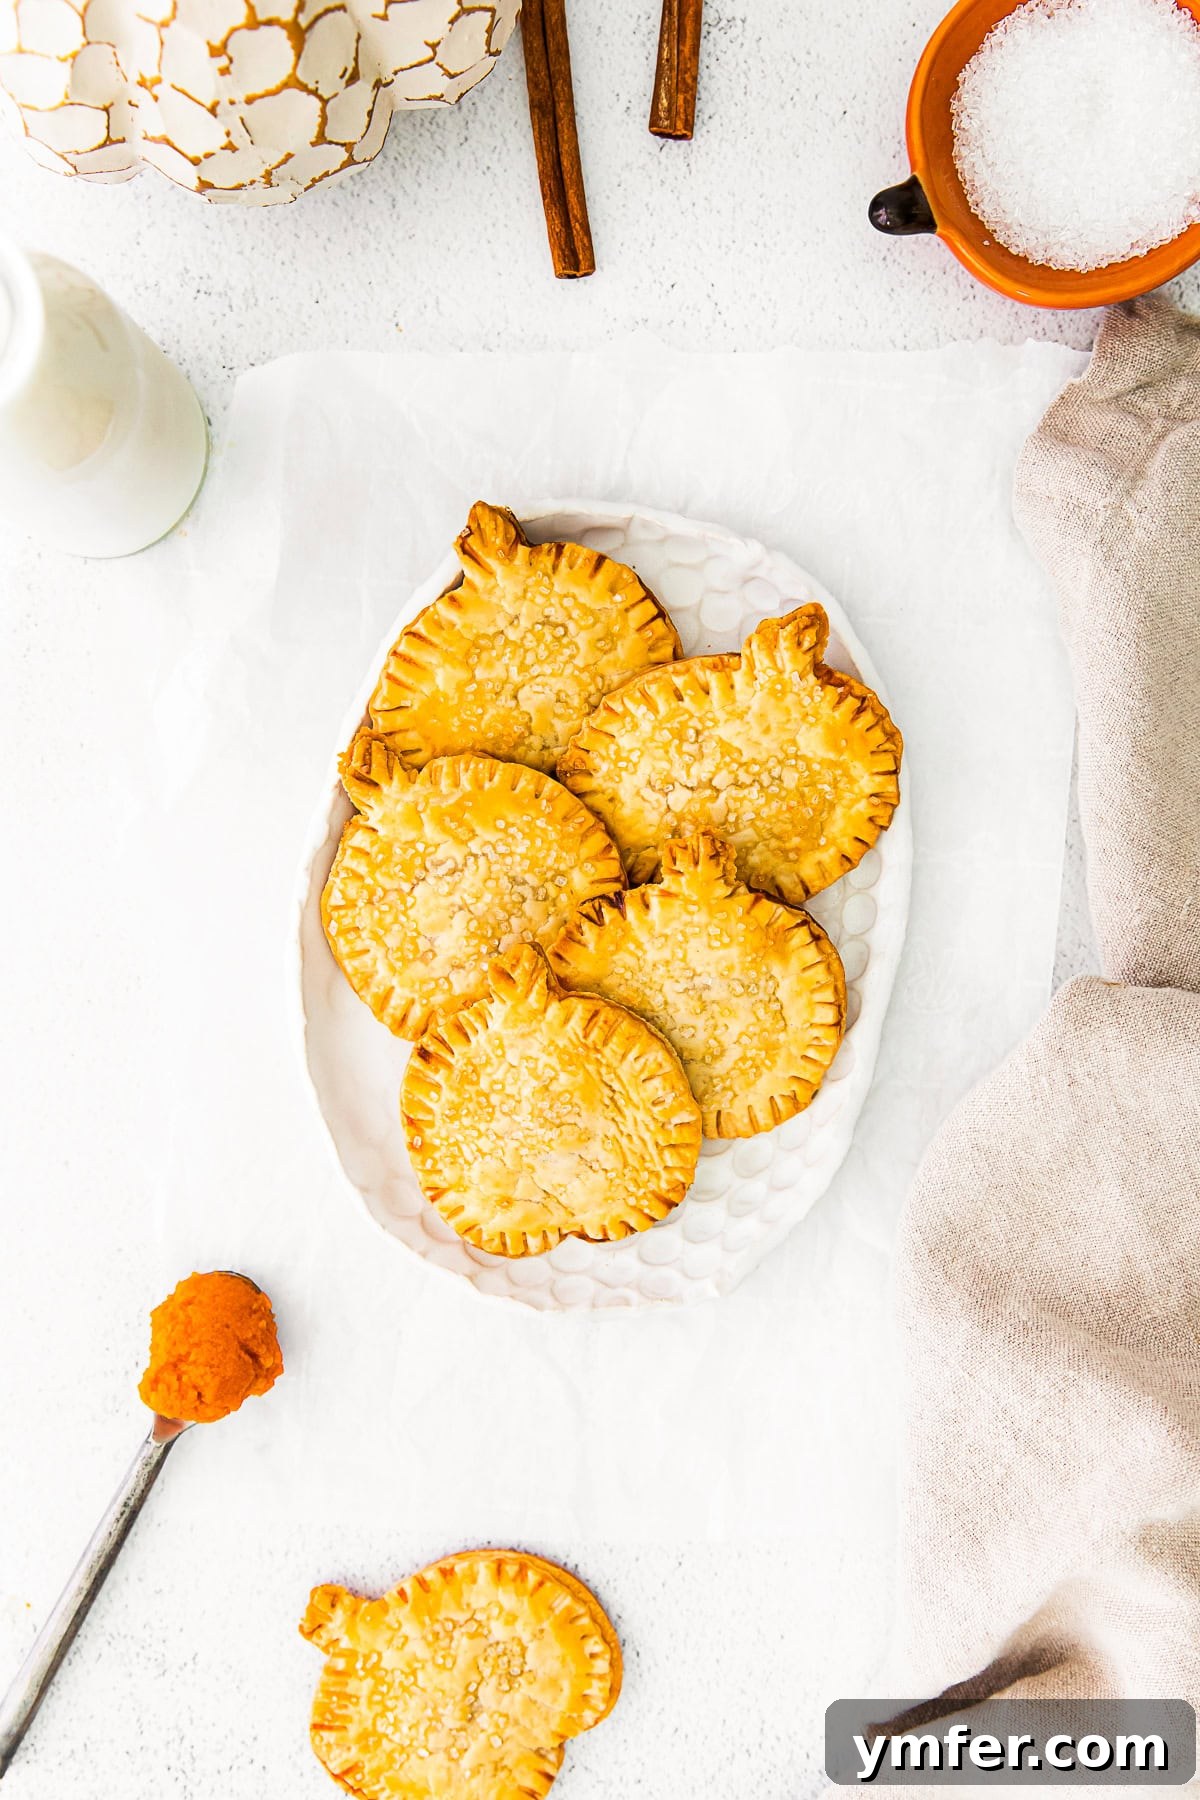
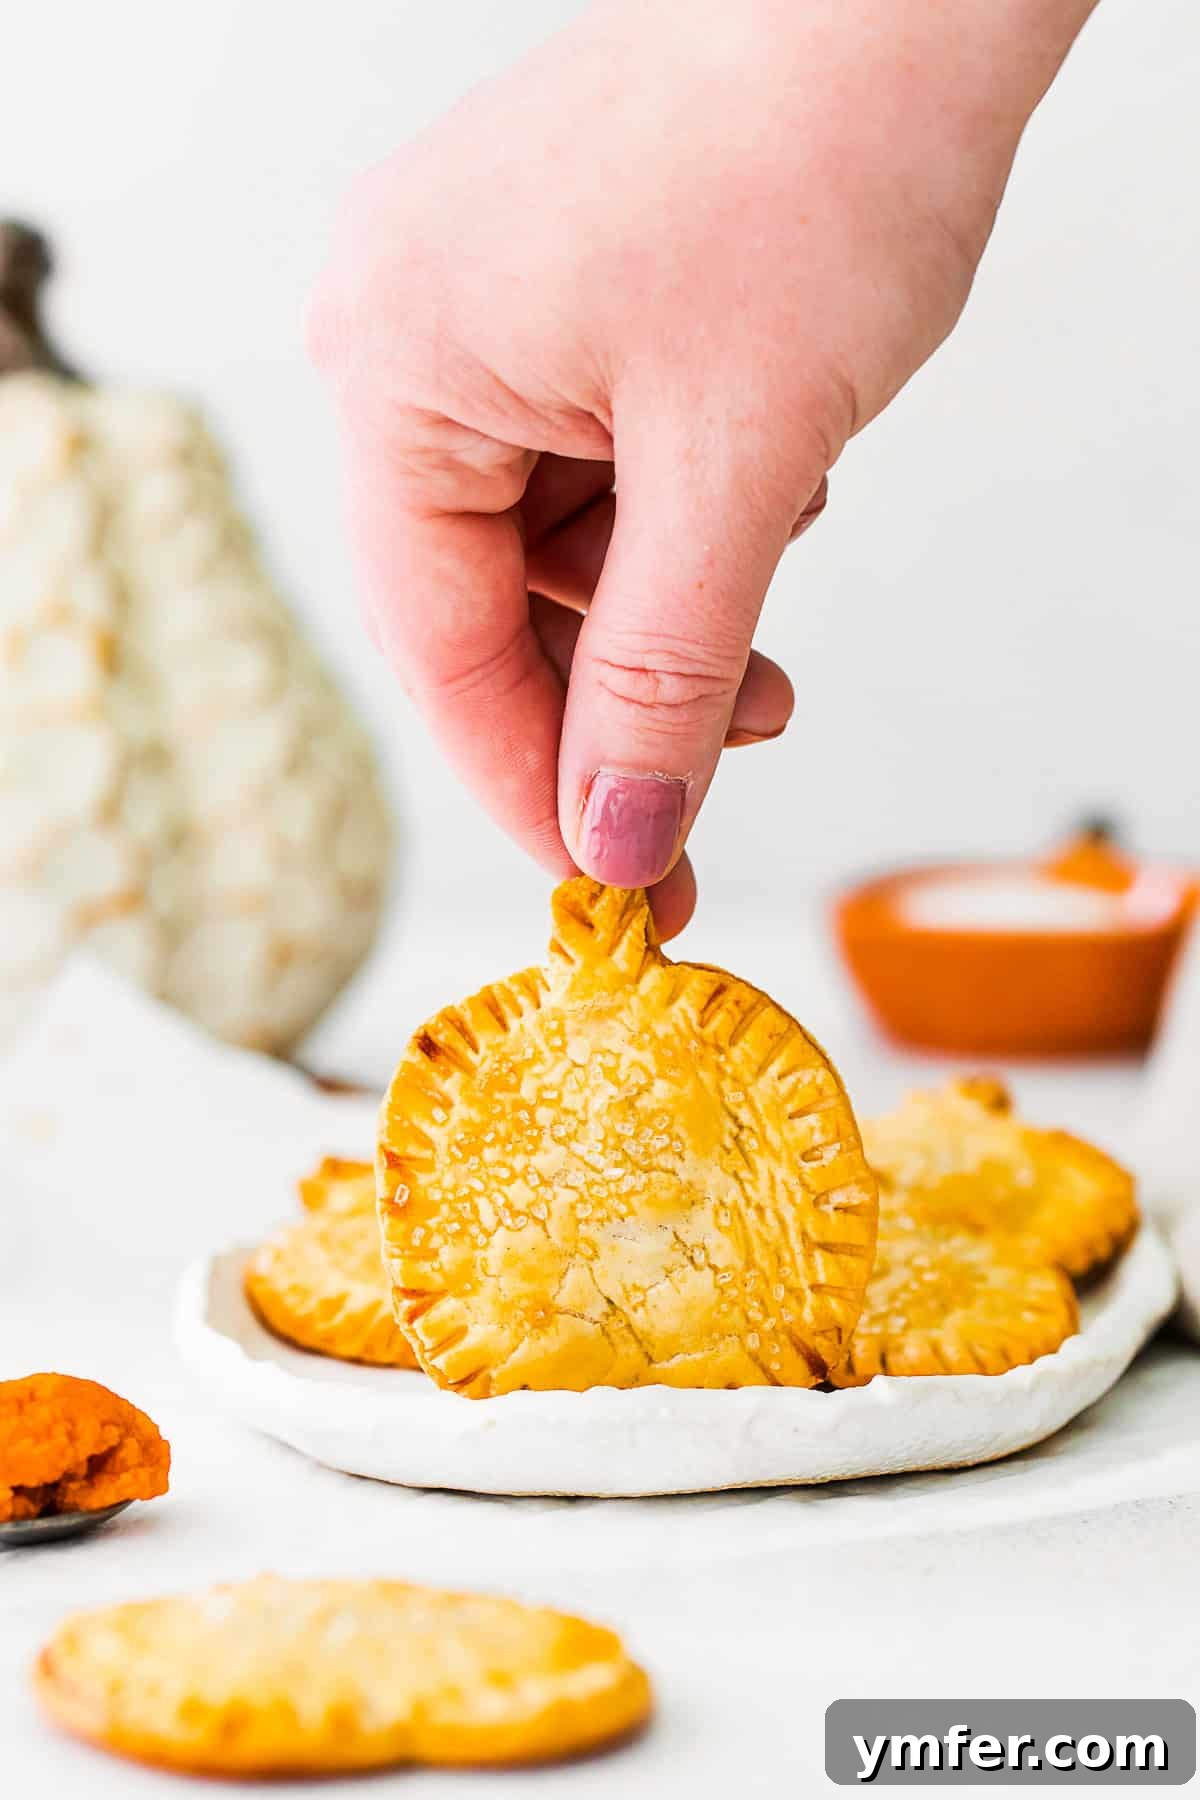
Is it just me, or do charming, individual desserts inherently taste superior to their larger counterparts? There’s something undeniably special about having your own perfectly portioned pastry, especially when it’s bursting with the quintessential flavors of the season. These pumpkin hand pies are precisely that – a mini marvel of flavor and convenience. They come together swiftly and effortlessly, thanks to the clever use of premade pie crust, saving you precious time without compromising on taste or quality. Each flaky bite delivers a rich, sweet pumpkin filling, beautifully balanced with brown sugar, notes of maple syrup, and the comforting embrace of pumpkin pie spice.
Beyond being a simply delicious treat, this recipe offers a foolproof way to celebrate fall flavors. It’s an ideal activity for inviting little ones into the kitchen, allowing them to help cut out shapes and press edges, creating lasting memories along with delectable desserts. The next time you’re seeking an innovative and fun alternative to a classic pumpkin pie, or simply need a quick-to-make fall dessert that impresses, these pumpkin hand pies are your perfect answer. They’re fantastic for holiday gatherings, school lunchboxes, or a cozy evening by the fireplace.
If you find yourself craving more autumn-inspired hand pies after indulging in these pumpkin delights, be sure to explore other wonderful options! Try my Pumpkin Butter Turnovers for another pumpkin variation, indulge in the sophisticated flavors of Bourbon Apple Hand Pies, or enjoy the comforting simplicity of Easy Apple Turnovers. Each recipe offers a unique taste of fall in a convenient, handheld form.
Essential Ingredients for Irresistible Pumpkin Hand Pies
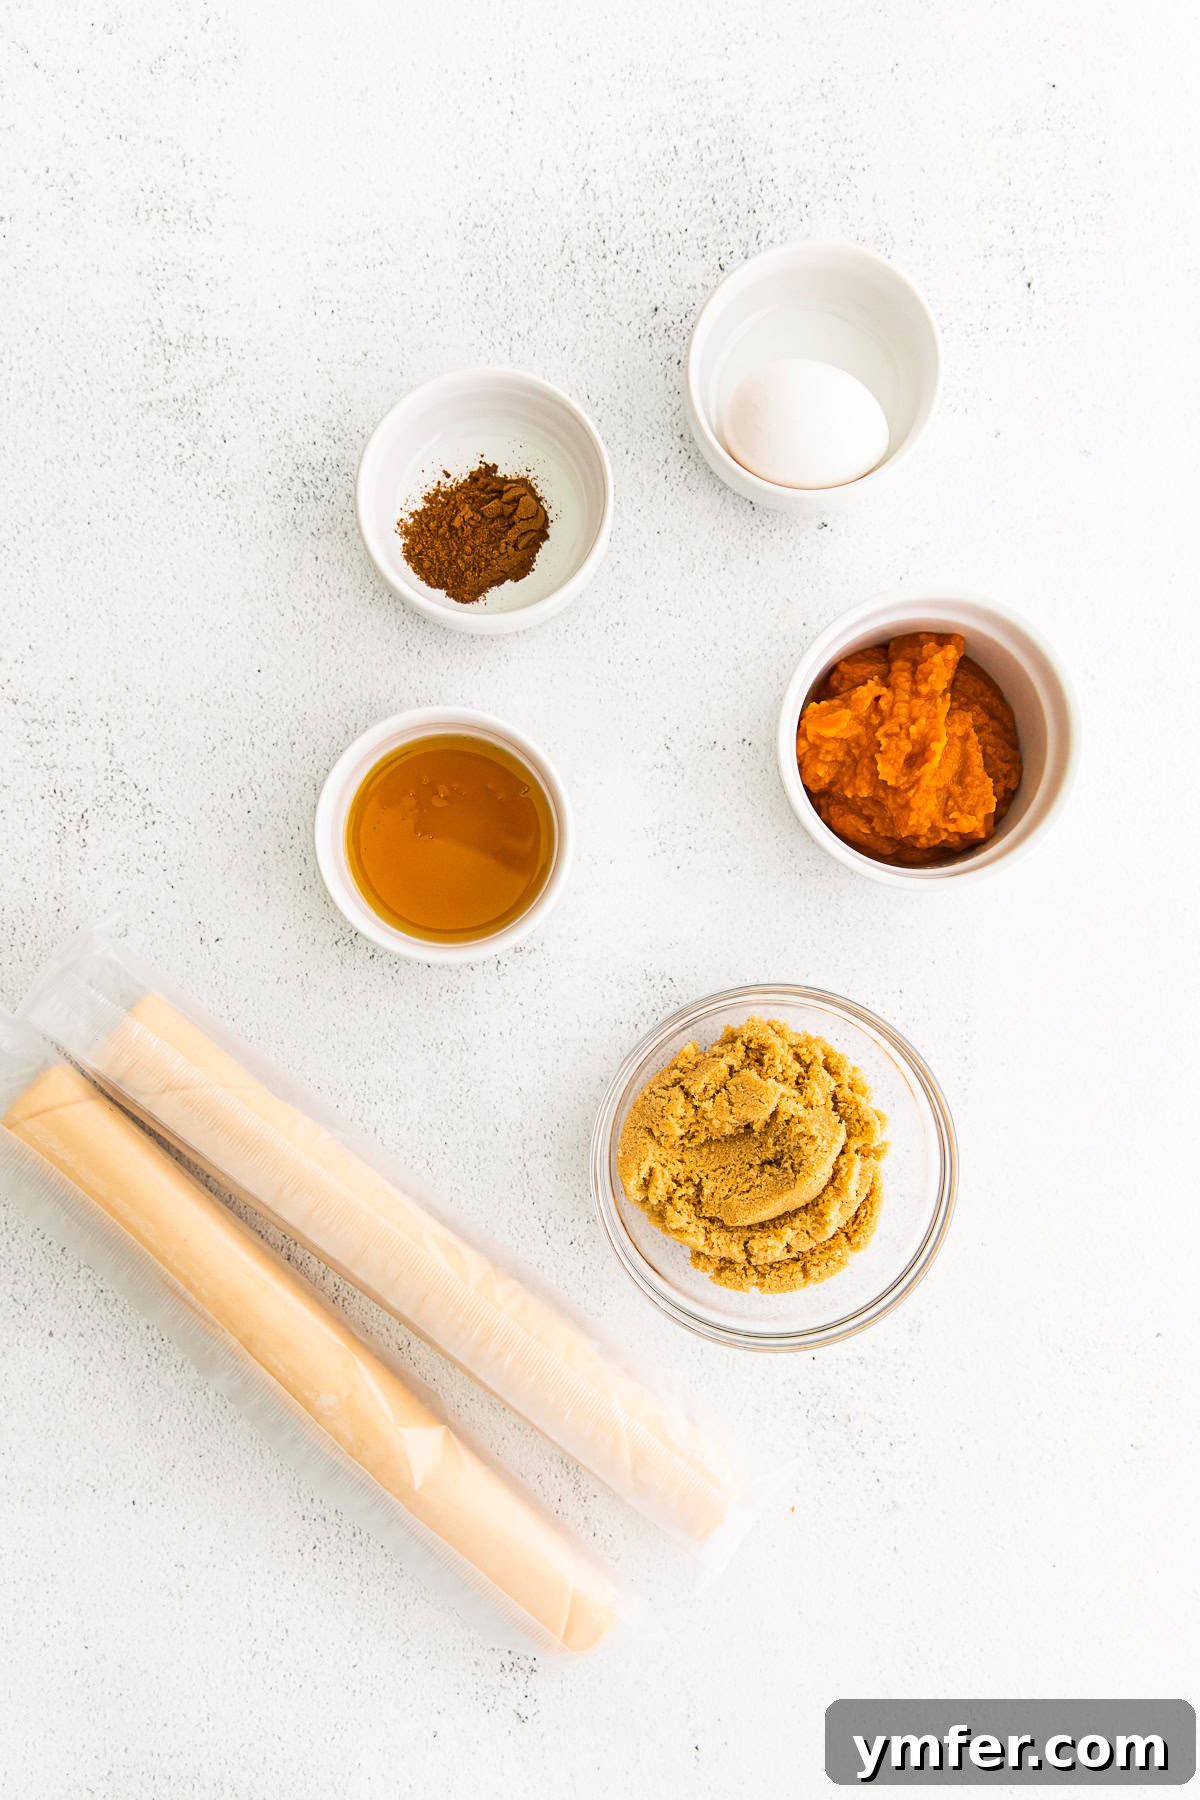
Creating these delightful pumpkin hand pies requires a handful of simple, readily available ingredients. The beauty of this recipe lies in its minimal fuss and maximum flavor, allowing the natural goodness of pumpkin and warm spices to shine. Here’s a closer look at what you’ll need to gather:
- Refrigerated Pie Dough: This is the secret weapon for quick and easy hand pies. Using premade dough significantly cuts down on prep time, making this recipe accessible even on busy days. Most grocery stores offer excellent quality refrigerated pie dough that bakes up flaky and golden. However, if you’re a fan of baking from scratch and have a little extra time, my Homemade Butter Pie Crust recipe is super easy to prepare and can even be made ahead and stored. The choice is yours, but both options yield fantastic results.
- Pumpkin Puree: The heart of our filling! This provides that authentic, earthy pumpkin flavor that defines fall baking. It’s crucial to use plain canned pumpkin puree, not pumpkin pie filling, to ensure you have full control over the sweetness and spice balance in your hand pies. We want to build our flavors from the ground up for the freshest taste.
- Brown Sugar: This isn’t just for sweetness; brown sugar lends a deep, caramel-like richness and a hint of molasses that complements pumpkin beautifully. Its moist texture also contributes to a smoother, more luscious filling. Lightly packed brown sugar is perfect here, but if you prefer a deeper, more robust flavor, dark brown sugar can also be used.
- Maple Syrup: To enhance the autumnal profile, a touch of maple syrup adds a distinct savory-sweet note. It harmonizes wonderfully with the brown sugar and pumpkin pie spice, giving the filling an added layer of complexity and that unmistakable taste of fall. Choose a good quality pure maple syrup for the best results.
- Pumpkin Pie Spice: This spice blend is a powerhouse of fall flavors, typically including cinnamon, nutmeg, ginger, and cloves. It infuses the pumpkin filling with warmth and aromatic depth, elevating it from simple pumpkin to a truly festive dessert. If you don’t have a pre-mixed blend, you can easily create your own using individual spices.
- Egg: A single large egg serves two important purposes in this recipe. First, it’s used to create an egg wash, which helps the coarse sugar adhere to the pastry, giving the hand pies a beautiful, glistening finish. Secondly, it helps the pastry achieve that coveted golden-brown hue during baking, making them even more visually appealing.
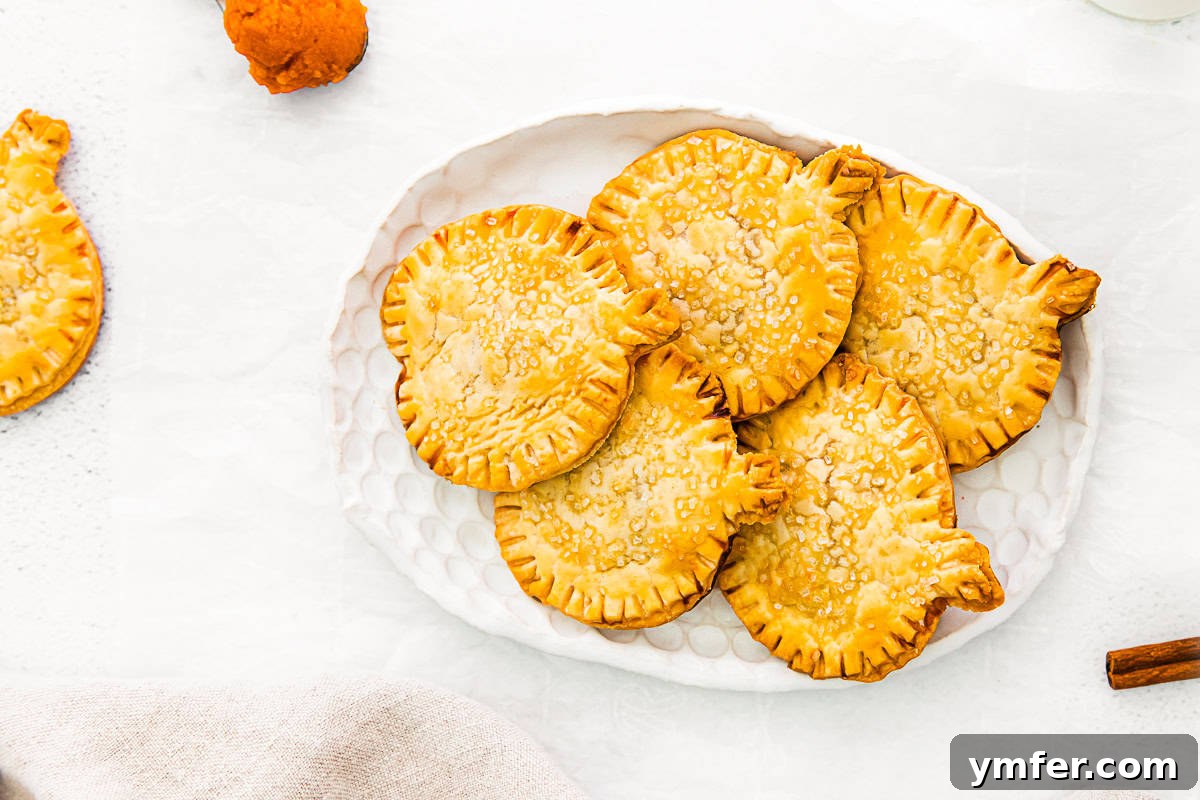
- Coarse Sugar (Optional): For a final flourish, a sprinkle of coarse sugar on top before baking is highly recommended. It adds a lovely sparkle and a satisfying, sugary crunch to the exterior of each hand pie, contrasting beautifully with the soft, sweet filling. While optional, it adds a professional touch and extra texture that’s truly enjoyable.
Understanding the Difference: Canned Pumpkin Puree vs. Pumpkin Pie Filling
When navigating the baking aisle at your local grocery store, you’ll likely encounter two distinct canned pumpkin products: canned pumpkin puree and canned pumpkin pie filling. For the uninitiated, these might seem interchangeable, but understanding their fundamental differences is absolutely crucial for the success of your pumpkin hand pies, and indeed, many other pumpkin-based recipes.
Canned Pumpkin Puree: This is exactly what its name suggests – 100% pureed pumpkin. It contains no other additives, sweeteners, or flavorings. It’s essentially cooked and mashed pumpkin (or sometimes other winter squash like butternut squash, which is perfectly acceptable and common). Its texture is smooth and thick, and its flavor is subtly sweet and earthy. This is the blank canvas, allowing you to build and customize your flavors precisely as desired.
Canned Pumpkin Pie Filling: This product is a pre-mixed convenience item. It typically includes pumpkin puree along with added sweeteners (like sugar or high-fructose corn syrup), chemical additives for preservation and texture, and a blend of classic pumpkin pie spices such as nutmeg, ginger, clove, and cinnamon. While convenient for making a quick pie, the pre-set flavor profile and sweetness level make it less versatile for recipes where you want to control the taste.
For these pumpkin hand pies, it is absolutely essential to use canned pumpkin puree. By starting with plain pumpkin puree, we can meticulously control the amount of sweetness with brown sugar and maple syrup, and tailor the exact combination and intensity of warming spices to achieve a perfectly balanced, homemade flavor. Using pumpkin pie filling would likely result in an overly sweet and potentially unbalanced filling, detracting from the fresh, pure taste we aim for.
Make-Ahead Magic: Freezing Your Pumpkin Hand Pies
One of the fantastic features of these pumpkin hand pies is their make-ahead potential, particularly the ability to freeze them for baking at a later date. This is a game-changer for holiday meal prep, impromptu gatherings, or simply having a delicious treat on hand whenever a craving strikes. Preparing a batch of hand pies and freezing them raw allows you to enjoy freshly baked pastries with minimal effort later on.
How to Freeze Unbaked Pumpkin Hand Pies:
- Assemble, Don’t Bake: Follow the recipe instructions to fully assemble your pumpkin hand pies, up to the point where you would normally place them in the oven. This includes cutting the dough, filling them, sealing the edges, brushing with egg wash, and sprinkling with coarse sugar.
- Flash Freeze: Arrange the raw, assembled pumpkin hand pies in a single layer on a baking sheet. Make sure they are not touching each other to prevent them from freezing together. Place the baking sheet into the freezer.
- Freeze Solid: Allow the hand pies to freeze completely solid. This usually takes about 1-2 hours, depending on your freezer’s temperature.
- Transfer for Storage: Once frozen solid, carefully transfer the individual hand pies from the baking sheet into a freezer-safe ziplock bag or an airtight freezer-safe container. Label the bag or container with the date.
- Store: These frozen hand pies can be stored in the freezer for up to 2 months.
Baking from Frozen:
When you’re ready to enjoy your delicious homemade hand pies, there’s no need to completely thaw them on the counter, which can sometimes lead to soggy crusts. For best results:
- Thaw in the Refrigerator: Transfer the frozen hand pies to the refrigerator overnight (or for at least 8 hours) to thaw gradually. This slow thawing helps maintain the integrity of the pastry and prevents excess moisture.
- Bake as Directed: Once thawed in the refrigerator, preheat your oven to 400 degrees F and bake the hand pies according to the original recipe instructions (12-14 minutes, or until golden brown). You might find they need an extra minute or two in the oven compared to fresh, un-frozen pies.
This make-ahead method ensures you can have warm, flaky pumpkin hand pies ready to enjoy with minimal last-minute preparation, making entertaining or holiday baking a breeze!
Creative Toppings to Elevate Your Pumpkin Hand Pies
While a simple dusting of coarse sugar provides a delightful crunch and sparkle, there are many ways to customize the toppings of your pumpkin hand pies to suit your taste or the occasion. Get creative and make these treats truly your own!
- Classic Coarse Sugar: As used in this recipe, coarse sugar (sometimes called turbinado or demerara sugar) is a fantastic choice. Its larger crystals don’t melt completely during baking, providing a lovely textural contrast and a sweet, glistening finish.
- Maple Glaze: For an extra layer of maple sweetness, whip up a simple maple glaze. Whisk together powdered sugar with a tablespoon or two of pure maple syrup and a tiny splash of milk until you reach a smooth, pourable consistency. Drizzle this over the cooled hand pies for a decadent touch.
- Spiced Glaze: Similar to a maple glaze, but incorporate a pinch of cinnamon or pumpkin pie spice into your powdered sugar and milk mixture. This adds more warmth and aroma, complementing the pumpkin filling perfectly.
- Powdered Sugar Dusting: For a simple yet elegant finish, let the hand pies cool completely, then dust them generously with powdered sugar. This creates a beautiful, snowy effect that’s particularly lovely for holiday presentation.
- Fall-Colored Sprinkles: If you’re making these for a festive fall party or for children, a sprinkle of orange, yellow, and brown nonpareils or jimmies before baking can add a fun and playful touch.
- Nut Topping: Before baking, mix a teaspoon of finely chopped pecans or walnuts with a little brown sugar and sprinkle over the egg-washed pies. The nuts will toast beautifully and add a nutty crunch.
- Cream Cheese Drizzle: For an indulgent twist, prepare a thin cream cheese frosting (softened cream cheese, powdered sugar, a touch of milk, and vanilla extract) and drizzle it over the cooled hand pies. This adds a tangy richness that pairs wonderfully with pumpkin.
Experiment with different toppings to discover your favorite combination. Each option offers a unique way to enhance the visual appeal and flavor profile of these already delightful pumpkin hand pies.
Storing Your Delicious Pumpkin Hand Pies
Proper storage ensures your pumpkin hand pies remain fresh and delicious for as long as possible, allowing you to savor them over a few days. Here’s how to best store any leftovers:
- Room Temperature: Once baked and completely cooled, pumpkin hand pies can be stored in an airtight container on your kitchen counter for up to 3 days. Ensure the container is truly airtight to prevent them from drying out or becoming stale. This method is ideal for quick consumption within a couple of days.
- Refrigeration: If you want to extend their freshness beyond three days, or if your kitchen is particularly warm, it’s best to store them in an airtight container in the refrigerator. They will keep well for up to 5 days when refrigerated. The cooler temperature helps maintain the texture of the crust and the quality of the filling.
- Reheating: To enjoy them warm again, you can quickly reheat chilled hand pies. Place them on a baking sheet and warm them in a preheated oven at 300°F (150°C) for about 5-10 minutes, or until warmed through. Alternatively, a quick zap in the microwave (15-30 seconds) will also warm them, though the crust might lose some of its crispness.
Remember, always allow the hand pies to cool completely before storing them. Storing warm pastries can create condensation, leading to a soggy crust. With these storage tips, you’ll be able to enjoy your delicious pumpkin hand pies whenever the craving strikes!
Discover More Delightful Hand Pie Recipes
If you’ve fallen in love with the convenience and charm of hand pies, you’re in luck! The possibilities are endless when it comes to these individual pastry pockets. Expand your repertoire of handheld treats with these other fantastic recipes, perfect for any season or occasion:
- Easy Blueberry Hand Pies: For a timeless classic that bursts with juicy fruit flavor, try my Easy Blueberry Hand Pies. They’re simple to make and always a crowd-pleaser, especially in the warmer months.
- Mummy Hand Pies: Looking for something spooky and sweet for Halloween? These Mummy Hand Pies are not only delicious but also incredibly fun to decorate, making them a hit with kids and adults alike.
- Air Fryer Apple Hand Pies: Love the convenience of your air fryer? You’ll adore my Air Fryer Apple Hand Pies. They come out perfectly crispy and cooked in a fraction of the time, offering a delicious shortcut to a classic dessert.
- Cranberry Hand Pies: If you crave something with a perfect balance of tart and sweet, these Cranberry Hand Pies are an excellent choice. The vibrant cranberry filling offers a refreshing contrast and a festive touch, especially around the holidays.
Each of these recipes brings its unique charm and flavor, proving that hand pies are a versatile and consistently satisfying dessert option. Enjoy exploring the world of individual pastries!

Pumpkin Hand Pies
Equipment
-
Pumpkin Pie Spice
-
Maple Syrup
-
Canned Pumpkin Puree
Ingredients
- 1 package, 2 rolls refrigerated pie dough
- 1 cup pumpkin puree
- ½ cup lightly packed light brown sugar
- 1 tablespoon maple syrup
- 1 teaspoon pumpkin pie spice
- 1 large egg
- Coarse sugar, optional, for topping
Instructions
-
Preheat your oven to 400 degrees F (200 degrees C). Line a large baking sheet with parchment paper or a silicone baking mat for easy cleanup and to prevent sticking.
-
Gently unroll the refrigerated pie dough onto a lightly floured surface. Dust your rolling pin and hands with a little flour as well, if needed, to prevent sticking.
-
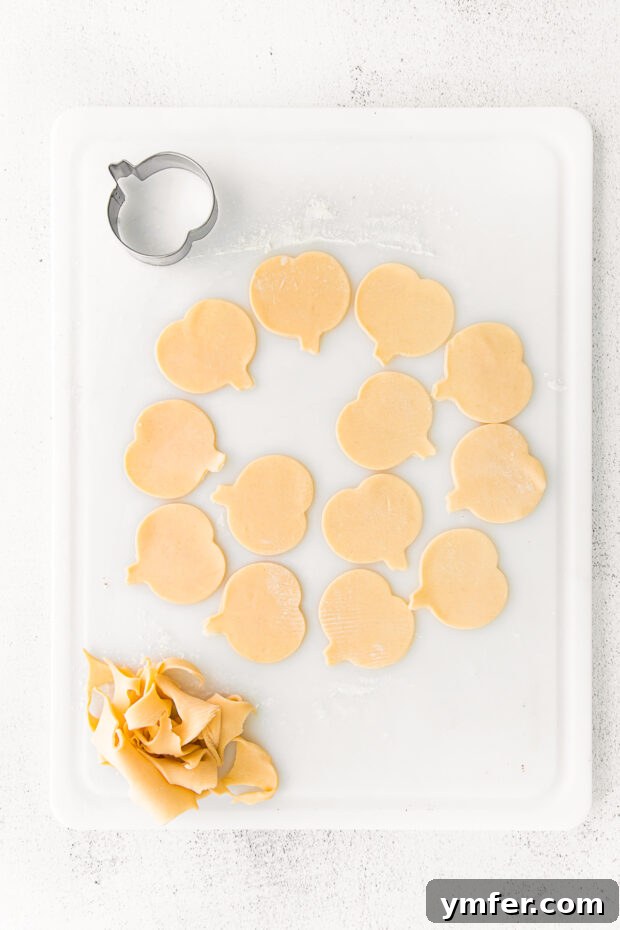
Using a 2-inch cookie cutter (pumpkin shapes are fun for fall, but circles or squares work just as well), cut out as many shapes as you can from each pie dough round. Gather the dough scraps, gently re-roll them, and cut out additional shapes until all the dough is used.
-
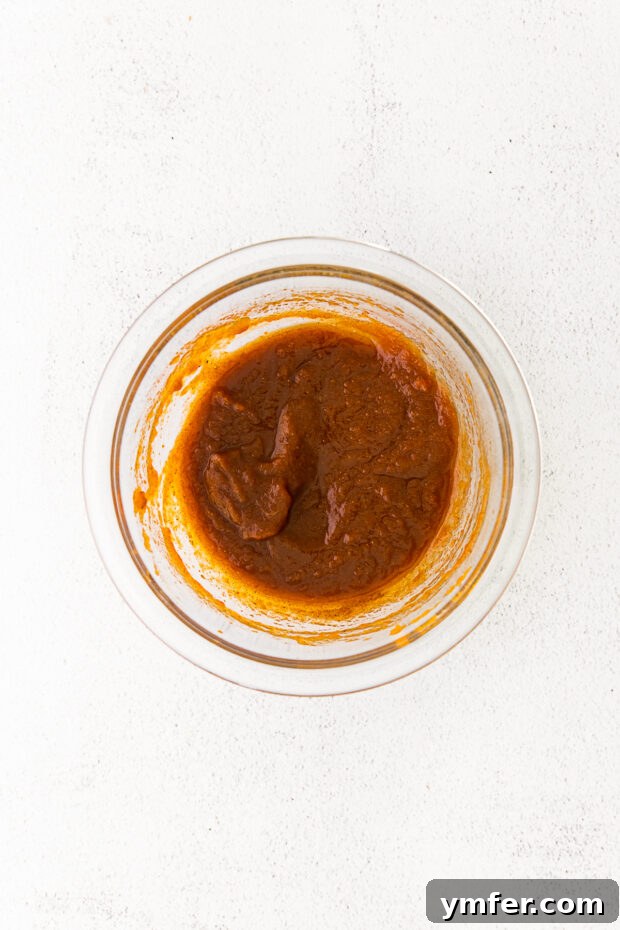
In a small mixing bowl, whisk together the pumpkin puree, light brown sugar, maple syrup, and pumpkin pie spice until the mixture is smooth and well combined. This is your delicious pumpkin filling.
-
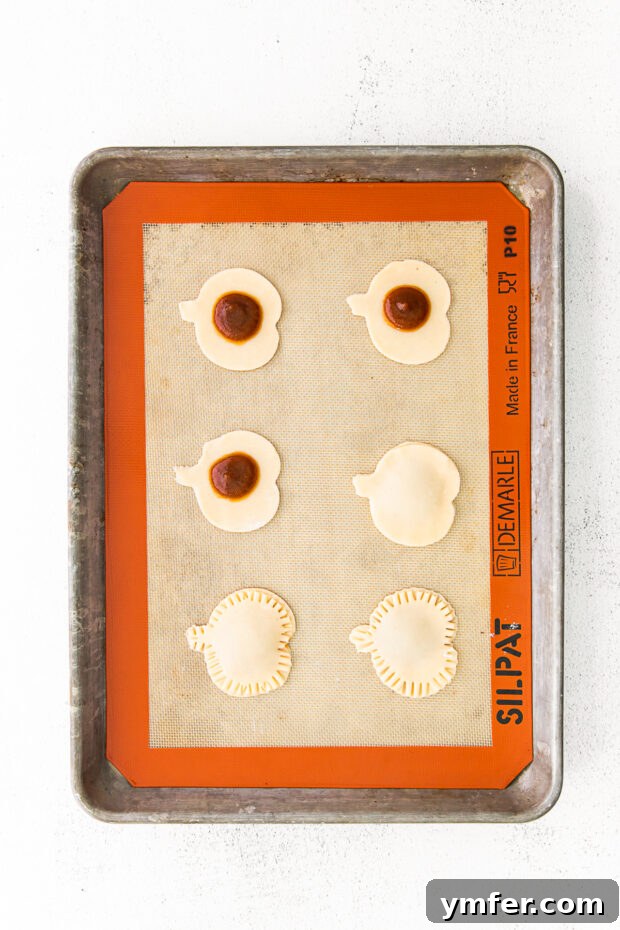
Carefully place approximately 1.5 teaspoons of the pumpkin filling into the center of one of your cut-out dough shapes. Be careful not to overfill, leaving about ¼ inch clear around the edges. Then, place another matching dough shape directly on top, aligning the edges.
-
Use the tines of a fork to firmly crimp and seal the edges of the hand pies all the way around. This helps to secure the filling and creates a decorative border. If the dough starts to stick to your fork, simply dip the fork in a little flour before crimping. Use a small knife to cut a few small slits on the top of each pie to allow steam to escape during baking.
-
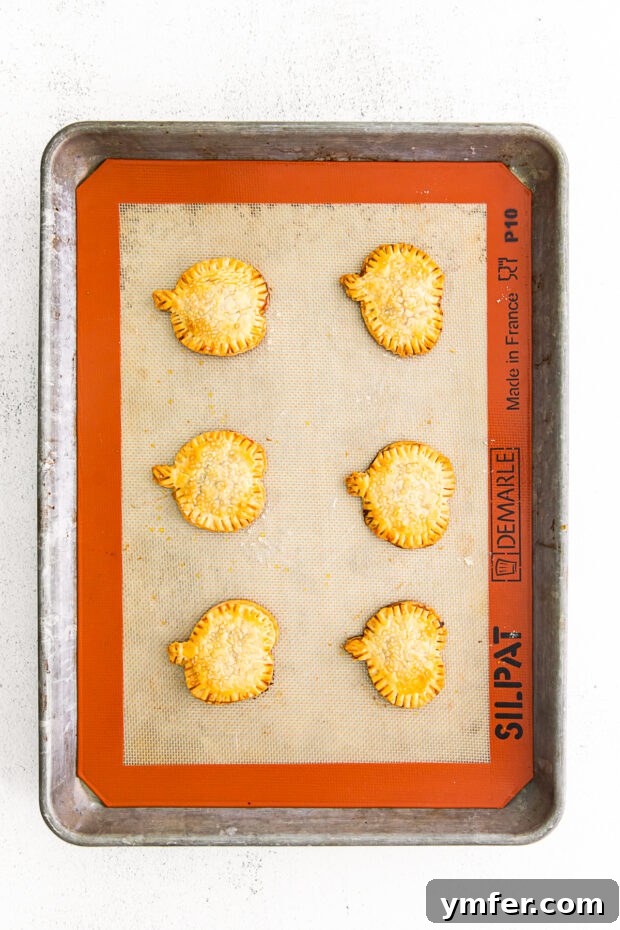
In a separate small bowl, beat the large egg with a splash (about 1 teaspoon) of water until it’s smooth and well combined. This creates your egg wash. Lightly brush the egg wash over the sealed hand pies. If desired, sprinkle them generously with coarse sugar for a beautiful sparkle and crunch.
-
Carefully transfer the filled and prepared hand pies onto your prepared parchment or silpat-lined baking sheet, leaving a little space between each one.
-
Bake for 12-14 minutes, or until the pies are beautifully golden brown and slightly puffed. The exact baking time may vary slightly depending on your oven, so keep an eye on them.
-
Allow the pumpkin hand pies to cool slightly on the baking sheet before transferring them to a wire rack to cool completely. Enjoy them warm, at room temperature, or even chilled. Store any leftover hand pies in an airtight container on the counter for up to 3 days, or in the fridge for up to 5 days.
Nutrition (Approximate per serving)
Nutrition information is automatically calculated, so should only be used as an approximation.
Additional Info