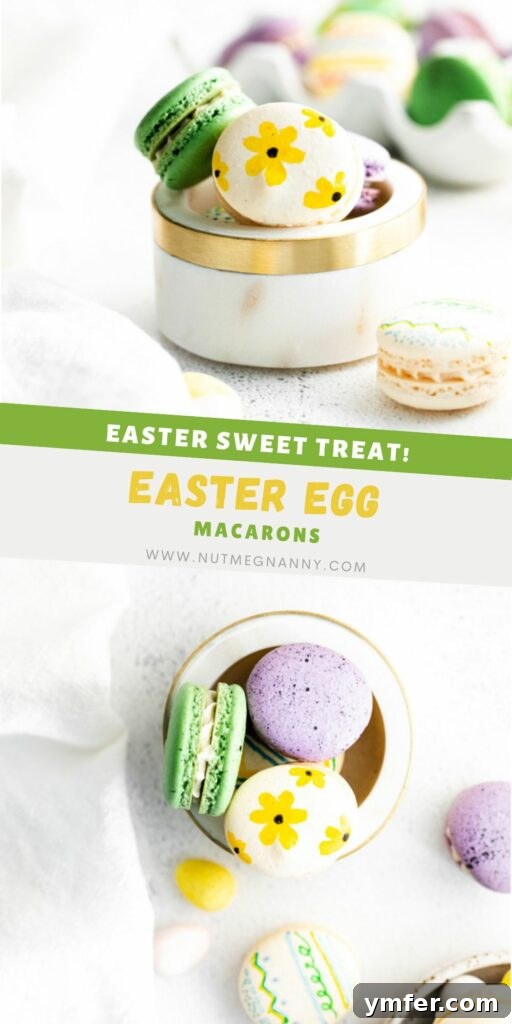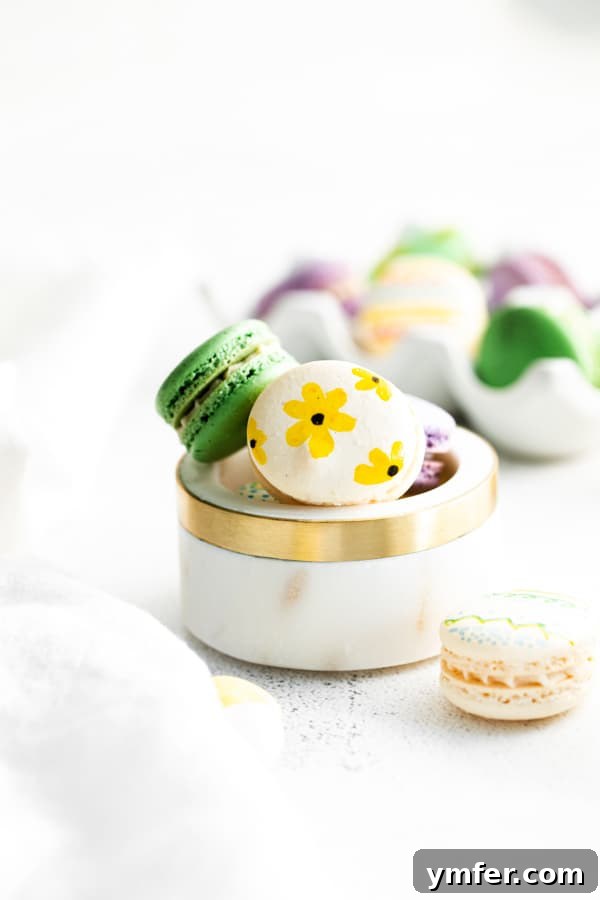
Step into the enchanting world of French patisserie right in your own kitchen with these delightful Easter Egg Macarons. Far from being an intimidating baking challenge, these light, airy, and utterly delicious cookies are a surprisingly achievable treat, perfect for celebrating the arrival of spring and the festive spirit of Easter. Imagine delicate, crisp shells, beautifully tinted in pastel hues, sandwiching a luscious vanilla buttercream—each bite a tiny piece of edible art. This comprehensive guide will walk you through every essential detail, from mastering the elusive “macaronage” technique to artistic decorating tips, ensuring your Easter celebration is as sweet as it is memorable.
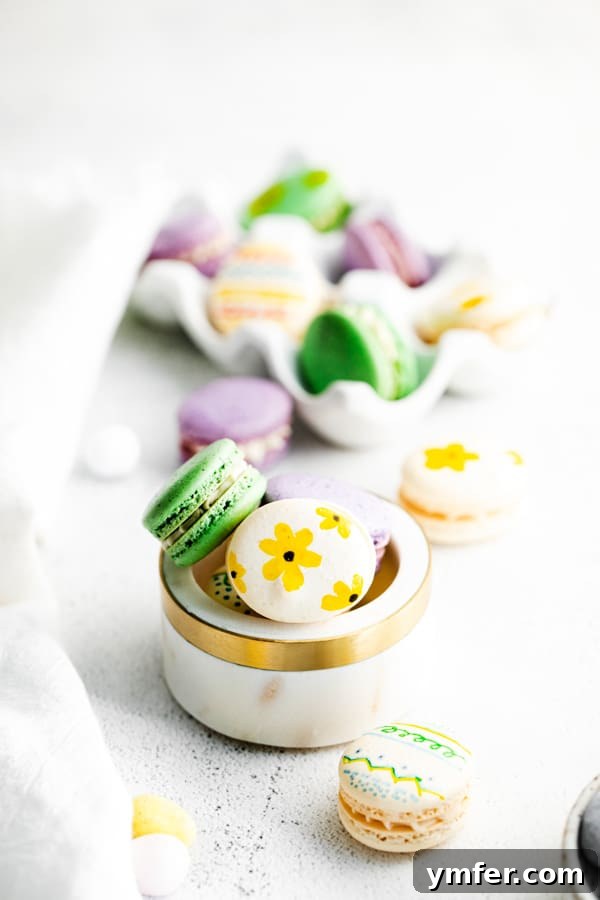
Are you searching for an irresistibly adorable and elegant way to mark the Easter season? Look no further than these exquisite Easter Egg Macarons! While the mere mention of macarons might conjure images of complex culinary feats, I promise you, with the right guidance and a little patience, they are incredibly simple to master. This article is designed to be your ultimate companion, demystifying the process and transforming you into a macaron-making maestro.
We’ll cover all the crucial details you need:
- How to confidently bake perfectly formed macaron shells.
- Creative techniques for decorating your macarons into festive Easter eggs.
- Tips for achieving the ideal texture and flavor.
Rest assured, I have your back every step of the way! These particular macarons feature a classic, universally loved vanilla flavor profile, harmoniously paired with a rich and sweet vanilla buttercream filling. It’s a timeless combination that delivers on taste and simplicity, making it an excellent choice for first-time macaron bakers and seasoned pros alike.
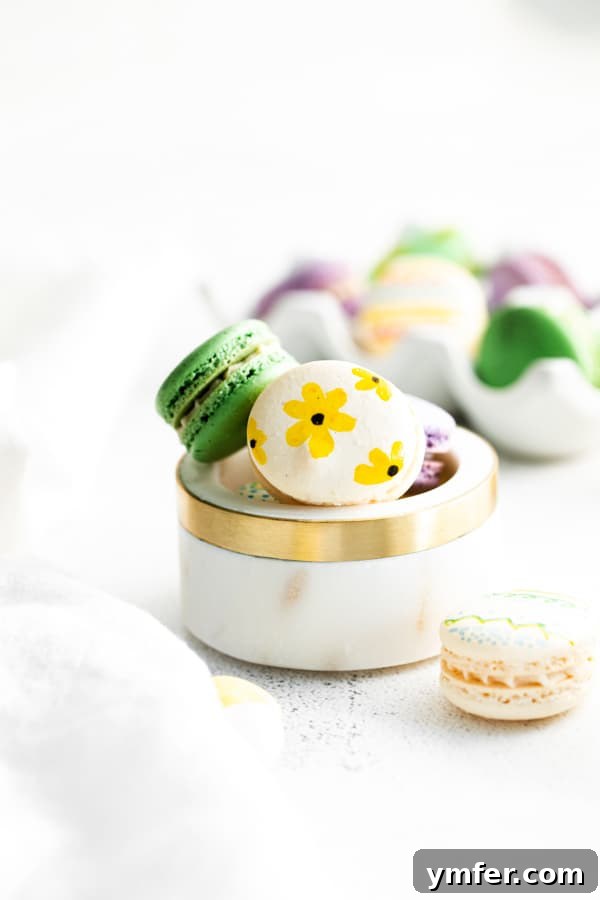
What Exactly is a Macaron? Understanding This Delicate French Confection
A macaron is a truly unique and sophisticated meringue-based cookie that originated in France, celebrated for its distinct texture and vibrant appearance. It features a wonderfully crisp, delicate outer shell that gives way to a surprisingly soft and chewy interior. This delightful duality of textures is what makes a macaron so irresistible and sets it apart from other confections.
The core ingredients are elegantly simple: finely ground almond flour, fresh egg whites, and sugar. These components, when expertly combined, create the light and airy batter that forms the signature “feet” at the base of each cookie—a tell-tale sign of a perfectly baked macaron. Macarons are almost always served as delightful sandwiches, generously filled with a variety of luxurious options such as creamy buttercream, rich Nutella, decadent chocolate ganache, tangy fruit curd, or sweet jelly. The filling not only adds a burst of flavor but also contributes to the macaron’s overall delicate chewiness.
It’s important to clarify a common misconception: macarons are often confused with “macaroons,” which are entirely different coconut-based cookies. While both are delicious, macarons are distinguished by their smooth, dome-shaped tops, ruffled “feet,” and their characteristic almond-meringue texture, offering a more refined and delicate culinary experience.
French vs. Italian Macarons: A Tale of Two Meringues
While both French and Italian methods yield delicious macarons, the key distinction lies in the preparation of the meringue—the backbone of these delicate cookies. Understanding these differences can help you choose the method that best suits your baking style and desired outcome. Many home bakers, myself included, often find the French method slightly more approachable to start with.
The French method for macarons begins with whipping uncooked egg whites with granulated sugar until they reach stiff, glossy peaks. This creates a stable meringue that is then carefully folded into a sifted mixture of almond flour and powdered sugar. This technique is often favored for its relative simplicity, as it involves fewer steps and less specialized equipment. French macarons are known for their delicate, slightly airier texture, and a beautifully crisp shell that melts in your mouth.
In contrast, the Italian method introduces a cooked meringue. Here, granulated sugar is heated with water to form a hot sugar syrup. This hot syrup is then slowly drizzled into whipping uncooked egg whites in a stand mixer, effectively “cooking” the egg whites as they are beaten into a firm, shiny meringue. This warm meringue is then folded into the almond flour and powdered sugar mixture. Italian macarons are renowned for their superior stability and a slightly chewier interior. Their robust structure makes them less fragile and often preferred in professional bakeries where consistency and durability are paramount, especially for intricate decorations or stacking.
Despite these differences in preparation, both versions produce a cookie that is undeniably delightful. The choice often comes down to personal preference, the tools you have available, and the specific texture you’re aiming for. For those new to macaron making, the French method offers a fantastic entry point into this rewarding baking journey.
The Art of Macaronage: Knowing When Your Batter is Perfect
For French-style macarons, the most critical step, and often the trickiest, is achieving the correct consistency of the batter, a process known as “macaronage.” This delicate folding technique determines the success of your macaron shells. Over-folding can lead to runny batter and flat, footless cookies, while under-folding results in lumpy, cracked shells. It’s truly an art that requires careful attention and a keen eye.
The first key indicator for stopping your macaron batter folding is reaching what bakers affectionately call the “molten lava stage.” When I first heard this, I was utterly bewildered! However, once you understand what to look for, the name makes perfect sense. You’re aiming for a batter that is thick, glossy, and flows slowly and continuously when you lift your spatula and let it drizzle back into the bowl. It should resemble the slow, unhurried movement of molten lava, flowing steadily rather than breaking off in chunks or being too watery. The batter should hold its shape for a moment before slowly smoothing back into the main mixture.
The second crucial test to confirm your macaron batter is ready is the “figure 8” test. To perform this, scoop a portion of the batter onto your spatula and try to draw a continuous figure 8 as it flows back into the bowl. If you can complete an unbroken figure 8, without the stream of batter snapping or becoming too thin, then your macaron batter has reached the ideal consistency for piping. If it breaks too quickly, fold a few more times and test again. If it’s too fluid and doesn’t hold its shape at all, it’s likely overmixed, a common learning curve!
Mastering macaronage takes practice, but by paying close attention to these visual and flow cues, you’ll soon develop an intuitive feel for the perfect macaron batter. Remember, it’s better to slightly under-mix and fold a few more times than to over-mix and lose the meringue’s precious air.
Bringing Them to Life: Decorating Easter Egg Macarons
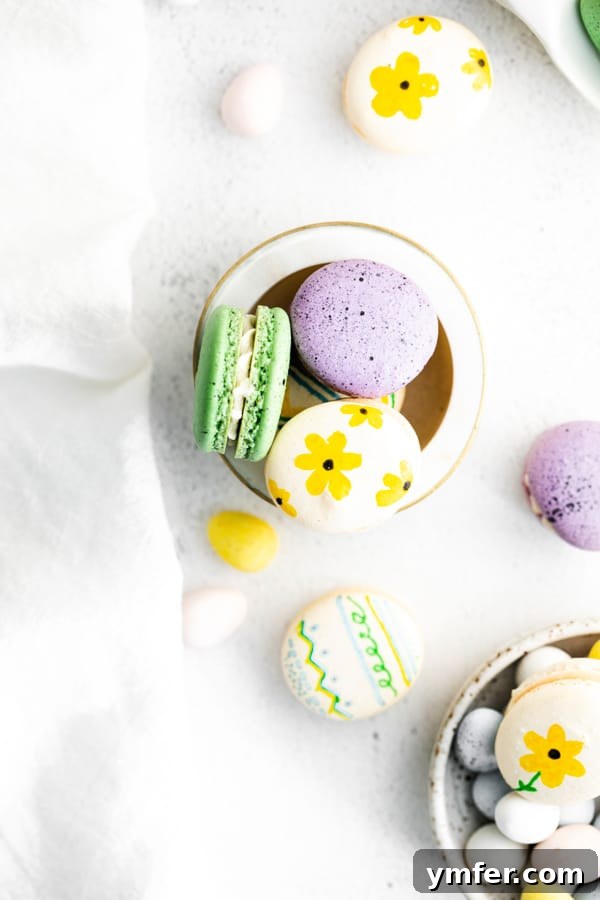
Transforming your perfectly baked macaron shells into festive Easter eggs is where the real fun begins! The key to vibrant and stable colors in your macaron shells is using GEL FOOD COLORING. Unlike liquid food coloring, gel colors are highly concentrated and won’t add excess moisture to your delicate batter, which could ruin the macaron’s texture and structure. Aim for soft pastel shades like light blues, pinks, purples, and yellows to truly capture the Easter aesthetic.
For decorating the cooled macaron shells, you have a few fantastic options:
- White Chocolate Drizzle: Melt a small amount of white chocolate and drizzle it over the macarons in intricate patterns using a piping bag with a very fine tip or a simple spoon. You can even tint the white chocolate with gel food coloring for more colorful designs.
- Food Markers: If you’re looking for precision and intricate details, food markers are your best friend. These edible pens allow you to draw delicate lines, dots, stripes, or even tiny floral patterns directly onto the smooth macaron surface. They’re readily available on Amazon or at specialty cake decorating stores.
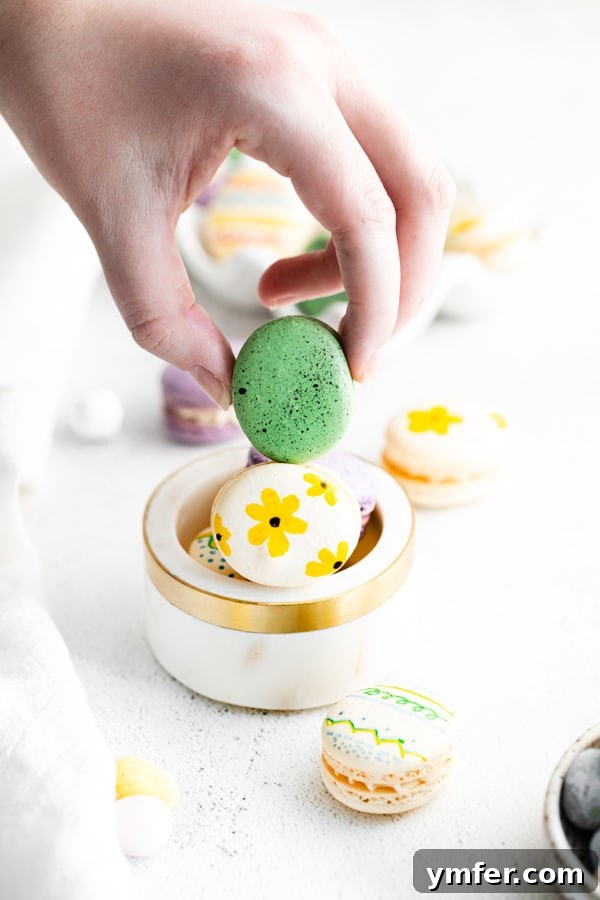
- The Speckled Egg Effect: To achieve that charming speckled look reminiscent of robin’s eggs, combine approximately 1 teaspoon of water with a few drops of black gel food coloring in a small bowl. Dip a clean pastry brush into this mixture, hold it over your cooled macarons, and gently tap or flick the bristles to splatter fine dots of dye onto the shells. Exercise caution to avoid getting the dye on your clothes, as it can stain.
- Edible Glitter & Dusts: For an extra touch of sparkle and elegance, lightly brush or dust edible glitter or luster dust onto your finished macarons. Gold or silver dust can add a luxurious touch, while iridescent glitters can enhance their magical appeal.
- Royal Icing Details: For more dimensional decorations, use a small amount of royal icing (tinted if desired) to pipe fine lines, intricate lacework, or tiny blossoms onto your macarons.
Feel free to mix and match these techniques. A pastel macaron shell with a few delicate speckles and a simple piped flower can create a truly stunning and unique Easter treat. Let your creativity shine!
Storing Your Macarons to Maintain Freshness
Proper storage is essential to maintain the delicate texture and flavor of your homemade Easter Egg Macarons. Once assembled with their delicious vanilla buttercream filling, macarons benefit from a period of “aging” in the refrigerator, which allows the filling’s moisture to soften the shells slightly and marry the flavors beautifully.
Store your filled macarons in an airtight container in your refrigerator. This helps prevent them from drying out or absorbing unwanted odors from other foods. For optimal flavor and texture, it’s best to consume them within 3 days. Before serving, allow them to come to room temperature for about 15-20 minutes, which enhances their chewiness and brings out the full flavor of the filling.
Can I Freeze Macarons? Extending Their Shelf Life
Absolutely! Macarons are wonderfully freezer-friendly, allowing you to prepare them in advance and enjoy them at your leisure. However, for the best results, it’s recommended to freeze the macaron shells *unfilled*.
To freeze the shells, arrange them in a single layer on parchment paper within an airtight freezer-safe container. You can stack layers, separated by parchment paper, to save space. Freeze the shells for up to 1 month. When you’re ready to assemble and enjoy your macarons, simply remove the desired number of shells from the freezer and let them defrost at room temperature for about an hour. Once thawed, you can fill them with your vanilla buttercream or any desired filling, decorate them as planned, and then proceed with the “aging” process in the refrigerator overnight. This method ensures that your macarons retain their perfect texture and freshness.
While you *can* freeze filled macarons, the texture of the filling might change slightly upon thawing, especially if it’s a very delicate buttercream or ganache. Freezing shells separately gives you more flexibility and often yields a fresher-tasting result.
Craving More Sweet Treats? Explore These Delicious Desserts!
If you’ve fallen in love with the magic of these Easter Egg Macarons and are eager to expand your baking repertoire, you’re in for a treat! Here are a few more delightful dessert recipes from Nutmeg Nanny that are sure to impress and satisfy any sweet tooth:
- Birthday Cake Macarons: Celebrate any occasion with these fun and festive macarons, bursting with birthday cake flavor.
- Carrot Cake with Creamy Cream Cheese Frosting: A timeless classic, this moist carrot cake with its rich, tangy cream cheese frosting is always a crowd-pleaser.
- Vanilla Bean Lemon Sugar Cookies: Bright and zesty, these sugar cookies combine the delicate flavor of vanilla bean with the refreshing tang of lemon.
- Homemade Lemon Bars: Indulge in the perfect balance of sweet and tart with these irresistible lemon bars, featuring a buttery shortbread crust.
- No Bake Raspberry Lemon Mini Cheesecakes: For a quick yet elegant dessert, these mini cheesecakes are bursting with the fresh flavors of raspberry and lemon, with no oven required!
- Mixed Berry Coffee Cake: Start your day deliciously or enjoy a delightful afternoon treat with this tender coffee cake, swirled with a medley of fresh berries.
- Blueberry Lemon Ricotta Olive Oil Cake: A sophisticated and incredibly moist cake featuring the aromatic notes of olive oil, bright lemon, and juicy blueberries.
Easter Egg Macarons
Brandy O’Neill – Nutmeg Nanny
24 macarons
20 minutes
30 minutes
30 minutes
1 hour 20 minutes
Equipment
-
Gel Food Coloring
-
Food coloring Pens
-
Piping Bags
-
KitchenAid 5-Quart Mixer
-
Macaron Silicone Baking Mat
Ingredients
For the Shells
- 90 grams egg whites
- 90 grams granulated sugar
- 95 grams powdered sugar
- 95 grams almond flour
For the Vanilla Buttercream
- 8 ounces (110 grams) unsalted butter, softened
- 2-1/4 cups (252 grams) powdered sugar
- 1 teaspoon pure vanilla extract
Instructions
For the Macaron Shells
-
Prepare your baking sheets: Line two large baking pans with high-quality parchment paper or dedicated macaron silicone baking mats. If using parchment, you can draw egg-shaped templates on the back for uniform piping.
-
Set up a double boiler: Fill a small saucepan with a few inches of water and bring it to a gentle simmer over medium-low heat. Ensure the water does not touch the bottom of the bowl you’ll place on top.
-
Warm the egg whites and sugar: In a heatproof bowl (preferably metal or glass) that fits snugly over your simmering saucepan, combine the egg whites and granulated sugar.
-
Whisk until dissolved: Continuously whisk the egg white mixture over the simmering water for approximately 2-3 minutes, or until the sugar has completely dissolved and the mixture is warm to the touch (around 110-115°F or 43-46°C). Rub a small amount between your fingers to check for grit; if smooth, it’s ready.
-
Whip the meringue: Carefully transfer the warm egg white mixture to the bowl of a stand mixer fitted with the whisk attachment. Beat on medium-high speed for about 5-7 minutes, until stiff, glossy peaks form. The meringue should be thick, smooth, and hold its shape when the whisk is lifted.
-
Sift dry ingredients: Using a fine-mesh sieve, carefully sift the powdered sugar and almond flour together directly over the meringue mixture. This step is crucial for achieving smooth macaron shells, so ensure no large lumps remain. Discard any larger pieces of almond.
-
Begin macaronage: Gently fold the dry ingredients into the egg whites using a spatula. At this initial stage, focus on incorporating without deflating the meringue too much.
-
Add color (optional): Once the dry ingredients are mostly incorporated, add a few drops of gel food coloring, if desired, to achieve your preferred pastel shades for Easter. (See notes for coloring tips).
-
Continue macaronage to molten lava stage: Now, continue folding the meringue by gently smushing the batter against the sides of the bowl with your spatula, then folding it back towards the center. Repeat this motion carefully.
-
Perform the Figure 8 test: After a few smush-and-fold repetitions, lift some batter on your spatula and let it drizzle back into the bowl. It should flow slowly and continuously, allowing you to draw a figure 8 without the stream breaking. This is the perfect “molten lava” or “ribbon” consistency. Stop immediately when this is achieved to avoid overmixing.
-
Prepare for piping: Transfer the perfectly mixed macaron batter into a large piping bag fitted with a small round tip (such as Wilton #10).
-
Pipe the shells: Pipe 1-inch egg-shaped macaron shells onto your prepared baking trays, ensuring they are spaced at least 2 inches apart to prevent them from merging during baking. For an egg shape, pipe a round dollop, then quickly release pressure while slightly elongating the top with a flick of the wrist.
-
Remove air bubbles: Once piping is complete for a tray, hold it a few inches off your counter and firmly drop it straight down onto the counter. Repeat this action 5-6 times, or until you see any large air bubbles rise to the surface and pop. This crucial step helps prevent hollow shells and promotes the formation of smooth tops and perfect feet. Repeat with the second tray.
-
Rest the macarons: Set the trays aside in a dry, room-temperature environment to rest for at least 25-60 minutes, or even longer in humid conditions.
-
Check for readiness: The macarons are ready to bake when they have formed a slight “skin.” You should be able to gently touch the top of a shell without any meringue sticking to your finger. This skin prevents cracking and helps create the signature “feet.”
-
Preheat oven: While the macarons are resting, preheat your oven to 325 degrees F (160°C).
-
Bake the shells: Bake the macarons, one tray at a time, for 13-15 minutes. If your oven has hot spots, rotate the tray halfway through baking to ensure the feet rise evenly and the shells bake consistently. The shells should have distinct “feet” and be firm on their feet when gently nudged.
-
Cool completely: Allow the baked macarons to cool completely to room temperature on the baking sheet before attempting to remove them. This is crucial as warm macarons will stick and break. Once cool, they should peel off the parchment or mat easily.
For the Vanilla Buttercream
-
Cream the butter: Add the softened unsalted butter to the bowl of a stand mixer fitted with the paddle attachment. Beat on medium-high speed for about 2 minutes, until the butter becomes noticeably light in color and fluffy.
-
Add powdered sugar and vanilla: Reduce the mixer speed to low and gradually add the powdered sugar, one cup at a time, until fully incorporated. Follow with the pure vanilla extract.
-
Adjust consistency (if needed): If the buttercream appears too thick or dry, add a tablespoon of heavy cream or milk, mixing until smooth. Add more if needed, one teaspoon at a time, to reach a pipeable consistency.
-
Whip to fluffy: Increase the mixer speed to high and beat for an additional 2 minutes, until the vanilla buttercream is light, smooth, and wonderfully fluffy.
-
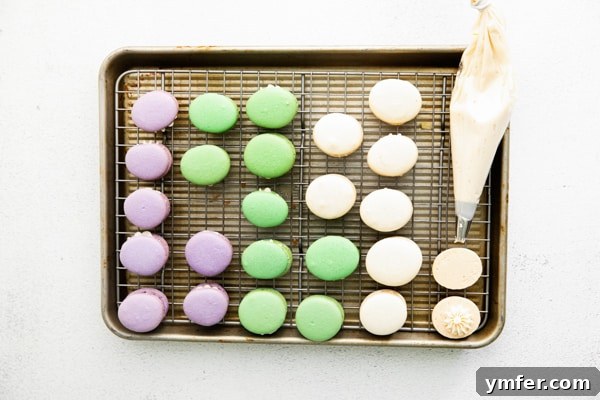
Prepare for filling: Transfer the buttercream to a piping bag fitted with your desired tip (a round tip or star tip works well for macarons). Set aside until your shells are ready.
Assemble and Age
-
Pair the shells: Carefully match cooled macaron shells into similar-sized pairs, ensuring they are roughly the same shape for consistent sandwiches.
-
Fill the macarons: Pipe a small, even dollop of vanilla buttercream onto the flat side of one macaron shell from each pair.
-
Form the sandwich: Gently press the second macaron shell on top of the filling, twisting slightly until the buttercream spreads just to the edges of the shells. Be careful not to press too hard, as the shells are delicate.
-
(Optional) Decorate: Once assembled, you can further decorate your Easter egg macarons. Use white chocolate for delicate drizzles, food markers for intricate patterns, or create the speckled egg effect by combining 1 teaspoon of water with a few drops of black gel food coloring and splattering it with a pastry brush (protect your surfaces and clothing!).
-
Age the macarons: Transfer the filled and decorated macarons to an airtight container. Place them in the refrigerator to “age” overnight (at least 12-24 hours). This aging process allows the moisture from the filling to slightly soften the macaron shells, creating that signature tender-chewy texture and melding the flavors beautifully. Bring them to room temperature for about 15-20 minutes before enjoying for the best taste and texture.
Notes
Additional Info
Dessert