
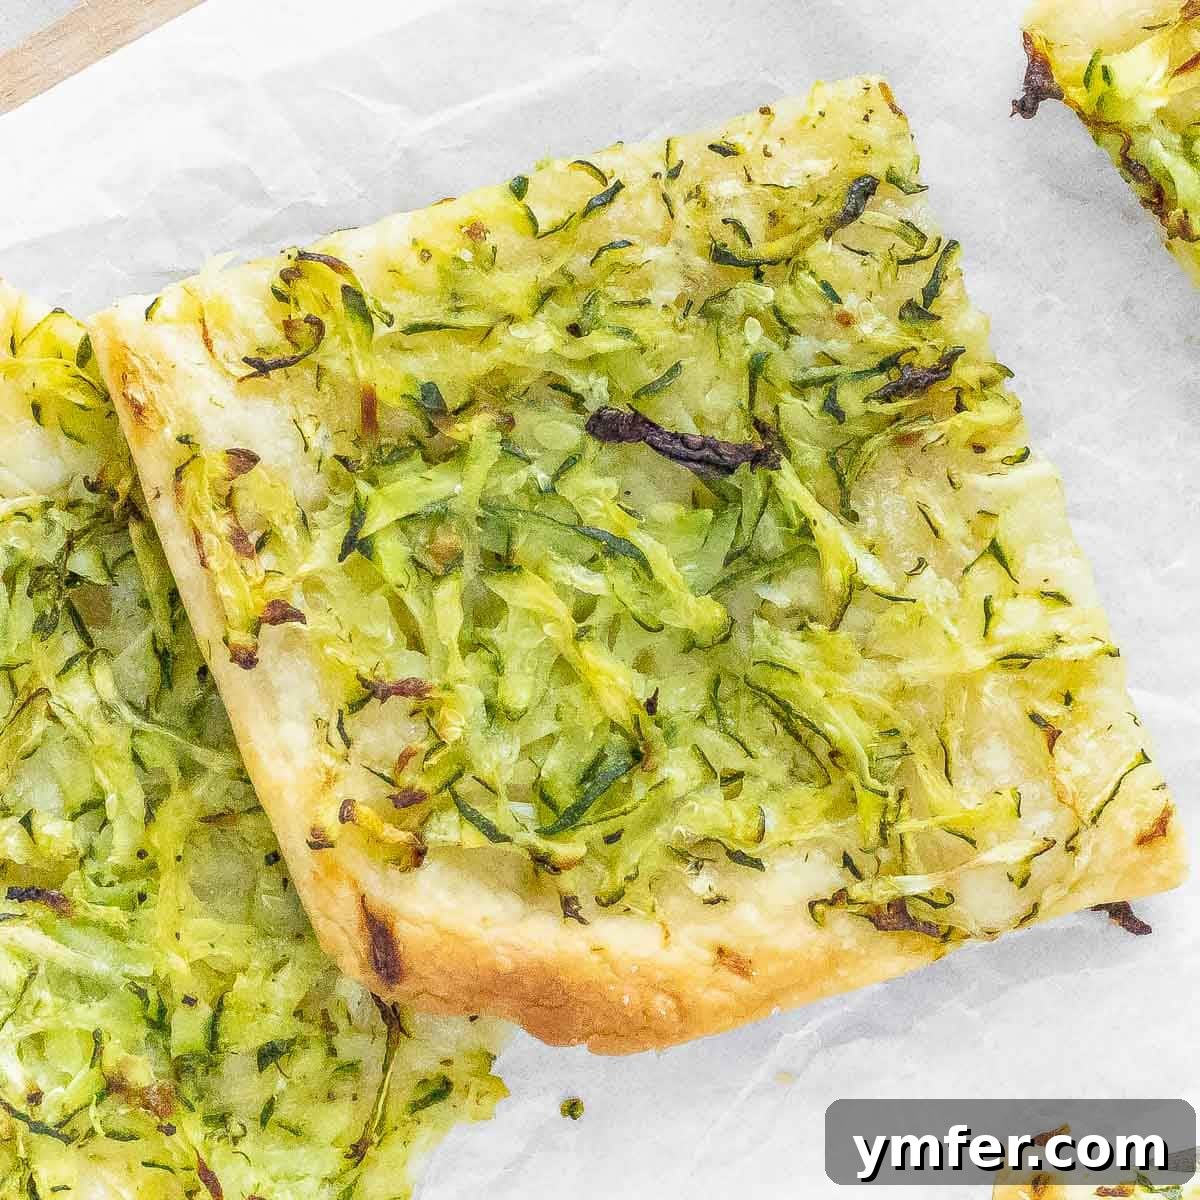
Easy No-Knead Zucchini Focaccia: Your New Summer Favorite
Embrace the vibrant flavors of summer with our incredibly simple and utterly delicious Zucchini Focaccia recipe. This Italian classic, elevated with fresh, shredded zucchini, offers a delightful twist on traditional focaccia. Forget complicated doughs – our no-knead method ensures a perfect, airy, and crispy bread every time, making it accessible for even novice bakers.
Imagine a golden-brown focaccia, its surface dimpled and glistening with olive oil, topped with tender, almost-melted zucchini that bursts with a subtle sweetness. This homemade zucchini focaccia is more than just a dish; it’s an experience. It’s ideal for a relaxed weekend dinner with family and friends, a charming appetizer, or a light lunch. Its irresistible taste and satisfying crunch guarantee everyone will be reaching for a second slice.
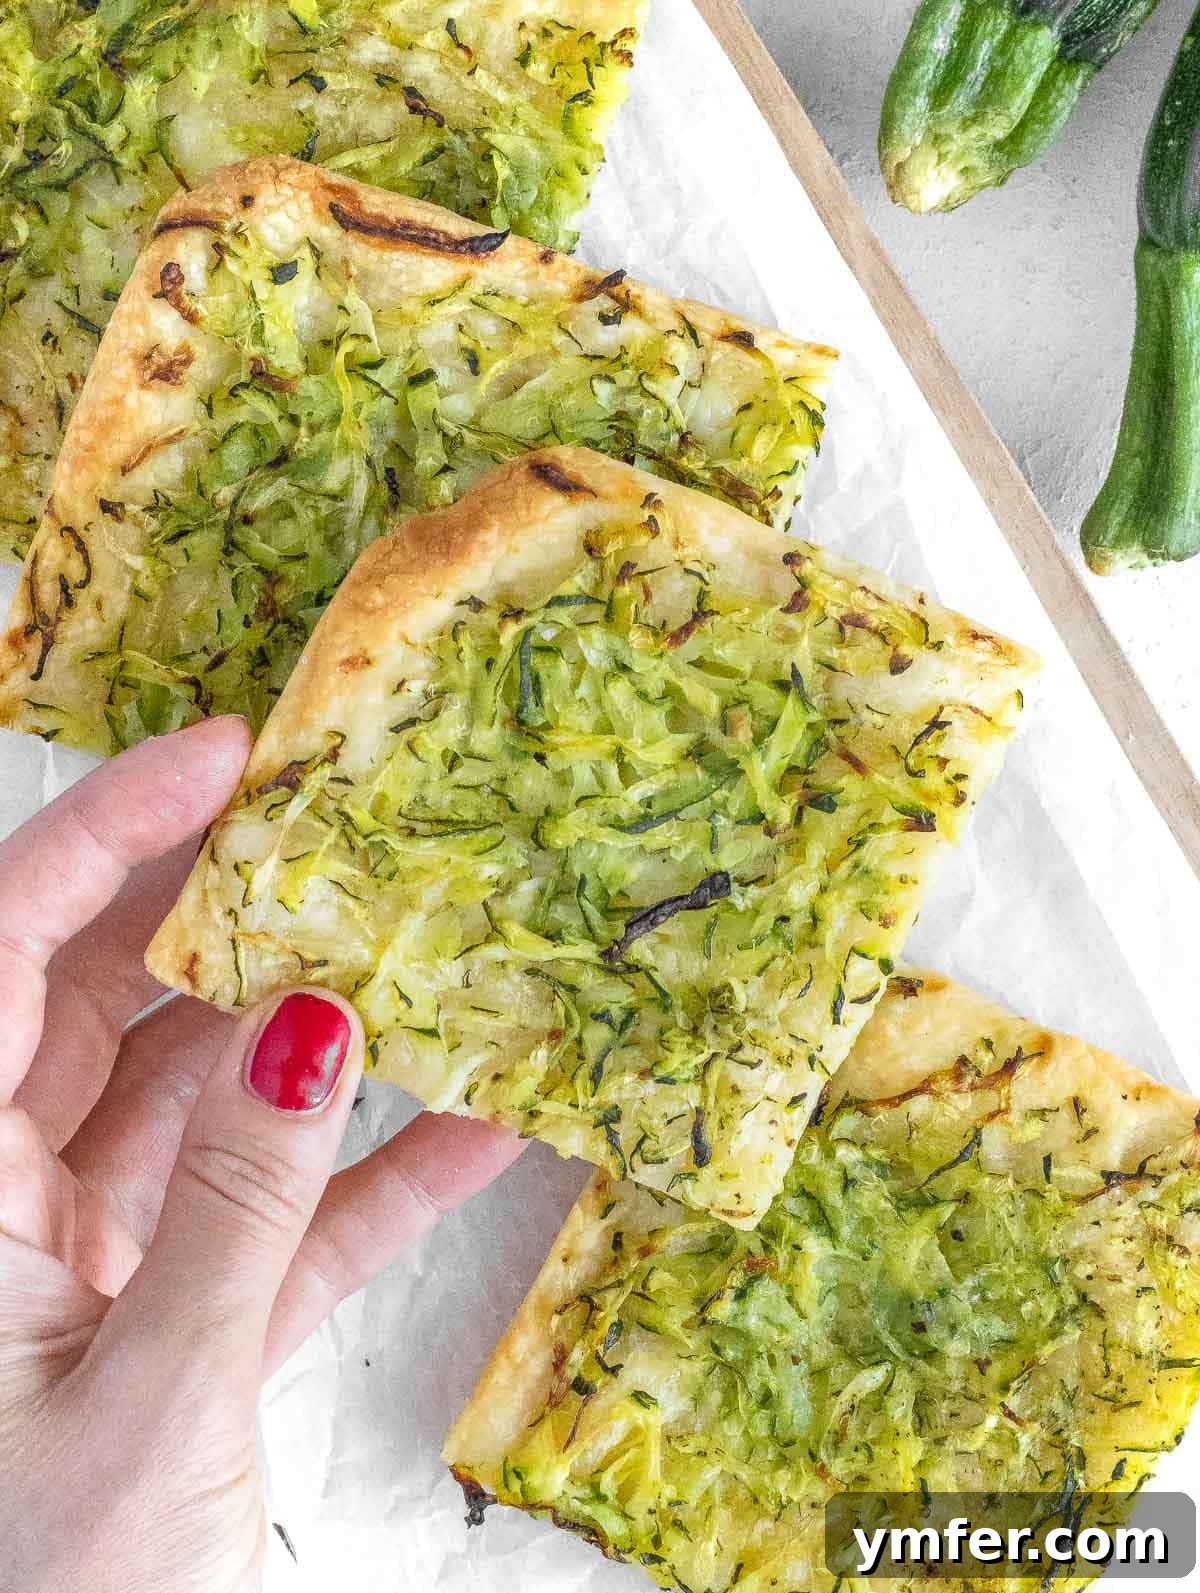
Table of Contents
- Why You’ll Love This Zucchini Focaccia
- Ingredients for Zucchini Focaccia
- Step-by-Step Instructions
- Serving Suggestions
- Storage and Reheating Tips
- More Zucchini Recipes to Explore
- Zucchini Focaccia Recipe Card
Explore our incredible collection of Italian recipes!
Why You’ll Love This Easy Zucchini Focaccia
We firmly believe there’s no better way to incorporate more vegetables into your diet than by showcasing them atop a beautifully crispy homemade focaccia. This particular recipe stands out not only for its incredible flavor but also for its remarkable simplicity, making it a favorite in our kitchen and soon to be in yours.
The secret to this easy focaccia lies in our tried-and-true no-knead focaccia recipe. This method dramatically simplifies the bread-making process, allowing you to achieve a professional-quality loaf without the intensive labor typically associated with dough. You won’t even need to get your hands messy – a wooden spoon or spatula is all it takes! This approach is perfect for busy weeknights or when you simply want to enjoy the therapeutic process of baking without the fuss.
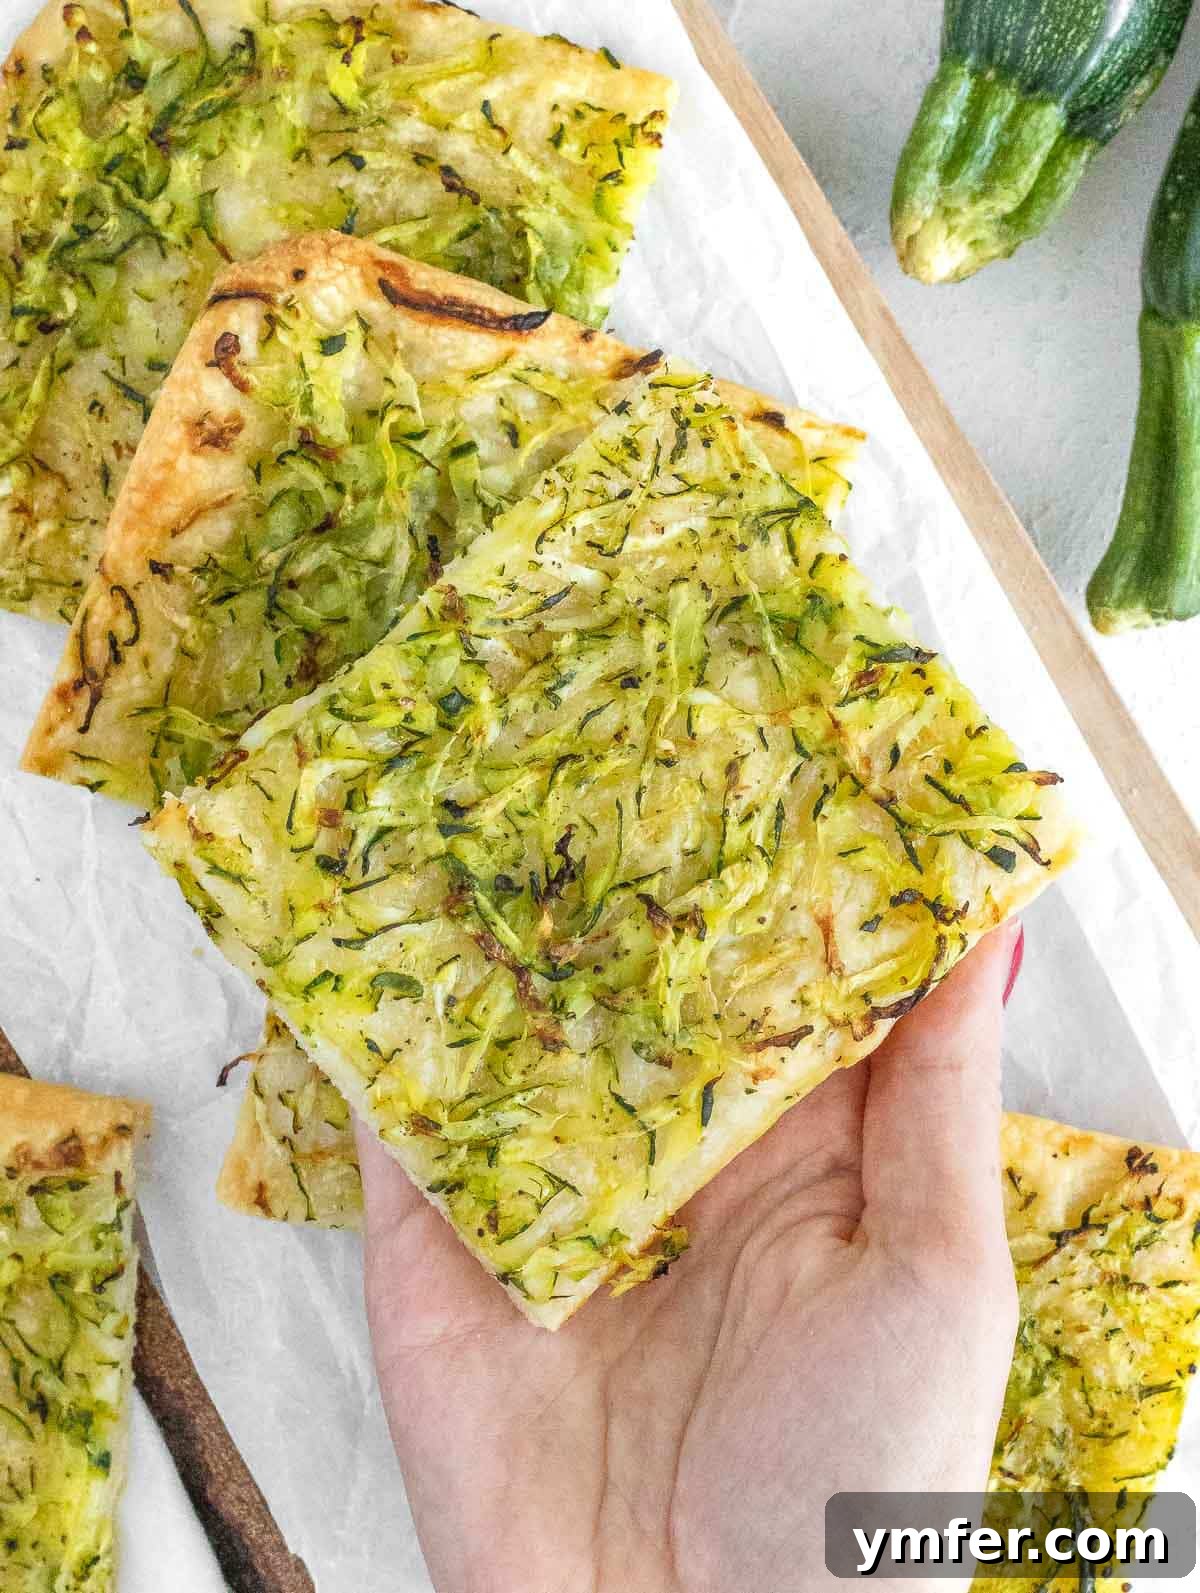
Once the dough is prepared, the magic of the zucchini topping begins. We generously load the focaccia with plenty of freshly grated zucchini. The beauty of this topping is its effortlessness: simply grate the zucchini directly onto the risen dough using the large holes of a box grater, spread it evenly, and season lightly with a touch of salt and a drizzle of premium olive oil. As it bakes, the zucchini softens and caramelizes, infusing the bread with a delicate, earthy sweetness that perfectly complements the savory focaccia base.
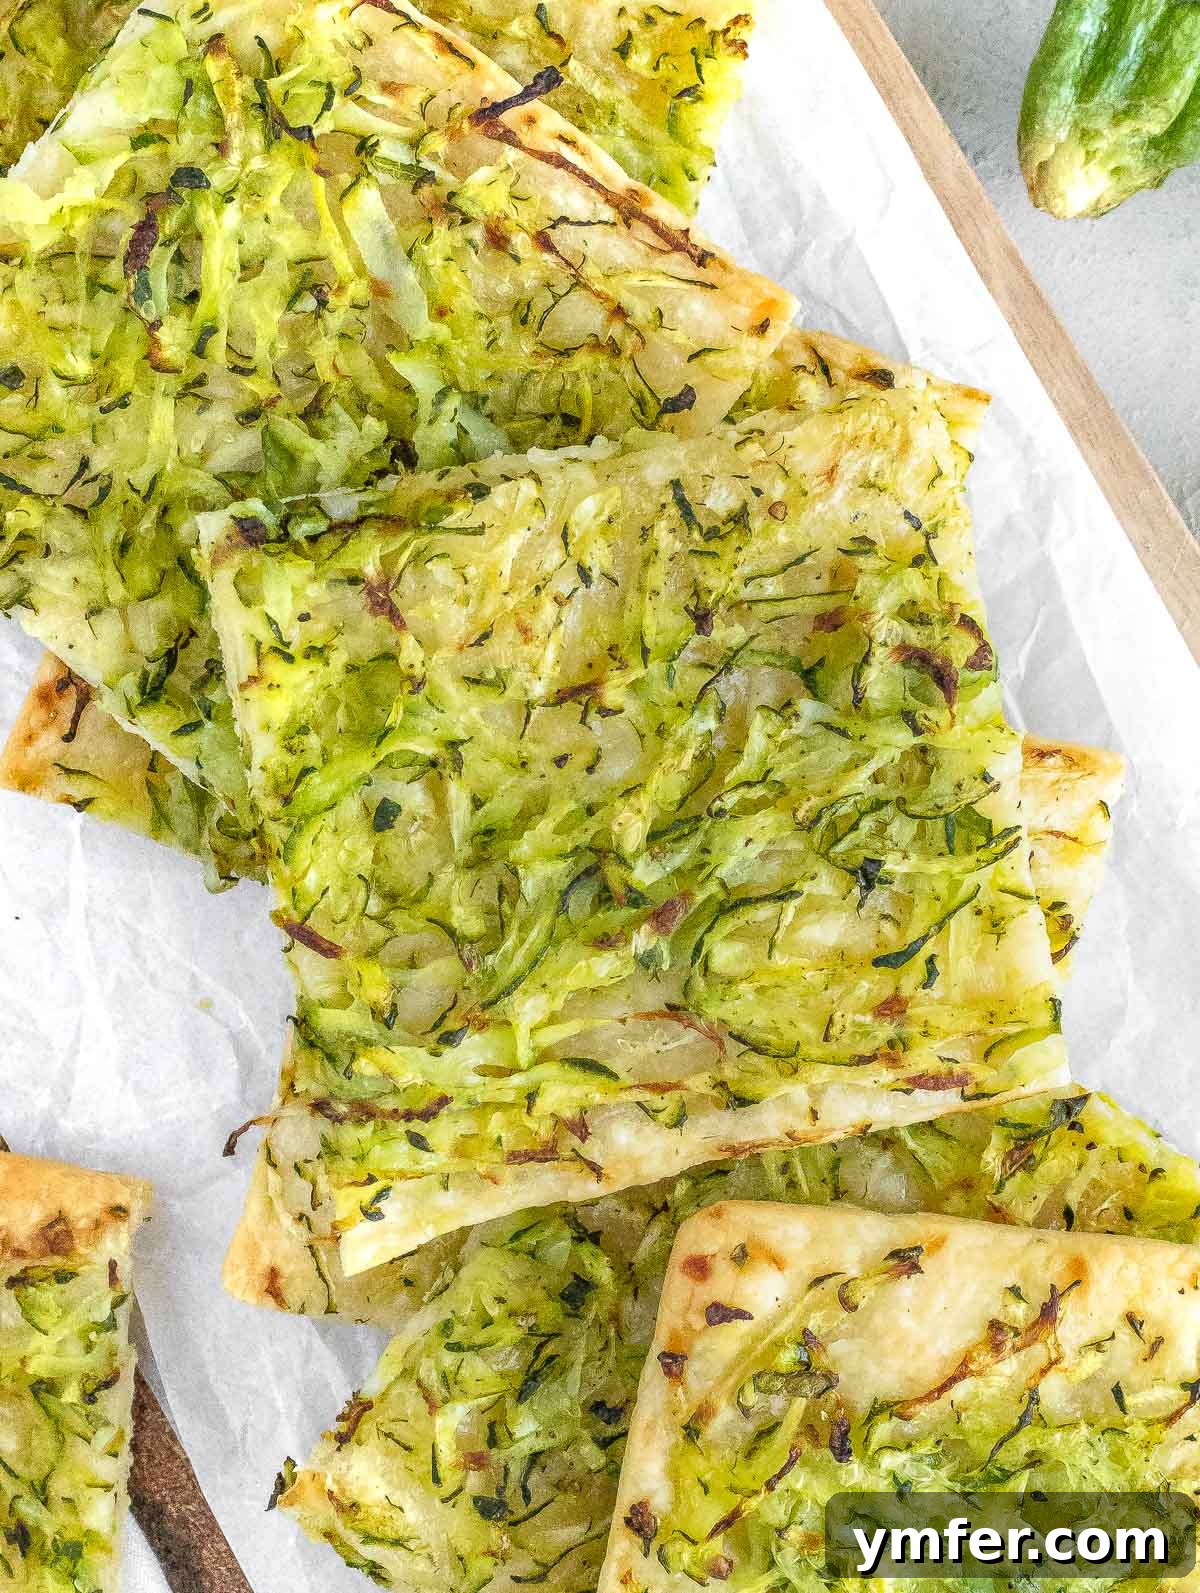
The outcome is nothing short of spectacular: a wonderfully crispy focaccia adorned with tender, almost-melted zucchini. This might just be one of the most delightful ways to enjoy zucchini, transforming a humble summer squash into an extraordinary culinary treat. Both children and adults are guaranteed to adore this vibrant, flavorful focaccia, eagerly requesting second helpings.
For those eager to master the art of easy focaccia, we encourage you to delve deeper into our comprehensive no-knead focaccia guide. It provides all the tips and tricks for consistently perfect results, laying the foundation for this delicious zucchini variation and many others.
As a little insider tip from our corner of Italy: this style of focaccia is incredibly popular in our region. Should your travels ever take you to the charming town of Todi, we highly recommend trying a slice of authentic zucchini focaccia at this local pizzeria. It’s a true taste of local tradition!
Ingredients for Zucchini Focaccia
Crafting the perfect zucchini focaccia begins with selecting high-quality ingredients. Here’s a detailed look at what you’ll need and why each component is essential:
For the Focaccia Dough
The foundation of our delicious focaccia is a simple yet effective dough, requiring just a few staple ingredients:
Flour
We typically opt for all-purpose flour in this recipe for its consistent texture and reliable results. However, for a more rustic flavor and added nutritional value, you can also use bread flour or even a 50/50 blend of all-purpose and whole wheat flour. Each choice will slightly alter the final texture and density of your focaccia.
Water
Lukewarm water is crucial for activating the yeast. The ideal temperature is around 105-115°F (40-46°C) – warm to the touch but not hot. Water that is too hot can kill the yeast, while water that is too cold will prevent it from activating properly, resulting in a dense dough.
Yeast
Our recipe uses instant dry yeast, which can be added directly to the dry ingredients. If you prefer, you can also use active dry yeast, which typically requires blooming in lukewarm water with a pinch of sugar first. For fresh yeast, you’ll need approximately three times the amount of instant dry yeast, and it should also be dissolved in lukewarm water before mixing.
Salt
Salt is more than just a seasoning; it plays a vital role in controlling yeast activity and enhancing the overall flavor of the focaccia. We recommend using good quality sea salt or kosher salt for the best taste.
Sugar
Just a small amount of sugar is added to the dough. This isn’t for sweetness, but rather to provide a food source for the yeast, helping it to activate quickly and efficiently, leading to a robust rise.
For the Zucchini Topping
The topping is where this focaccia truly shines, highlighting the fresh taste of summer zucchini:
Zucchini
Fresh, firm green zucchinis are our top choice for this recipe, prized for their vibrant color and delicate flavor. However, most varieties of summer squash can be used, such as yellow squash, if you prefer. Select zucchinis that are relatively small to medium-sized for the best texture and moisture content.
Olive Oil, Salt & Black Pepper
The zucchini topping requires only a simple, yet essential, seasoning. A generous drizzle of high-quality extra virgin olive oil adds richness and helps the zucchini become tender and slightly caramelized as it bakes. A few pinches of sea salt and freshly ground black pepper enhance the natural flavors of the squash, bringing everything into perfect balance.
Fresh Herbs (Optional)
For an added layer of aromatic complexity, consider incorporating fresh herbs. Sprinkling some finely chopped fresh thyme, oregano, sage, or rosemary over the zucchini before baking will infuse the focaccia with a wonderful fragrance and a more sophisticated taste. Choose herbs that complement your personal preference.
Chef’s Note: While this recipe provides a fantastic base, feel free to use it as a canvas for your creativity! Excellent additions to the zucchini topping include halved cherry tomatoes for a burst of sweetness, briny olives, or a sprinkle of your favorite melty cheese for an extra layer of indulgence. The possibilities are endless!
Step-by-Step Instructions for Zucchini Focaccia
1. Make the Focaccia Dough
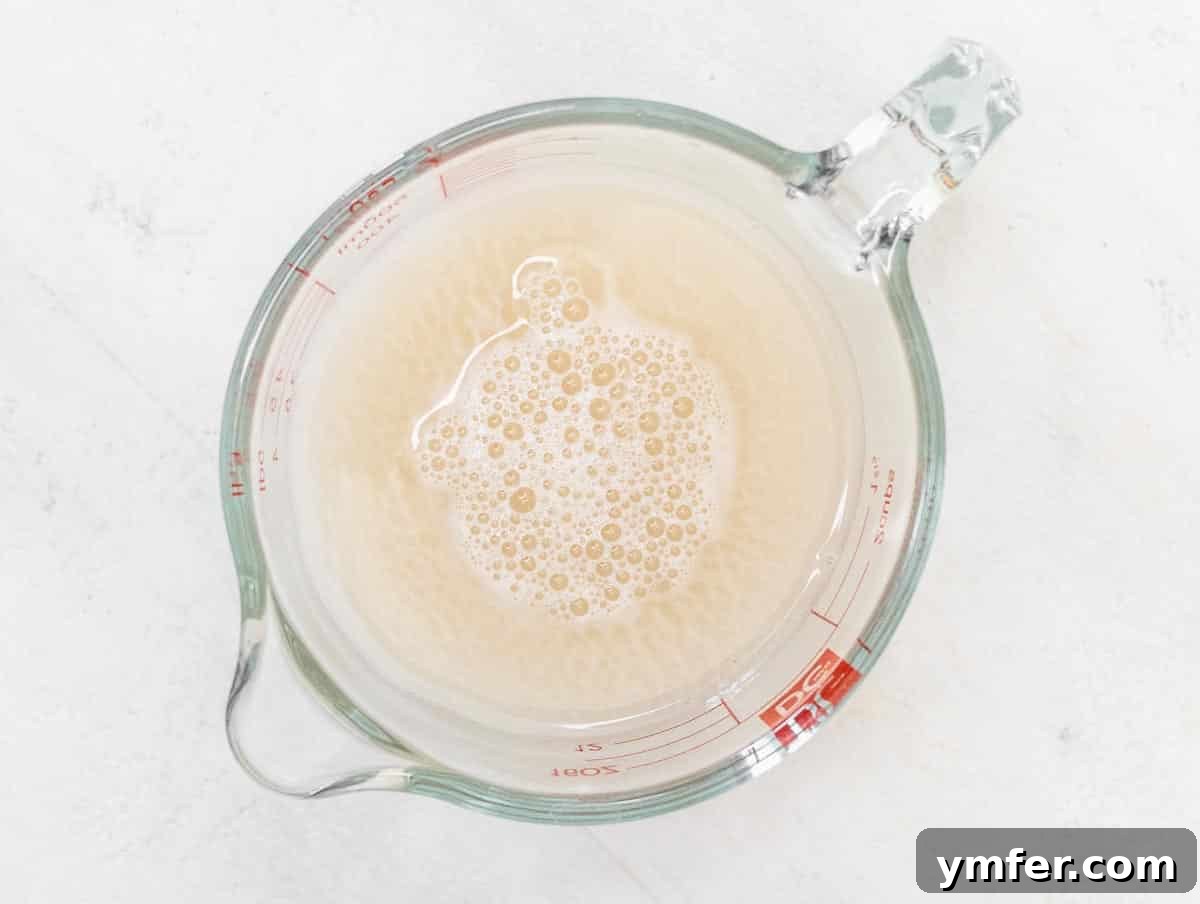
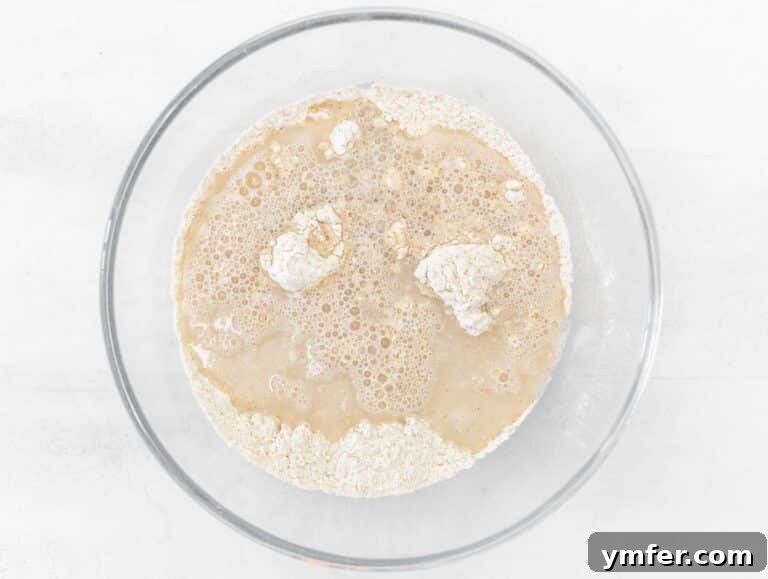
Begin by activating your yeast. In a small container or bowl, combine the lukewarm water, instant dry yeast, and a pinch of sugar. Stir gently until the yeast dissolves. Allow this mixture to sit for approximately 2 minutes until it becomes slightly foamy – this indicates the yeast is active and ready to work its magic.
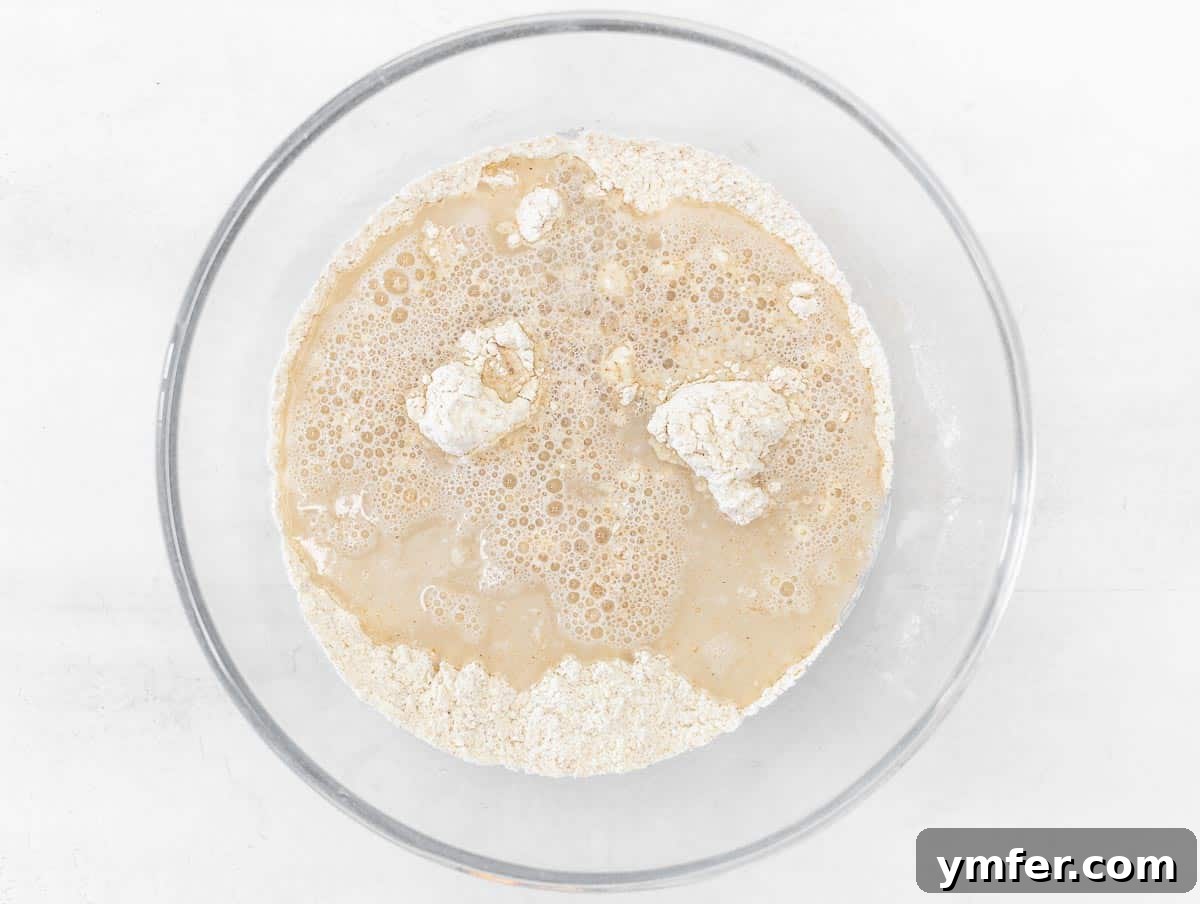
In a large mixing bowl, measure out the flour and the salt. Use a wooden spoon or a silicone spatula to give them a quick stir, ensuring they are well combined. Next, pour the activated yeast mixture into the bowl with the dry ingredients.
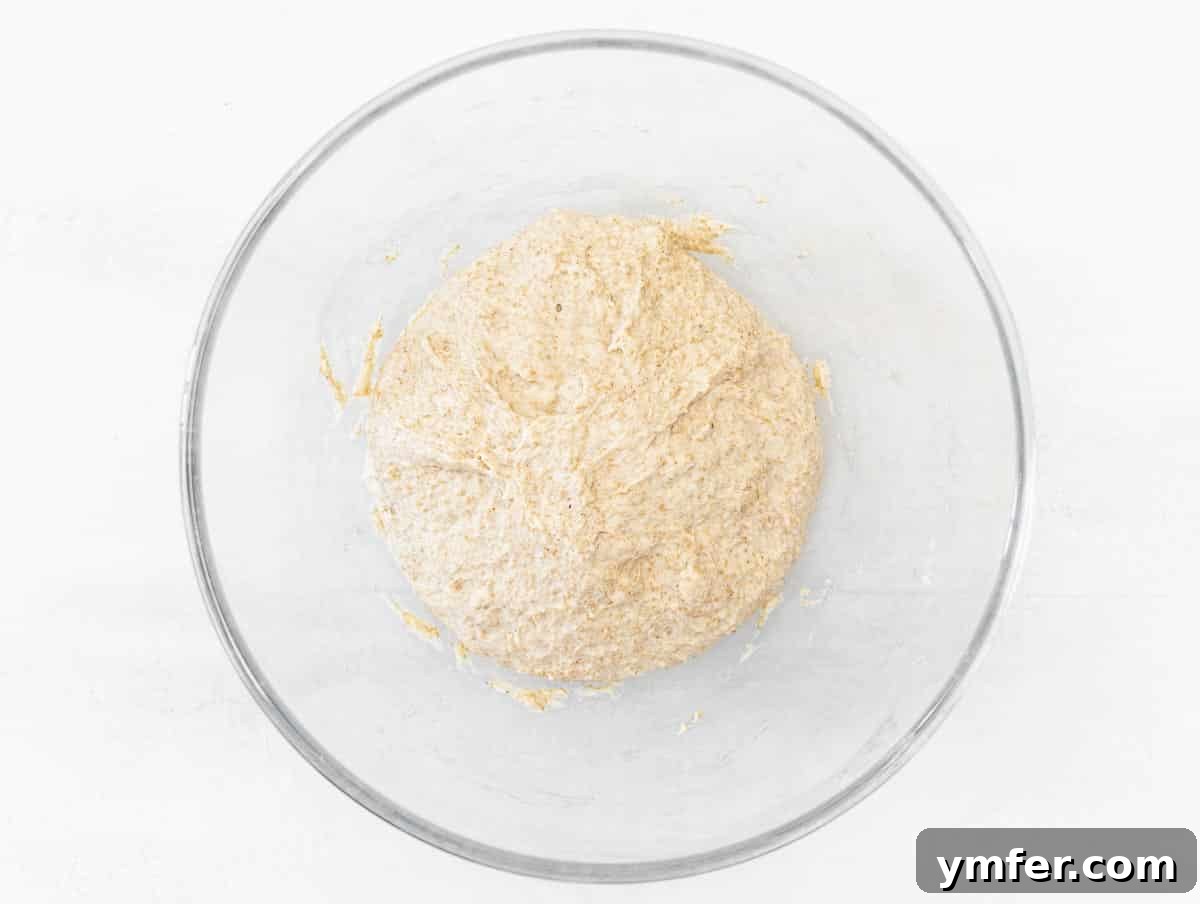
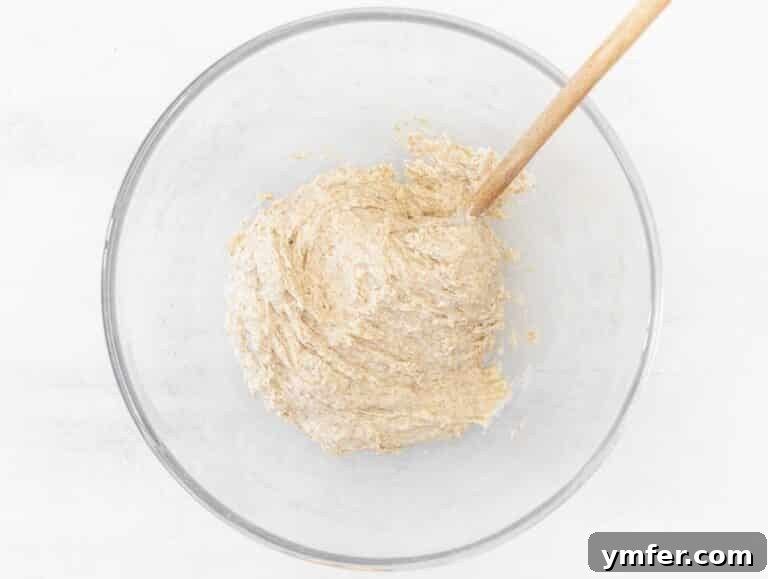
Mix all the ingredients with your wooden spoon or silicone spatula until they are just combined and you have a wet and sticky dough. The dough will look shaggy and not perfectly smooth, which is exactly what you want for a no-knead recipe. Gently shape the dough into a rough ball within the bowl. Lightly drizzle a little olive oil over the surface of the dough to prevent it from drying out during proofing.
2. First Proofing of the Dough
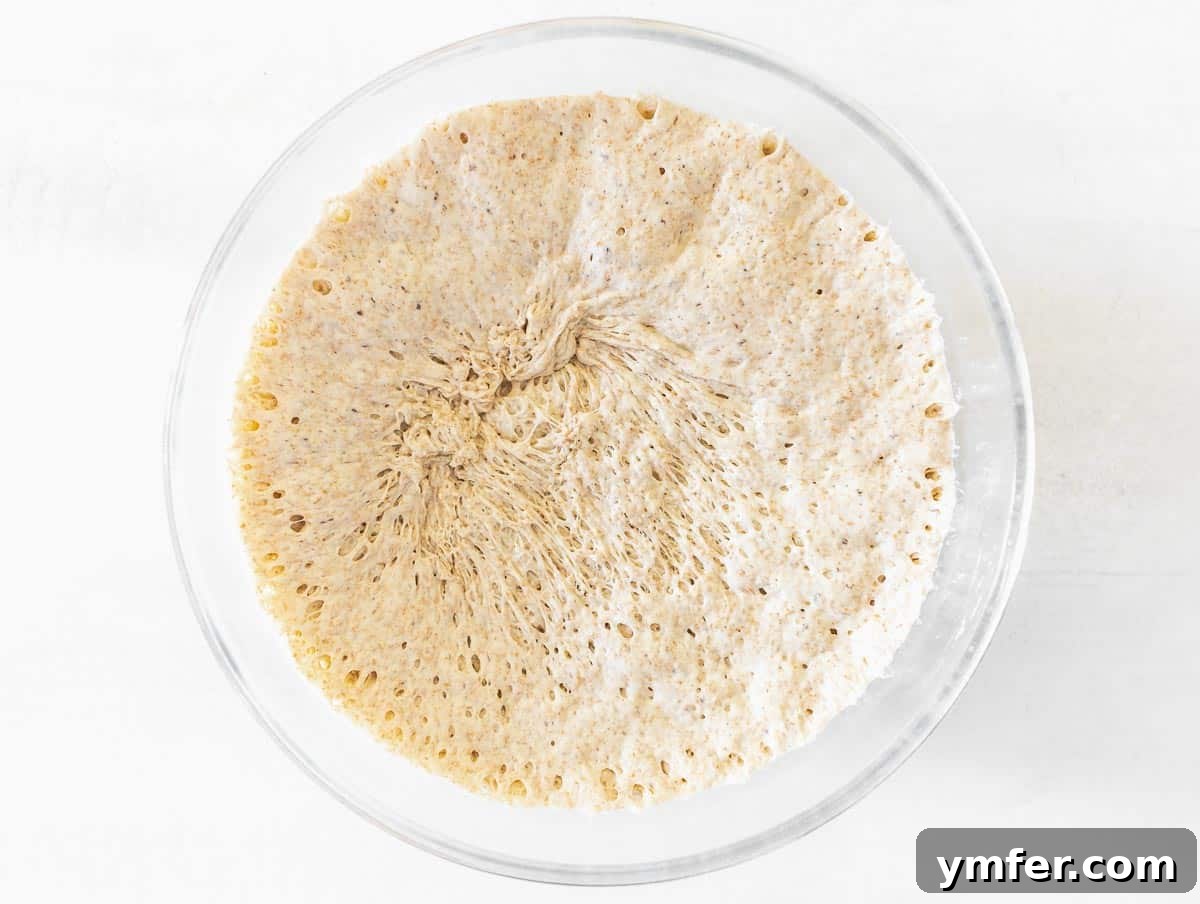
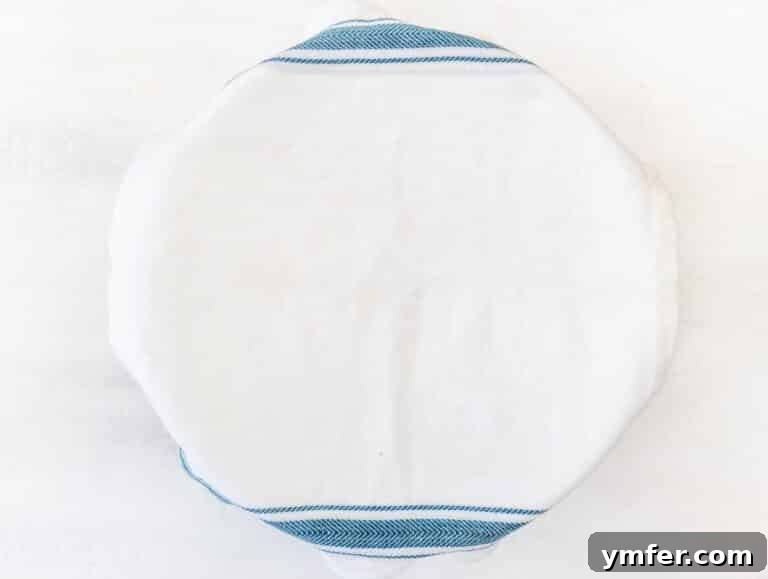
Cover the bowl containing the dough with a damp cloth. Ensure there’s enough space between the cloth and the dough to allow for its expansion. Place the covered bowl in a slightly warm oven (turned off, perhaps with just the oven light on, or in a warm spot in your kitchen) to proof for approximately two hours. During this time, the dough should visibly double in volume, becoming light and bubbly.
3. Fold the Dough for Structure
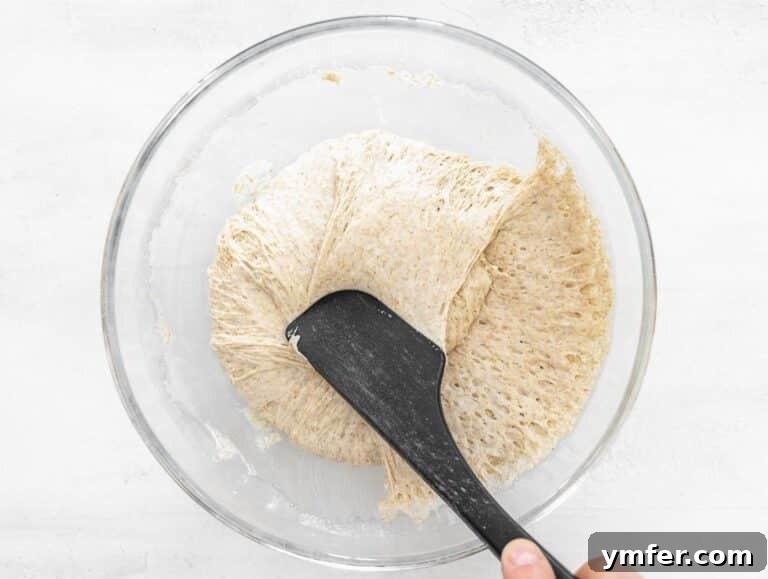
After the first proofing, it’s time to build structure without kneading. Using a silicone spatula or a sturdy spoon, gently fold the dough on itself. Scoop from the outside edge of the dough and fold it towards the center. Rotate the bowl slightly and repeat this action. There’s absolutely no need to touch the dough with your hands for this step; the spatula keeps it easy and clean.
Perform this folding action about 20 times. This process is surprisingly quick, taking only about 30 seconds. Folding helps to develop the gluten in the dough, strengthening its structure and creating those characteristic large, airy pockets that are essential for a perfect focaccia. It’s a gentle alternative to traditional kneading.
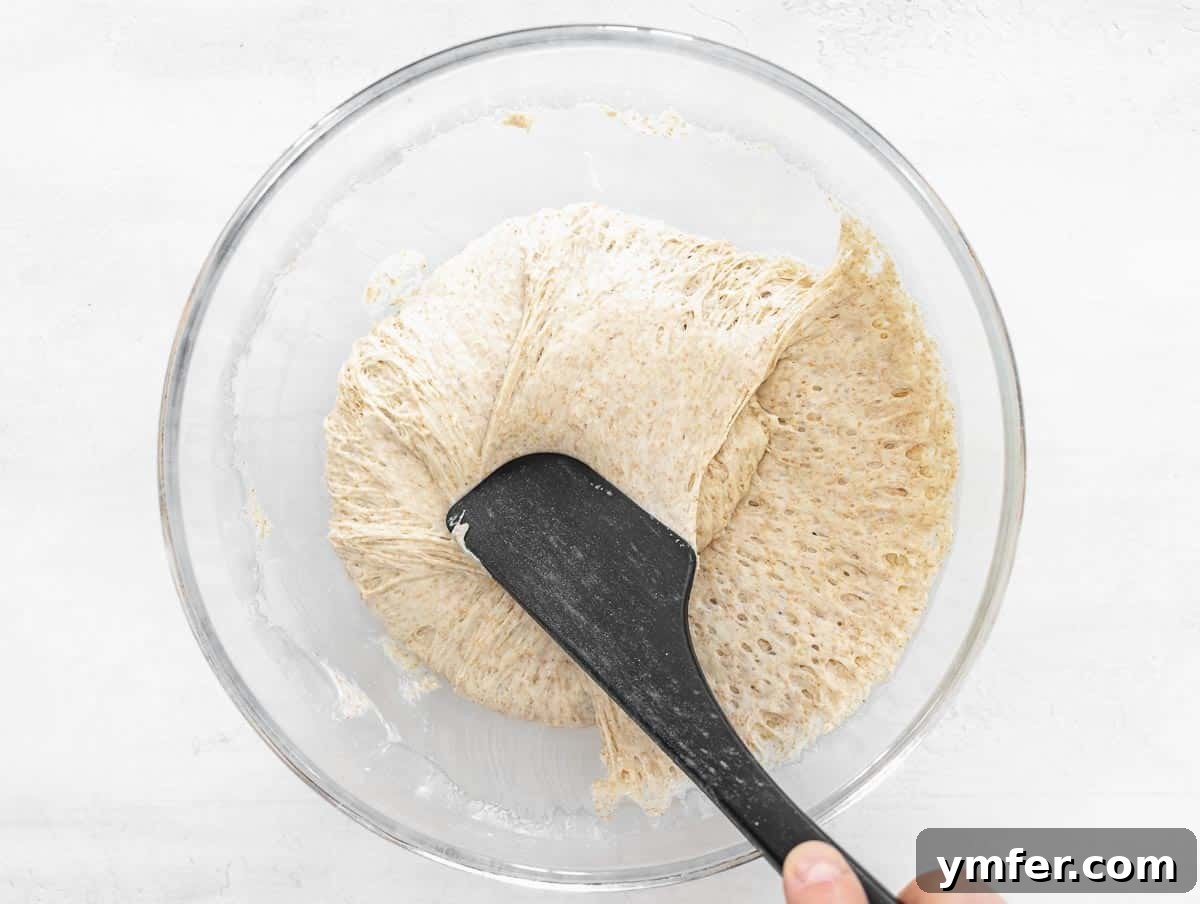
4. Shape and Second Proofing
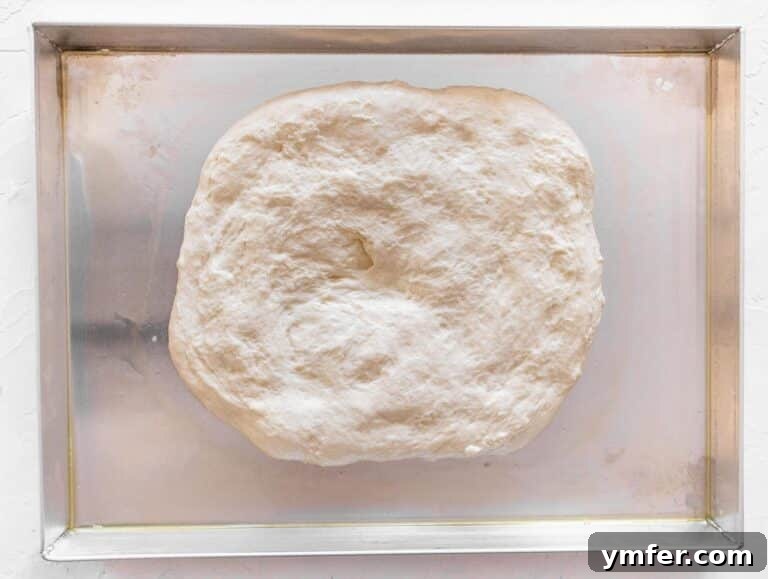
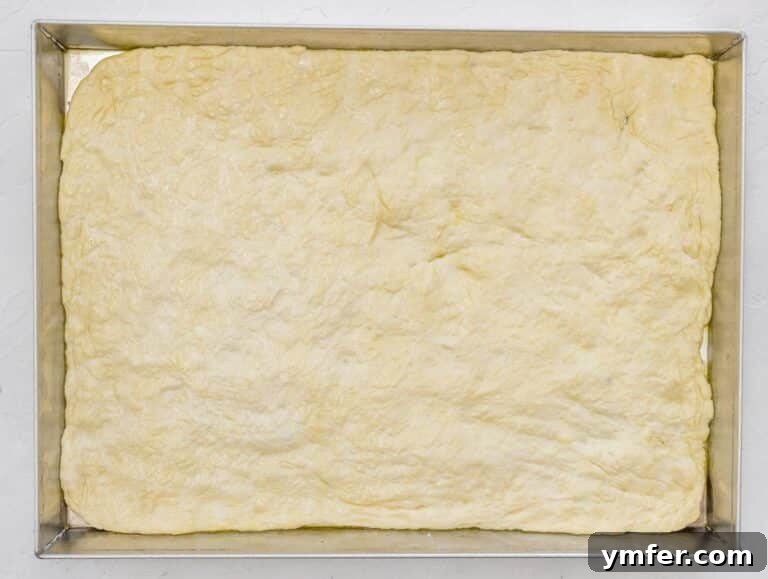
Generously grease your chosen baking tray with a tablespoon of olive oil, ensuring the entire surface is coated. Gently transfer the folded dough to the center of the greased tray. Then, using the back of two spoons (or two spatulas), gently spread the dough out. Work slowly and patiently, easing the dough towards the edges of the tray until it almost covers the entire surface evenly.
Don’t worry if the dough feels elastic and pulls back initially; that’s completely normal. Just continue to gently stretch and coax it into place. To prevent the spoons from sticking to the wet dough, it’s helpful to wet them with water intermittently.
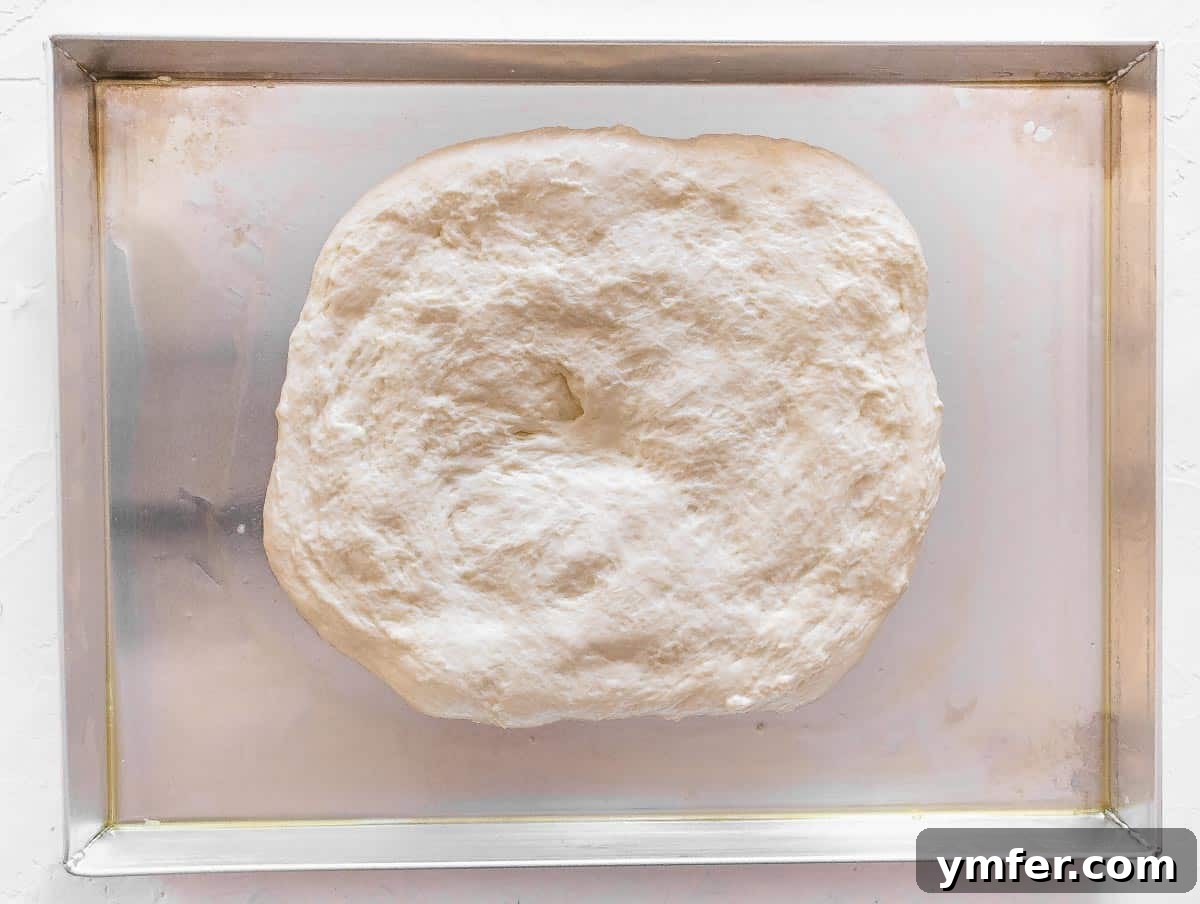
Important Note on Baking Pans: Focaccia can sometimes stick to the baking tray, especially if not adequately oiled. If you want to reduce the amount of oil used on the tray or simply ensure easy release, you can line your baking tray with parchment paper before greasing. For a thin, pizza-like focaccia with a crispier crust, we use a 16 x 12 inches (40 x 30 cm) baking pan. If you prefer a thicker, softer focaccia, use a smaller pan size, which will result in a more substantial loaf.
Once shaped, return the baking tray with the dough to the slightly warm oven for a second proofing. Allow it to proof for another 45 minutes to 1 hour. The dough should again become visibly puffy and aerated. After this second proofing, carefully remove the tray from the oven and immediately preheat your oven to 450°F (230°C).
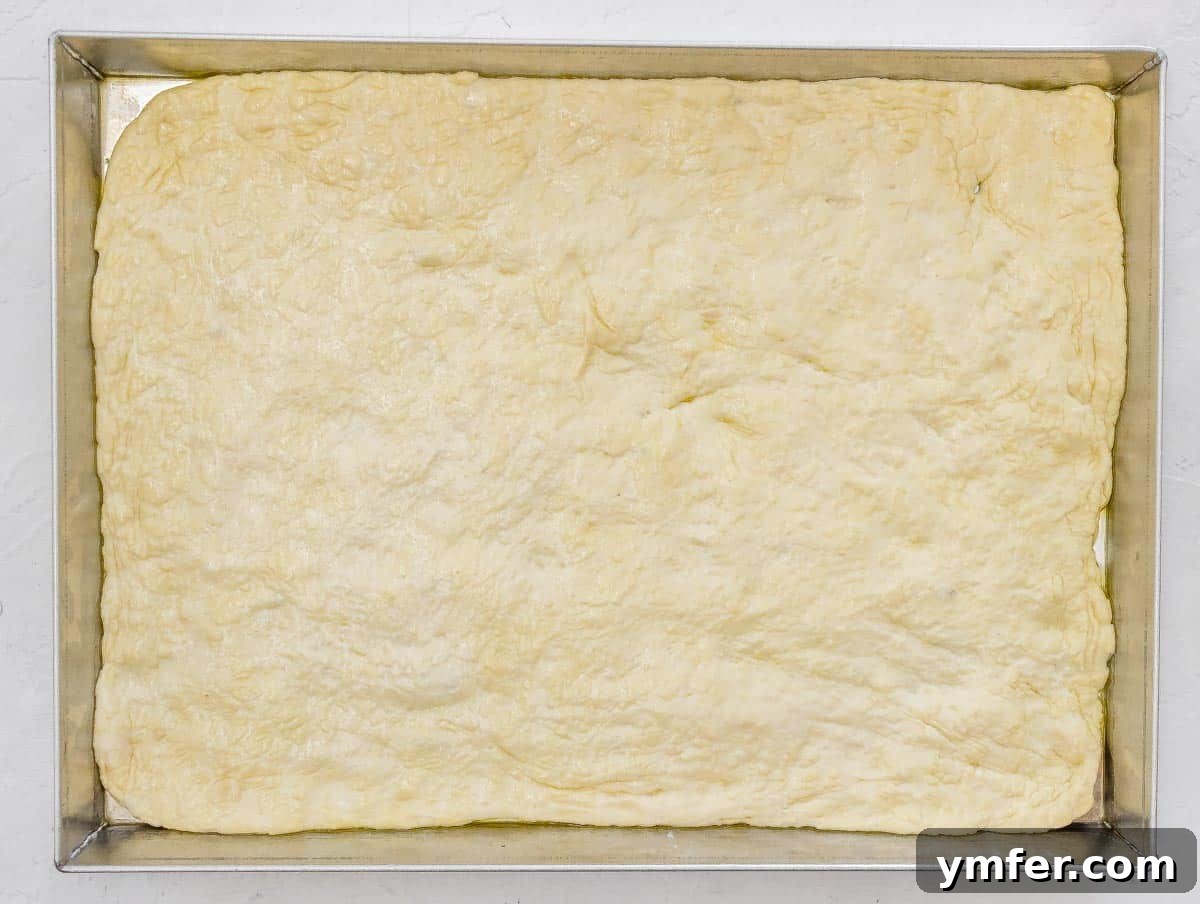
5. Add the Zucchini Topping
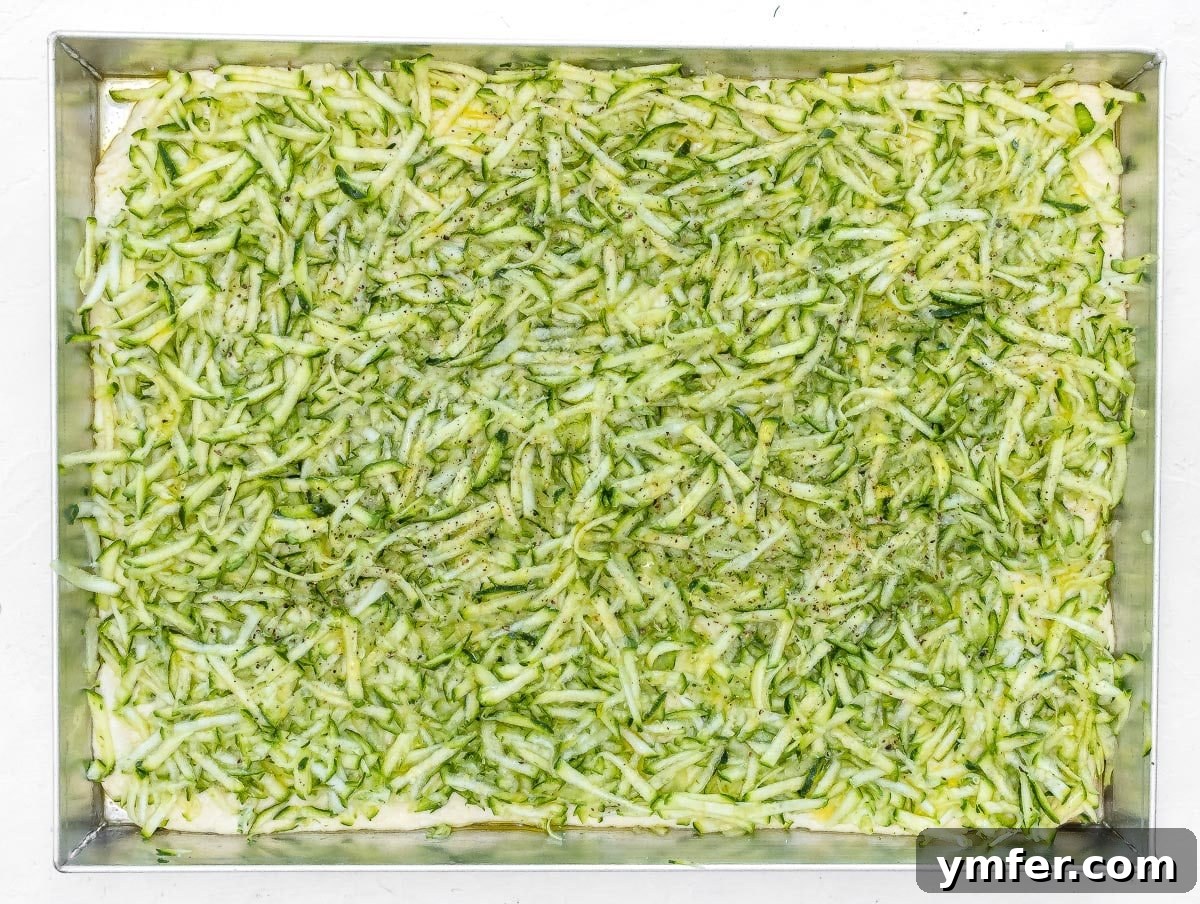
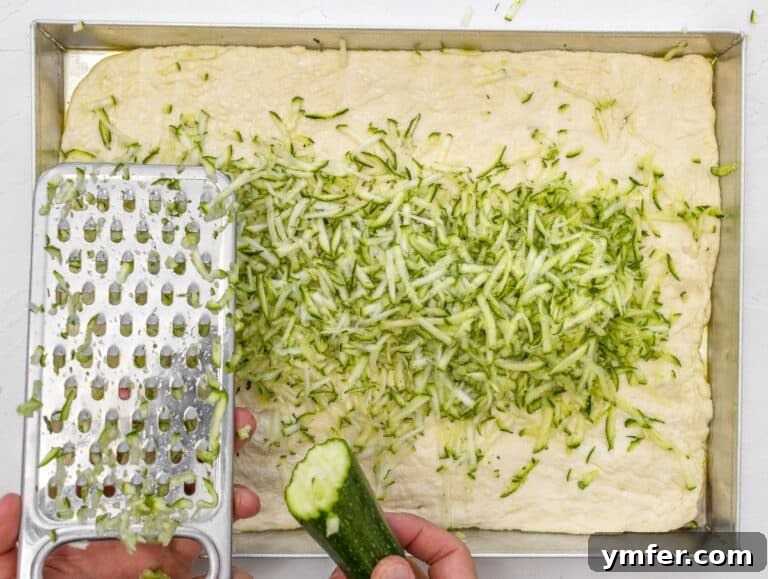
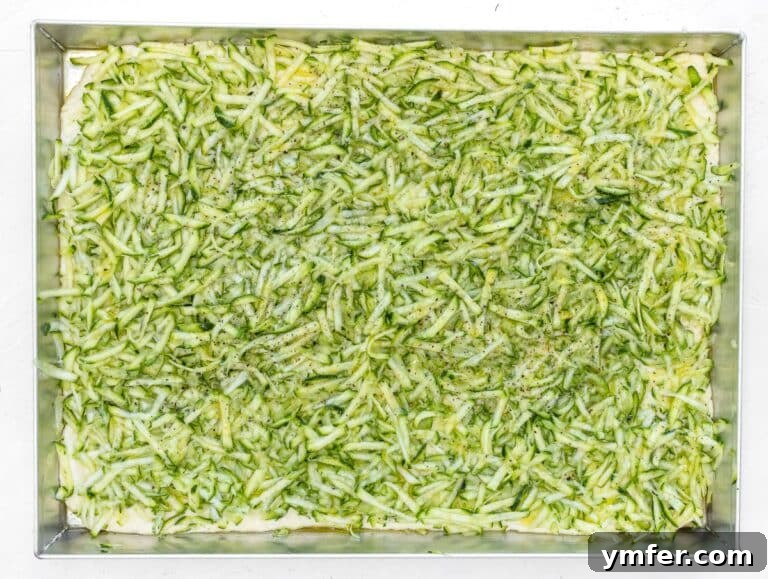
While the oven preheats, it’s time to add the star of the show. Using a box grater with large holes, grate the fresh zucchini directly over the proofed focaccia dough. Spread the shredded zucchini evenly across the entire surface of the dough, creating a generous layer.
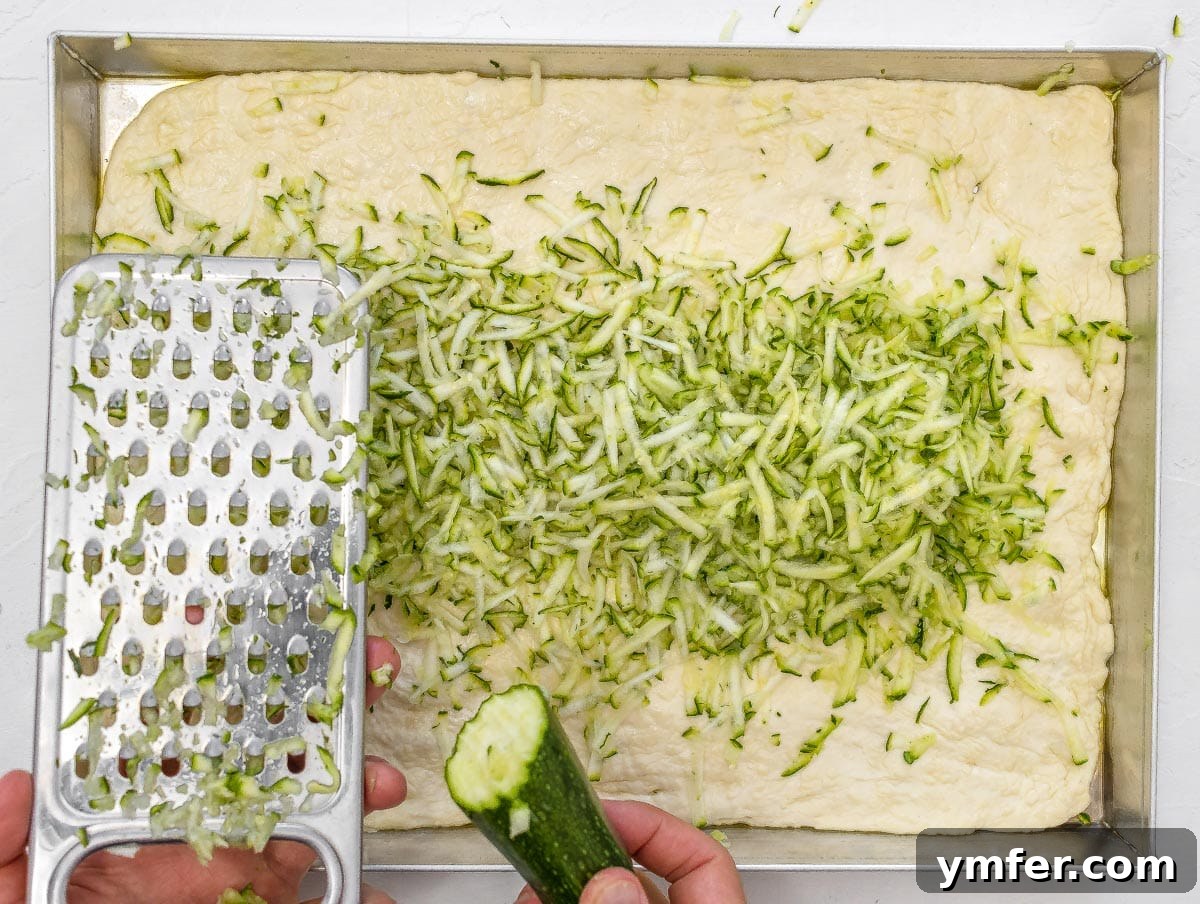
To season, sprinkle a few pinches of salt and freshly ground black pepper over the zucchini. Finally, drizzle 1 to 2 tablespoons of high-quality extra virgin olive oil generously over the entire topping. This not only adds flavor but also helps the zucchini to cook beautifully and become tender during baking.
6. Bake to Golden Perfection
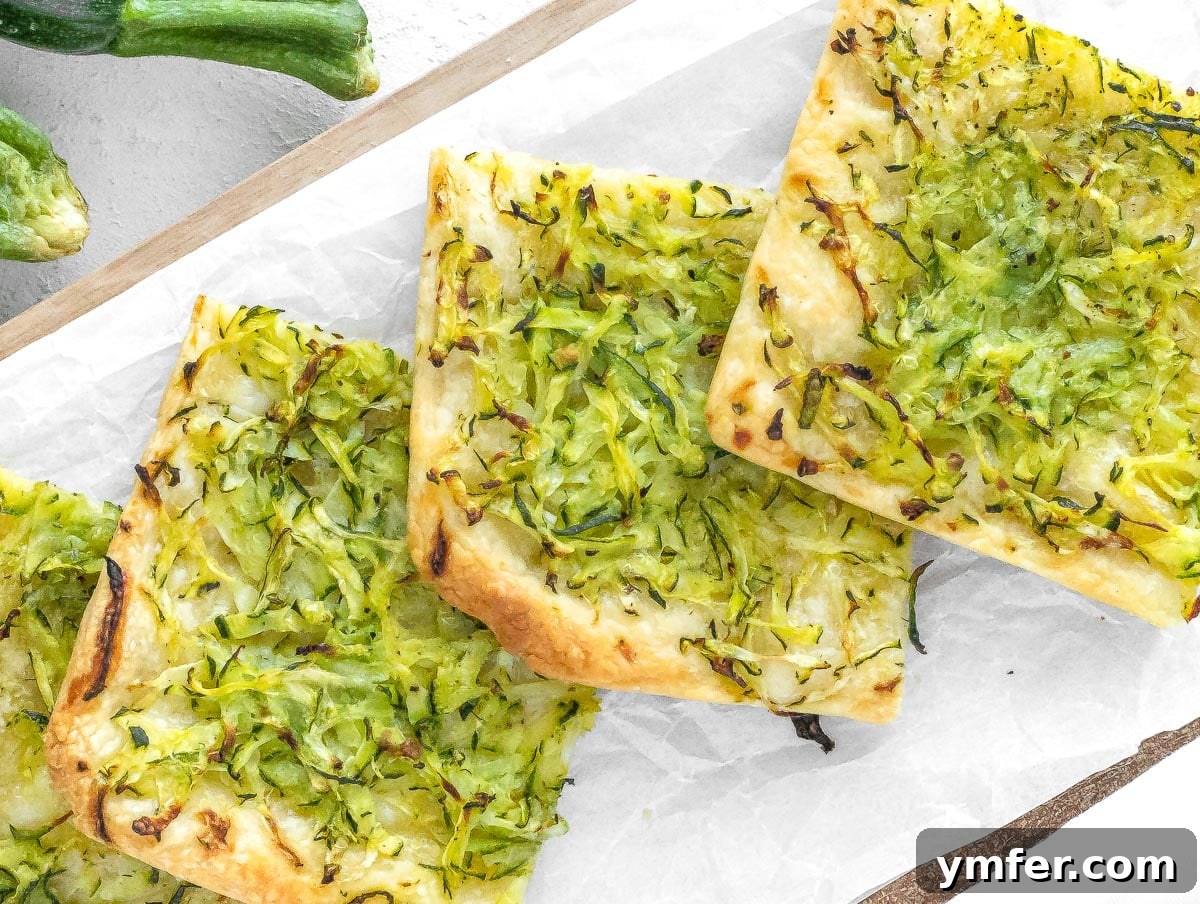
Carefully transfer the zucchini focaccia into your preheated oven. Place the baking tray on the medium-low oven rack to ensure even cooking and a beautifully golden bottom crust. Bake for approximately 18 to 25 minutes. The exact baking time may vary slightly depending on your oven and the thickness of your focaccia, so keep a close eye on it.
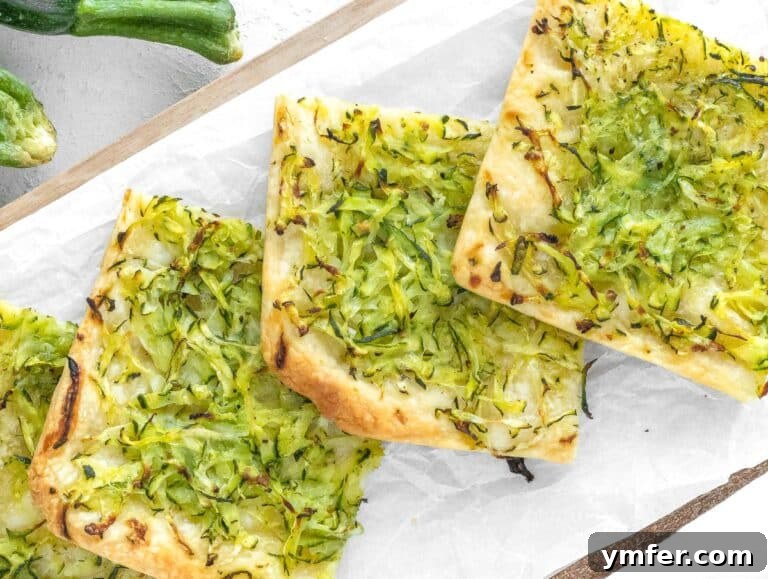
Your zucchini focaccia is perfectly ready when its surface is a glorious golden brown, the edges are wonderfully crispy, and the bottom is thoroughly cooked through. The zucchini will be tender and slightly caramelized, adding to its appeal. Once baked, remove the focaccia from the oven and let it cool in the pan for 5 to 10 minutes. This brief resting period helps it set and makes it easier to remove from the pan, cut into generous slices, and serve warm.
Serving Suggestions for Zucchini Focaccia
This versatile zucchini focaccia is a fantastic addition to almost any meal. It shines as a convivial dinner center-piece when served alongside other delicious Italian breads and a vibrant, fresh salad. Here are some of our best pizza and focaccia side dishes that pair wonderfully:
- Refreshing Cucumber Tomato Salad
- Hearty Chickpea Salad
- Bright Fennel Orange Salad
- Crunchy Red Cabbage Slaw
- Crostini with Fresh Vegetable Toppings (for a delightful starter spread)
- Simple Oven Roasted Broccoli
- Flavorful Eggplant Caponata
Beyond these suggestions, zucchini focaccia can also be served as a delightful appetizer, a light lunch, or even as part of an elaborate antipasto platter. Its robust flavor and satisfying texture make it an excellent accompaniment to soups, stews, or grilled vegetables. If you’re looking to add even more healthy goodness to your table, don’t miss our selection of the 25 best vegetable side dishes.
Storage and Reheating Tips
Zucchini focaccia is undeniably at its peak when enjoyed straight out of the oven, warm and wonderfully crunchy. The crispy crust and tender interior are best appreciated immediately. However, if you find yourself with delightful leftovers, proper storage ensures you can enjoy them later.
To store, place any leftover zucchini focaccia in a food-grade plastic bag or an airtight container at room temperature. It will maintain its quality for about 36 to 48 hours. Beyond this, the texture might begin to soften, though it will still be delicious. Avoid refrigerating focaccia, as this tends to dry out the bread and negatively impact its texture.
For reheating, preheat your oven to 400°F (200°C). Place the focaccia directly on the oven rack or on a baking sheet and reheat for approximately 5 to 7 minutes, or until warmed through and the crust has regained some of its crispiness. This method will bring it closest to its freshly baked glory.
Looking for more inspiration in the world of bread? Be sure to check out our extensive bread category page for a variety of delicious recipes!
More Zucchini Recipes to Explore
Zucchini is a wonderfully versatile summer squash, perfect for creating a wide array of refreshing and healthy dishes for any meal. Don’t let your zucchini bounty go to waste! Here are some more of our favorite recipes featuring this delightful vegetable:
- Creamy Fresh Zucchini Soup – wonderfully light and often served with homemade air fryer croutons.
- Easy Zucchini Risotto – a creamy and comforting dish featuring finely shredded zucchini.
- Perfectly Roasted Zucchini – seasoned with crunchy breadcrumbs and aromatic herbs.
- Flavorful Grilled Zucchini – tossed with a zesty herby lemon vinaigrette.
- Quick 25-Minute Zucchini Pasta – a simple and satisfying meal, often finished with toasted pine nuts.
- Wholesome Stuffed Zucchini Boats – filled with a savory mixture of lentils and walnuts.
- Simple Zucchini Muffins – a great way to enjoy shredded zucchini in a sweet treat.
Or, for a complete selection of inspiring ideas, simply check out our curated collection of the best zucchini recipes. You’re sure to find something new to love!
Zucchini Focaccia
Nico Pallotta
This savory zucchini focaccia is perfectly suited for an original weekend dinner with family and friends. It’s a crowd-pleaser that is both tasty, light, and wonderfully crunchy; everyone will certainly want more than one piece.
15
mins
18
mins
2
hrs
45
mins
3
hrs
18
mins
12
pieces
Breads, Snack, Starter
Italian
Print Recipe
Equipment
-
Rectangular baking pan 16 x 12 inches (40 x 30 cm)
-
We like our zucchini focaccia quite thin, so we use a large pan. However, you can use any baking pan, keeping in mind that a larger tray will produce thinner and crispier focaccia, and a smaller tray will produce thicker, softer focaccia.
Ingredients
For the dough
- 3½ cups flour all-purpose flour or half all-purpose and half whole wheat flour
- 1½ cups + 1 tablespoon lukewarm water
- 1 teaspoon yeast instant dry yeast or active dry yeast. 10 grams if you use fresh yeast.
- 1 teaspoon sugar
- 2 teaspoons salt
Topping
- 4 medium zucchini
- 2 to 3 tablespoons olive oil 1 tbsp for the baking tray – 1 to 2 tbsp on top
- ½ teaspoon salt
- 3 twists black pepper
Instructions
MAKE THE DOUGH
-
To a small container, add the lukewarm water, instant dry yeast, and sugar. Stir and let the yeast activate (bloom) for 2 minutes.
-
To a large mixing bowl, add the flour and the salt. Stir with a wooden spoon, then add the yeast mixture.

-
Mix the ingredients with a wooden spoon or a silicone spatula until you have a wet and sticky dough. Roughly shape the dough into a ball and lightly drizzle with olive oil before putting it to proof.
PROOFING THE DOUGH
-
Cover the bowl with a damp cloth, leaving enough space between the dough and the cloth. Let it proof in a slightly warm oven for two hours. The dough should double in volume.
FOLD THE DOUGH
-
Fold the dough on itself from the outside to the inside with a spatula or spoon.
There’s no need to touch it with your hands. Fold it 20 times. This will take about 30 seconds. Folding gives structure to the dough.
SHAPE AND SECOND PROOFING
-
Grease your baking tray with a tablespoon of olive oil. Transfer the dough to the center of the baking tray, then with the back of two spoons (or two spatulas), spread the dough out until almost the whole tray is evenly covered.
The dough is elastic at this stage and will pull back, so don’t worry if it doesn’t cover the tray completely.
To prevent the spoons from sticking to the dough, wet the spoons with water.
-
Note: Focaccia tends to stick to the baking pan. If you want to reduce the amount of oil, you can line your baking pan with parchment paper.
We make thin, pizza-like focaccia here, using a 16 x 12 inches (40 x 30 cm) baking pan, but you can use a smaller pan to make thicker focaccia.
-
Put back in the slightly warm oven to proof for another 45 minutes to 1 hour.
After this second proofing, remove it from the oven and preheat it to 450°F or 230°C.
ADD TOPPING
-
Grate the zucchini and spread it on top of the focaccia.
-
Season with a few pinches of salt, black pepper, and 1 to 2 tablespoons of extra virgin olive oil.
BAKE
-
Place the zucchini focaccia on the medium-low oven rack and bake it for about 18 to 25 minutes.
The focaccia is ready when it’s golden brown, crispy on the sides, and well-cooked on the bottom.
Let it cool down for 5 to 10 minutes before removing it from the pan, cutting it, and serving it.
Notes
Nutrition
Carbohydrates: 36g,
Protein: 6g,
Fat: 3g,
Saturated Fat: 0.4g,
Polyunsaturated Fat: 0.5g,
Monounsaturated Fat: 2g,
Trans Fat: 0g,
Cholesterol: 0mg,
Potassium: 187mg,
Dietary Fiber: 2g,
Sugar: 2g,
Vitamin A: 100IU,
Vitamin B6: 0.1mg,
Vitamin C: 9mg,
Vitamin E: 0.4mg,
Vitamin K: 4µg,
Calcium: 16mg,
Folate: 115µg,
Iron: 2mg,
Manganese: 0.4mg,
Magnesium: 19mg,
Zinc: 1mg
Tried this recipe?
Leave a comment below or mention @theplantbasedschool on Instagram. We love hearing from you ⭐️ 💚.
You might also like these related recipes:
Collections
40 Italian Vegetarian Dishes
Collections
27 Zucchini Recipes
Collections
35 Easy Dinners