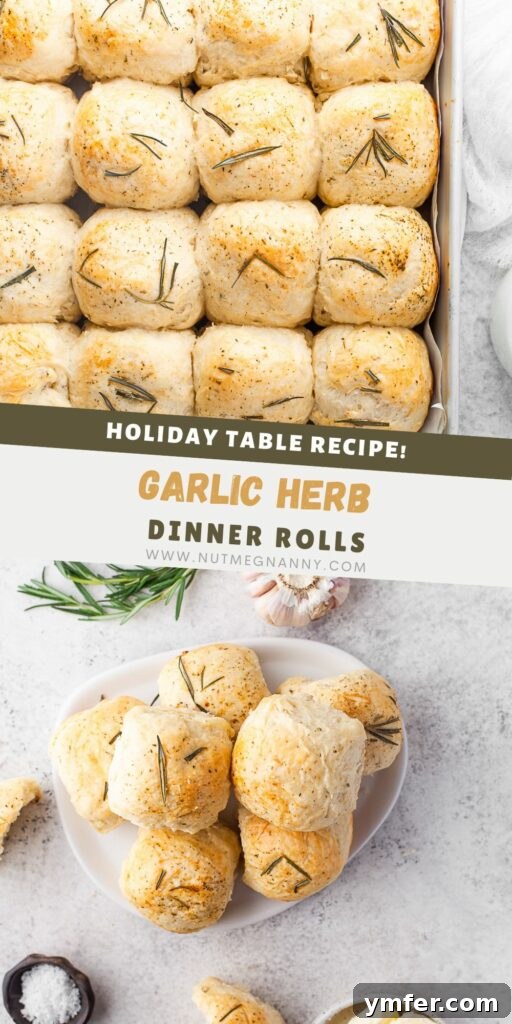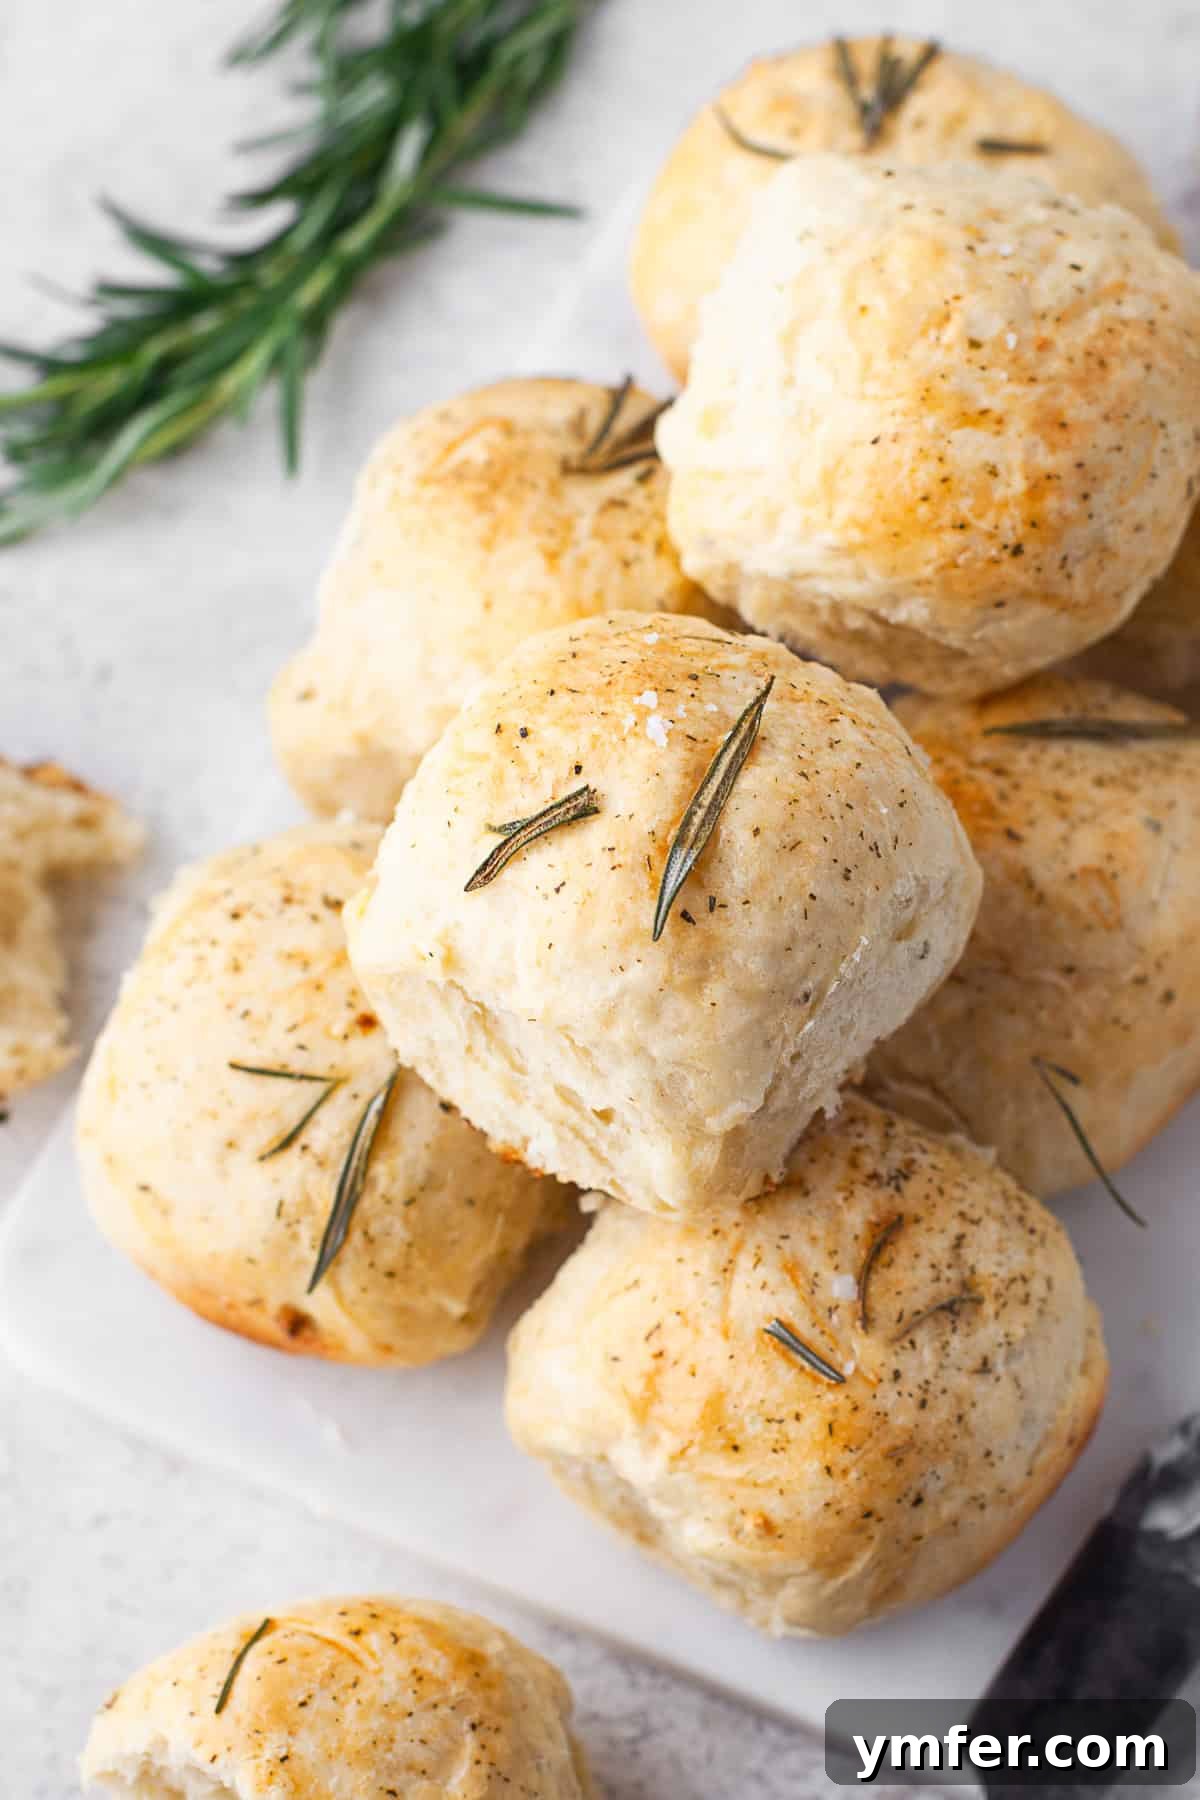
Welcome to the ultimate guide for crafting the most delightful, tender, and incredibly flavorful garlic herb dinner rolls. Imagine warm, fluffy bread, kissed with the earthy notes of fresh garlic and aromatic rosemary, then lightly sweetened with honey and enriched with milk. These aren’t just any dinner rolls; they’re an experience—a culinary embrace that elevates any meal, from a simple weeknight dinner to the grandest holiday feast.
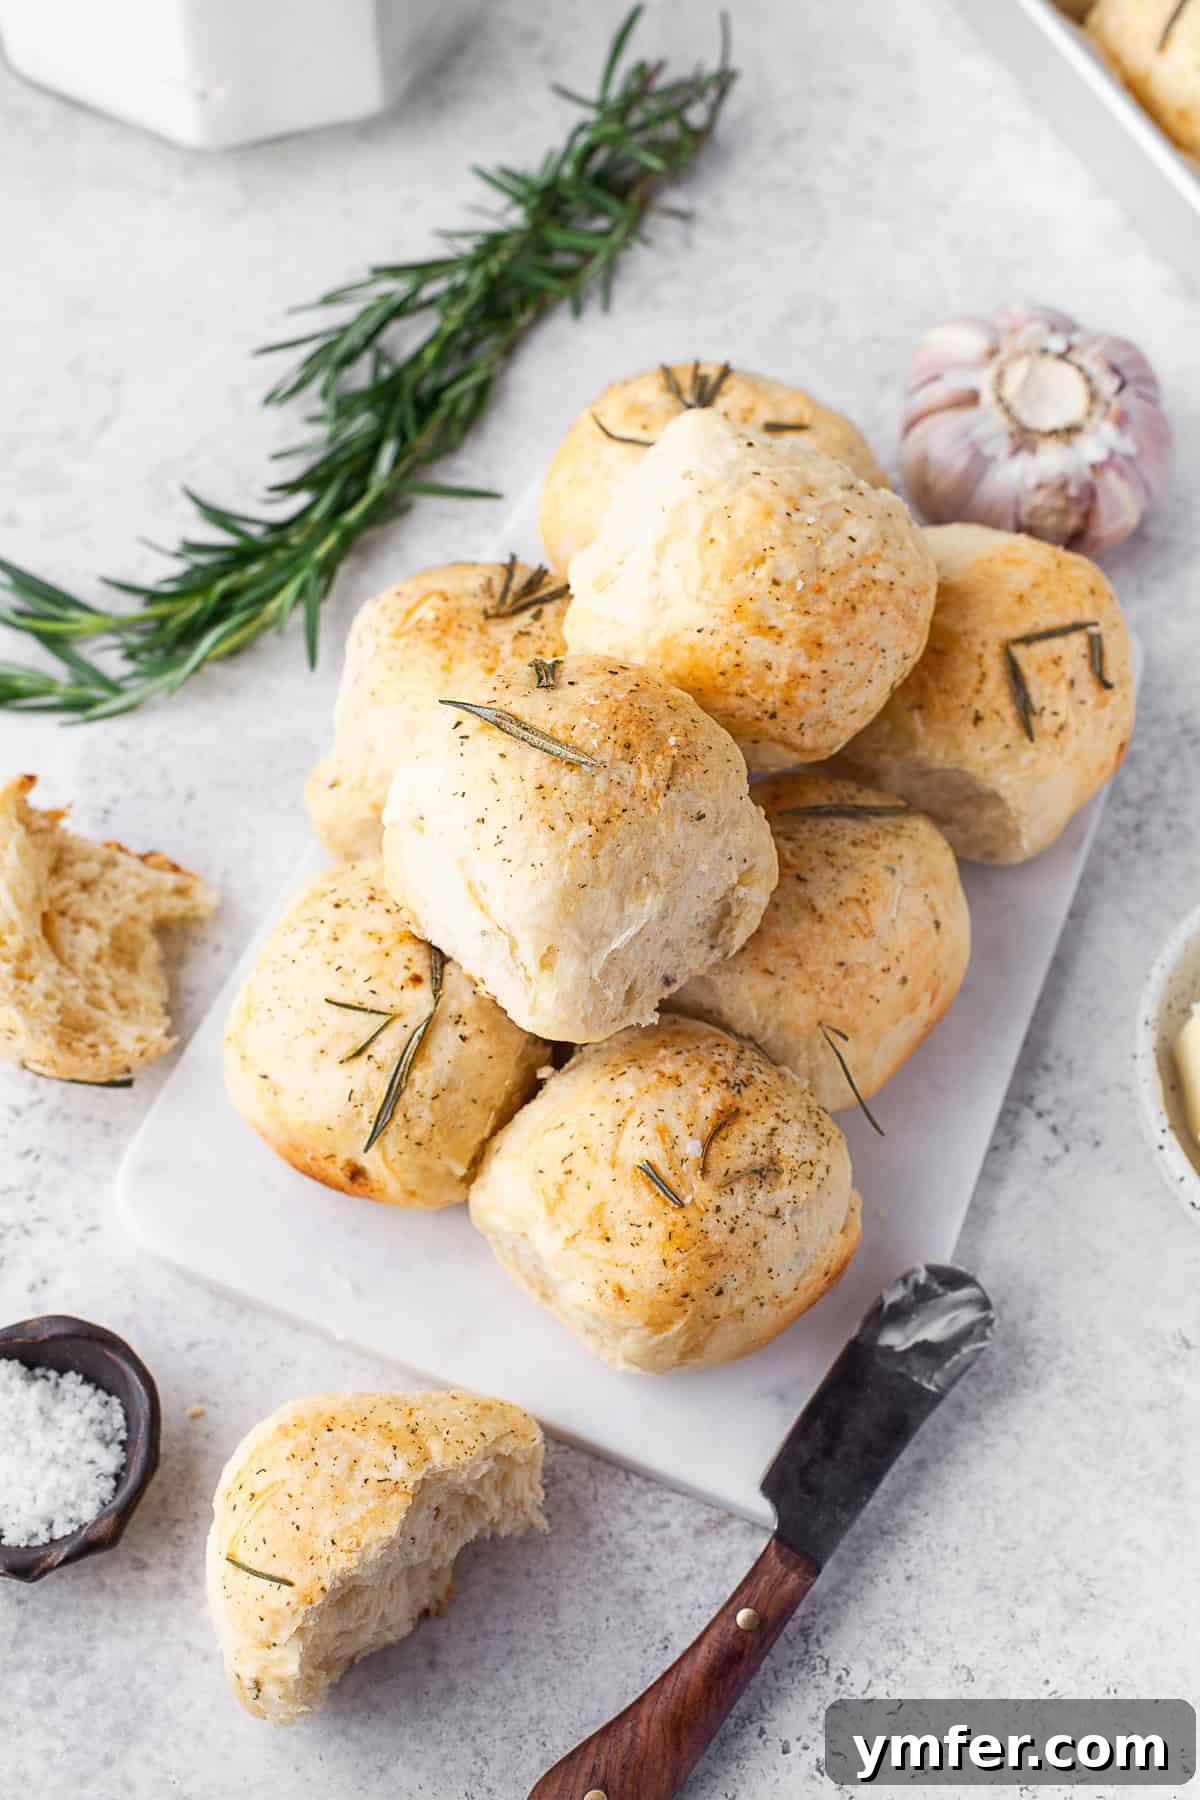
Many home bakers find the idea of making homemade rolls daunting, but we’re here to tell you that it’s far simpler than you might think! This recipe for garlic herb dinner rolls is designed to be accessible for bakers of all skill levels, promising a rewarding journey from basic ingredients to perfectly golden, unbelievably tender bread. You’ll be amazed at how easily these fluffy, yeast-leavened delights come together, requiring just a few common pantry staples like flour, milk, and honey, expertly seasoned with the irresistible duo of fresh garlic and fragrant rosemary.
It’s no secret that dinner rolls are often the unsung heroes of any meal. Ask almost anyone, child or adult, what their favorite part of a holiday spread is, and chances are “the rolls!” will be a top answer. They disappear faster than any other dish, leaving everyone satisfied and reaching for another. These garlic herb dinner rolls are guaranteed to be a crowd-pleaser, stealing the show at your next gathering. In fact, they’re so good, you might just want to double the recipe to ensure there are plenty for everyone—and perhaps a few leftovers for yourself!
If you love the comfort of homemade bread and are looking for a seasonal twist, be sure to explore our Rosemary Pumpkin Rolls for a delightful fall-inspired treat.
Essential Ingredients for Irresistible Garlic Herb Dinner Rolls
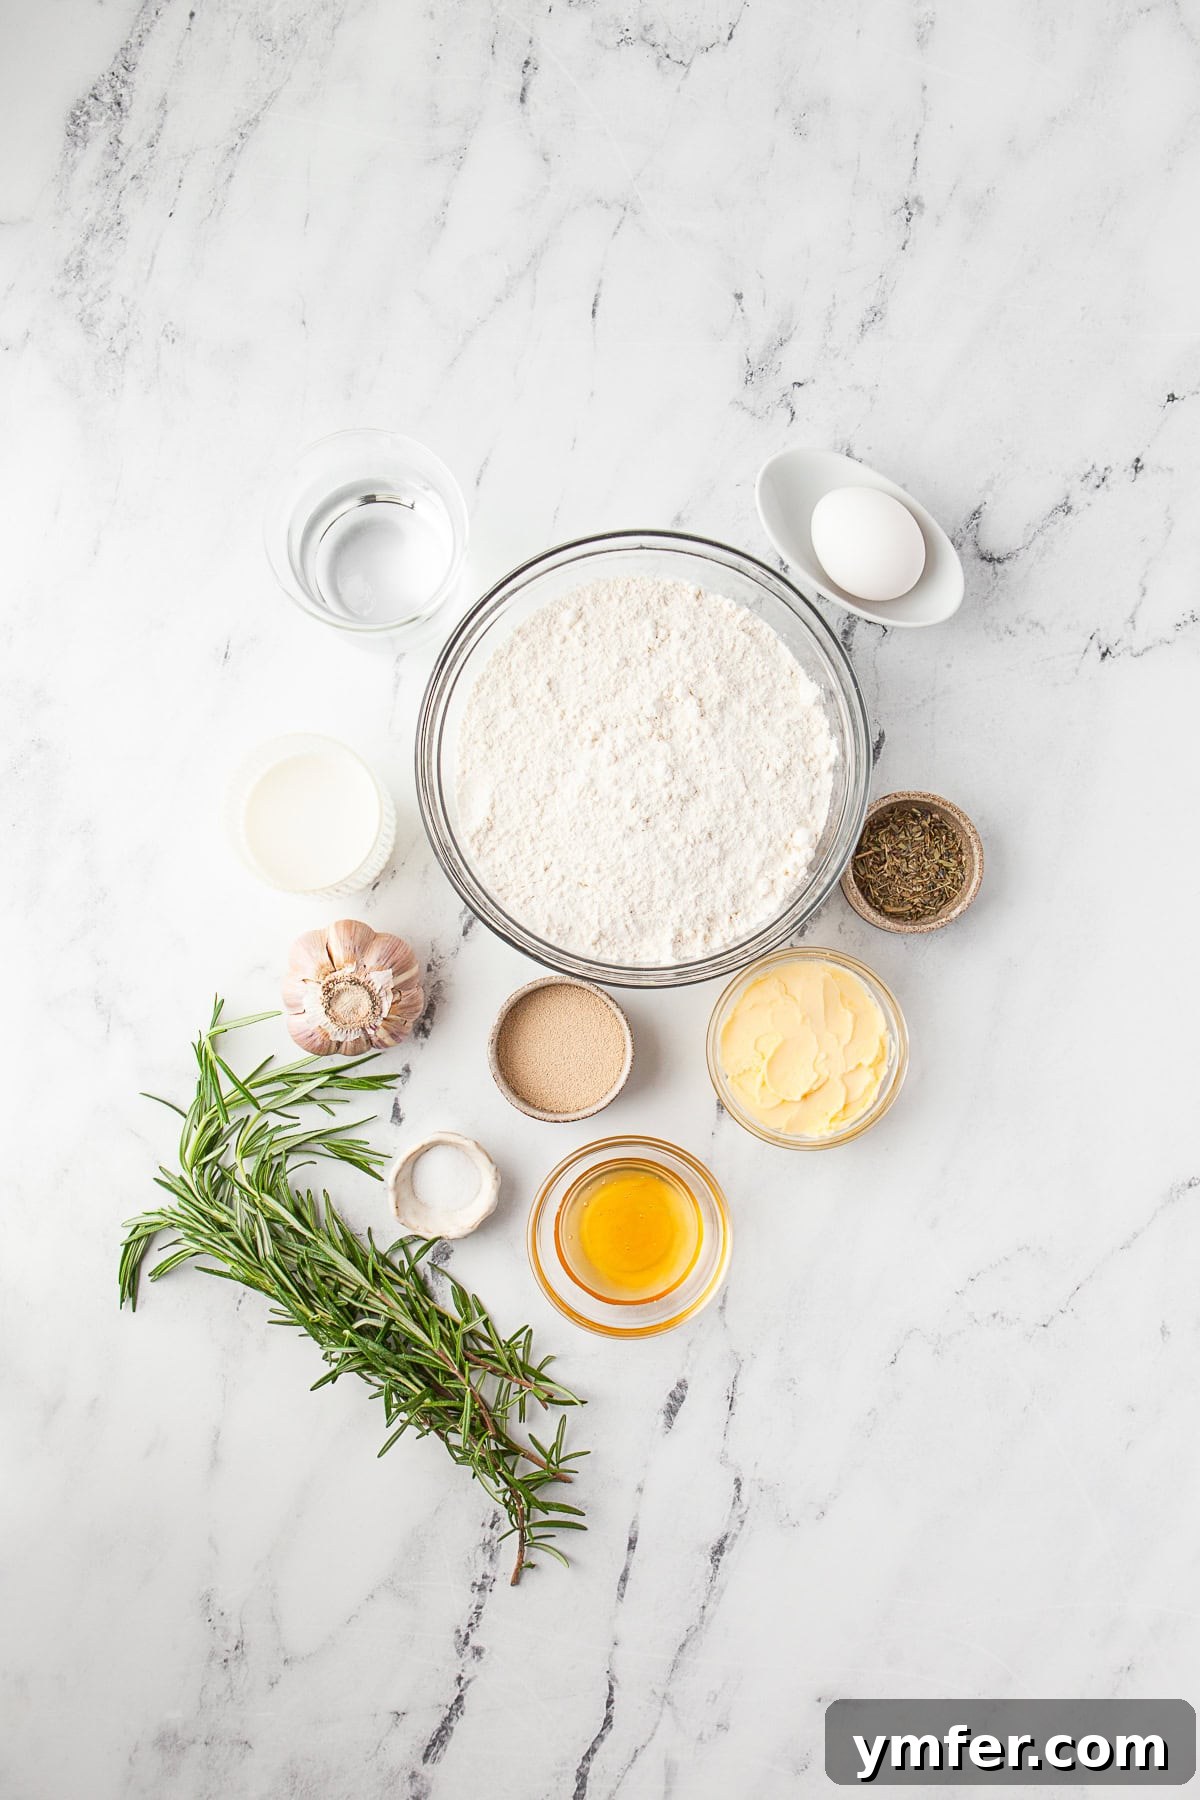
Creating truly exceptional dinner rolls begins with understanding the role each ingredient plays. Here’s a breakdown of the key components that come together to form these flavorful and tender garlic herb dinner rolls:
- Water and Milk: The perfect balance of these liquids is crucial for achieving the ideal dough consistency and ensuring our garlic herb dinner rolls remain wonderfully moist. Milk adds richness and helps create a tender crumb, while water provides essential hydration for the yeast to work its magic.
- Butter: Unsalted butter contributes significantly to the rolls’ moisture, flavor, and soft texture. It enriches the dough, leading to a more luxurious and melt-in-your-mouth experience.
- Honey: Beyond just adding a subtle sweetness that perfectly complements the savory garlic and rosemary, honey is vital for activating the active dry yeast. Its natural sugars provide nourishment for the yeast, helping it bloom and produce a light, airy roll. It also aids in achieving that beautiful golden-brown crust.
- Active Dry Yeast: This magical ingredient is what gives our garlic herb dinner rolls their characteristic light and fluffy texture. Active dry yeast requires activation in warm liquid and sugar before being incorporated into the dry ingredients, ensuring a robust rise and an airy crumb.
- Bread Flour: While all-purpose flour can work in a pinch, bread flour is specifically chosen for this recipe due to its higher protein content. This extra protein develops more gluten, which gives the rolls their structure, chewiness, and ability to hold their shape while remaining incredibly tender. It’s the secret to that satisfying, fluffy interior.
- Egg: A large egg adds richness, helps bind all the ingredients together, and contributes to the golden color of the crust. It also adds a touch of moisture and helps create a softer dough. Ensuring your egg is at room temperature allows it to incorporate more smoothly into the dough mixture.
- Kosher Salt: More than just a seasoning, kosher salt plays a critical role in enhancing the overall flavor profile of the rolls, balancing the sweetness of the honey and highlighting the garlic and rosemary. It also helps regulate yeast activity, ensuring a controlled and even rise.
- Garlic Cloves and Minced Fresh Rosemary: These are the stars of the show, providing the distinctive earthy and fragrant flavors that define these dinner rolls. Using fresh rosemary is highly recommended for its bright, clean, and vibrant aroma, which truly elevates the taste. Finely minced garlic infuses every bite with a savory warmth.
How to Bake Fluffy Garlic Herb Dinner Rolls: A Simple Guide
Even if you’re new to baking bread, don’t let the process intimidate you! Making these garlic herb dinner rolls from scratch is an incredibly rewarding experience, and we’ll guide you through each step to ensure your success.
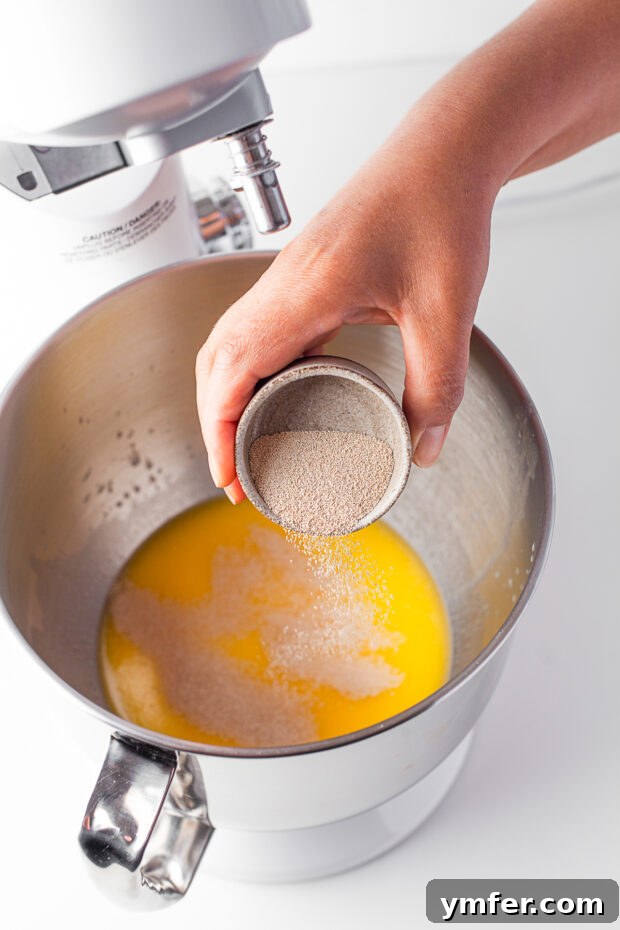
- Activate the Yeast: Begin by gently warming your milk, water, melted butter, and honey. The ideal temperature for these liquids is between 100-115°F (38-46°C)—warm enough to activate the yeast but not so hot as to kill it. In the bowl of your stand mixer, sprinkle the active dry yeast packet over this warm liquid mixture. Give it a gentle whisk to combine everything. Now, let it sit undisturbed for about 10 minutes. This resting period is crucial; you should observe the mixture becoming frothy and bubbly on top, indicating that your yeast is alive and ready to work its magic. If you don’t see bubbles, your yeast might be old or the liquid too hot/cold, and it’s best to start over.
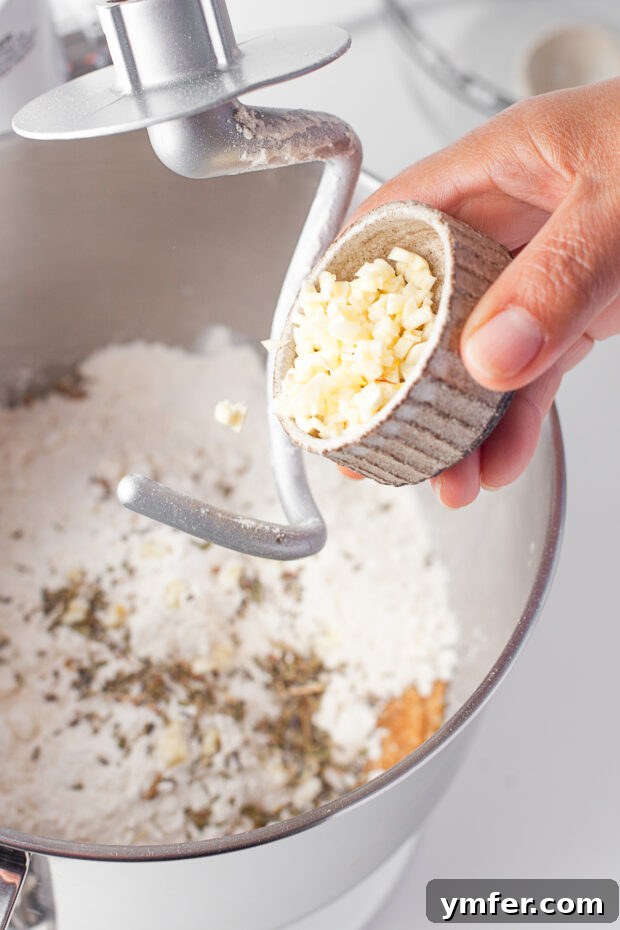
- Form the Dough: Once your yeast is visibly active, attach the dough hook to your stand mixer. Add the whisked, room-temperature eggs, finely minced garlic, fresh rosemary, and kosher salt to the yeast mixture. Begin mixing on low speed, then gradually add 2 cups of your bread flour. Continue to knead on medium-low speed until the flour is fully incorporated and the mixture forms a shaggy dough.
- Knead to Perfection: Now, add the remaining 1 1/2 cups of bread flour (you might need up to an additional 1/2 cup, depending on humidity and flour brand). Increase the mixer speed to medium and knead the dough for approximately 5 minutes. The goal is to achieve a smooth, elastic dough that pulls away cleanly from the sides of the bowl. If the dough seems too sticky and isn’t coming together, add the extra flour (1 tablespoon at a time) until it reaches the desired consistency – soft, slightly tacky, but not sticky.
- First Rise (Bulk Fermentation): Once kneaded, remove the dough ball from the hook and place it into a lightly greased bowl, turning once to coat. Cover the bowl snugly with a clean tea towel or plastic wrap. Allow the dough to rest and rise in a warm, draft-free place for about 15 minutes. This short rest allows the gluten to relax, making the dough easier to handle in the next step.
- Prepare for Shaping: While the dough rests, prepare your baking dish. Lightly spray a 9×13-inch baking dish with non-stick cooking spray. Also, lightly oil your work surface (a quick spray of non-stick cooking spray works wonders here) to prevent the dough from sticking.
- Shape the Rolls: Gently deflate your rested dough by pressing down on it. Turn it out onto your oiled work surface. Now, it’s time to shape your rolls! For uniform rolls, which is key for even baking, we recommend using a kitchen scale to divide the dough into 16 equal pieces. Each piece should weigh roughly the same. Once divided, gently roll each piece into a smooth, tight ball. This technique helps create a nice, even crumb.
- Second Rise (Proofing): Arrange the shaped rolls in your prepared 9×13-inch baking dish, leaving a little space between them as they will expand. Cover the pan again with a tea towel or plastic wrap. Place the rolls in a warm, draft-free spot for their second rise. This proofing stage will take approximately 45-60 minutes, or until the rolls have almost doubled in size and look puffy. Remember, if your kitchen is cooler, the rising time will be longer, so be patient!
- Preheat and Prepare Topping: Towards the end of the second rising time, preheat your oven to 350°F (175°C). While the oven preheats, prepare your delicious butter topping by melting 3 tablespoons of butter and mixing it with 2 teaspoons of minced fresh rosemary and 1 teaspoon of granulated garlic.
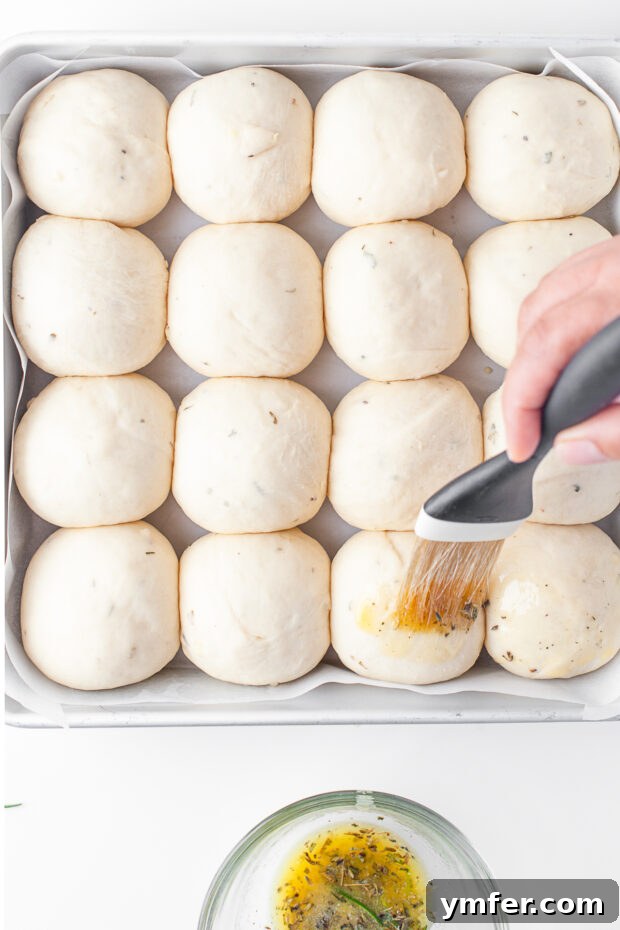
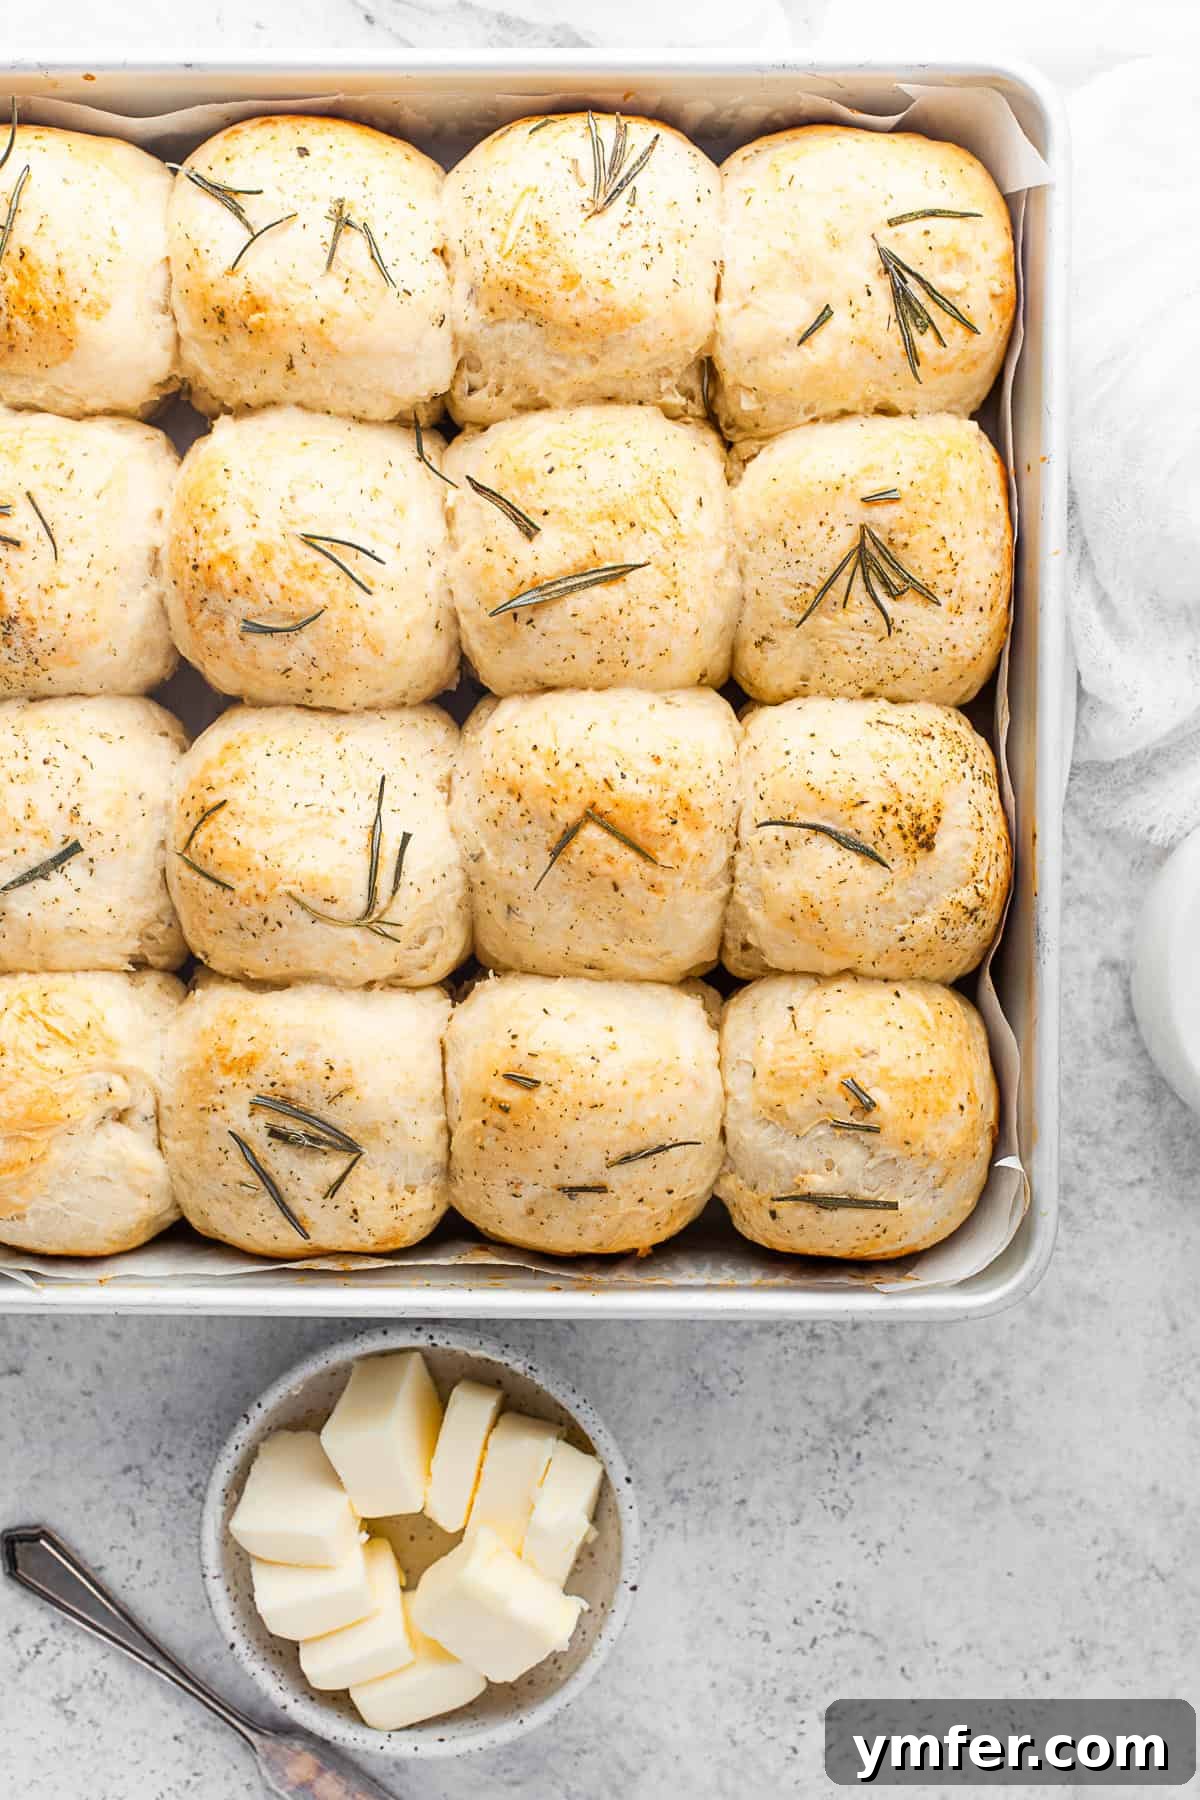
- Bake to Golden Perfection: Once the rolls are perfectly risen, brush their tops generously with the fragrant butter mixture. Sprinkle a pinch of kosher salt over each roll for an extra touch of flavor and a beautiful finish. Place the baking dish into your preheated oven and bake for 20-25 minutes. The rolls are ready when their crust is a deep, inviting golden brown, and an instant-read thermometer inserted into the center of a roll registers an internal temperature of about 190°F (88°C).
- Cool and Serve: As soon as the garlic herb dinner rolls emerge from the oven, transfer them to a wire rack to cool slightly. While they are tempting straight out of the oven, allowing them to cool for a few minutes will help them set and prevent them from becoming gummy. Serve warm and enjoy the fruits of your labor!
Understanding Yeast: Active Dry vs. Rapid Rise
When it comes to baking with yeast, the variety you choose can slightly alter your process. The two most common types you’ll find in grocery stores are active dry yeast and rapid rise (often called “instant”) yeast. While their names can sometimes be a bit confusing, the primary difference lies in their activation method and fermentation time:
- Active Dry Yeast: This is the type we use in our garlic herb dinner rolls recipe. It consists of larger granules and is typically sold in individual packets or small jars. Active dry yeast requires a “blooming” stage. This means you need to dissolve it in a warm liquid (like our milk and water mixture) with a touch of sugar (from the honey) for about 5-10 minutes before adding it to your dry ingredients. This step ensures the yeast is alive and active, producing that characteristic frothy layer on top of the liquid.
- Rapid Rise Yeast (Instant Yeast): Also known as instant yeast, this variety has finer granules and is processed differently, allowing it to be added directly to your dry ingredients without prior activation. It also tends to rise faster, hence the “rapid rise” name, as it’s designed for quick fermentation.
Can you substitute? Yes, you can generally substitute rapid rise yeast for active dry yeast. However, because rapid rise yeast is more potent and works faster, you typically need to use about 25% less of it when substituting for active dry yeast. For example, if a recipe calls for 1 packet (2.25 teaspoons) of active dry yeast, you would use approximately 1.75 teaspoons of rapid rise yeast. Also, remember that if you’re using rapid rise, you can often skip the blooming step and mix it directly with your flour, then add the warmed liquids. Always keep these differences in mind to ensure your homemade rolls achieve their perfect rise and texture.
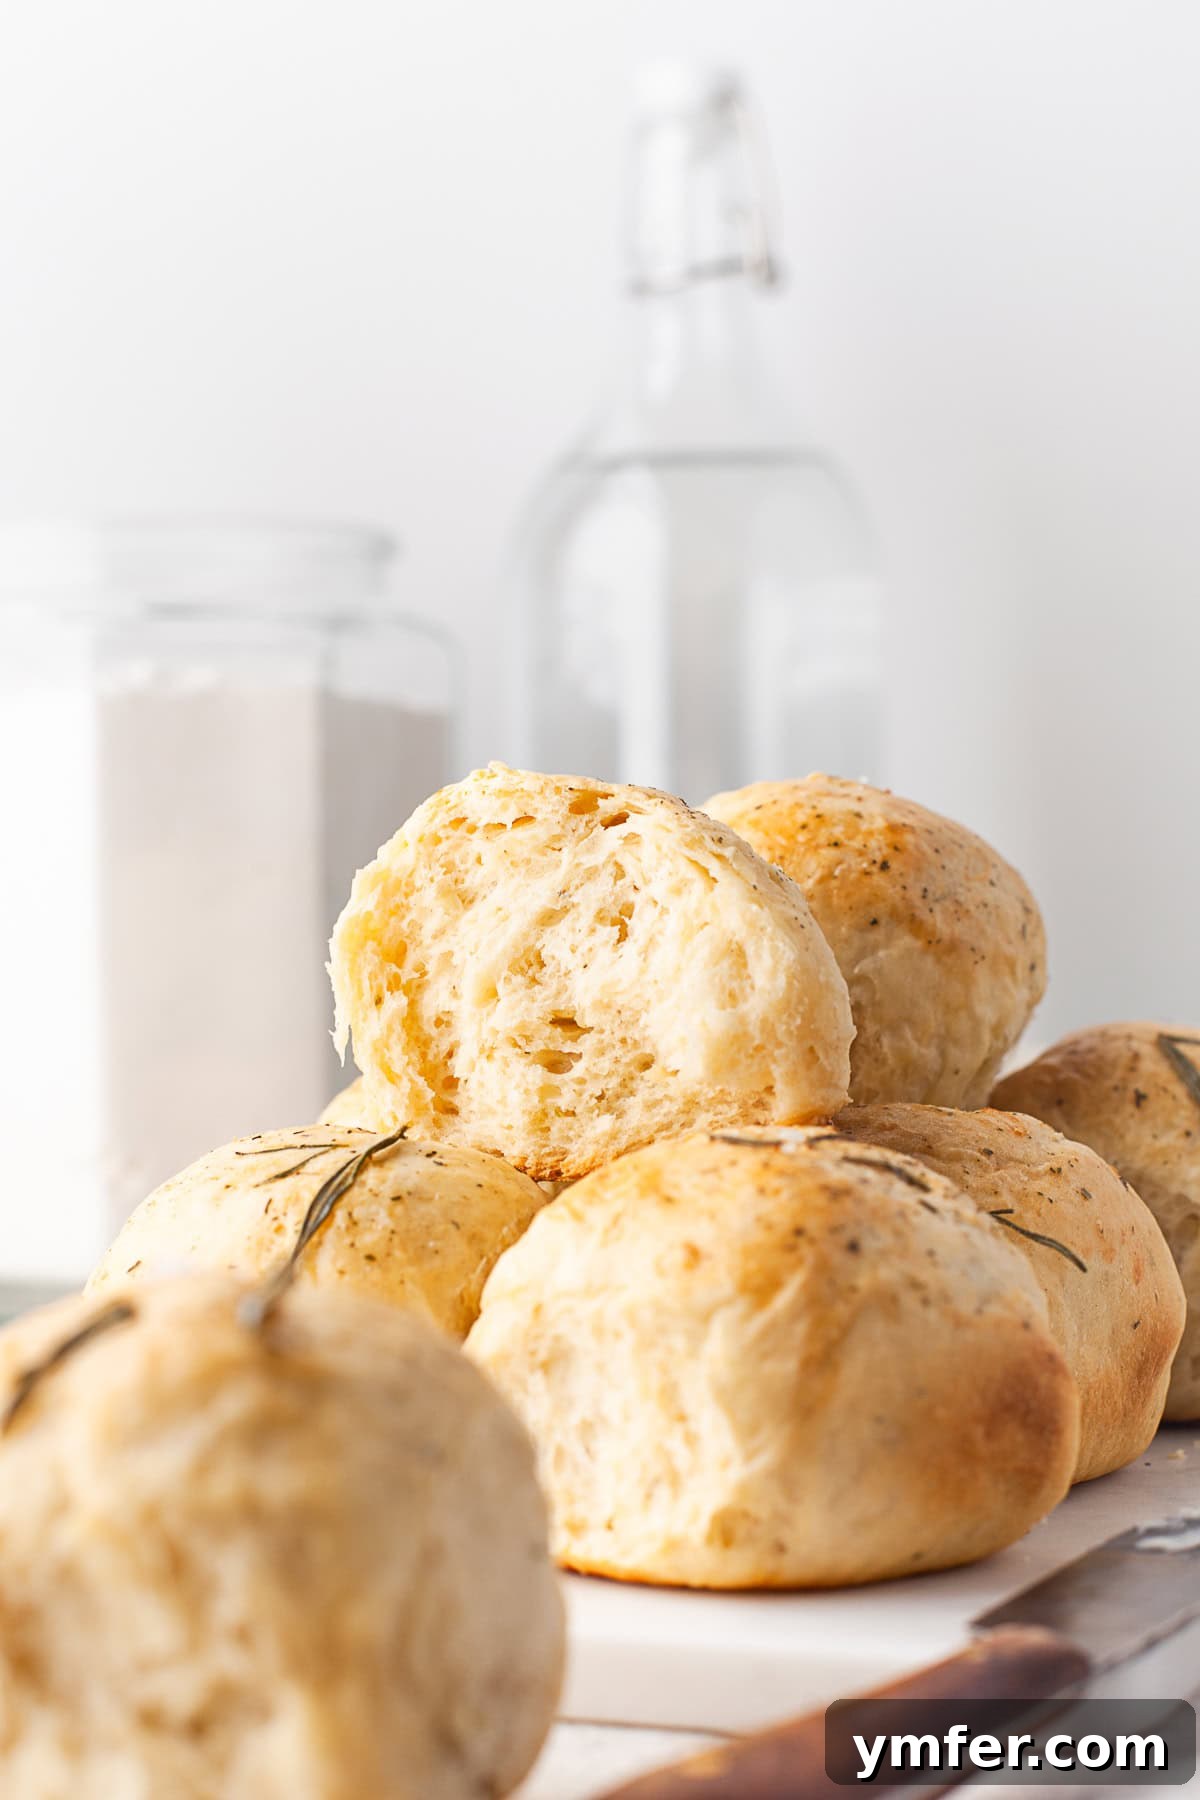
Why Fresh Rosemary is Best for These Rolls
The choice between fresh and dried herbs can significantly impact the final flavor and texture of your dish, and for these garlic herb dinner rolls, fresh rosemary is unequivocally the superior option. Here’s why:
- Vibrant Flavor Profile: Fresh rosemary offers a clean, bright, and intensely aromatic flavor that is distinctly different from its dried counterpart. It imparts a lively, piney, and slightly peppery note that harmonizes beautifully with the rich garlic and tender bread. Dried rosemary, while still flavorful, tends to have a more muted, concentrated, and sometimes slightly bitter taste, lacking the fresh vibrancy that elevates these rolls.
- Delicate Texture: Beyond flavor, fresh rosemary provides a more pleasant and delicate texture within the soft bread. When finely minced, fresh rosemary sprigs integrate seamlessly into the dough, releasing their oils and aroma without creating a tough or chewy element. Dried rosemary, on the other hand, can be quite rigid and, even after baking, often retains an unpleasant, leathery texture that can detract from the tender crumb of the rolls.
For these reasons, we strongly recommend using fresh rosemary to achieve the best possible flavor and texture in your garlic herb dinner rolls. The difference is truly noticeable and worth the effort.
Storage and Leftovers: Keeping Your Rolls Fresh
One of the best parts about homemade dinner rolls is enjoying them fresh, but it’s also helpful to know how to store any delicious leftovers to savor them later. Proper storage ensures your garlic herb dinner rolls remain tender and flavorful for as long as possible:
- Room Temperature Storage: Any leftover garlic herb dinner rolls can be stored at room temperature for up to 2-3 days. To keep them fresh, place them in an airtight container or a resealable plastic bag. This prevents them from drying out and becoming stale. For best results, ensure the rolls are completely cooled before storing them to avoid condensation which can lead to sogginess.
- Reheating: To refresh your rolls and bring back that just-baked warmth, you can gently reheat them. Place them in a preheated oven at 300°F (150°C) for about 5-10 minutes, or until warmed through. You can also briefly microwave them, but be careful not to overheat, as this can make them tough.
- Freezing for Longer Storage: If you’ve made a large batch or want to prepare ahead, these rolls freeze beautifully! Once completely cooled, wrap individual rolls tightly in plastic wrap, then place them in a freezer-safe bag or container. They can be stored in the freezer for up to 1-2 months. When ready to enjoy, thaw them at room temperature, then reheat as described above.
With these storage tips, you can enjoy the comforting taste of these homemade garlic herb dinner rolls for days to come!
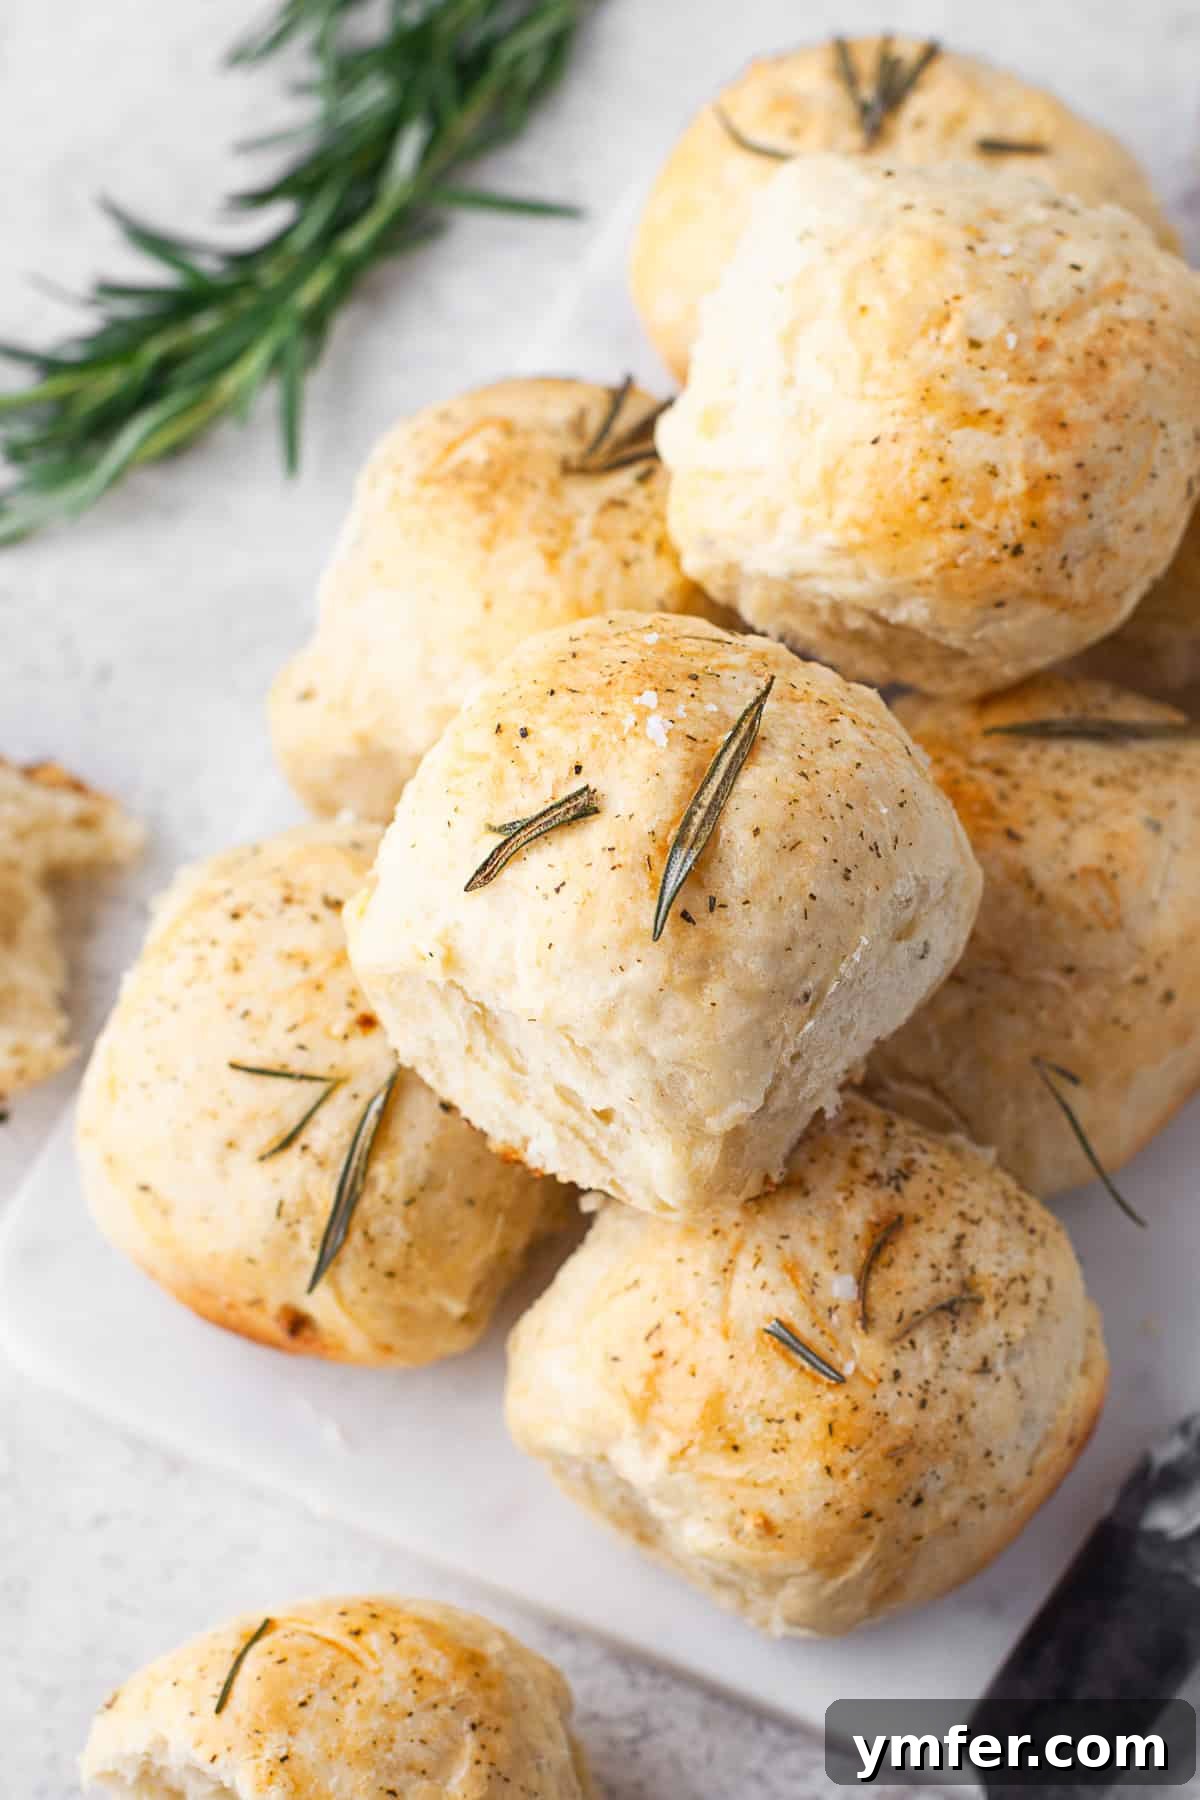
More Irresistible Bread Recipes to Explore
If you’ve fallen in love with the art of making homemade bread and are eager to expand your baking repertoire, we have a wonderful selection of other recipes that are sure to delight your palate:
- Love all things sweet and comforting? Try my Cinnamon Raisin Sourdough Bread for a tangy and sweet morning treat.
- Need something seasonal and warmly spiced? Indulge in my Pumpkin Yeast Bread, perfect for autumn gatherings.
- Craving something truly decadent and cheesy? You won’t be able to resist my Cheesy Pesto Garlic Bread – an ultimate side dish.
- Looking for a tasty, easy way to start your day with homemade goodness? My English Muffin Toasting Bread offers that classic nooks-and-crannies texture without the fuss.
Each of these recipes brings its unique charm and flavor, inviting you to continue your journey through the delightful world of homemade bread.

Garlic Herb Dinner Rolls
By: Brandy O’Neill
Servings: 16 rolls
Prep: 20 mins | Cook: 25 mins | Rising Time: 1 hr 15 mins | Total: 2 hrs
Share by Email
Print Recipe
These garlic herb dinner rolls are tender and delicious yeast rolls, made with honey and milk, and seasoned with earthy garlic and fresh rosemary.
Equipment
- 9×13 baking dish
Ingredients
For bread dough:
- 3/4 cup whole milk, warmed to 110-115 degrees F
- 1/2 cup water, warmed to 100-115 degrees F
- 1/4 cup unsalted butter, melted and cooled
- 2 tablespoons honey
- 1 packet active dry yeast, .25 ounces or 2-1/4 teaspoons
- 2 large eggs, room temperature and whisked
- 2 cloves garlic, finely minced
- 2 tablespoons finely minced fresh rosemary
- 1 teaspoon kosher salt
- 3-1/2 cups bread flour, may need up to 1/2 cup more flour
For butter topping:
- 3 tablespoons butter, melted
- 2 teaspoons minced fresh rosemary
- 1 teaspoon granulated garlic
- 2 teaspoons kosher salt
Instructions
For bread dough:
- Add your warmed milk, water, butter, honey, and yeast to the bowl of an electric mixer. Gently whisk to combine.
- Let sit for 10 minutes. You should notice the mixture looking frothy on top, indicating the yeast is still fresh and good.
- Add the dough hook to the mixer and on medium speed add the whisked eggs, garlic, rosemary, and kosher salt.
- Add 2 cups of flour and gently knead on medium-low speed until it is incorporated.
- Add in the remaining 1-1/2 cups of flour and knead the bread for 5 minutes until it’s smooth in appearance and is fully pulled away from the bowl. If the dough does not seem to be coming together, add up to 1/2 cup more flour, one tablespoon at a time.
- Remove the dough from the bread hook and add back to the bowl. Cover with a towel or plastic wrap for 15 minutes to rest.
- While the dough rests, spray a 9×13 baking dish with non-stick cooking spray and lightly oil your work surface.
- Gently deflate your dough and turn it out on the oiled work surface.
- Shape the dough into 16 equally sized rolls (a kitchen scale is handy here for consistency).
- Add rolls to the prepared pan.
- Cover the pans and let the rolls rise in a warm, draft-free place until almost doubled in size, which will take approximately 45-60 minutes. If your house is cooler, it will take longer for the bread to rise.
- Toward the end of the rising time, preheat the oven to 350 degrees F (175°C).
- Brush the top of the rolls with the butter mixture and sprinkle with kosher salt.
- Bake the bread for 20-25 minutes, or until its crust is a deep golden brown and a digital thermometer inserted into the center registers about 190 degrees F (88°C).
- Remove the rolls from the oven and set them onto a rack to cool. Store completely cool bread at room temperature for up to 5 days.
For butter topping:
- Combine melted butter, minced rosemary, and granulated garlic. Reserve the kosher salt for topping after you brush your rolls with butter.
Nutrition
Nutrition information is automatically calculated, so should only be used as an approximation.
Calories: 113 kcal
Carbohydrates: 12g
Protein: 3g
Fat: 6g
Saturated Fat: 4g
Polyunsaturated Fat: 0.4g
Monounsaturated Fat: 2g
Trans Fat: 0.2g
Cholesterol: 38mg
Sodium: 468mg
Potassium: 50mg
Fiber: 0.5g
Sugar: 3g
Vitamin A: 214 IU
Vitamin C: 0.2mg
Calcium: 23mg
Iron: 0.3mg
Additional Info
Course: Bread
Cuisine: American
We hope you cherish these homemade garlic herb dinner rolls as much as we do. There’s nothing quite like the aroma of freshly baked bread filling your home, especially when it’s infused with such delightful flavors. Don’t hesitate to share your creations and experiences!