
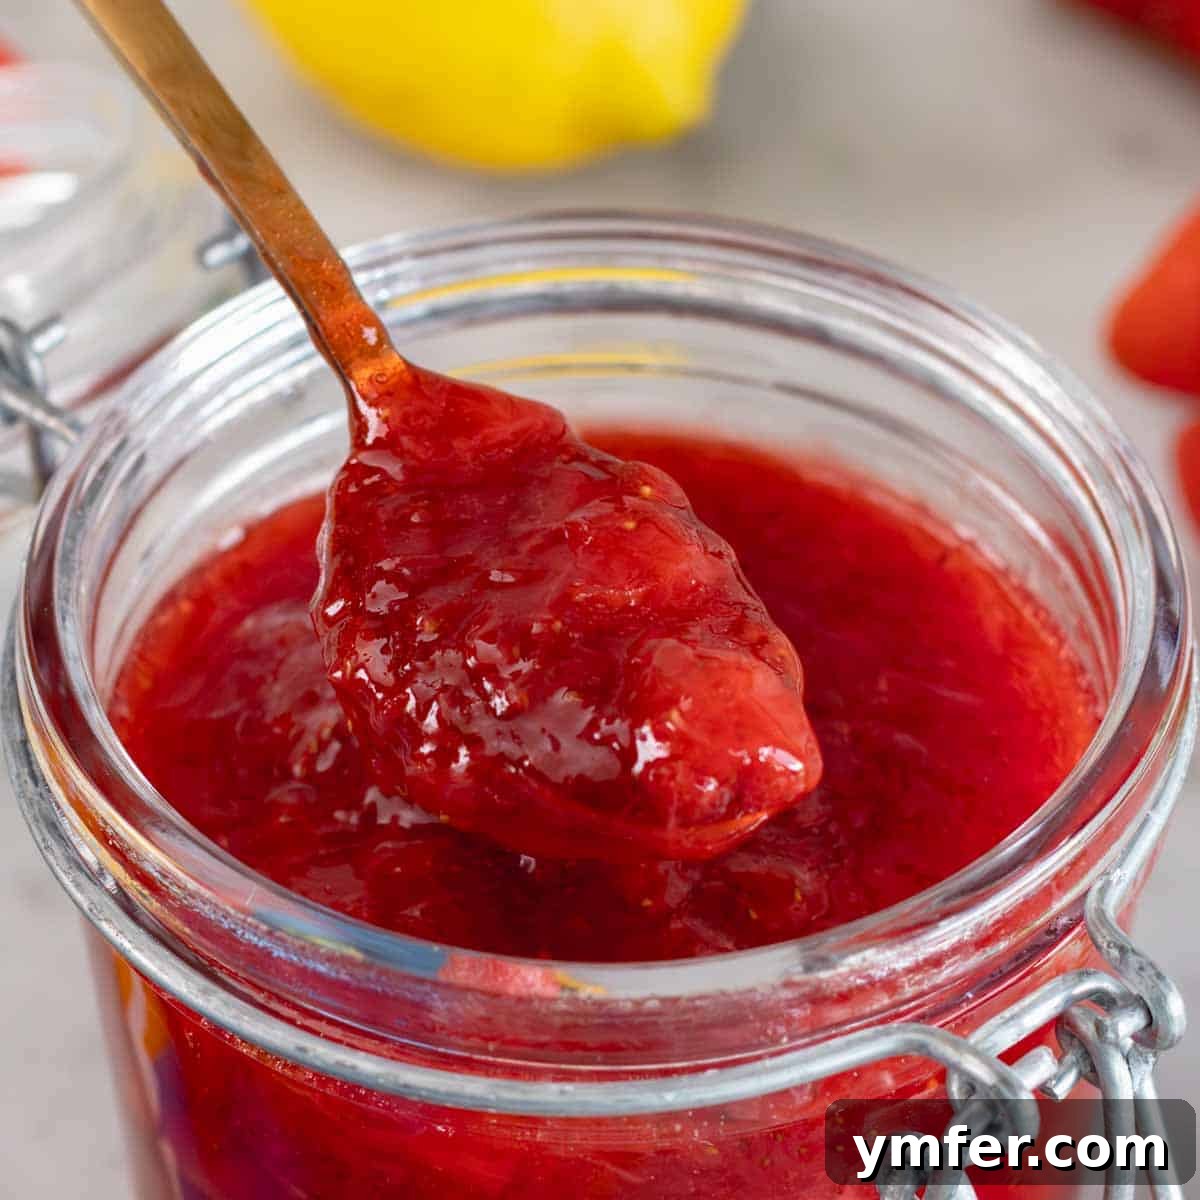
Easy 3-Ingredient Homemade Strawberry Jam: A Taste of Summer
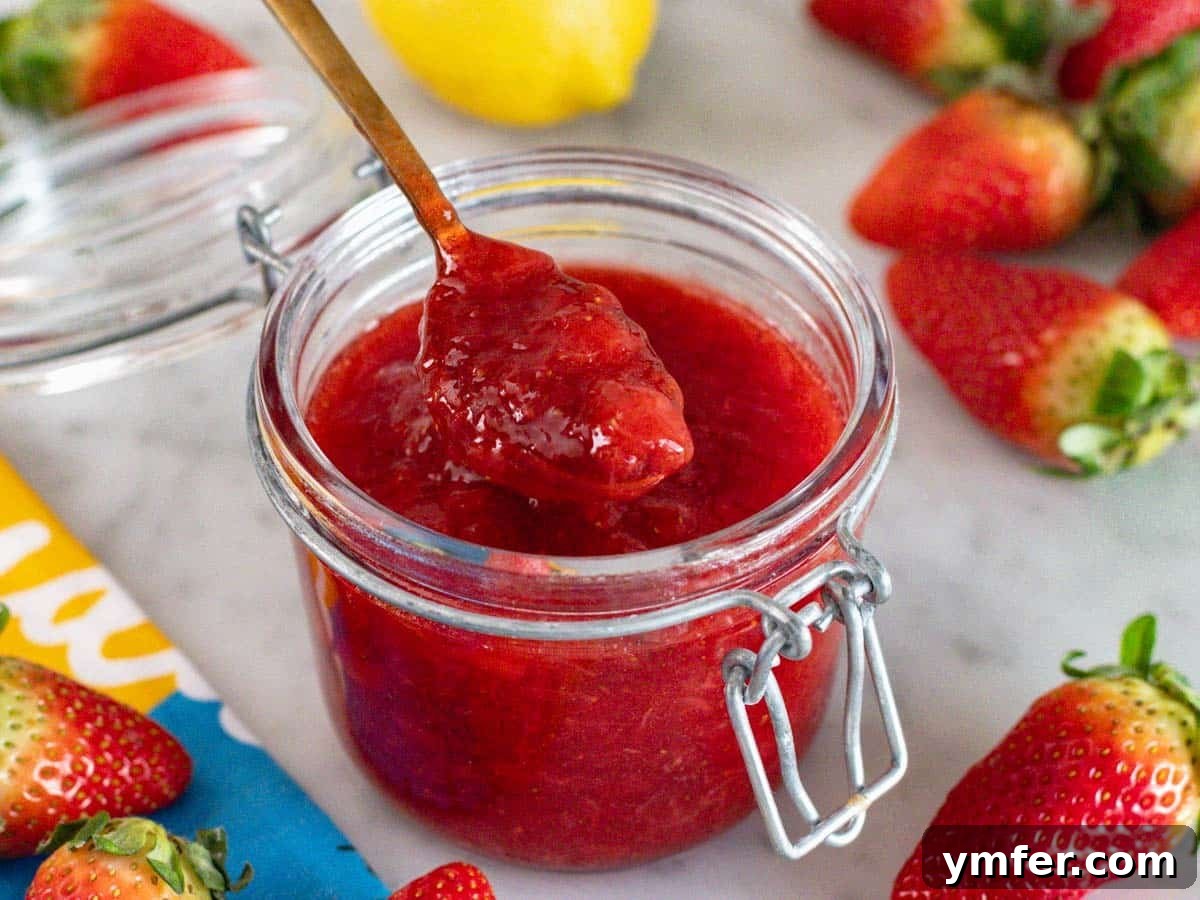
Craving the vibrant taste of fresh strawberries all year round? Our exceptional **strawberry jam recipe** offers an incredibly simple and rewarding way to capture that perfect summer flavor. Requiring just **3 essential ingredients** and a remarkably short cooking time, this recipe is designed to preserve the delicate texture, brilliant color, and intense flavor of fresh strawberries, making it superior to any store-bought alternative.
This delightful homemade jam is incredibly versatile. It’s utterly delicious spread generously over fluffy homemade bread, stirred into a bowl of creamy oatmeal, or piled high on a stack of light and fluffy pancakes. Beyond breakfast, it can elevate simple desserts, adding a wonderful burst of strawberry goodness to everything from plain **yogurt** to homemade **ice cream**.
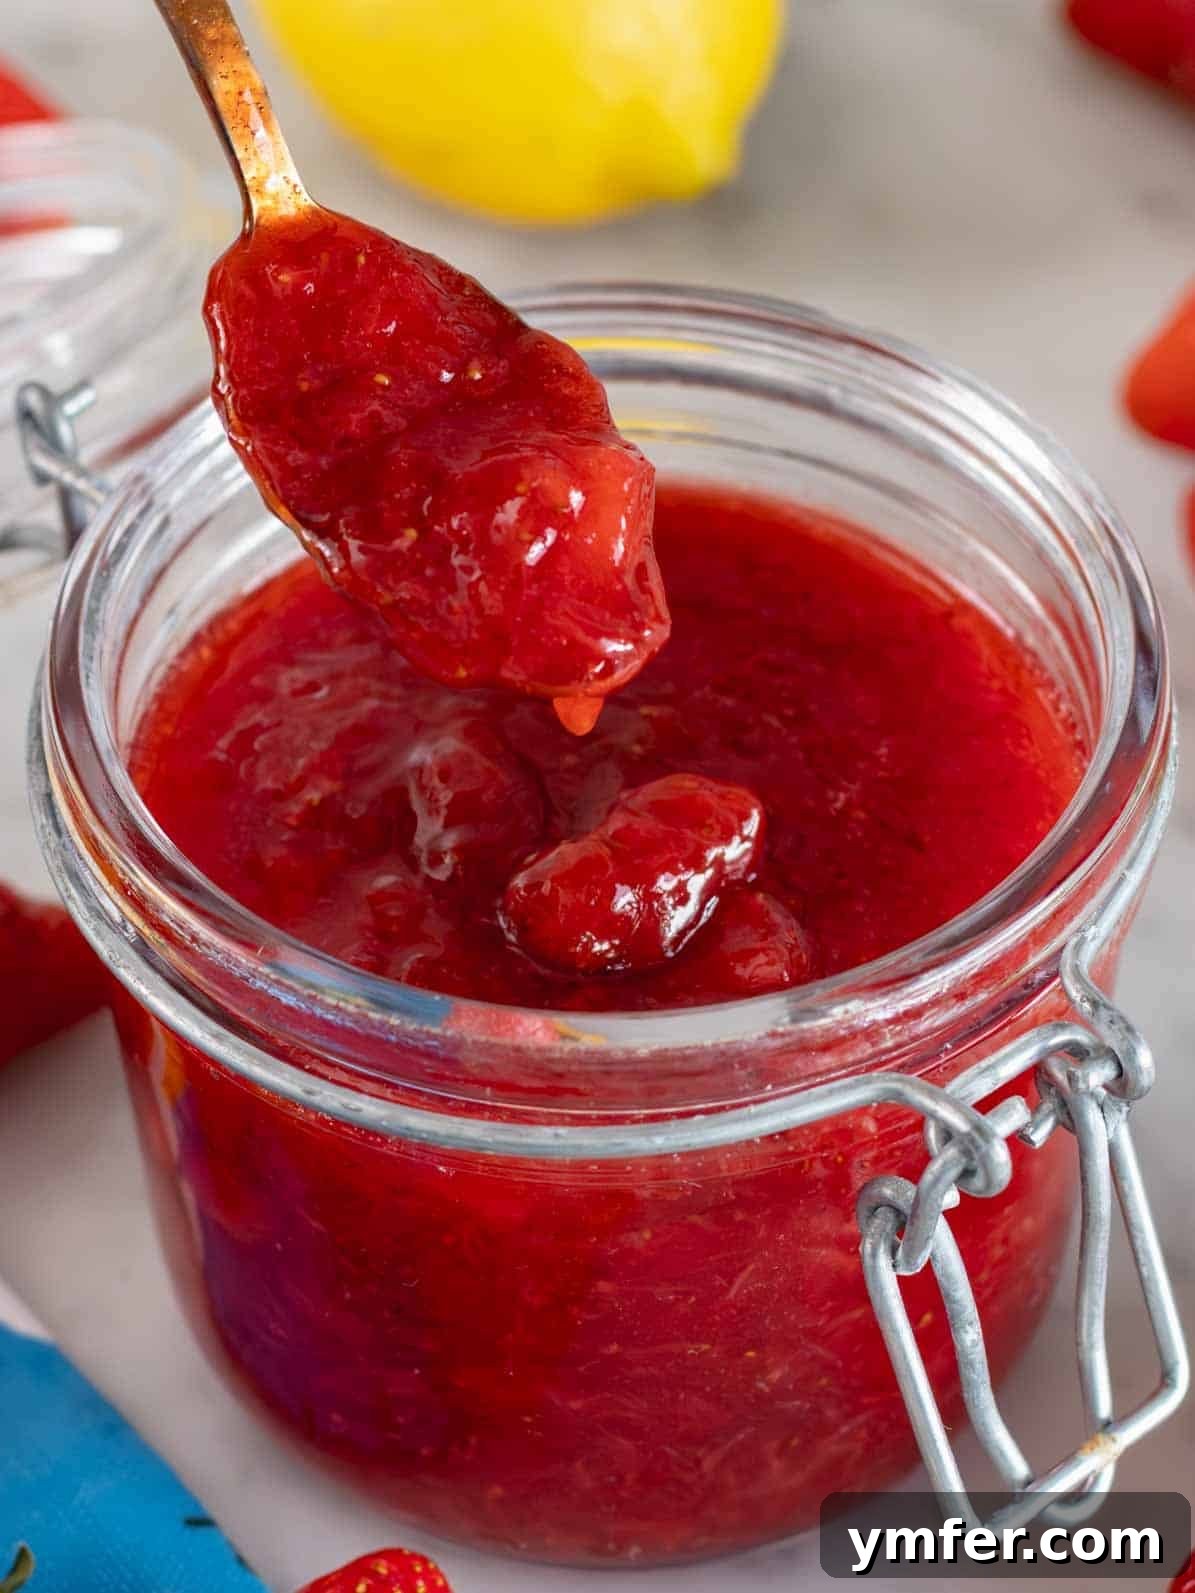
Table of Contents
- Introduction: Why Homemade Strawberry Jam?
- The Simple Ingredients
- Step-by-Step Jam Making Instructions
- Storage and Serving Suggestions
- Canning Homemade Strawberry Jam for Long-Term Storage
- Frequently Asked Questions About Strawberry Jam
- More Delicious Fruit-Inspired Recipes
- Full Strawberry Jam Recipe Card
Introduction: Why Homemade Strawberry Jam?
There’s nothing quite like having a jar of luscious **homemade strawberry jam** readily available in your fridge. This vibrant condiment effortlessly enhances a myriad of dishes, from a humble breakfast to a decadent post-dinner treat. We’ve enjoyed this versatile jam spread on creamy **Greek yogurt**, paired with delicate vegan ricotta, as a filling for classic Italian crostata, and even layered into a light vanilla cake. Its sweet and tangy profile is a true crowd-pleaser.
The sheer joy this jam brings is undeniable. I recall the delightful surprise on a friend’s face when she first tasted it – her eyes widened, and she looked at me as if to say, “Why have we not made this sooner?!” This reaction perfectly encapsulates the magic of homemade preserves.
Admittedly, I hesitated to try making jam for a long time. The process always seemed daunting, conjuring images of my Italian grandmother stirring massive, cauldron-sized pots of bubbling overripe fruit under the scorching summer sun. It felt like an endeavor reserved for culinary superheroes with boundless energy and time.
However, this recipe completely transformed my perception. It’s designed for the home cook, made in a regular-sized pot, and astonishingly, takes **less than 1 hour of active cooking time**. The secret to its incredible flavor and ease lies in an overnight marinade, allowing the strawberries to macerate in **sugar and lemon juice**. This simple step draws out the fruit’s natural juices and infuses it with bright citrus notes, setting the stage for a truly divine jam.
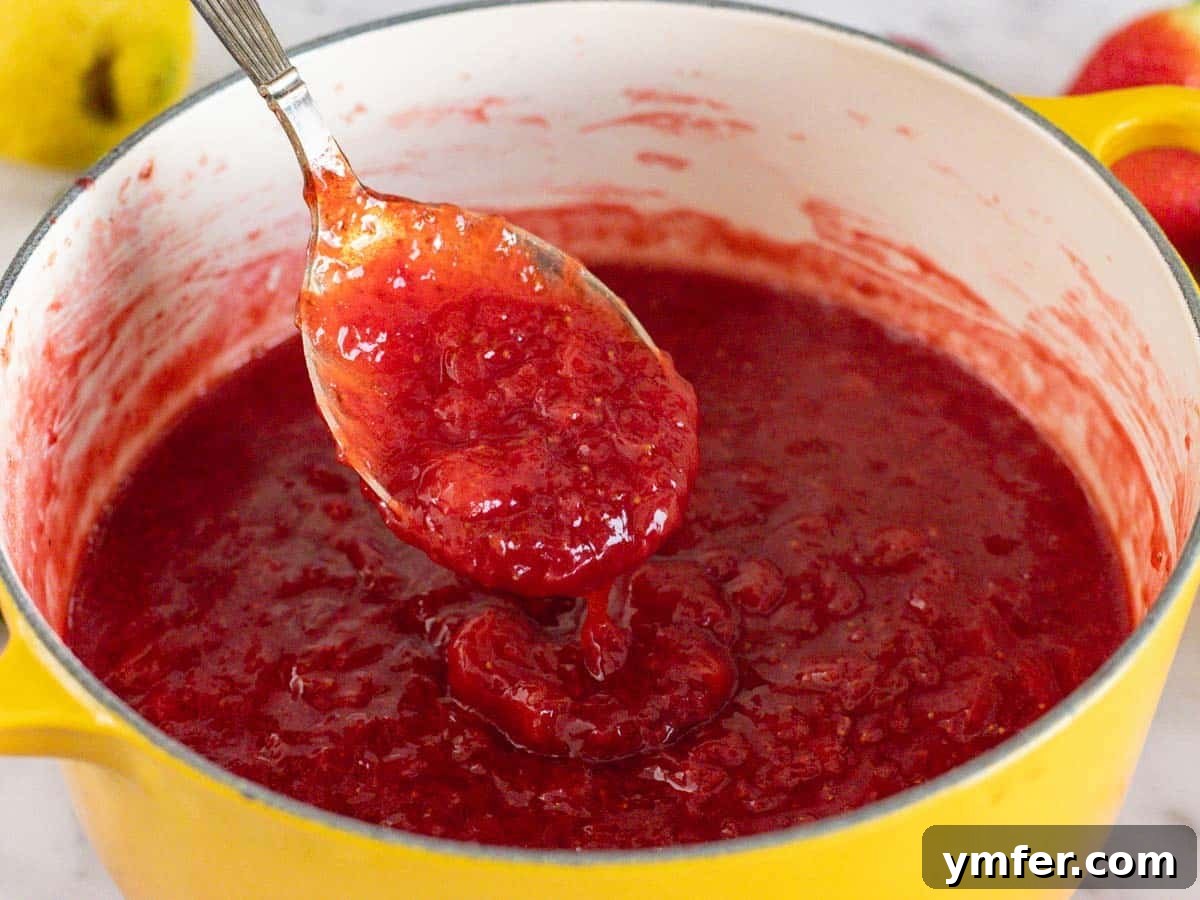
To meticulously preserve the strawberries’ freshness, vivid color, and intense flavor, we employ a clever two-step cooking process. First, the sweet marinating liquid is gently simmered for about 30 minutes, concentrating its flavor and achieving an initial thickness. Only then are the chopped strawberries added, cooking for a mere 20 minutes. This minimal cooking time for the fruit itself is crucial, ensuring that the strawberries retain their integrity and deliver an unparalleled burst of natural, fresh flavor in every spoonful. Say goodbye to overcooked, dull-tasting jam!
The Simple Ingredients for Perfect Jam
Creating this delicious strawberry jam requires only three main ingredients, each playing a vital role in achieving the perfect balance of flavor and texture:
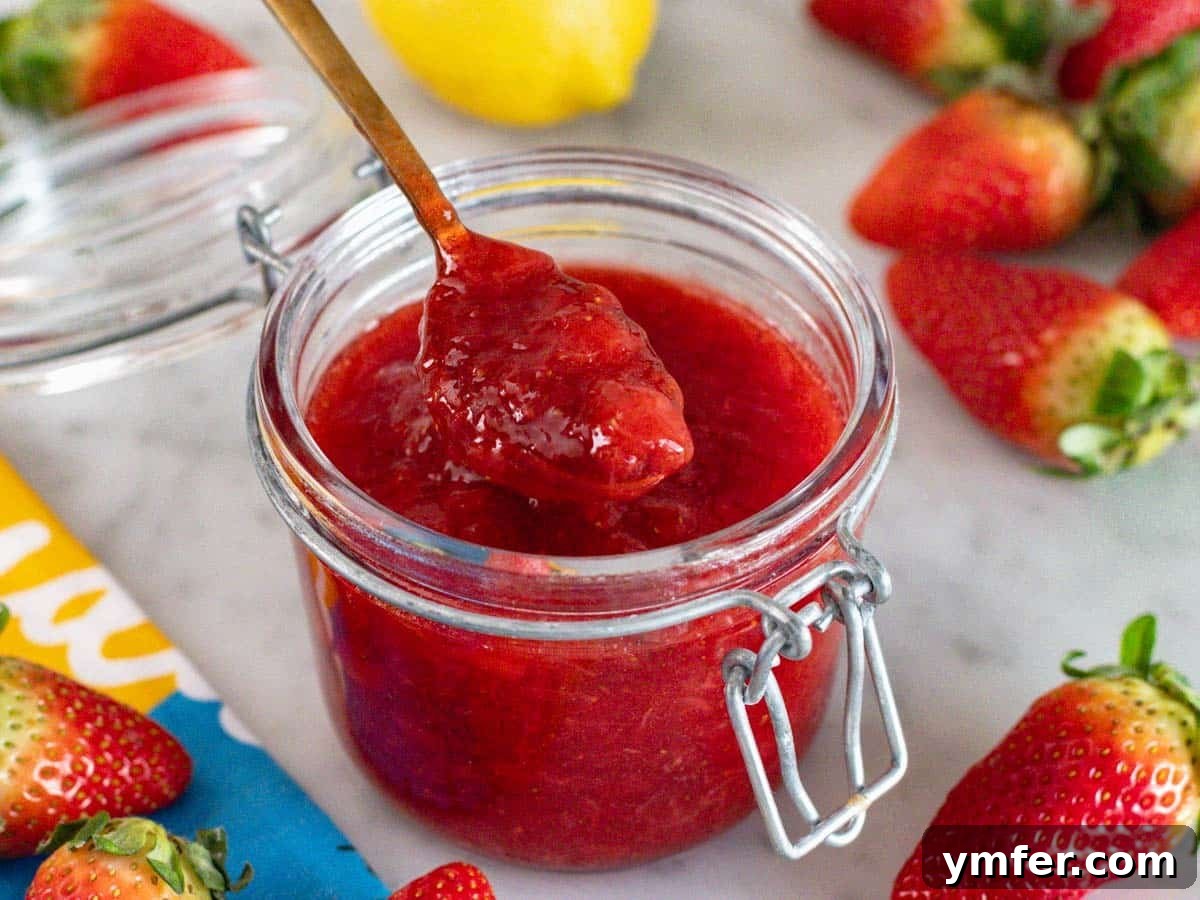
- Fresh Strawberries: The star of the show! Choose ripe, vibrant red strawberries for the best flavor. We recommend selecting smaller berries if possible, as they often have a more concentrated taste and less water content. Avoid any bruised or overly soft spots.
- Granulated Sugar: Acts as a natural preservative and enhances the sweetness of the strawberries. It also plays a key role in the jam’s thickening process by interacting with the fruit’s natural pectin.
- Lemon (Juice and Peel): Essential for both flavor and setting. Lemon juice provides a bright, tangy contrast to the sweetness of the strawberries, while the lemon peel contains natural pectin, which helps the jam thicken without the need for commercial pectin. Always opt for an organic lemon since you’ll be using the peel.
With these few, high-quality ingredients, you’re well on your way to making a truly exceptional homemade strawberry jam.
Step-by-Step Jam Making Instructions
Making homemade strawberry jam is a rewarding experience, and with our straightforward instructions, you’ll achieve perfect results every time. Follow these steps carefully for a delicious, fresh-tasting preserve.
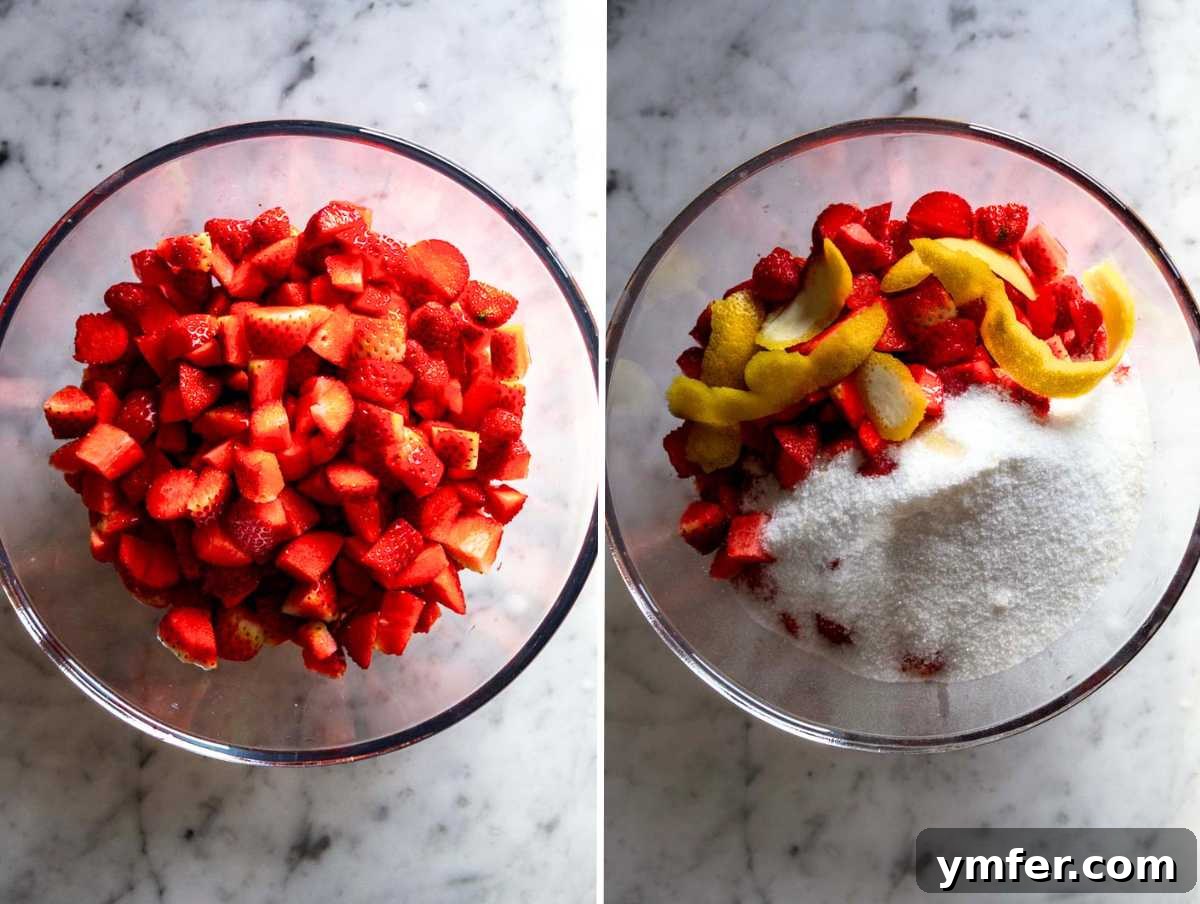
- Prepare the Strawberries: Begin by thoroughly rinsing your fresh strawberries under cold water. Gently remove the green tops (hulls) from each berry. Once cleaned, cut the strawberries into small, uniform pieces. For larger strawberries, cutting them into eight pieces works well, while smaller ones can be quartered. Consistency in size helps them cook evenly and preserves their delightful texture. You should aim for about 2 pounds of strawberries after destemming.
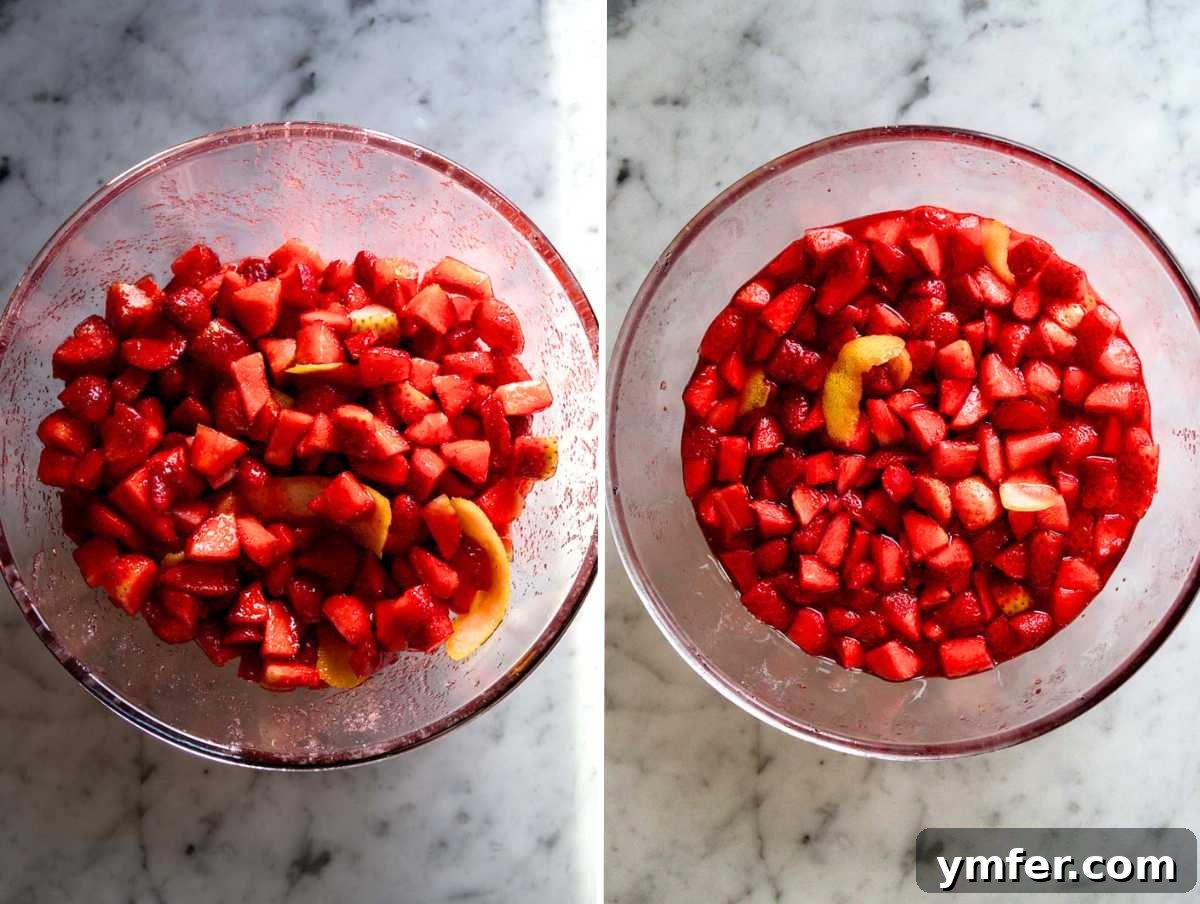
- Marinate for Flavor & Pectin Release: Transfer the chopped strawberries to a large mixing bowl. Add the granulated sugar, freshly squeezed lemon juice, and the lemon peel. For the lemon peel, you can use a paring knife or a vegetable peeler, being careful to only remove the bright yellow zest and avoid the bitter white pith underneath. Mix all ingredients thoroughly with two spoons, ensuring the sugar is evenly distributed among the berries. Cover the bowl tightly with a lid or plastic wrap and refrigerate for **8 to 12 hours**. This crucial marination step allows the strawberries to release their natural juices, dissolve the sugar, and extract pectin from the lemon peel, which is vital for the jam’s setting.
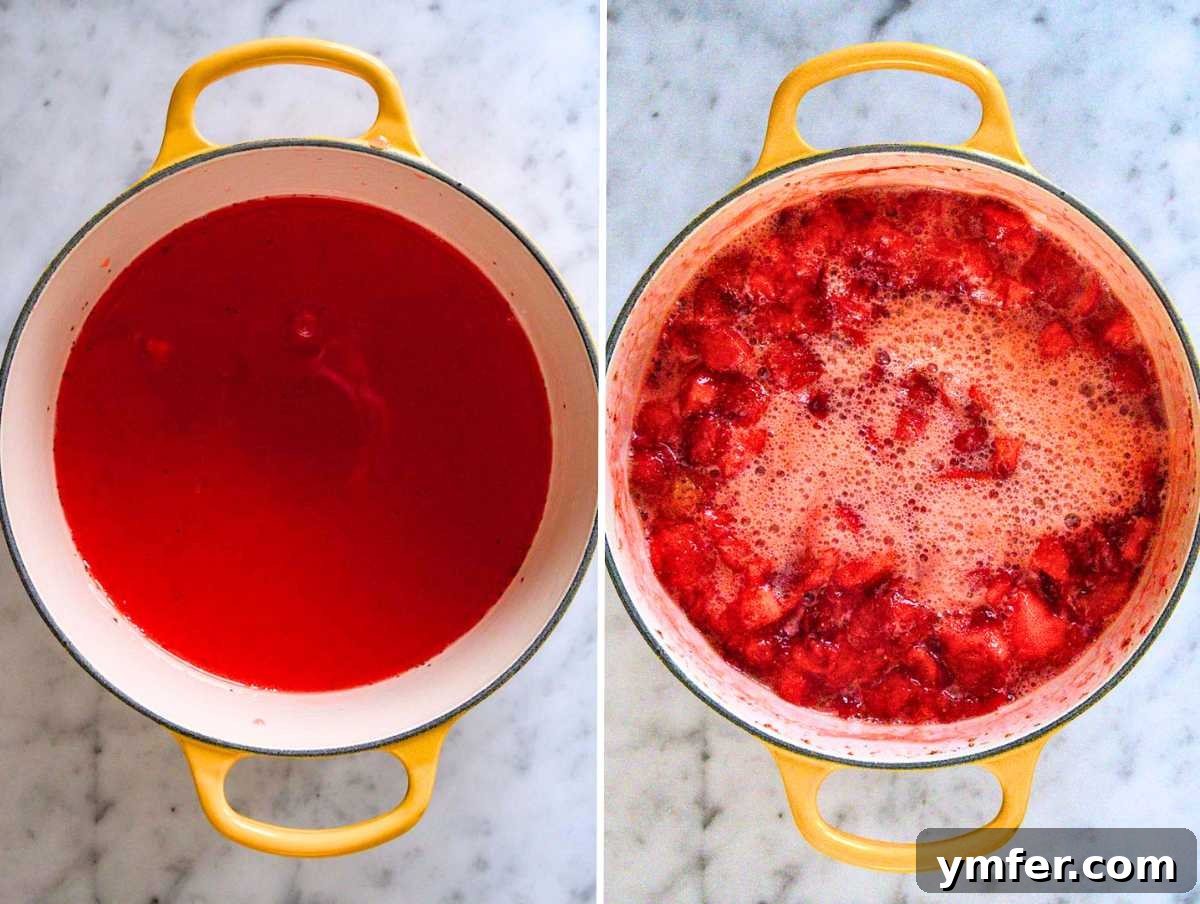
- Cook the Marinating Liquid: After the marination period, drain the vibrant liquid from the strawberries and pour it into a medium-sized, heavy-bottomed pot. Bring the liquid to a simmer over medium-high heat and cook for **20 to 30 minutes**. During this phase, the liquid will reduce and thicken slightly, transforming into a concentrated, aromatic strawberry syrup. Stir occasionally to prevent sticking and ensure even reduction.
- Combine and Finish Cooking: Once the liquid has thickened, add the diced, marinated strawberries back into the pot with the reduced juice. Continue to cook on medium heat for an additional **20 minutes**, stirring frequently to prevent scorching and to ensure the strawberries cook through evenly. The jam will visibly thicken as it cooks, but remember it will continue to thicken significantly as it cools.
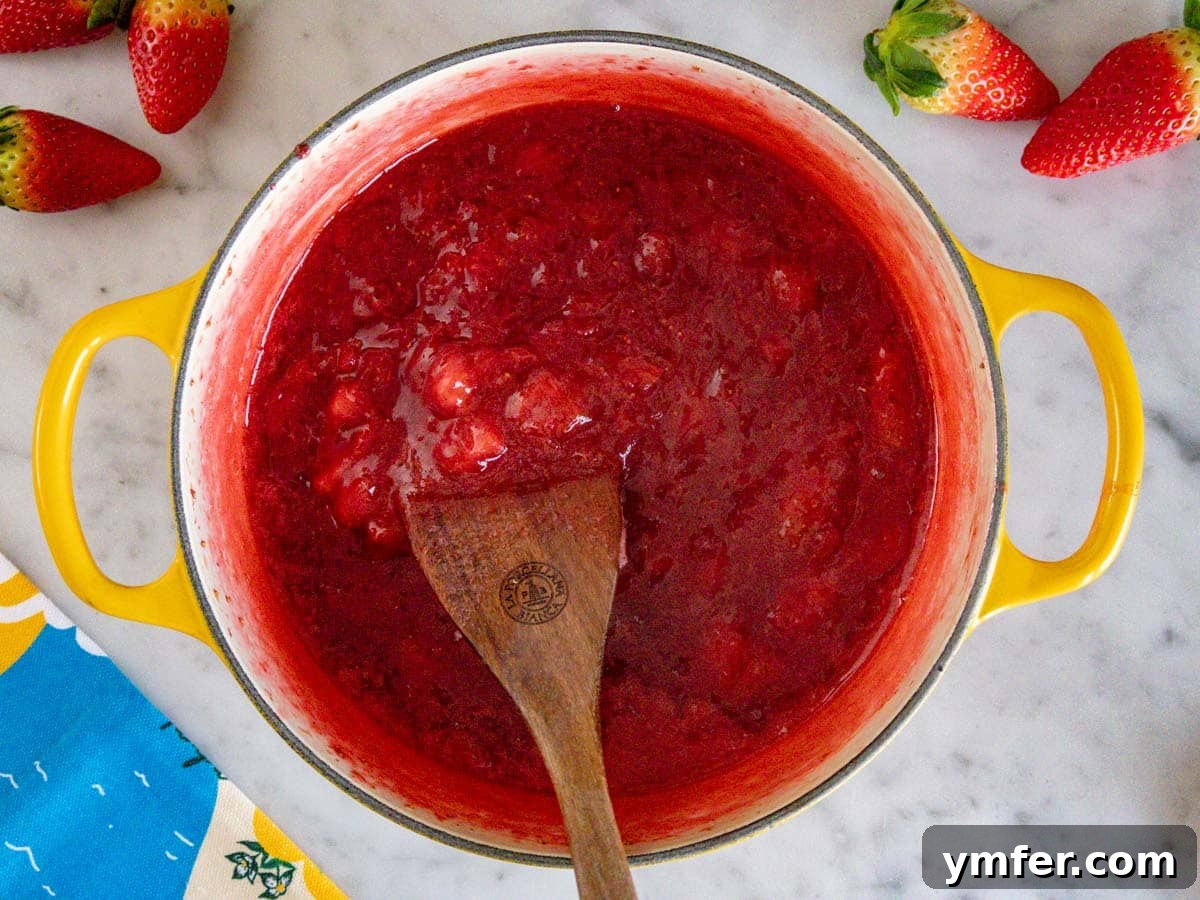
- Cool and Thicken: Turn off the heat. Give the jam a final stir to help disperse any foam that may have formed on the surface. Allow the jam to cool down to room temperature directly in the pot. It is important to note that the jam’s final consistency will be much thicker once completely cooled. Patience is key here!
- Store and Enjoy: Once cooled, carefully transfer your freshly made strawberry jam into clean, airtight jars. Store the jars in the refrigerator for up to 5 days. For longer storage, consider canning as described in the next section.
Storage and Serving Suggestions
Your freshly made strawberry jam is a versatile delight, ready to brighten any meal. When stored in airtight jars in the refrigerator, it will maintain its exquisite freshness and flavor for up to 5 days. For immediate enjoyment, simply spoon it onto your favorite breakfast items or use it to elevate desserts.
Here are some delicious ways to enjoy your homemade strawberry jam:
- Breakfast Staples: Spread it generously on warm slices of homemade bread, buttery toast, or croissants. Stir a spoonful into creamy oatmeal, or top fluffy vegan pancakes and oatmeal pancakes for a burst of fruitiness. It’s also fantastic on banana bread, vegan French toast, or with lemon muffins.
- Dessert Enhancements: Transform simple desserts into extraordinary treats. Use it as a vibrant filling for a delightful strawberry-flavored crostata, or layer it between sponges for a luxurious vanilla cake. Swirl it into yogurt parfaits or blend it into milkshakes for a refreshing twist.
- Savory Pairings: Don’t limit jam to sweet applications! A dollop can be surprisingly delicious alongside certain cheeses or as a glaze for savory dishes, offering a sweet-tart contrast.
Canning Homemade Strawberry Jam for Long-Term Storage
IMPORTANT SAFETY NOTICE: When engaging in home canning, proper sterilization of jars and adherence to safe canning practices are absolutely critical. An anaerobic (oxygen-free) environment, like that found in canned foods, can become a breeding ground for harmful bacteria if not handled correctly. Your health and safety are paramount.
Canning homemade jam is an excellent method for preserving the fresh taste of spring and summer fruits throughout the entire year. It allows you to extend the shelf life of your delicious strawberry jam significantly, making it a pantry staple for months to come. However, **canning is a delicate process** that demands precision and attention to detail. It is essential to be fully informed and confident in your methods. For comprehensive, research-backed guidance, we highly recommend consulting the resources provided by the National Center for Home Food Preservation (NCHFP).
To provide you with a general understanding of what canning involves, here is a summary of the key steps. Always refer to official canning guidelines for complete and up-to-date instructions:
- Sterilize Your Jars: Begin by sterilizing your canning jars and lids. In a large pot, bring a generous amount of water to a rolling boil. Submerge all your clean jars and their lids (separated) in the boiling water for at least 20 minutes. This ensures they are thoroughly sterilized and ready for filling.
- Fill Hot Jars with Hot Jam: Carefully remove the sterilized jars from the boiling water using appropriate tongs, placing them on a clean, heat-proof surface. While the jars are still hot, immediately fill them with your freshly cooked, hot jam. It’s crucial to leave a headspace of approximately 0.5 inches (1.5 cm) between the jam and the rim of the jar. This space is necessary for a proper vacuum seal.
- Clean Jar Rims: Inspect the rims of the filled jars. If any jam has spilled or dripped onto the rim, wipe it clean with a kitchen towel quickly dipped in the boiling water. A clean rim is essential for achieving a tight seal.
- Seal the Jars: Place the lids on the jars and screw on the bands until finger-tight. Avoid overtightening. As the jam cools, it will create a natural vacuum, sealing the jar perfectly. You’ll often hear a “pop” sound as the lids seal.
- Process Jars (Recommended for Longer Storage): For extended shelf life and maximum safety, especially for jams not high in acid, a water bath canning process is recommended after sealing. This involves placing the filled, sealed jars back into boiling water for a specific duration, typically 10-15 minutes, to kill any remaining microorganisms and create a stronger, more reliable vacuum seal. Consult NCHFP guidelines for precise processing times for strawberry jam.
- Cool and Check Seals: After processing (or after initial sealing if not water bath canning), remove the jars and let them cool undisturbed at room temperature for 12-24 hours. Once cooled, check the seals by pressing the center of each lid. If the lid does not flex, it is properly sealed. Any unsealed jars should be refrigerated and consumed within 5 days.
- Storage: Properly canned and sealed jam can be stored in a cool, dark place for up to one year. Once opened, refrigerate and consume within a few weeks.
Frequently Asked Questions About Strawberry Jam
Jam thickens primarily through three mechanisms: First, water evaporation during cooking reduces the liquid content, concentrating the fruit and sugar. Second, the sugar itself, when melted and concentrated, contributes to the thick, syrupy texture. Third, and most importantly, pectin, a natural polysaccharide found in fruits, acts as a gelling agent. In this recipe, the lemon juice and especially the lemon peel contain sufficient natural pectin to help the jam set beautifully without any added commercial pectin.
Several factors can lead to runny jam. It might be that: 1) The jam was not cooked long enough, meaning too much water remained and the sugar/pectin concentration wasn’t sufficient for gelling. 2) The strawberries did not marinate with the lemon peel for an adequate duration, thus not releasing enough natural pectin. 3) The strawberries themselves were particularly watery (perhaps slightly underripe or too large), requiring additional pectin or a longer cooking time to reach the desired consistency.
If your strawberry jam turns out too runny, don’t despair! You can typically remedy it. One effective method is to add a thickening agent like agar-agar. A teaspoon or two of agar-agar (check package directions for precise quantities based on your jam volume) can be dissolved into a small amount of water or jam, then stirred into the main batch. Bring the jam to a boil for a few minutes to activate the agar-agar, then cool and check consistency. Alternatively, you can simply cook the jam for a longer period, allowing more water to evaporate and the sugar to concentrate further. Just be careful not to scorch it.
While it is possible to make strawberry jam using frozen berries, we generally do not recommend it for this particular recipe. Frozen strawberries typically contain more water than fresh ones due to ice crystal formation, which can dilute the jam and affect its setting. If you do use frozen strawberries, you’ll likely need to add more sugar and potentially a supplemental thickener (like agar-agar or extra lemon peel) to compensate for the increased water content and achieve the desired taste and texture.
Absolutely, homemade jam freezes exceptionally well! You can freeze it directly in glass jars, ensuring you leave sufficient headspace (about 1 inch) between the jam and the lid to allow for expansion as it freezes. When properly frozen, strawberry jam can maintain its quality and flavor for up to one year. Thaw it in the refrigerator before use.
Yes, this strawberry jam recipe is specifically designed to set without any commercially added pectin. The natural pectin required for gelling is extracted from the lemon peel during the marination process and further activated by the lemon juice and heat. This natural pectin, combined with the concentration of sugar through cooking, is usually sufficient for the jam to achieve a lovely set. If you prefer, you can also substitute or supplement with natural thickeners like agar-agar or chia seeds.
This is a very important point for jam making! Jam will thicken considerably as it cools to room temperature. It’s crucial not to overcook the jam while it’s hot, thinking it’s too thin, as this will result in an overly stiff or ‘jelly-like’ consistency once completely cooled. If your jam does turn out too thick after cooling, you can gently reheat it with a dash of water or a little extra lemon juice to thin it out to your desired consistency.
Any type of granulated sugar will work effectively for making this strawberry jam. While we often use organic unrefined sugar for its distinct flavor profile, some people prefer a more neutral taste. You can experiment with various options such as coconut sugar, whole cane sugar, or date sugar. For a refined sugar-free alternative, you can even use liquid sweeteners like agave syrup or maple syrup, though you might need to adjust the cooking time slightly or consider adding a bit of extra thickener, as syrups can alter the overall liquid content and setting properties of the jam.
More Delicious Fruit-Inspired Recipes
If you enjoyed making and tasting this easy homemade strawberry jam, you’ll love exploring these other fruit-focused and delightful recipes:
- Fresh Fruit Tart: A beautiful and refreshing dessert showcasing seasonal fruits.
- Vegan Strawberry Tart: A dairy-free and egg-free take on a classic, highlighting sweet strawberries.
- Delicious Vegan Apple Cake: A comforting and moist cake, perfect for any occasion.
- Rich Egg-Free Custard: A versatile and creamy custard that pairs wonderfully with fruits and desserts.
Homemade Strawberry Jam
Nico Pallotta
10 mins
40 mins
12 hrs
50 mins (active)
15 servings
Breakfast, Dessert
International
Share
Ingredients Units: /
- 2 pounds strawberries without green tops
- 1½ cup sugar
- 1 large lemon the juice and peel
Instructions
-
Cut off strawberries stems. Rinse strawberries and cut them into small pieces. You need 2 pounds strawberries after cutting off the stems. Add strawberries to a bowl with 1½ cup sugar plus the juice and peel from 1 large lemon.
-
Mix well with two spoons to distribute the sugar. Cover bowl and marinate in the fridge for 8 to 12 hours.
-
Drain marinating juice and add it to a medium-sized pot. Simmer on medium-high heat for 20 to 30 minutes. The liquid should turn into a thicker strawberry juice. Add the diced strawberries and cook on medium heat for 20 more minutes, stirring occasionally.
-
Turn heat off, give it a final stir to disperse the foam that might form on top and let cool down to room temperature. The jam cools as it thickens.
-
Transfer jam into airtight jars and store in the fridge for up to 5 days.
Notes
1. Select the Best Strawberries: Always choose small, ripe, and fully red strawberries. These berries naturally offer the best sweetness and most concentrated flavor. Avoid large, pale, or partially white berries, as they tend to contain more water, which can make your jam runny. Be sure to remove any brown or damaged parts, as these can introduce off-flavors and shorten the jam’s shelf life.
2. Harness the Power of Lemon Peel: The inclusion of lemon peel during the marination process is not just for flavor; it’s a critical step for thickening. Lemon peel is rich in natural pectin, which is released into the fruit juices and helps the jam set without needing commercial pectin. It also adds a wonderful zesty brightness that complements the strawberries beautifully.
3. Master the Cooking Process: Stir your jam frequently during cooking, especially once the strawberries are added, to prevent it from sticking to the bottom of the pot and developing a bitter, scorched taste. Pay attention to the desired consistency: for a pourable jam perfect for pancakes or ice cream, cook slightly less. If you need a firmer jam for baking in cakes and pies, you may want to thicken it further with a natural gelling agent.
HOW TO MAKE A THICKER JAM?
If you desire a notably thicker strawberry jam, ideal for fillings in cakes and pies, you can easily achieve this. Simply add 2 teaspoons (approximately 5 grams) of agar-agar powder or 3 tablespoons (about 30 grams) of chia seeds along with the strawberries before cooking. Remember to stir well to incorporate evenly, and ensure the jam reaches a boil to activate the agar-agar.
INGREDIENT SUBSTITUTIONS
- Strawberries: While strawberries are fantastic, this recipe framework is versatile. You can successfully substitute other berries like blueberries, blackberries, or raspberries for a different but equally delicious jam.
- Lemon: We strongly recommend using an organic lemon for this recipe, as the peel is left to marinate with the strawberries. This ensures you’re extracting natural pectin and flavor without unwanted chemicals. If organic is unavailable, ensure the lemon is thoroughly scrubbed. The lemon peel is crucial for natural pectin, aiding in the jam’s set.
- Sugar: This recipe is adaptable to various types of sugar. Feel free to use conventional cane sugar, coconut sugar, whole cane sugar, or date sugar. If you prefer liquid sweeteners such as agave syrup or maple syrup, they can also be used, but be aware that they might slightly alter the jam’s final consistency, potentially requiring a bit of extra thickener.
OTHER DELICIOUS FLAVOR VARIATIONS
- Ginger + Maple Syrup + Rhubarb + Strawberries: A complex and comforting blend with a hint of spice.
- Banana + Strawberries: For a naturally sweeter, creamier jam with tropical notes.
- Orange Juice + Mint + Strawberries: A refreshing and bright combination, perfect for summer.
- Basil + Aged Balsamic Vinegar + Strawberries: An sophisticated, unexpected, and truly gourmet pairing.
- Black Pepper + Strawberries: A subtle warmth that enhances the fruit’s sweetness.
- Lime + Mint + Strawberries: A zesty and incredibly refreshing twist.
- Vanilla + Strawberries: Classic and comforting, vanilla adds depth and aromatic richness.
Nutrition Information
Calories: 98kcal,
Carbohydrates: 25g,
Protein: 0.5g,
Fat: 0g,
Saturated Fat: 0g,
Polyunsaturated Fat: 0g,
Monounsaturated Fat: 0g,
Trans Fat: 0g,
Cholesterol: 0mg,
Sodium: 1mg,
Potassium: 103mg,
Dietary Fiber: 1g,
Sugar: 23g,
Vitamin A: 9IU,
Vitamin B6: 0.03mg,
Vitamin C: 39mg,
Vitamin E: 0.2mg,
Vitamin K: 1µg,
Calcium: 12mg,
Folate: 15µg,
Iron: 0.3mg,
Manganese: 0.2mg,
Magnesium: 8mg,
Zinc: 0.1mg
Tried this recipe?Leave a comment below or mention @theplantbasedschool on Instagram. We love hearing from you!