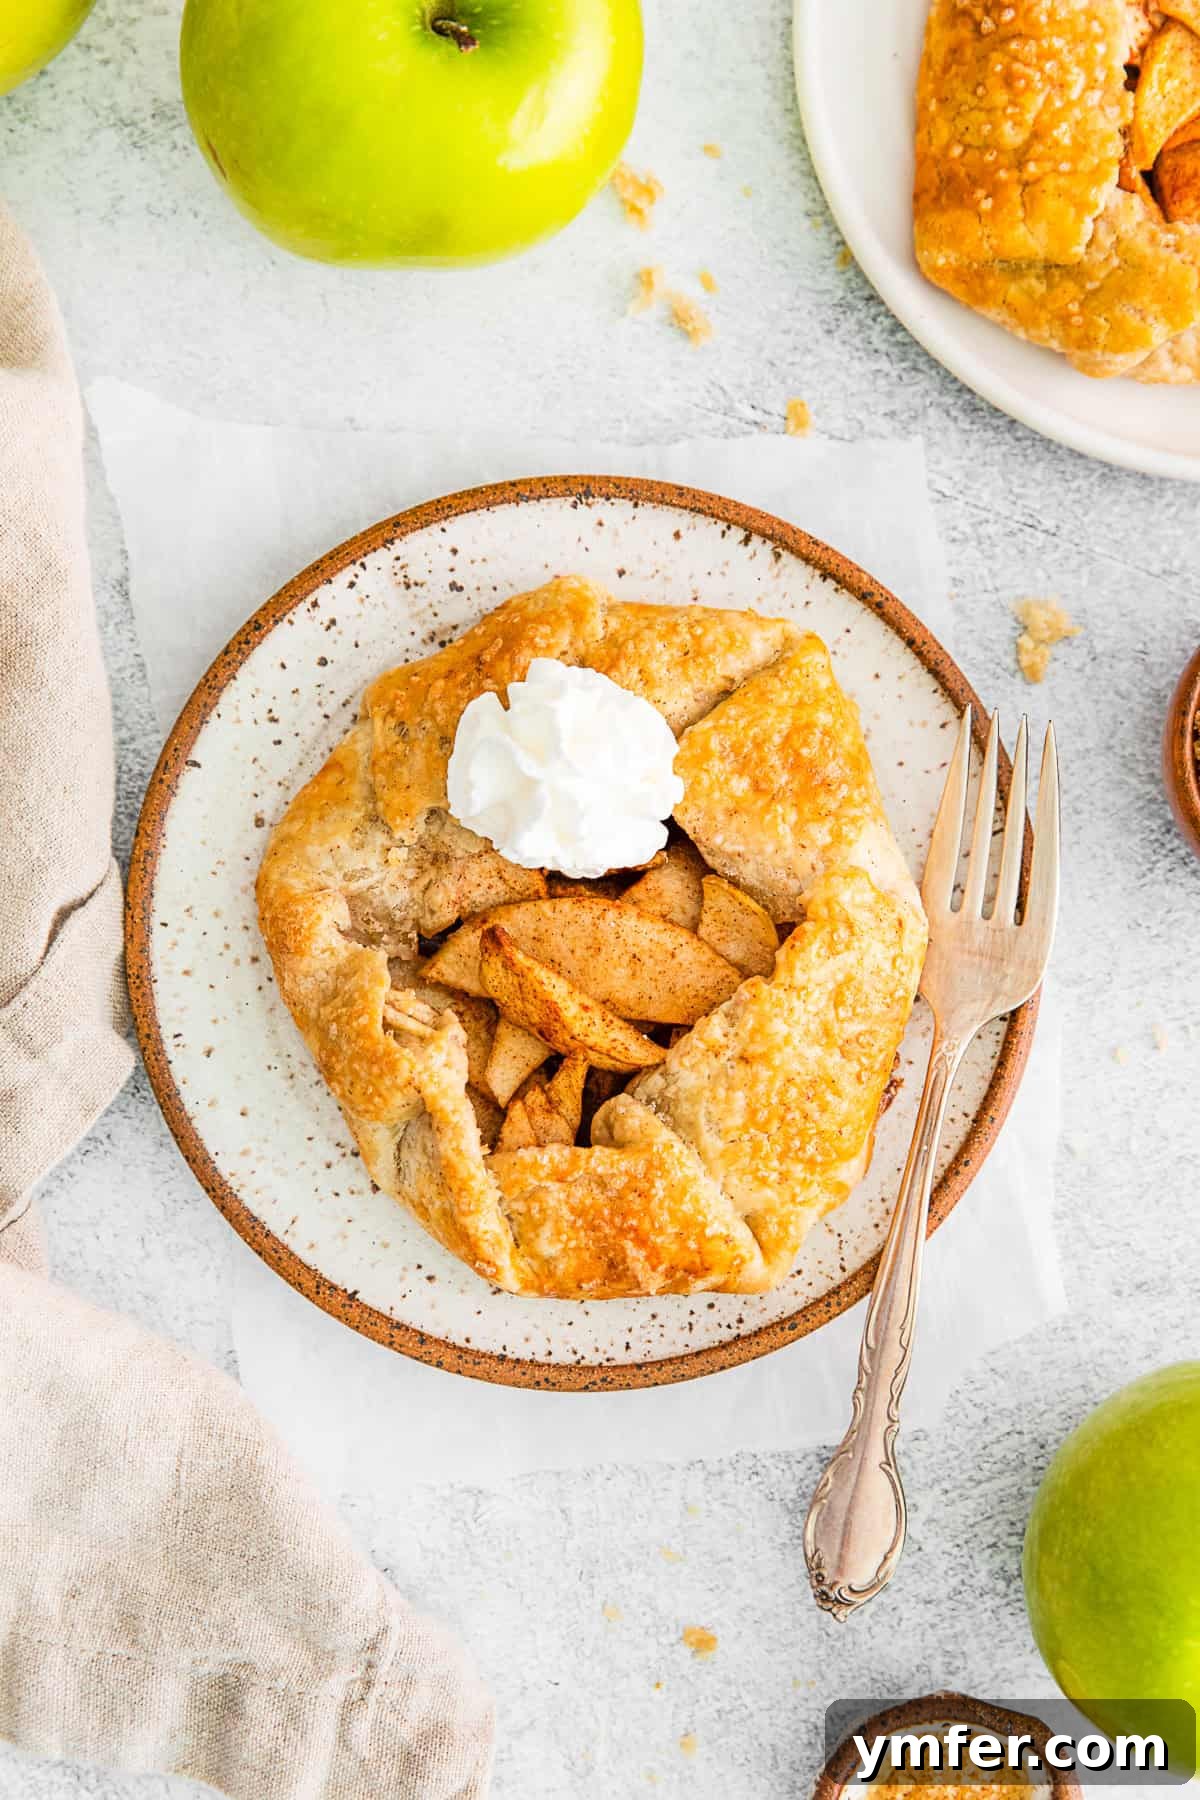
Welcome to a world where baking elegance meets effortless charm: the Apple Galette. Forget the fuss of traditional pies; these individual apple galettes offer a rustic, sophisticated, and incredibly delicious dessert experience without the need for a pie dish. Imagine a perfectly flaky, buttery crust embracing a sweet and cinnamony brown sugar apple filling, each bite a symphony of textures and flavors. These aren’t just desserts; they’re edible hugs, perfect for any season but particularly enchanting during the crisp days of autumn.
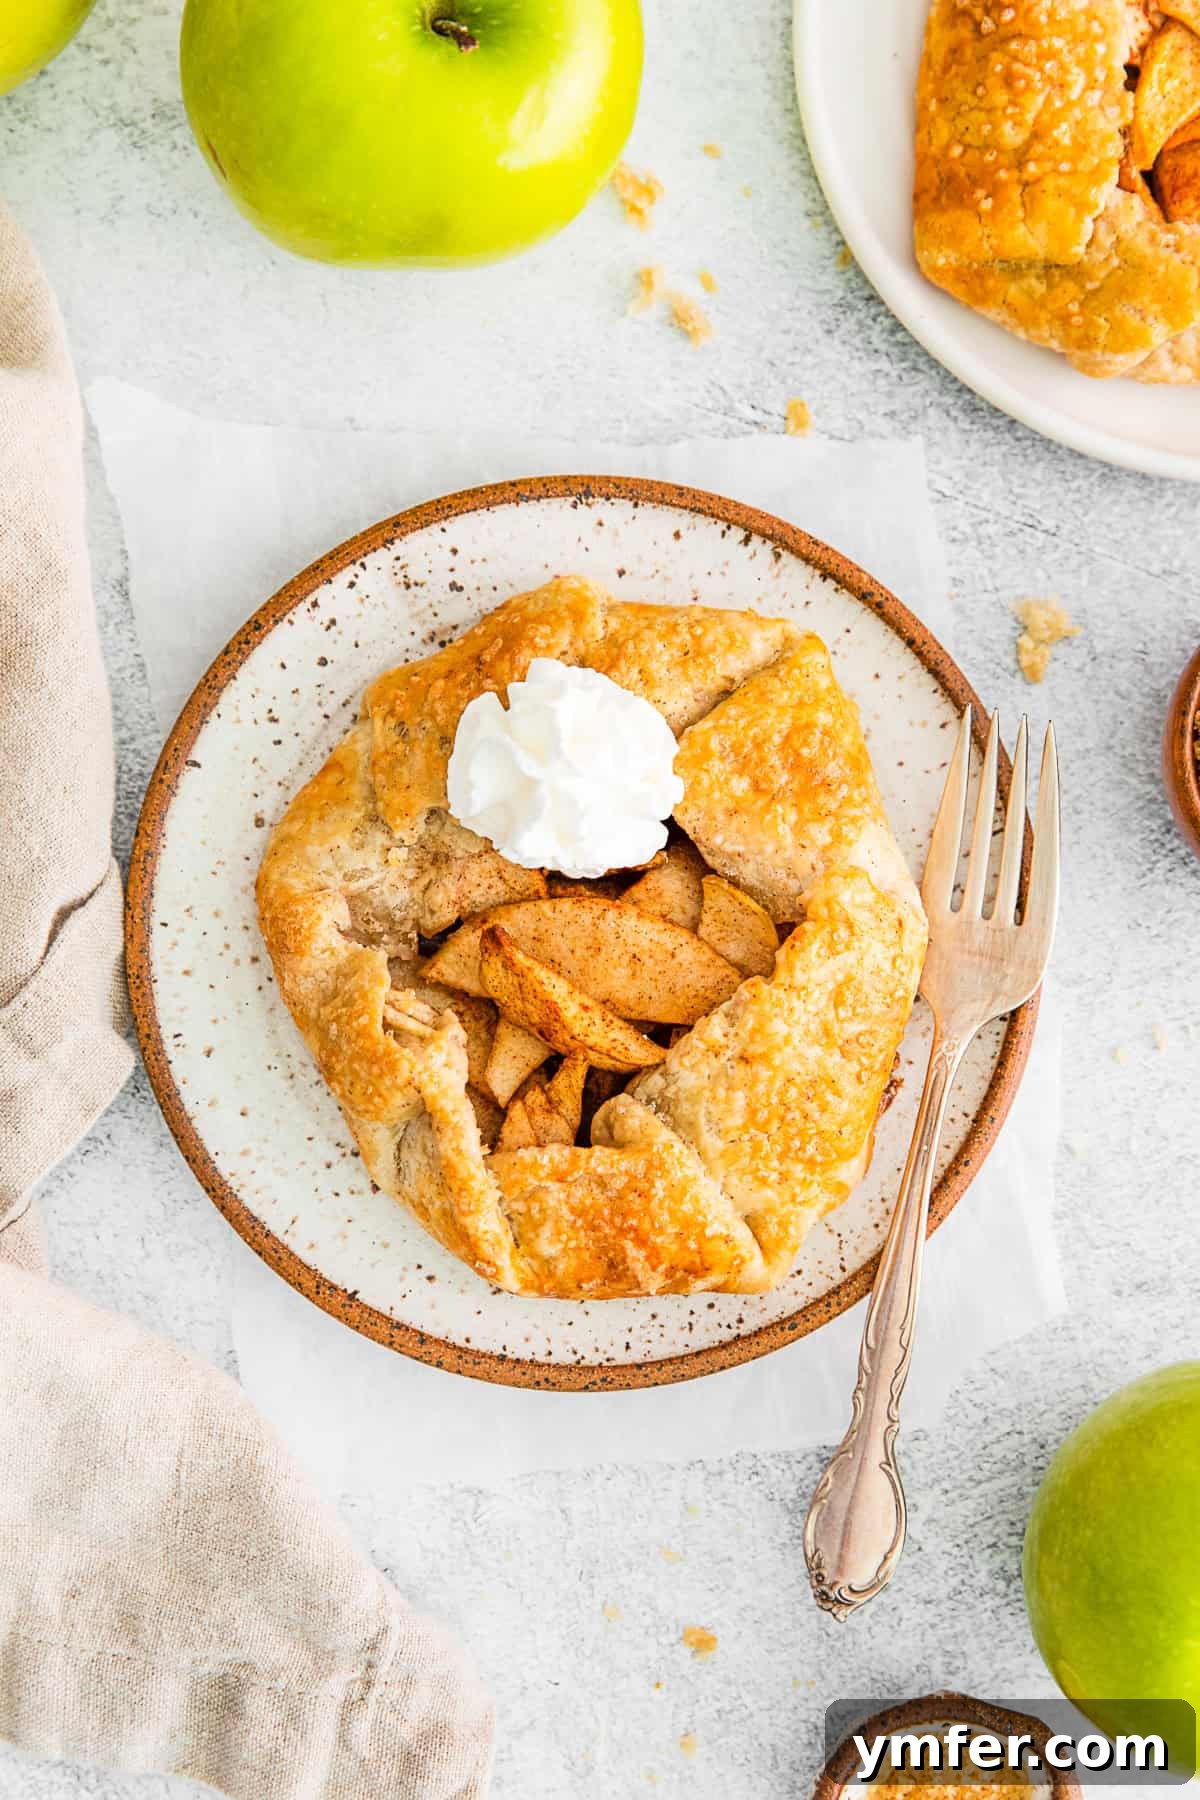
There’s something inherently delightful about a fruit galette. It’s the unpretentious cousin of the pie, offering all the joy of a homemade dessert with a significantly reduced stress level. Our apple galettes are crafted with a simple, homemade butter-based pie crust, which is the secret to its signature flakiness. This golden-brown embrace cradles a generous helping of thinly sliced, juicy apples, lovingly tossed with deep, caramelized brown sugar, a hint of bright lemon juice, and the warm spice of cinnamon. It’s a classic combination that never fails to please.
While an apple pie is undeniably comforting, there’s a unique satisfaction in serving (and enjoying!) an individual-sized dessert. Each person gets their own beautiful, perfectly portioned galette, making it feel extra special. These mini apple galettes are not only charming but also incredibly convenient for gatherings or simply treating yourself. They capture all the beloved flavors of a classic apple pie but in a more approachable and impressive format. So, next time that familiar apple pie craving hits, but you’re short on time or energy, reach for this delightful apple galette recipe. It’s a game-changer!
Are you now a galette enthusiast, eager to explore more rustic tart creations? Don’t miss out on our delightful Mini Berry Galettes for a burst of summer fruit, or try a savory twist with our intriguing Apple Cheddar Galette!
Essential Ingredients for the Best Apple Galette
Creating an unforgettable apple galette starts with high-quality ingredients. Each component plays a vital role in achieving that perfect balance of flavor and texture. Here’s a closer look at what you’ll need for both the irresistibly flaky crust and the luscious apple filling.
For the Flaky Pie Crust:
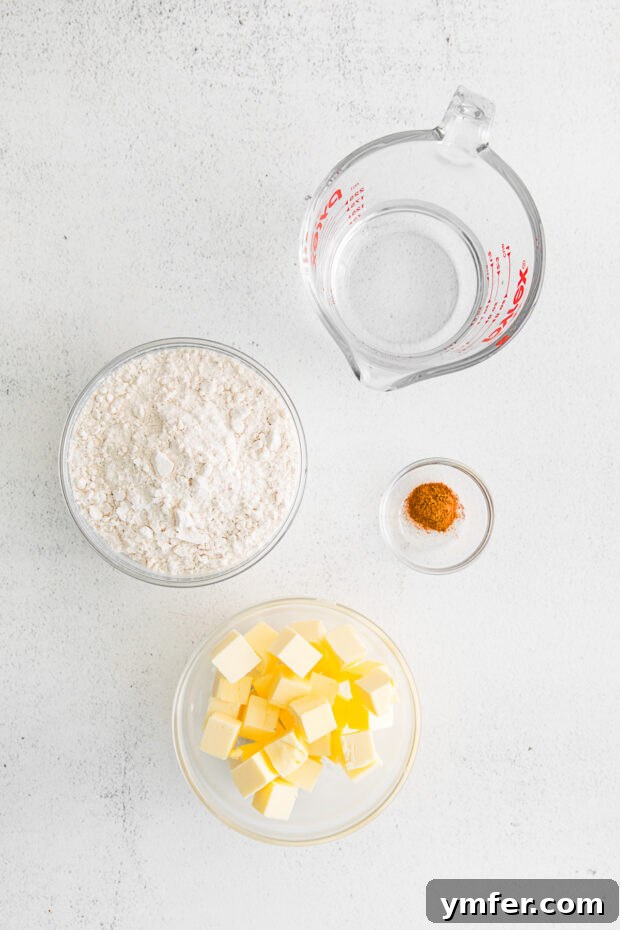
- All-Purpose Flour: This forms the structural base of our pie crust. Using all-purpose flour ensures a tender yet sturdy crust that can hold up to the juicy apple filling. For a truly light and airy texture, always measure your flour correctly, preferably by weight if possible, or by spooning it into the measuring cup and leveling off.
- Ground Cinnamon: A subtle touch of cinnamon in the crust itself adds an extra layer of warm, inviting flavor that complements the apple filling beautifully. It’s a small addition that makes a big difference, infusing every part of the galette with aromatic spice.
- Cold Butter: The secret to a truly flaky pie crust lies in using very cold butter, cut into small cubes. When the cold butter melts during baking, it releases steam, creating pockets of air that result in those desirable, delicate layers. Avoid overworking the butter into the flour; you want visible pieces the size of small peas.
- Ice Water: Just like cold butter, ice water is crucial for maintaining the butter’s chill and preventing the dough from becoming tough. Adding water slowly allows you to control the consistency, ensuring the dough comes together without becoming overly wet or sticky. The colder the water, the better your chances of achieving that coveted flakiness.
- Large Egg (for egg wash): Beaten with a splash of water, an egg wash gives the crust a gorgeous golden-brown hue and a subtle sheen, enhancing its visual appeal. It also helps with crispness.
- Coarse Sugar (for sprinkling): A sprinkle of coarse sugar over the crust before baking adds a delightful sparkle and a pleasant crunch, offering a textural contrast to the soft apples and tender crust.
For the Sweet Apple Filling:
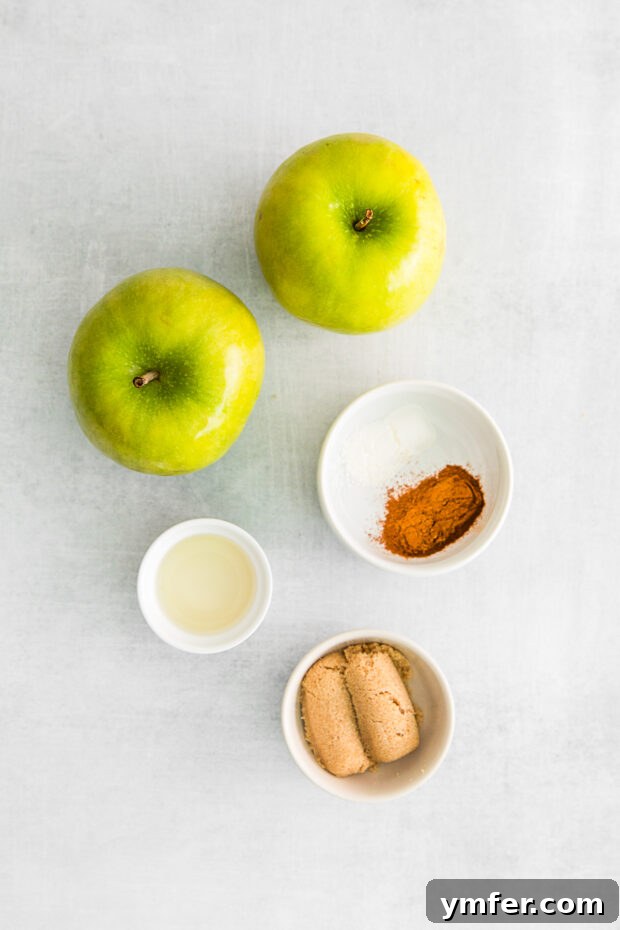
- Large Apples (Granny Smith recommended): For the best apple galette, choose firm, tart apples that hold their shape well during baking, such as Granny Smith. Their tartness beautifully balances the sweetness of the brown sugar. You can also experiment with a mix of sweet and tart varieties like Honeycrisp or Fuji for more complex flavor. Ensure they are peeled and thinly sliced for even cooking.
- Brown Sugar: Brown sugar is preferred over white granulated sugar here because its molasses content adds a rich, deep, caramel-like flavor to the apples. It enhances the warmth of the cinnamon and creates a wonderfully jammy filling.
- Ground Cinnamon: Cinnamon is the quintessential spice for apples, elevating their natural sweetness and adding a cozy, autumnal aroma that defines this dessert. Don’t be shy with it!
- Fresh Lemon Juice: A squeeze of fresh lemon juice is not just for preventing browning; it brightens the apple flavor, adds a touch of acidity to cut through the sweetness, and enhances the overall freshness of the filling.
- Cornstarch: This is your thickening agent. Cornstarch helps to absorb excess juices released by the apples during baking, ensuring that your filling is perfectly set and doesn’t become watery or run out of the galette when sliced.
How to Craft Your Perfect Apple Galette: A Step-by-Step Guide
Making an apple galette is a wonderfully rewarding process, simpler than a traditional pie but equally impressive. Follow these detailed steps to achieve a perfectly flaky crust and a sumptuously sweet apple filling every time.
Step-by-Step Instructions:
For the Flaky Pie Crust:
- Prepare the Dry Ingredients: Begin by adding your all-purpose flour and ground cinnamon to the bowl of a food processor. Pulse a few times to ensure the ingredients are thoroughly combined. This even distribution of cinnamon will give your crust a consistent, warm flavor.
- Incorporate the Cold Butter: Add the cold butter, cut into small cubes, to the flour mixture. Pulse the food processor in short bursts until the butter is broken down into pieces roughly the size of small peas. It’s crucial not to overmix here; you want distinct pieces of butter to ensure flakiness.
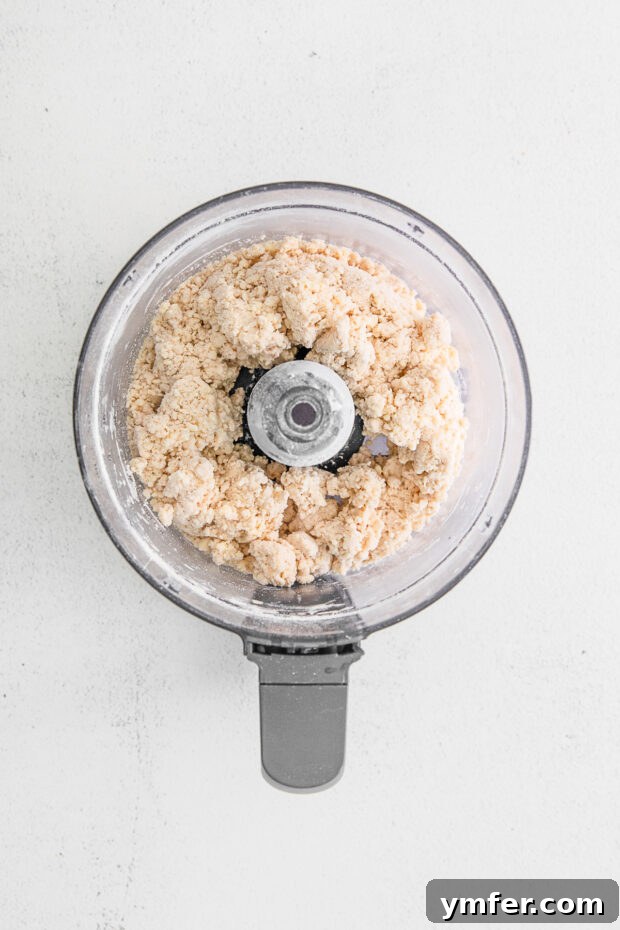
- Add Ice Water Gradually: With the food processor running on low speed, slowly drizzle in the ice water. Continue to pulse just until all of the water is incorporated and the dough begins to come together. The dough may still look a bit crumbly and won’t form a perfect ball in the processor, and that’s exactly what you want for a tender crust.
- Form and Chill the Dough: Turn the dough mixture out onto a lightly floured surface. Use your hands to gently bring the dough together, pressing it into a cohesive ball. Avoid kneading, as this develops gluten and can make the crust tough. Divide the dough into four equal pieces and gently shape each piece into a flat disc. Wrap each disc tightly with plastic wrap to prevent it from drying out, and place them in the refrigerator to chill for at least 30 minutes. Chilling the dough allows the gluten to relax and the butter to firm up, making it easier to roll and ensuring a flaky final product.
For the Sweet Apple Filling:
- Prepare the Apples: While your dough is chilling, prepare the apple filling. Peel and thinly slice your Granny Smith apples. The thinner the slices, the more tender they will become during baking.
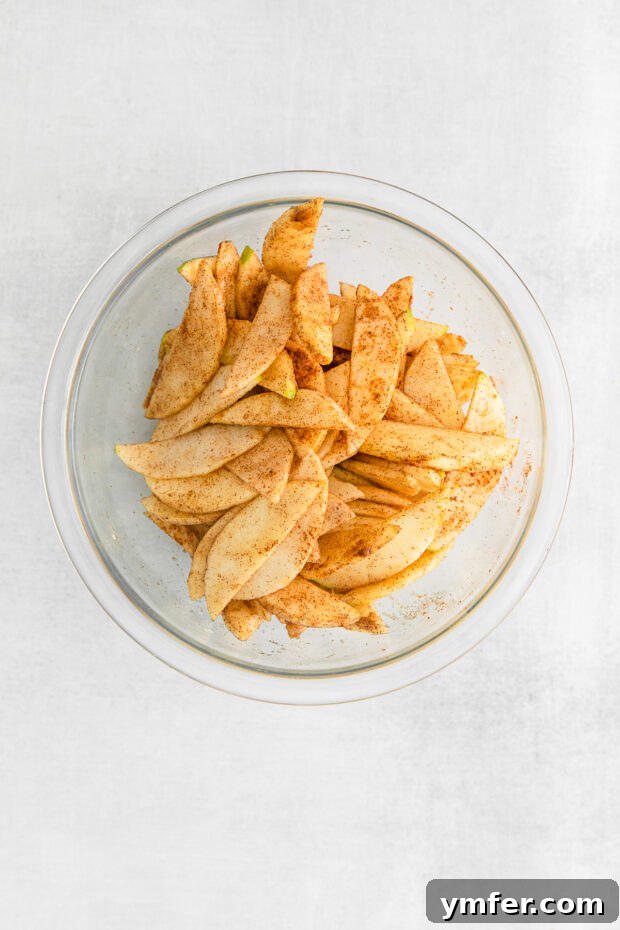
- Combine Filling Ingredients: In a large mixing bowl, combine the sliced apples, brown sugar, ground cinnamon, fresh lemon juice, and cornstarch. Toss gently until the apples are evenly coated with the sugar and spice mixture. The cornstarch will help to thicken the apple juices, preventing a soggy crust.
Assembly and Baking:
- Preheat and Prep Baking Sheet: When the pie dough has finished chilling and the apple filling is ready, preheat your oven to 350 degrees F (175 degrees C). Line a large baking sheet with parchment paper to prevent sticking and make cleanup easier.
- Roll Out the Dough: On a lightly floured surface, take one chilled dough disc and roll it out into a circle approximately ¼ inch thick and about 8 inches in diameter. Don’t worry if the edges aren’t perfectly round; the rustic look is part of the galette’s charm!
- Fill the Galettes: Divide the apple mixture evenly among the four rolled-out dough discs. Pile the apples neatly in the center of each crust, leaving at least a 1-inch border around the edge. This border will form the rustic crust.
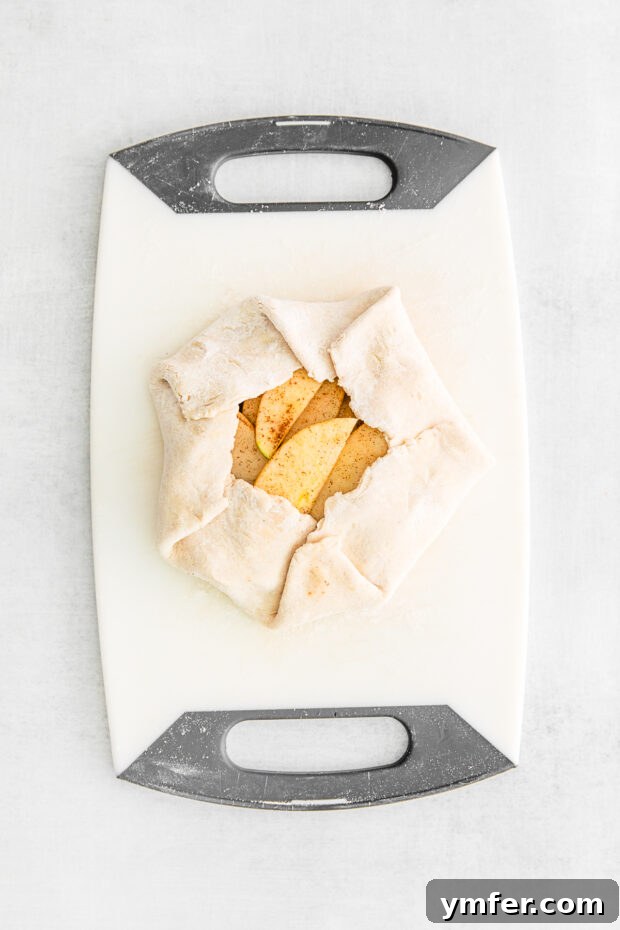
- Fold the Edges: Carefully fold the edges of the pie crust over the apples, working your way around the circle. Gently pinch the seams of the folded dough together to help it hold its shape. The crust will not completely cover the apples, allowing the beautiful filling to peek through. This open-faced design is characteristic of a galette.
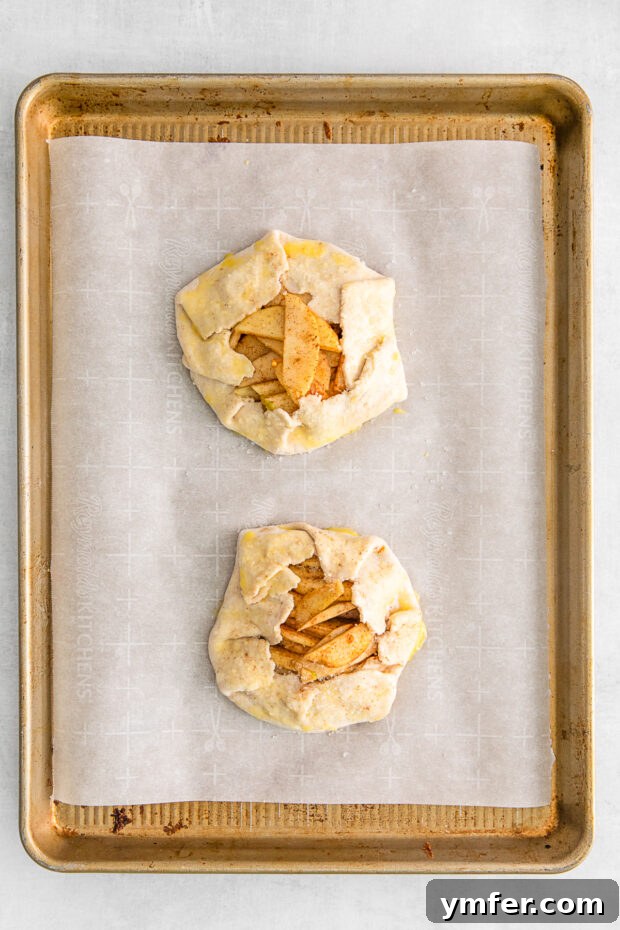
- Prepare for Baking: To achieve an extra golden-brown and crisp crust, brush the folded edges of each galette with an egg wash (one large egg beaten with a splash of water). Then, generously sprinkle the crust with coarse sugar. This adds both visual appeal and a delightful sugary crunch.
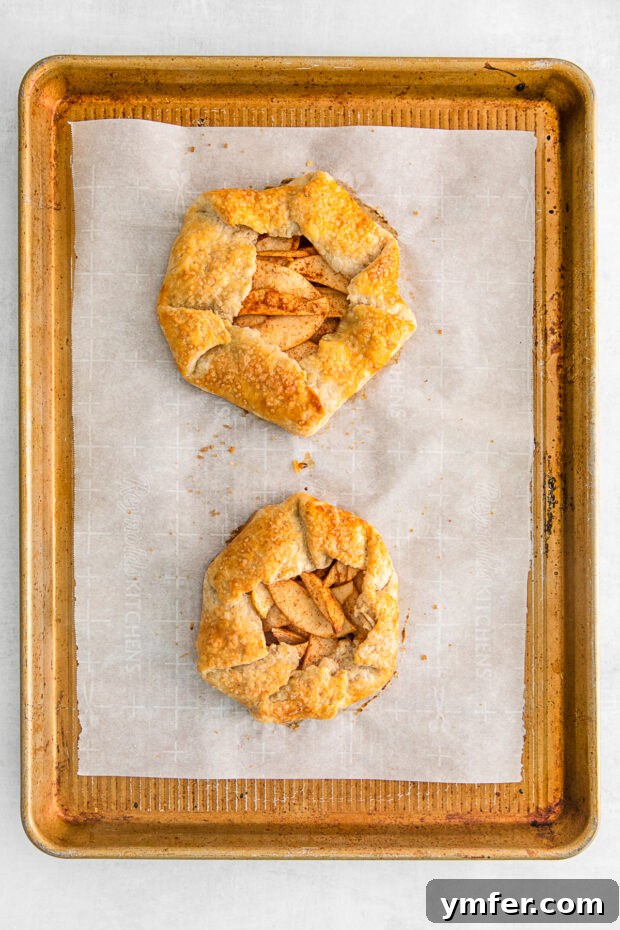
- Bake to Perfection: Transfer the assembled galettes to your prepared baking sheet. Bake for 30-35 minutes, or until the crust is deeply golden brown and crisp, and the apples are tender and bubbling. The aroma filling your kitchen will be incredible!
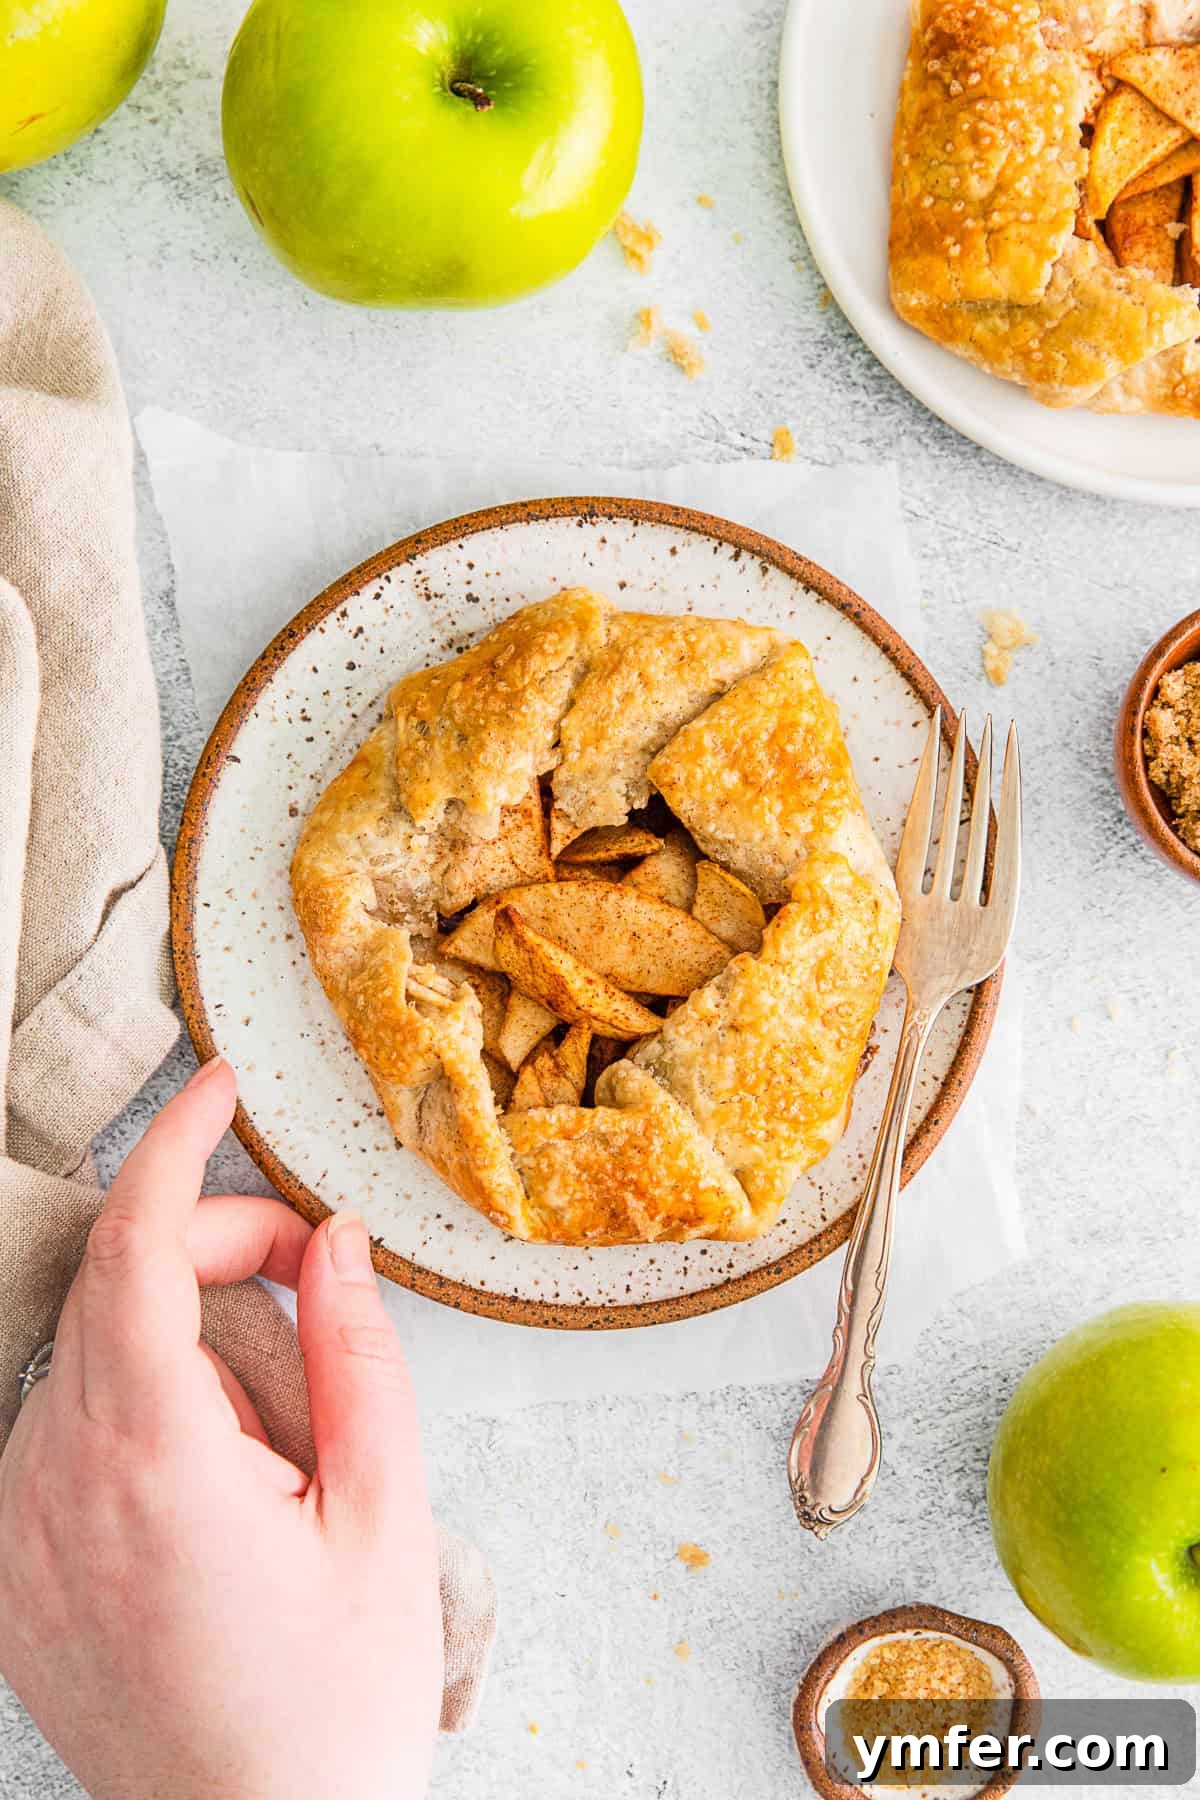
- Serve and Enjoy: Allow the galettes to cool slightly on the baking sheet before transferring them to a wire rack. These individual apple galettes are absolutely divine served warm, perhaps with a dollop of fresh whipped cream or a scoop of vanilla bean ice cream for an ultimate indulgence.
- Storing Leftovers: Any leftover apple galettes can be stored in an airtight container in the refrigerator for up to 24 hours. Keep in mind that the crust will naturally lose some of its crispness as it sits in the fridge.

Elevate Your Galette with a Simple Glaze
While these apple galettes are already perfect on their own, adding a simple glaze can take them to the next level, enhancing both their appearance and flavor. This optional step adds a beautiful, professional-looking shine and a delicate fruity sweetness that perfectly complements the spiced apples.
To create this optional little “razzle-dazzle,” you’ll need just two ingredients: apricot jam and a touch of water. In a small, microwave-safe bowl, combine a few tablespoons of apricot jam with a teaspoon or two of water. Microwave the mixture for about 30 seconds to 1 minute, or until the jam is hot and has thinned out to a brushable consistency. Stir well to ensure it’s smooth.
Once your apple galettes are fresh out of the oven and still warm, simply brush this apricot jam mixture generously onto both the golden-brown crust and the exposed apples. The warmth of the galettes will help the glaze spread beautifully. This will not only give your apple galette a gorgeous shiny and glossy finish, making it look incredibly appealing, but it will also add a subtle, fruity apricot note that pairs wonderfully with the apples and cinnamon. It’s a small extra step that yields a stunning result!
Customizing Your Apple Galette: Versatile Substitutions
One of the many joys of this apple galette recipe is its incredible versatility! It’s wonderfully adaptable, allowing you to tailor it to various dietary needs, flavor preferences, or simply whatever ingredients you have on hand. Don’t hesitate to get creative and make it your own.
Dietary Modifications:
- Gluten-Free Crust: If you’re looking for a gluten-free option, substitute the all-purpose flour with your favorite 1:1 gluten-free baking flour blend. Ensure the blend contains xanthan gum, or add ½ teaspoon per cup of flour, to help with the dough’s structure and elasticity. The process for making the dough will remain largely the same.
- Sugar Alternatives: For a reduced-sugar or sugar-free galette, you can swap the brown sugar in the filling for a granular sugar substitute designed for baking, such as erythritol-based sweeteners or stevia blends. Adjust the quantity according to the sweetness equivalent listed on your chosen sweetener’s packaging. Keep in mind that some sugar substitutes might slightly alter the texture of the filling.
- Vegan Options: To make this recipe completely vegan, substitute the cold butter in the crust with a high-quality, plant-based vegan butter that is specifically designed for baking and has a similar fat content to dairy butter. For the egg wash, you can use a plant-based milk (like almond or soy milk) mixed with a tiny pinch of turmeric for color, or a flax egg (1 tablespoon ground flaxseed meal mixed with 3 tablespoons water, allowed to sit until thickened).
Flavor Variations:
- Different Fruits: While apple is classic, this galette crust and method are fantastic with other fruits. Try sliced pears, berries (like raspberries, blueberries, or mixed berries), peaches, plums, or even a combination of your favorites. Adjust sugar content based on the sweetness of the fruit.
- Spice It Up: Enhance the apple filling with additional warm spices. A pinch of nutmeg, allspice, or cardamom can add depth and complexity to the cinnamon. A tiny grating of fresh ginger also works beautifully with apples.
- Nutty Addition: For extra texture and flavor, consider adding a tablespoon or two of finely chopped nuts, such as walnuts or pecans, to the apple filling before assembling the galettes.
Feel free to experiment with these substitutions to fit your dietary or nutritional needs, or simply to explore new flavor combinations. This recipe is your canvas!
Storage, Reheating, and Enjoying Leftover Apple Galettes
Proper storage is key to extending the life of your delicious apple galettes, though it’s hard to imagine having many leftovers! If you do find yourself with extra, here’s how to store and enjoy them to the fullest.
Storage Instructions:
Any leftover apple galettes can be stored, covered, in the refrigerator for up to 2 days. It’s best to place them in an airtight container or wrap them tightly with plastic wrap to prevent them from drying out or absorbing odors from other foods in the fridge.
Important Note on Crispness: It’s important to keep in mind that the crust will inevitably lose some of its crispiness after the first day, especially once refrigerated. The moisture from the apple filling and the cool, humid environment of the refrigerator will cause the flaky crust to soften. While still delicious, it won’t have the same fresh-baked texture.
Reheating Leftovers:
To best revive your refrigerated apple galettes and bring back some of that delightful crispness, reheating is recommended. The best method is to use an oven or a toaster oven:
- Oven Method: Preheat your oven or toaster oven to 300-325°F (150-160°C). Place the galette directly on a baking sheet or on a piece of parchment paper. Heat for about 10-15 minutes, or until the crust is warm and slightly crisp again, and the filling is heated through. Be careful not to overheat, which can dry out the apples.
- Air Fryer Method: An air fryer can also work wonders for reheating. Set it to 300°F (150°C) and heat for 5-7 minutes, checking frequently to ensure it doesn’t burn.
Avoid microwaving, as this will further soften the crust and can make it rubbery, even if it heats the filling quickly.
Freezing Galettes:
If you wish to prepare galettes in advance or have more leftovers than you can eat in a couple of days, freezing is an option:
- Unbaked Galettes: You can assemble the galettes completely (without the egg wash and coarse sugar), then flash freeze them on a baking sheet until solid. Once frozen, wrap each galette tightly in plastic wrap and then in aluminum foil. They can be stored in the freezer for up to 1 month. When ready to bake, place them directly from the freezer onto a parchment-lined baking sheet, apply egg wash and coarse sugar, and bake for a longer time (start with 40-50 minutes, checking for doneness).
- Baked Galettes: Fully baked and cooled galettes can also be frozen. Wrap them well in plastic wrap and foil. Freeze for up to 1 month. Thaw in the refrigerator overnight and then reheat using the oven method for best results.
Even if the crust isn’t perfectly crisp the next day, the warm, spiced apple filling remains incredibly flavorful, making these apple galettes a wonderful treat even as leftovers.
More Delightful Apple Recipes to Explore
If you’ve fallen in love with the comforting flavors of apple, there’s a whole world of apple-infused treats waiting for you to discover. From grab-and-go snacks to show-stopping desserts, apples offer endless possibilities. Here are some more fantastic apple recipes to inspire your next baking adventure:
- Want more individual apple treats that are perfect for on-the-go enjoyment? Try my Air Fryer Apple Hand Pies – quick, convenient, and incredibly delicious!
- Looking for a sweet and cozy way to start your day? My Baked Apple Cider Donuts are infused with the warm flavors of fall and make for an irresistible breakfast or brunch treat.
- Craving something truly decadent and sweet? Indulge in my Caramel Apple Pie, a classic dessert elevated with rich, gooey caramel.
- Need the perfect fall treat that’s easy to make and feeds a crowd? My Caramel Apple Dump Cake is a simple, comforting dessert that’s packed with apple and caramel goodness.

Apple Galette

Equipment
-
Baking Sheet Pan
-
Parchment paper
Ingredients
For pie crust:
- 1-¼ cups all-purpose flour
- ¼ teaspoon ground cinnamon
- ½ cup cold butter, cut into cubes
- ½ cup cold water
- 1 large egg beaten with a splash of water
- 1 tablespoon coarse sugar
For apple filling:
- 2 large Granny Smith apples, peeled and thinly sliced
- 2 tablespoons brown sugar
- 1 teaspoon ground cinnamon
- 1 teaspoon fresh lemon juice
- 1 teaspoon cornstarch
Instructions
For pie crust:
-
Add the flour and cinnamon to the bowl of a food processor and pulse to combine.
-
Next add the butter and pulse just until it is broken up into the size of small peas.
-
With the food processor on low speed, slowly add the cold water. Pulse just until all of the water is incorporated. The dough will not form a ball but that’s okay!
-
Turn the dough out onto a lightly floured surface and use your hands to bring it together into a ball.
-
Divide the dough into 4 equal pieces and shape each piece into a disc. Wrap each disc tightly with plastic wrap and place them in the fridge to chill for 30 minutes. While the dough chills, prepare the apple layer.
For apple layer:
-
Add the apples, brown sugar, cinnamon, lemon juice, and cornstarch to a large bowl and toss to combine.
For assembly:
-
When the pie dough has chilled and the apple layer is ready, preheat the oven to 350 degrees F and line a large baking sheet with parchment paper.
-
Roll out each dough disc on a lightly floured surface until it forms a ¼ inch thick circle – it should be about 8 inches in diameter.
-
Divide the apple mixture between the four galettes, making sure to pile the apples in the center of the crust, leaving at least 1 inch of space around the edge.
-
Fold the edges of the pie crust over the apples and pinch the seams together so the crust stays in place. The pie crust will not cover the apples completely, that’s okay!
-
To make the crust extra golden brown and crisp, brush it with an egg wash and sprinkle it with coarse sugar.
-
Bake the galettes for 30-35 minutes or until the crust is golden brown and crisp.
-
Enjoy these galettes warm or at room temperature with fresh whipped cream or vanilla ice cream.
-
Store any leftovers in an airtight container in the fridge for up to 24 hours, but keep in mind the crust will become less crisp as it sits in the fridge.
Nutrition
Nutrition information is automatically calculated, so should only be used as an approximation.
Additional Info