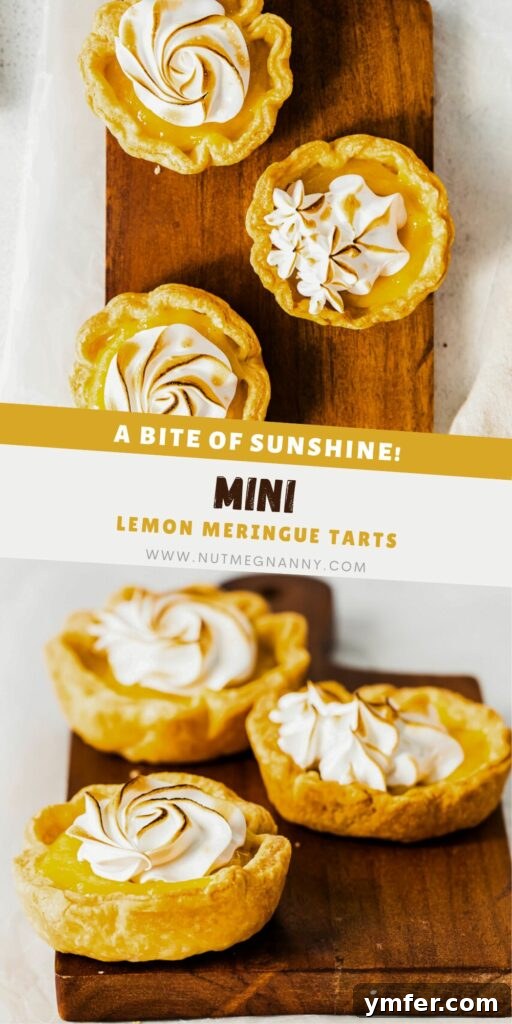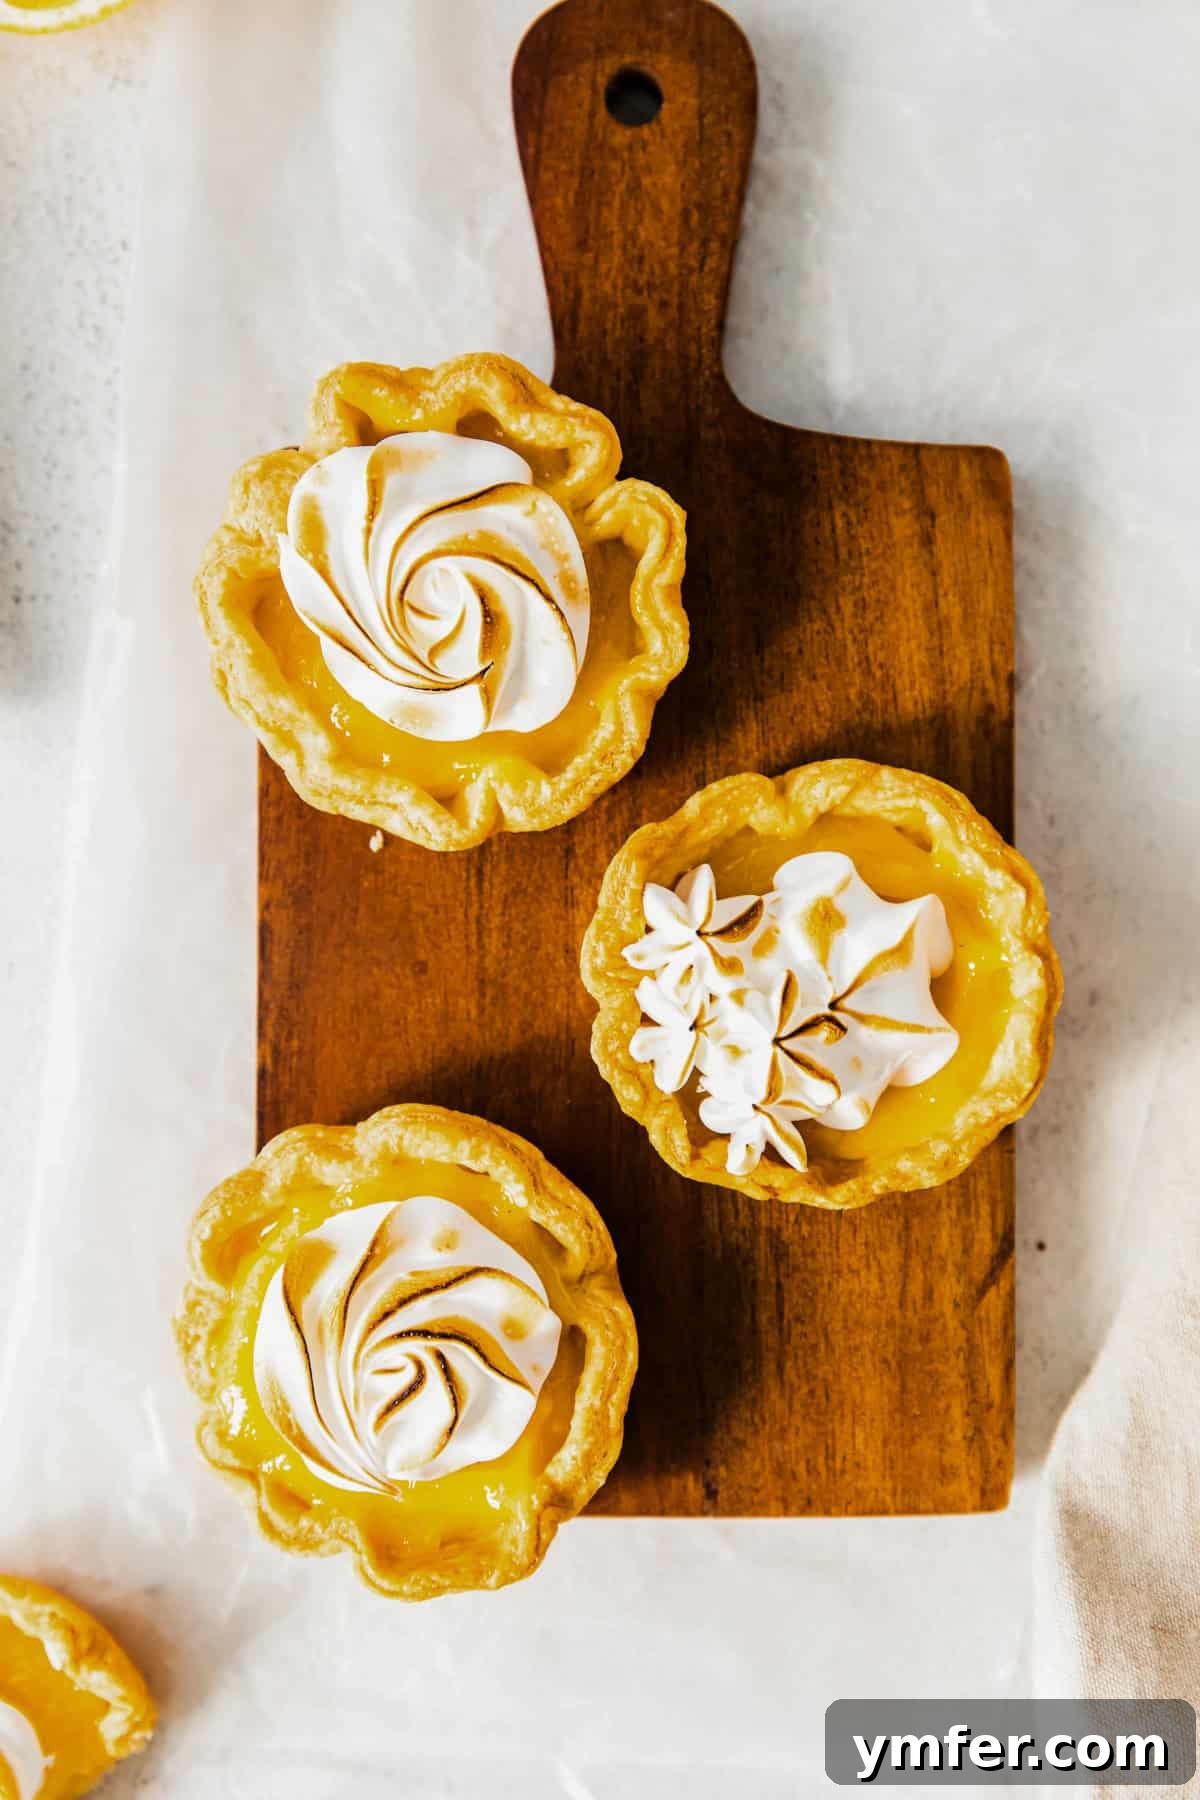
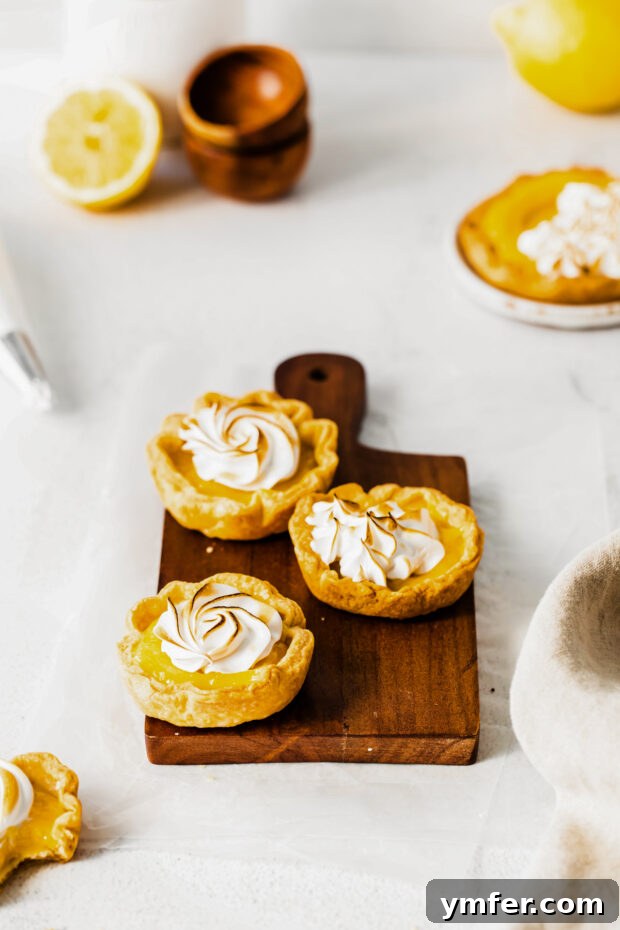
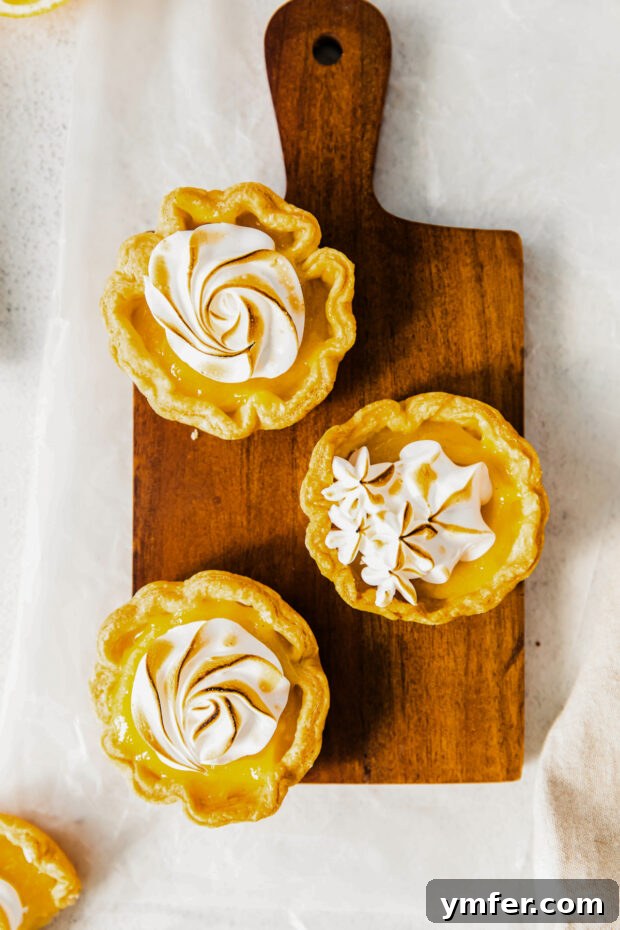
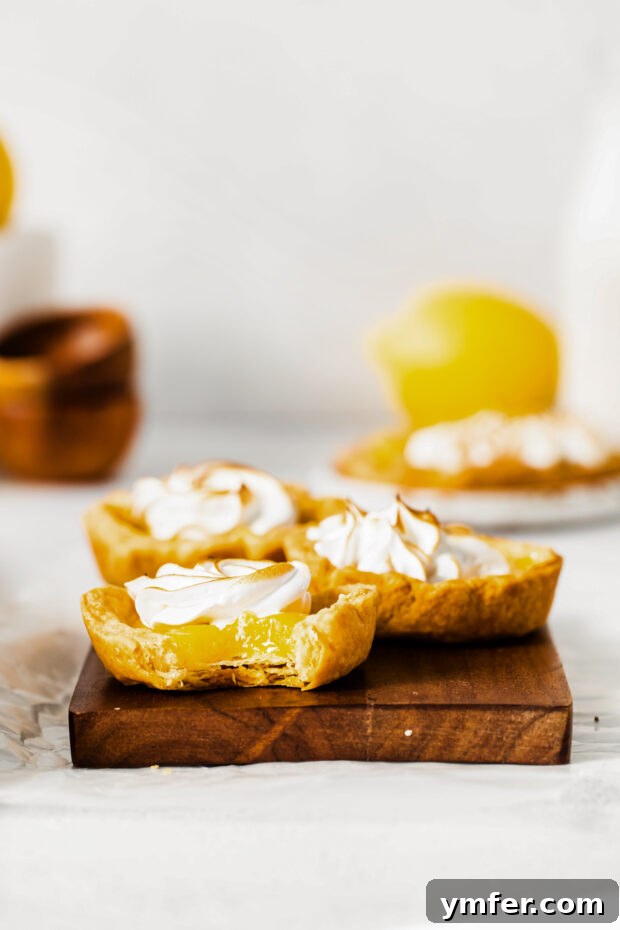
Welcome to a world where sunshine meets sweetness, encased in a delicate, buttery shell. These mini lemon meringue tarts are not just a dessert; they are a delightful experience, boasting a perfect harmony of tangy lemon curd and a cloud-like, sweet meringue topping. Each bite offers a burst of refreshing citrus, balanced by a rich, creamy filling and a satisfyingly crisp crust. Imagine these golden beauties gracing your dessert table – they’re guaranteed to impress and vanish quickly!
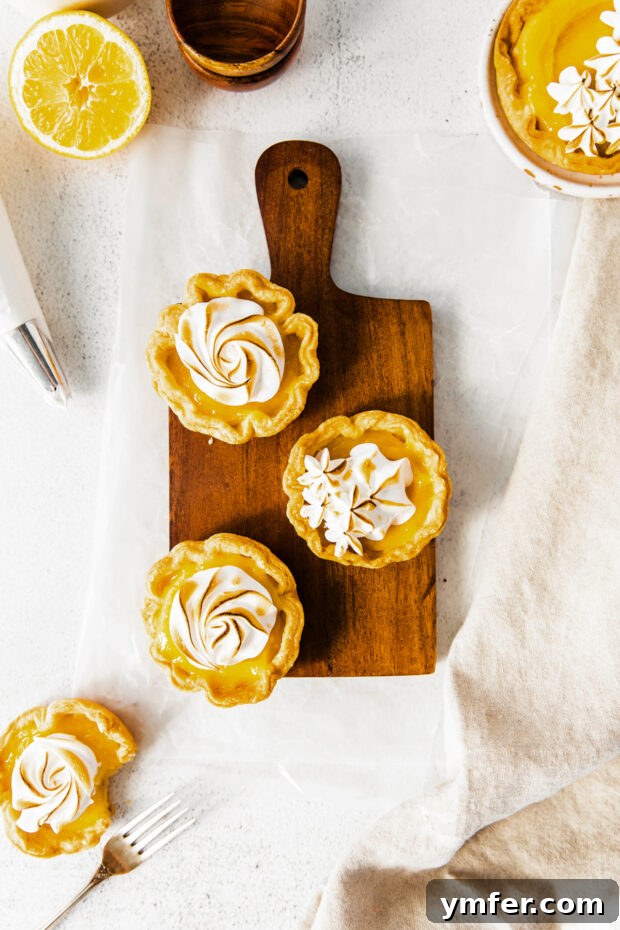
Are you searching for that perfect small treat that packs a powerful flavor punch? Look no further! Our mini lemon meringue tarts offer an irresistible combination of bright, zesty lemon curd, nestled within a perfectly baked, flaky pastry shell, crowned with a light and airy meringue. They are the epitome of elegance and charm, making them an ideal choice for any gathering, from sophisticated dinner parties to casual afternoon tea with loved ones.
What makes these tarts truly special is not just their exquisite taste but also their manageable size. They’re individual portions of pure joy, easy to serve, and even easier to devour. Despite their gourmet appearance, you’ll be surprised at how simple they are to prepare. With our detailed guide, you can whip up a batch in no time, impressing guests and satisfying your sweet cravings with minimal fuss. Trust us, these charming mini lemon meringue tarts are definitely worth sharing – or keeping all to yourself!
Crafting Perfection: Essential Ingredients for Your Mini Lemon Meringue Tarts
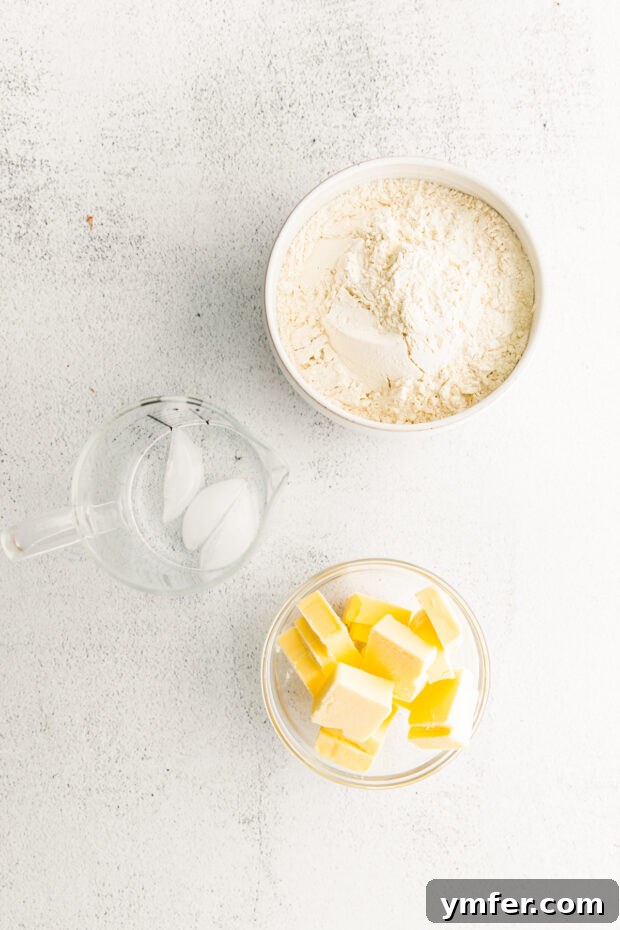
Creating extraordinary desserts begins with understanding the role each ingredient plays. For these mini lemon meringue tarts, we’ll break down the components needed for a truly sensational crust, a vibrantly zesty filling, and a dreamy meringue topping.
For the Flaky Crust: The Foundation of Flavor
- Unsalted Butter – High-quality, very cold unsalted butter is the secret to a perfectly flaky crust. When butter is cubed and kept cold, it creates pockets of steam during baking, separating the layers of dough and resulting in that coveted tender, flaky texture. Unsalted butter allows you to control the exact amount of salt in your recipe.
- All-Purpose Flour – This provides the structural integrity for your tart shells. Using the correct amount ensures a tender yet sturdy base that can hold the rich lemon curd without becoming soggy.
- Ice Water – Crucial for hydrating the dough without developing too much gluten. The ice-cold temperature prevents the butter from melting prematurely, which is essential for maintaining flakiness. Add it slowly, just until the dough comes together.
- A Pinch of Salt (Optional, but Recommended) – A small amount of salt enhances the flavor of the butter and balances the sweetness of the overall tart, providing a subtle savory note to the crust.
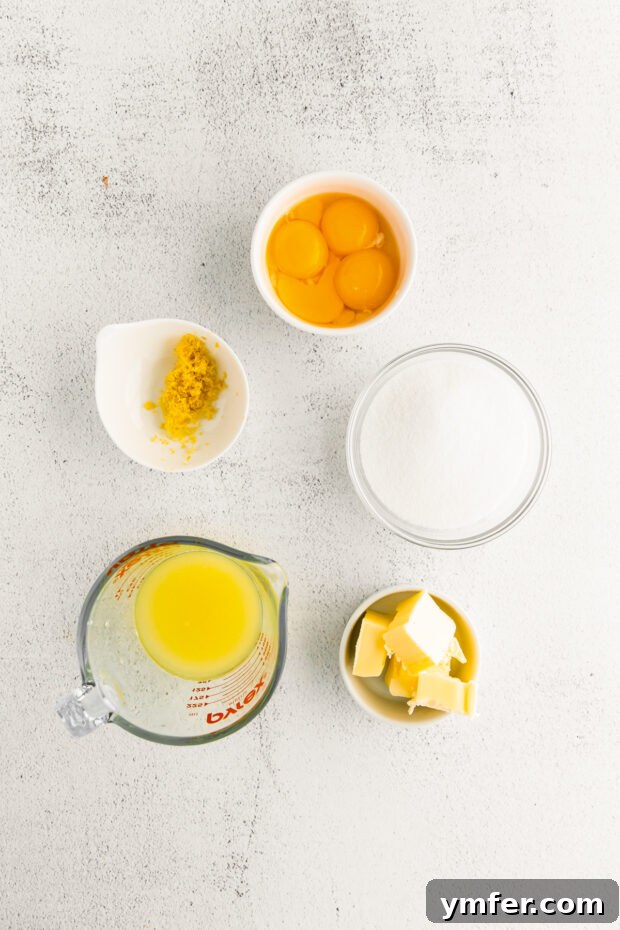
For the Zesty Lemon Curd Filling: The Heart of the Tart
- Egg Yolks – These are key to achieving the lemon curd’s luxurious, creamy texture and rich flavor. They act as a natural thickener and emulsifier, contributing to the curd’s smooth consistency and beautiful golden hue. Remember to save the egg whites for your meringue!
- Granulated Sugar – Provides essential sweetness to balance the tartness of the lemons. It also helps in achieving the desired consistency and glossiness of the curd.
- Fresh Lemon Juice and Lemon Zest – The dynamic duo responsible for the iconic, bright, and tangy lemon flavor. Freshly squeezed lemon juice is paramount for the best taste, while the zest contains potent aromatic oils that intensify the citrus profile without adding excessive acidity. Aim for organic lemons if possible to ensure the zest is free from pesticides.
- Unsalted Butter – Incorporated at the end, butter enriches the lemon curd, giving it a silky, melt-in-your-mouth texture and a beautiful sheen. It also helps to stabilize the curd as it cools.
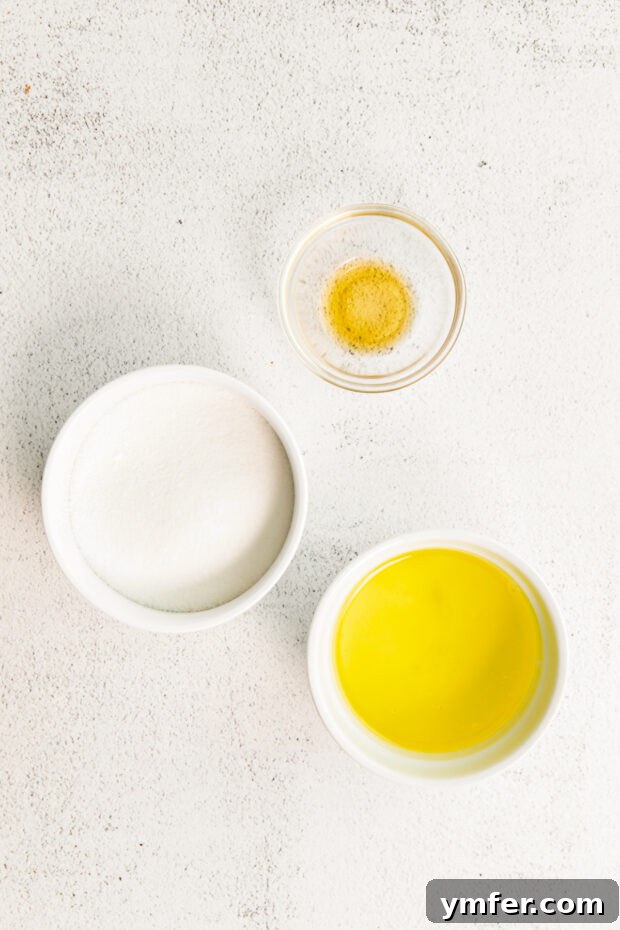
For the Airy Meringue Topping: The Crowning Glory
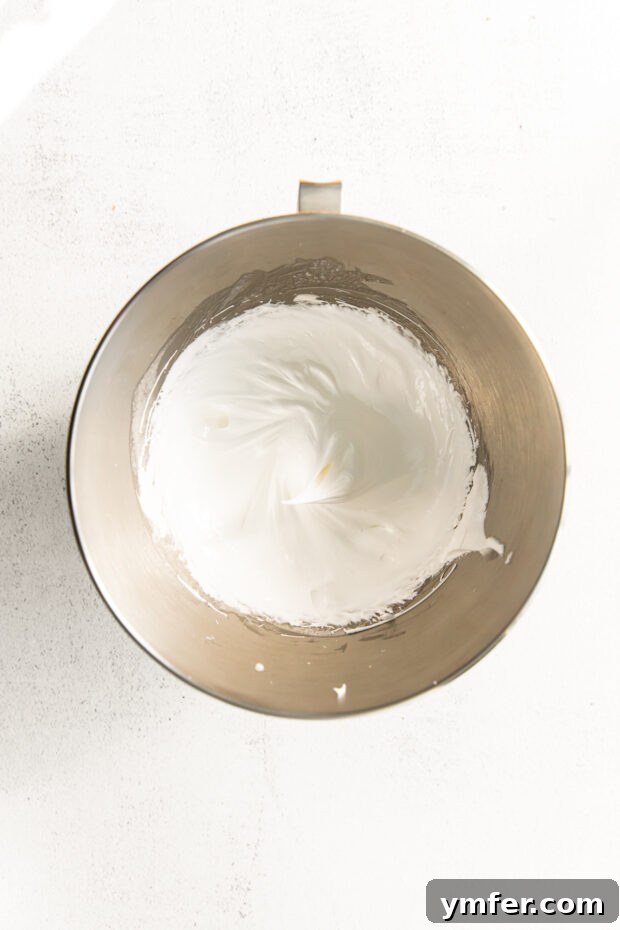
- Egg Whites – The primary component of meringue, egg whites are whipped to incorporate air, creating a light, voluminous, and stable structure. Using room temperature egg whites can help them whip up more quickly and achieve greater volume.
- Granulated Sugar – Sugar plays a crucial role not only in sweetening the meringue but also in stabilizing the whipped egg whites. It dissolves during the whipping process, creating a strong, glossy, and firm meringue that holds its shape beautifully.
- Pure Vanilla Extract – Adds a lovely aromatic depth to the meringue, complementing the bright lemon flavor and providing a touch of warmth.
Essential Equipment for Your Mini Lemon Meringue Tarts
To ensure a smooth and enjoyable baking process, having the right tools on hand can make all the difference. Here’s what you’ll need:
- Mini Tart Pan: A non-stick mini tart pan with removable bottoms is highly recommended for easy demolding and professional-looking tarts.
- Food Processor or Pastry Cutter: For quickly combining butter and flour for the crust, ensuring the butter remains cold.
- Rolling Pin: To roll out your tart dough evenly.
- Round Cookie Cutter: Approximately 3 inches in diameter, to cut out the perfect size tart shells.
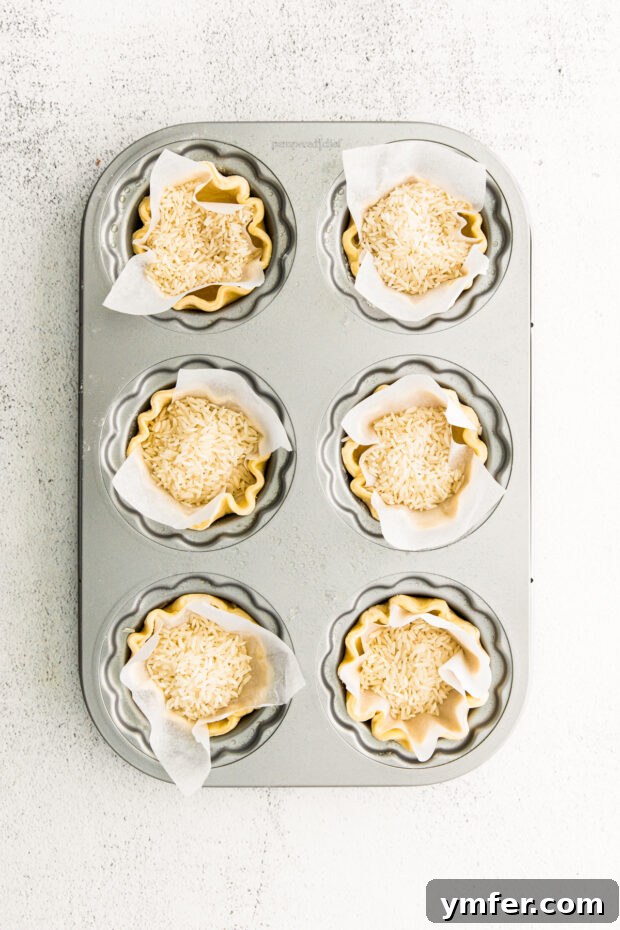
- Parchment Paper and Pie Weights (or Rice/Dried Beans): Essential for blind baking the crusts, preventing them from puffing up and ensuring a flat bottom.
- Small Saucepan: For cooking the lemon curd over medium heat.
- Heatproof Bowl and Small Pot for Simmering Water: For preparing the meringue over a double boiler.
- Stand Mixer with Whisk Attachment (or Hand Mixer): To whip the egg whites into stiff peaks for the meringue.
- Whisk: For stirring the lemon curd and initially combining meringue ingredients.
- Kitchen Torch: To toast the meringue topping, creating those beautiful golden-brown peaks. (While not strictly necessary, it adds a professional touch and delightful flavor.)
Time-Saving Hacks: Simplifying Your Tart-Making Process
We all love the satisfaction of homemade desserts, but sometimes, time is of the essence! If you need these delightful mini lemon meringue tarts in a hurry, don’t fret. Here are a few smart shortcuts that can significantly speed up the process without compromising on taste or quality:
- Opt for Premade Pastry Dough: There is absolutely no shame in utilizing store-bought, ready-to-roll pastry dough, often found in the refrigerated section of your grocery store. It’s a fantastic time-saver that allows you to jump straight to cutting and baking the shells. Ensure you choose a high-quality brand for the best flavor and texture. This shortcut alone can cut down your prep time significantly, making these tarts accessible even on busy weekdays.
- Prepare the Lemon Curd in Advance: Lemon curd is an excellent component to make ahead. Prepare it a day or even two days before you plan to assemble the tarts. Once cooled, transfer it to an airtight container and store it in the refrigerator. This not only breaks up the workload but also allows the flavors to meld and deepen, often resulting in an even more delicious curd. Just give it a gentle whisk before filling your tart shells.
- Pre-bake Tart Shells: You can bake the tart shells completely a day or two in advance. Once cooled, store them in an airtight container at room temperature. This way, on the day of serving, you only need to focus on filling and topping, which can be done relatively quickly.
Zesty Variations: Experimenting with Other Citrus Flavors
While lemon meringue is an undisputed classic, the versatility of these tarts allows for exciting experimentation with other citrus fruits. Each alternative brings its unique flavor profile, offering a fresh twist on this beloved dessert. Feel free to play around and discover your new favorite!
- Orange: For a sweeter, milder citrus flavor, swap out lemon juice and zest for fresh orange. Orange curd offers a lovely, fragrant sweetness that’s less sharp than lemon, appealing to those who prefer a more subdued tang.
- Blood Orange: Elevate the visual appeal and introduce a nuanced flavor with blood oranges. Their distinctive crimson hue will create a stunning pinkish-red curd, while their flavor profile is a delightful mix of orange and raspberry notes – truly unique and gourmet.
- Grapefruit: If you enjoy a slightly bitter, more complex citrus flavor, grapefruit is an excellent choice. It provides an invigorating zest that pairs wonderfully with the sweet meringue, creating a sophisticated and refreshing dessert.
- Lime: For an equally vibrant but distinctively tropical tang, try lime. Mini key lime meringue tarts are a popular variation, offering a brighter, more aromatic acidity that transports you straight to warmer climates.
When substituting citrus, remember that the acidity levels can vary, so you might need to slightly adjust the amount of sugar to achieve your desired balance of sweet and tart.
Dietary Adjustments: Making Your Tarts Sugar-Free
For those mindful of sugar intake or following a sugar-free diet, these mini lemon meringue tarts can be easily adapted. The key lies in carefully replacing the granulated sugar with your preferred sugar substitute. There are several options available, each with its own characteristics:
- Granulated Erythritol or Xylitol: These sugar alcohols are popular choices for baking as they mimic the texture and sweetness of sugar quite well, and can be used in a 1:1 ratio. Be aware that xylitol is toxic to pets, so use with caution if you have animals in the house.
- Stevia-Based Sweeteners: Often more potent than sugar, so you’ll need to use a smaller amount. Ensure you’re using a baking-specific blend, as pure stevia can have a concentrated flavor.
- Monk Fruit Sweeteners: Another natural, zero-calorie option that performs well in baking. Like stevia, check the recommended conversion ratio for your specific product.
When using sugar substitutes, consider that they might slightly alter the texture of the lemon curd and meringue. For the curd, some substitutes may not provide the same body or gloss, while for meringue, they might not achieve the exact same stiff peaks or caramelization when toasted. However, with a little experimentation, you can still create a delicious and satisfying sugar-free version of these beloved tarts.
Storage and Leftovers: Keeping Your Tarts Fresh
Proper storage is essential to maintain the delicate balance of textures and flavors in your mini lemon meringue tarts. Given the fresh ingredients, especially the meringue and curd, careful handling will ensure they remain delightful for as long as possible.
Any leftover mini lemon meringue tarts should be stored in an airtight container. Place them in a single layer if possible, or separate layers with parchment paper to prevent the meringue from sticking or getting squashed. They will keep beautifully in the refrigerator for up to 2 days. The meringue is most stable and appealing on the day it’s made, as it can start to weep or soften over time due to moisture from the lemon curd. For best results, consider toasting the meringue just before serving if you’ve made the tarts ahead of time without the final torching step.
While the crust might soften slightly after a day in the fridge, the flavors will remain vibrant and delicious, making these a perfect make-ahead dessert for entertaining.
Explore More Delightful Dessert Recipes
If you’ve fallen in love with these mini lemon meringue tarts, you’re in for a treat! Our kitchen is brimming with even more irresistible dessert ideas that are perfect for any occasion. From bite-sized wonders to comforting classics, there’s something to satisfy every craving.
- Love all things mini? Try my Mini Berry Galettes for a rustic, fruity delight.
- Craving chocolate? Indulge in my Double Chocolate Thumbprint Cookies for a rich, gooey experience.
- Need a fun snack? Whip up my Air Fryer Cinnamon Sugar Knots – quick, warm, and wonderfully sweet.
- Want an easy ice cream? My Birthday Cake Ice Cream is a no-churn dream come true, perfect for celebrations or a simple scoop of happiness.
Mini Lemon Meringue Tarts
Ingredients
For the Flaky Crust:
- 12 tablespoons unsalted butter, cubed and very cold
- 2 cups all-purpose flour
- 1/3-1/2 cup ice water, add gradually until dough forms
- 1/2 teaspoon salt (optional)
For the Zesty Lemon Curd Filling:
- 4 large egg yolks, save the whites for the meringue
- 1 cup granulated sugar
- 1/3 cup fresh lemon juice
- 2 teaspoons fresh lemon zest
- 5 tablespoons unsalted butter, cut into pieces
For the Airy Meringue Topping:
- 3 large egg whites, from earlier yolks, at room temperature
- 3/4 cup granulated sugar
- 1 teaspoon pure vanilla extract
Instructions
Preparing the Flaky Crust:
-
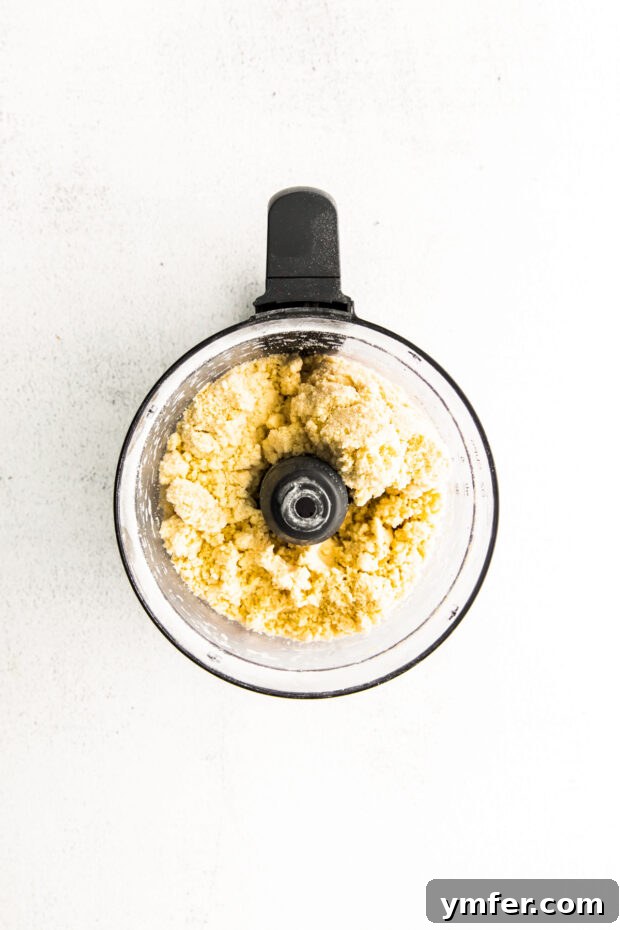
In the bowl of a food processor, combine the cubed, very cold butter and all-purpose flour. Pulse about 15 times until the butter is broken down into pea-sized pieces. If you don’t have a food processor, a pastry cutter can achieve similar results. The key is to keep the butter cold and avoid overworking the dough.
-
Gradually stream in the ice water while continuing to pulse the food processor. Add just enough water, usually between 1/3 and 1/2 cup, until the dough comes together and forms a cohesive ball around the blade. Be careful not to add too much water, as this can make the crust tough.
-
Remove the dough from the food processor, gently gather it, and shape it into a flat disc. Wrap the disc tightly in plastic wrap to prevent it from drying out.
-
Refrigerate the dough for at least 15 minutes. This chilling time is essential for the butter to firm up, making the dough easier to roll and ensuring a flaky crust.
-
Once chilled, lightly flour a clean surface and roll out the dough to a thickness of about 1/4 inch. Use a 3-inch round cookie cutter (or your desired size for mini tarts) to cut out individual rounds from the dough.
-
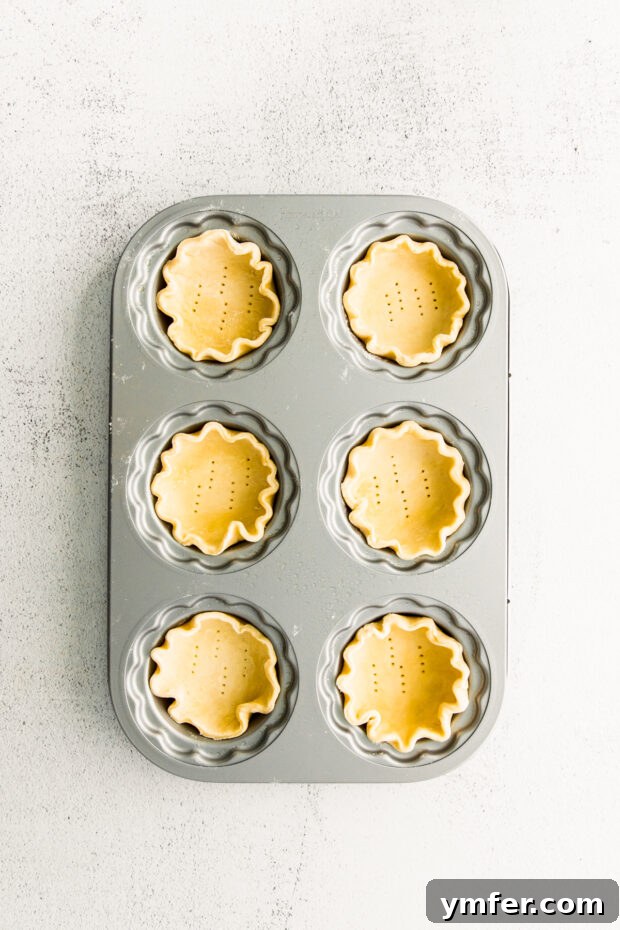
Lightly spray your mini tart pan with nonstick baking spray. Carefully press each dough round into the cavities of the tart pan, gently shaping it to fit. Pierce the bottom of each crust a few times with a fork to prevent it from puffing up during baking.
-
Place a small piece of parchment paper over each tart shell, then fill each with pie weights (or uncooked rice or dried beans). This technique, known as blind baking, helps the crust maintain its shape and prevents shrinkage.
-
Preheat your oven to 375°F (190°C). Blind bake the tart shells for 15 minutes. After this initial bake, carefully remove the pie weights and parchment paper, and continue baking for another 10 minutes, or until the shells are beautifully golden brown and fully cooked.
-
Transfer the baked crusts to a wire rack and allow them to cool completely while you prepare the vibrant lemon curd filling.
Crafting the Zesty Lemon Curd Filling:
-
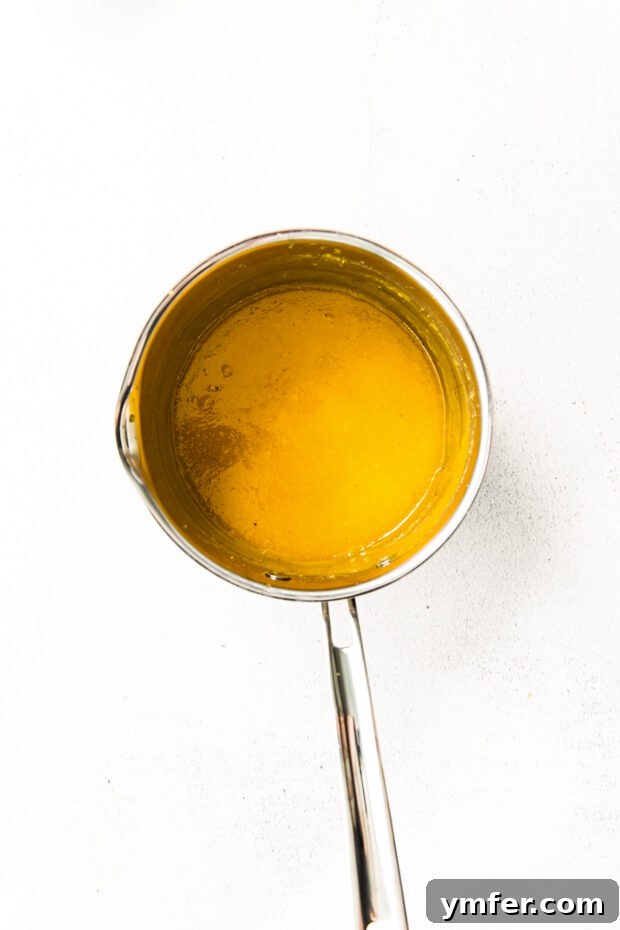
In a small saucepan, combine the egg yolks, granulated sugar, fresh lemon juice, and lemon zest. Place the saucepan over medium heat.
-
Cook the mixture, stirring constantly with a whisk, for about 10 minutes. Continue stirring until the curd has thickened significantly, reaching a consistency that can coat the back of a spoon without running off easily. Be careful not to boil the mixture, as this can curdle the eggs.
-
Remove the saucepan from the heat. Whisk in the pieces of cold butter, one at a time, until fully melted and incorporated, creating a smooth and glossy curd.
-
Allow the lemon curd to cool completely to room temperature before adding it to the baked tart shells. This ensures the curd sets properly and prevents it from making the crust soggy. For quicker cooling, you can press plastic wrap directly onto the surface of the curd to prevent a skin from forming.
Whipping the Airy Meringue Topping:
-
Set a heatproof bowl over a small pot of simmering water, ensuring the bottom of the bowl does not touch the water. This creates a double boiler, gently heating the egg whites.
-
Add the egg whites and granulated sugar to the heatproof bowl. Whisk constantly for about 5 minutes, or until all the sugar has completely dissolved and the mixture reaches a temperature of 165°F (74°C). Heating the egg whites ensures food safety and helps create a more stable meringue.
-
Carefully transfer the warmed egg white and sugar mixture to the clean bowl of a stand mixer fitted with the whisk attachment (or use a hand mixer).
-
Beat the mixture on medium-high speed for 4-5 minutes, or until it forms stiff, glossy peaks. The meringue should be thick and hold its shape well. Add the pure vanilla extract and mix briefly to combine.
-
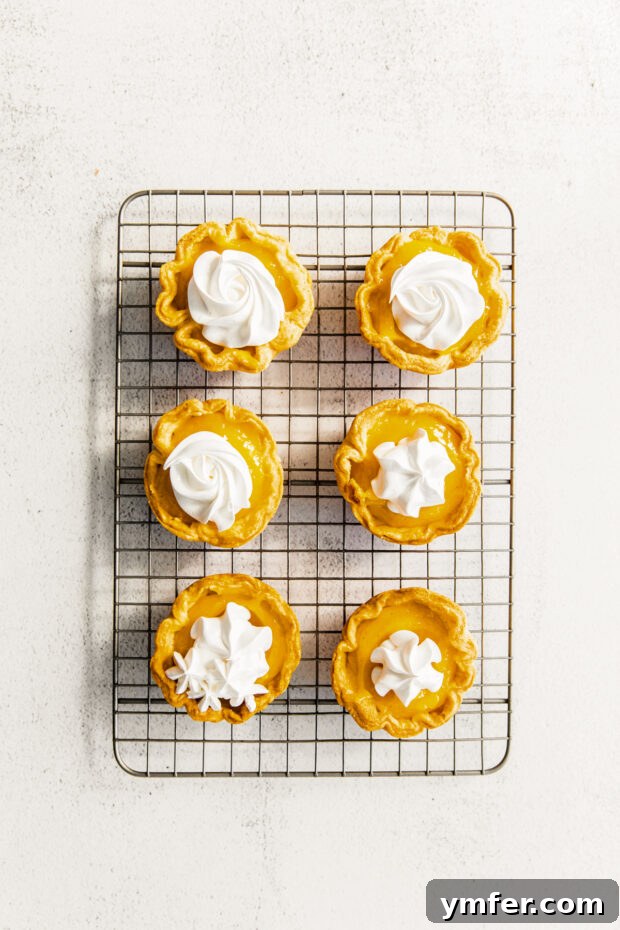
To assemble your tarts, place approximately 2 tablespoons of the cooled lemon curd into the center of each baked tart shell. Then, generously top each tart with a dollop or swirl of the freshly whipped meringue. For a beautiful finish, use a spoon or a piping bag with a star tip to create decorative peaks.
-
Using a kitchen torch, lightly toast the meringue peaks until they turn a beautiful golden brown. This adds a delightful caramelized flavor and visual appeal. Serve the tarts immediately to enjoy them at their best. Store any leftovers in an airtight container in the refrigerator for up to two days.
Notes
- You may not need the full 1/2 cup of ice water for the crust. It’s best to start with 1/3 cup and add more, a tablespoon at a time, until the dough just comes together. This prevents a tough crust.
- A kitchen torch is highly recommended for toasting the meringue. It provides even browning without overcooking the meringue. Using a broiler is not advised, as it can easily burn the meringue or melt the lemon curd. If you don’t have a torch, you can skip the toasted meringue and opt for freshly whipped cream as a topping instead for a delicious alternative.
- Ensure your mixing bowl and whisk for the meringue are impeccably clean and free of any grease, as even a tiny amount can prevent the egg whites from whipping properly.
Nutrition Information (Approximate)
Calories: 368kcal
Carbohydrates: 46g
Protein: 6g
Fat: 18g
Saturated Fat: 11g
Polyunsaturated Fat: 6g
Trans Fat: 1g
Cholesterol: 121mg
Sodium: 170mg
Fiber: 1g
Sugar: 29g
Nutrition information is automatically calculated and should be used as an approximation only.
Additional Information
Thank you for embarking on this delightful baking journey with us! We hope you enjoy crafting and savoring every bite of these exquisite mini lemon meringue tarts. They are truly a treat for both the eyes and the palate.