
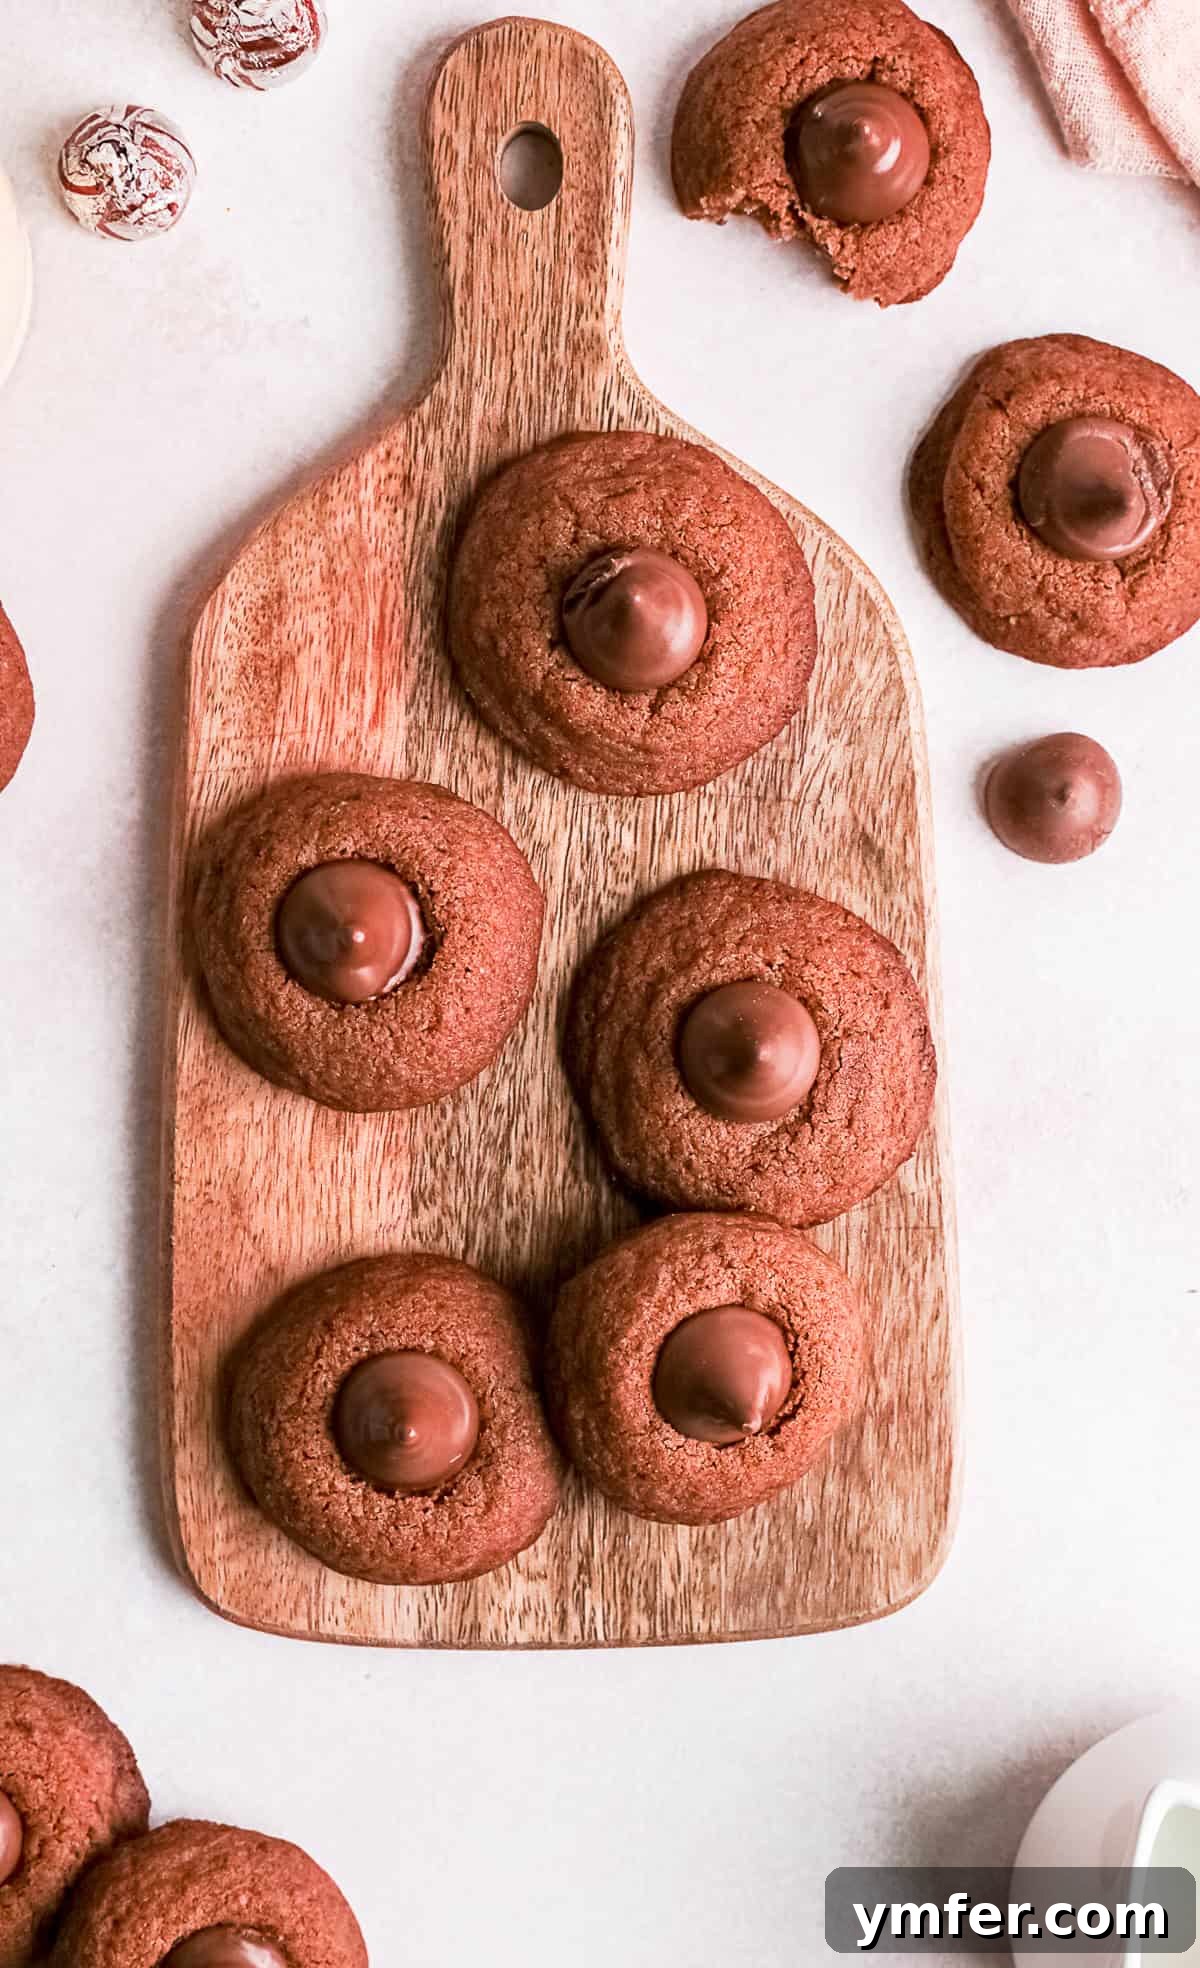
These delightful chocolate blossom cookies are an absolute must-have for any festive occasion, particularly your cherished holiday cookie platter. Imagine soft, rich chocolate cookies, perfectly baked and crowned with a luscious, melty Hershey’s Kiss. They offer a comforting bite of pure indulgence that truly captures the spirit of celebration.
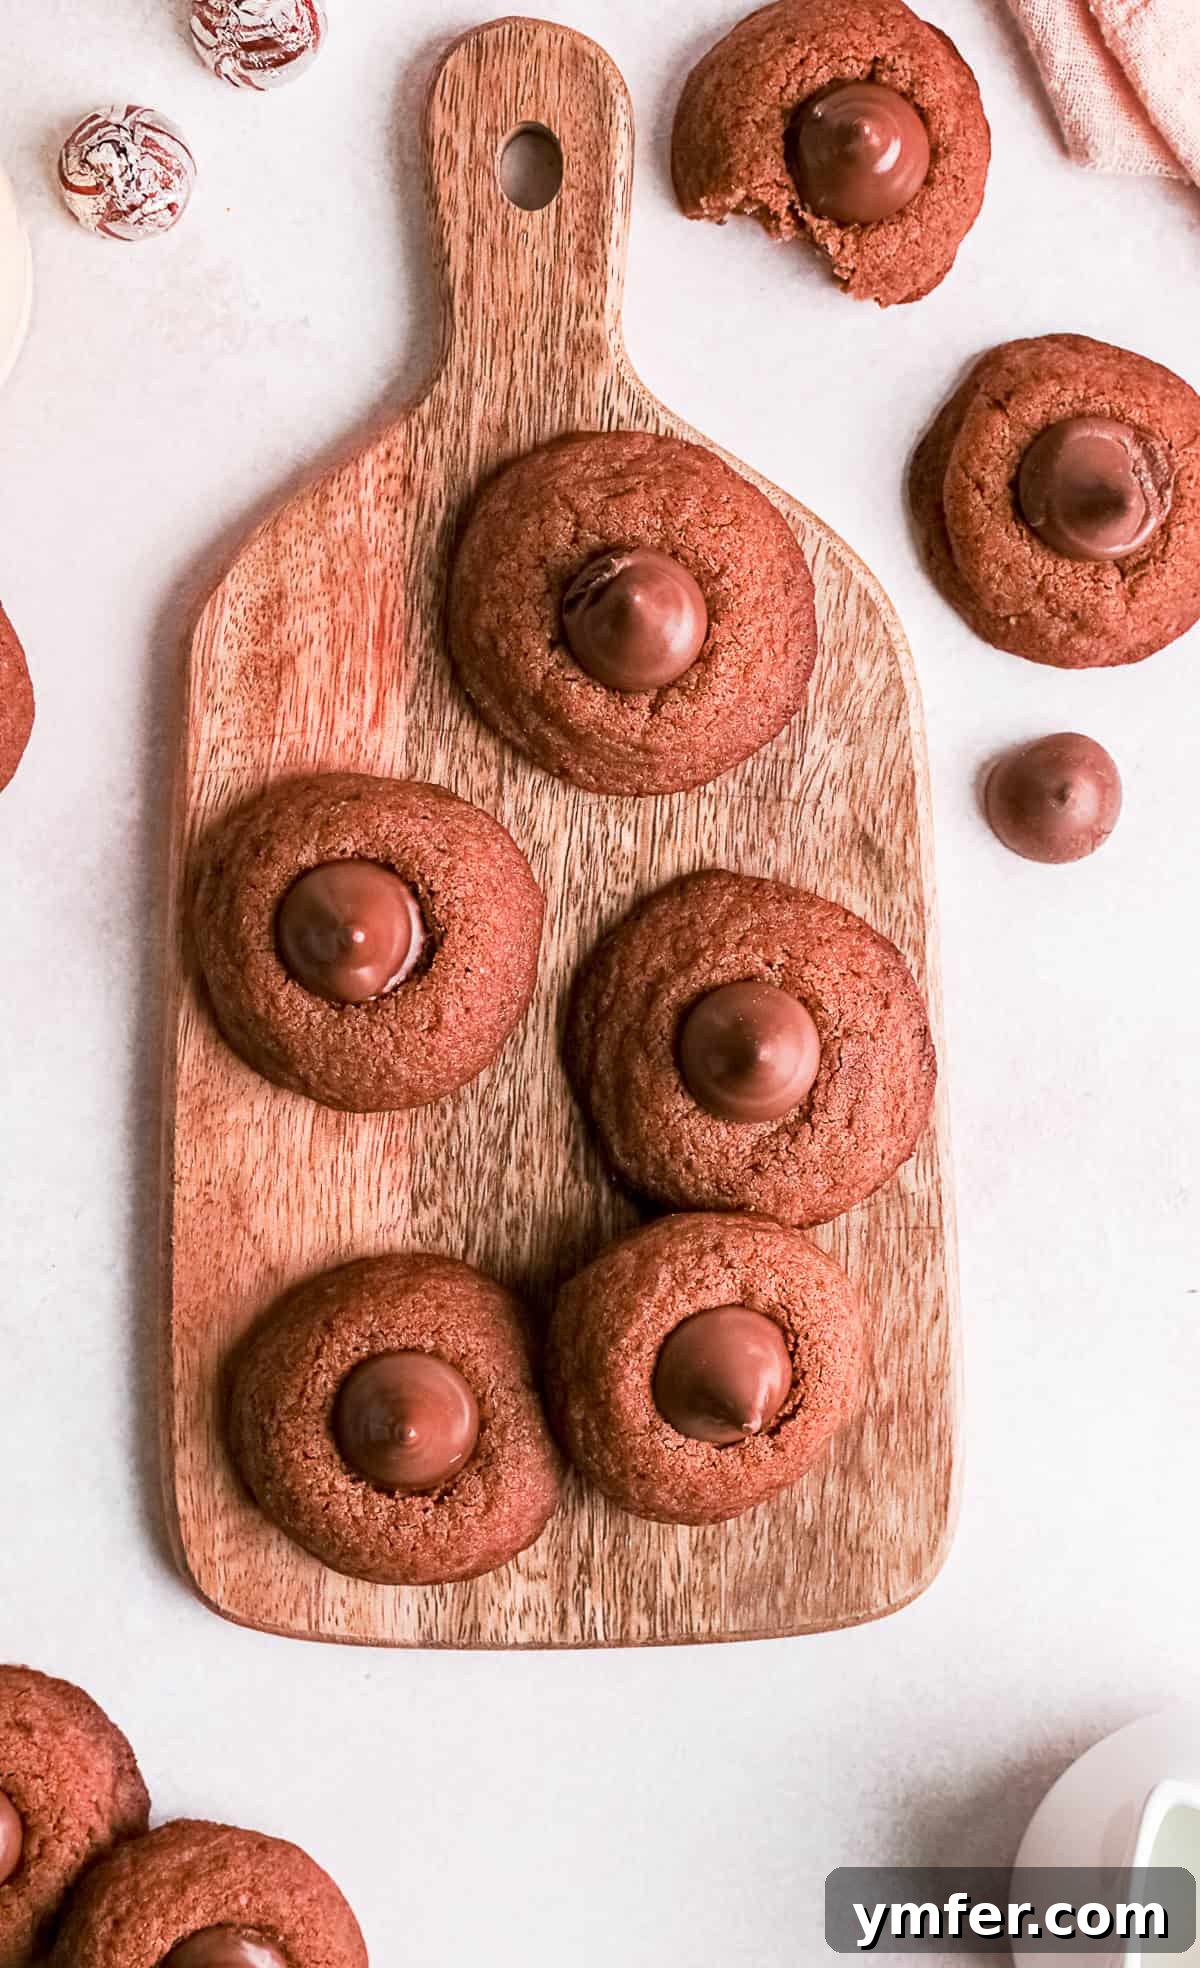
While the classic blossom cookie typically features a peanut butter base, this chocolate version elevates the experience to new heights, offering a decadent double-chocolate treat that’s impossible to resist. If your heart yearns for chocolate-on-chocolate bliss, these homemade gems are designed precisely for you. They’re a wonderful departure from the traditional, providing a unique flavor profile that stands out.
Many are familiar with the peanut butter blossom, a beloved staple at cookie exchanges and family gatherings. And while we certainly adore its nutty charm, sometimes you crave something a little different, a twist that redefines a classic. A few years ago, we even shared a festive adaptation with our Peppermint Kiss Cookies, proving that the blossom concept is incredibly versatile and ripe for creative interpretation. This rich chocolate version carries on that tradition, delivering a deeply satisfying dessert that’s both familiar and exciting.
The secret to the profound chocolate flavor in these cookies lies in the careful use of unsweetened cocoa powder. This ingredient provides an intense chocolate depth without the often messy and time-consuming process of melting solid chocolate. It streamlines the baking process, allowing you to achieve that desired rich taste with remarkable ease. There’s no need for tempering or double boilers; simply sift and mix, and you’re well on your way to chocolate perfection. This approach not only saves time but also ensures a consistent, velvety chocolate flavor throughout every bite.
A crucial tip for perfecting these chocolate blossom cookies is to prepare your Hershey’s Kisses in advance. Unwrap all the candies while your cookie dough is baking. This simple step ensures that the Kisses are ready to go the moment the hot cookies emerge from the oven. The warmth of the freshly baked cookie is essential for creating that signature melty, glossy chocolate top, and working quickly prevents the cookies from cooling too much before you can add their sweet crowns. A little pre-planning goes a long way in achieving that perfect, irresistible finish.
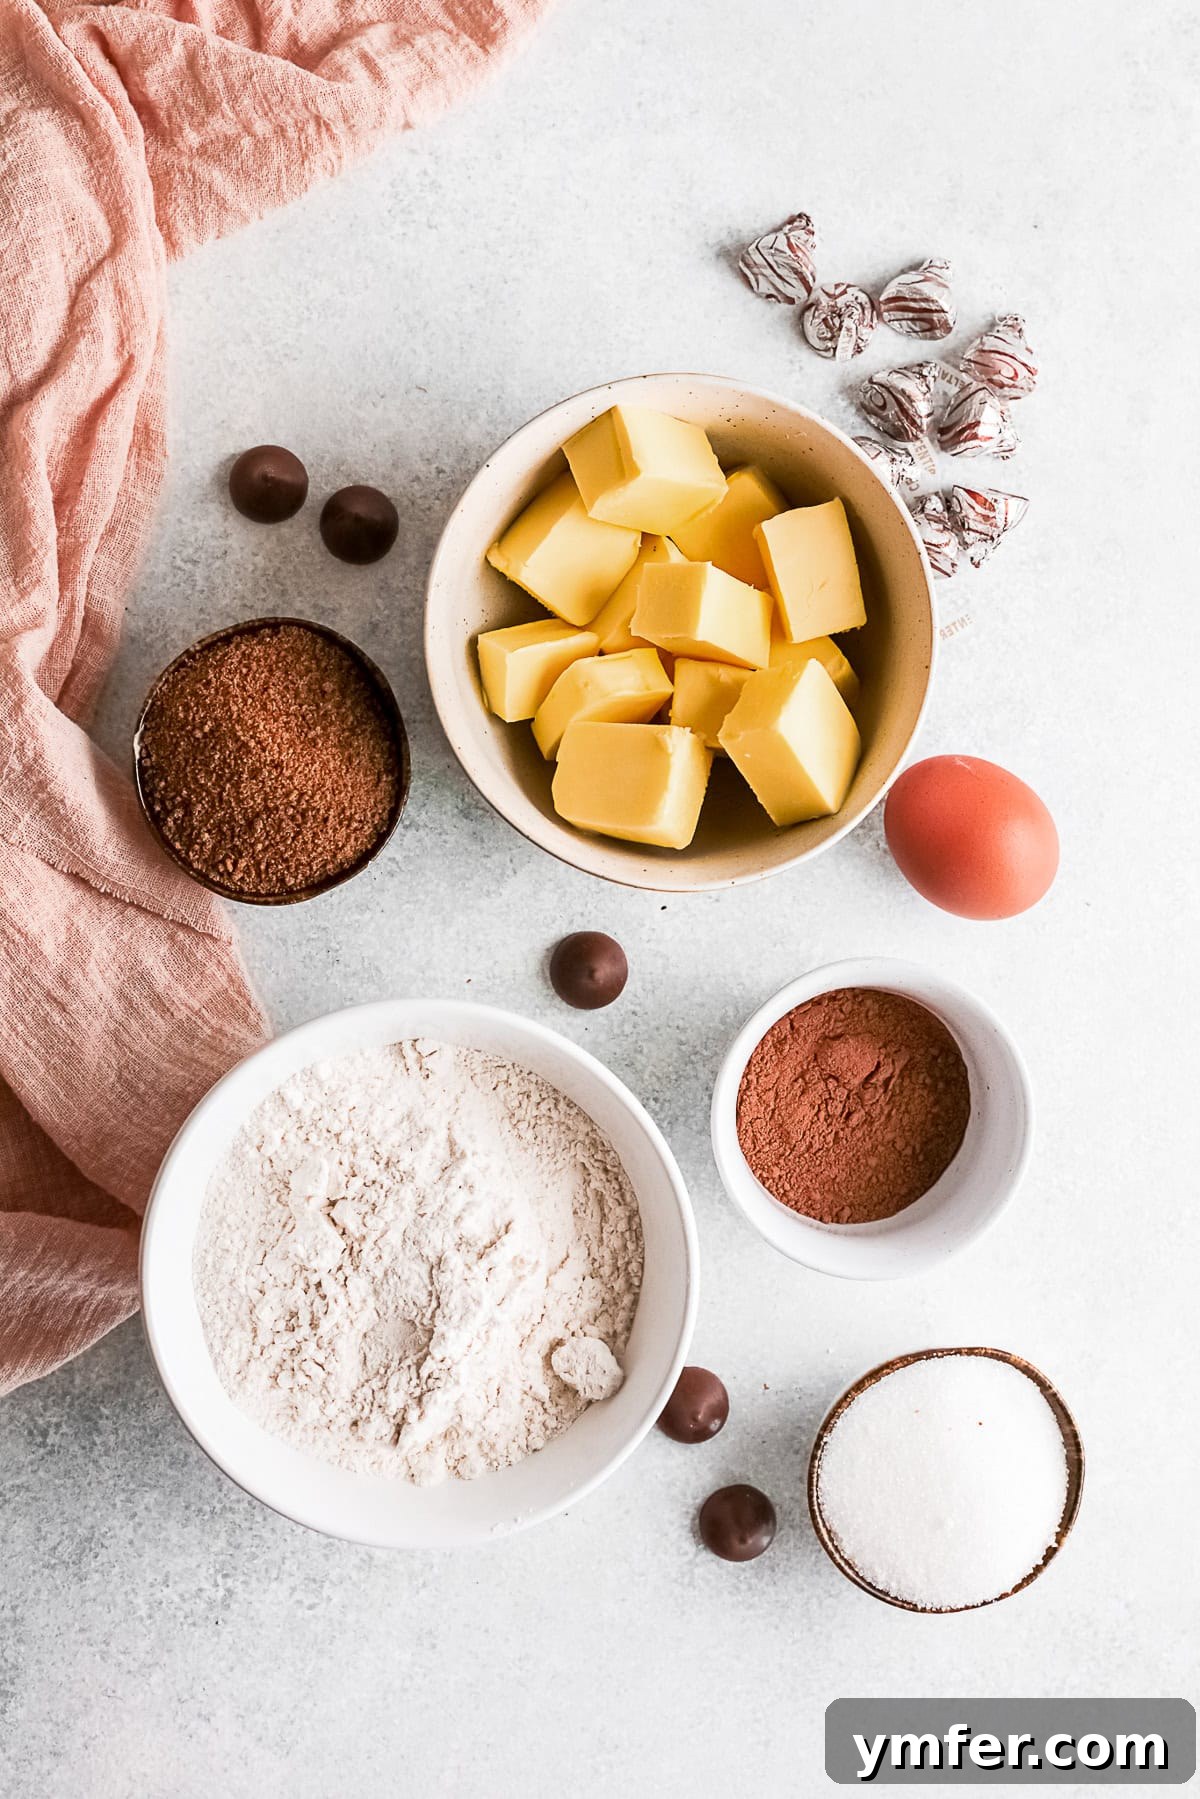
Essential Ingredients for Chocolate Blossom Cookies
Crafting these delectable chocolate blossom cookies requires a handful of common baking ingredients, each playing a vital role in achieving their irresistible texture and rich flavor. Here’s a breakdown of what you’ll need:
- All-Purpose Flour: The foundation of our cookie, providing structure and body.
- Unsweetened Cocoa Powder: Delivers the deep, intense chocolate flavor that defines these blossom cookies.
- Baking Soda: A leavening agent that helps the cookies rise slightly and achieve a soft, chewy texture.
- Kosher Salt: Balances the sweetness and enhances all the other flavors in the cookie dough.
- Unsalted Butter: Contributes richness and tenderness to the cookies. Using unsalted butter gives you control over the overall salt content.
- Granulated Sugar: Adds sweetness and helps create a crisp edge while keeping the center soft.
- Brown Sugar: Provides moisture and a lovely chewiness, along with a subtle caramel note that complements the chocolate beautifully.
- Egg: Acts as a binder, holding the ingredients together and contributing to the cookie’s structure and moisture.
- Vanilla Extract: A classic flavor enhancer that deepens the chocolate notes and adds aromatic warmth.
- Hershey Kiss Candy: The iconic topping that melts into a soft, sweet peak, making these cookies truly special. Milk chocolate Kisses are traditional, but other flavors can be used for variation.
Having these ingredients at room temperature, especially the butter and egg, can make a significant difference in the texture and consistency of your dough, ensuring a smooth and perfectly blended mix.
Mastering the Art of Chocolate Blossom Cookies: Key Baking Tips
While the full recipe provides detailed step-by-step instructions, understanding a few crucial tips can elevate your chocolate blossom cookies from good to absolutely phenomenal. These insights will help you achieve the perfect texture, appearance, and melt-in-your-mouth goodness.
- Chilling the Dough is Non-Negotiable: Our chocolate cookie dough is intentionally quite soft, which is normal. However, to prevent excessive spreading during baking and ensure a beautifully thick, chewy cookie, refrigeration is essential. Chilling the dough for at least 30 minutes allows the butter to firm up and the flour to fully hydrate, resulting in a cookie that holds its shape and maintains that desired soft center. Skipping this step can lead to flat, crispy cookies, losing their iconic blossom shape.
- Pre-Unwrap Your Kisses: As mentioned, timing is everything when it comes to placing the Hershey’s Kisses. Unwrap all your candies before your cookies even go into the oven. This way, the moment those fragrant, warm cookies emerge, you can swiftly press a Kiss into each one without fumbling with wrappers. The residual heat from the freshly baked cookie is what gently melts the Kiss, creating that signature glossy, soft top.
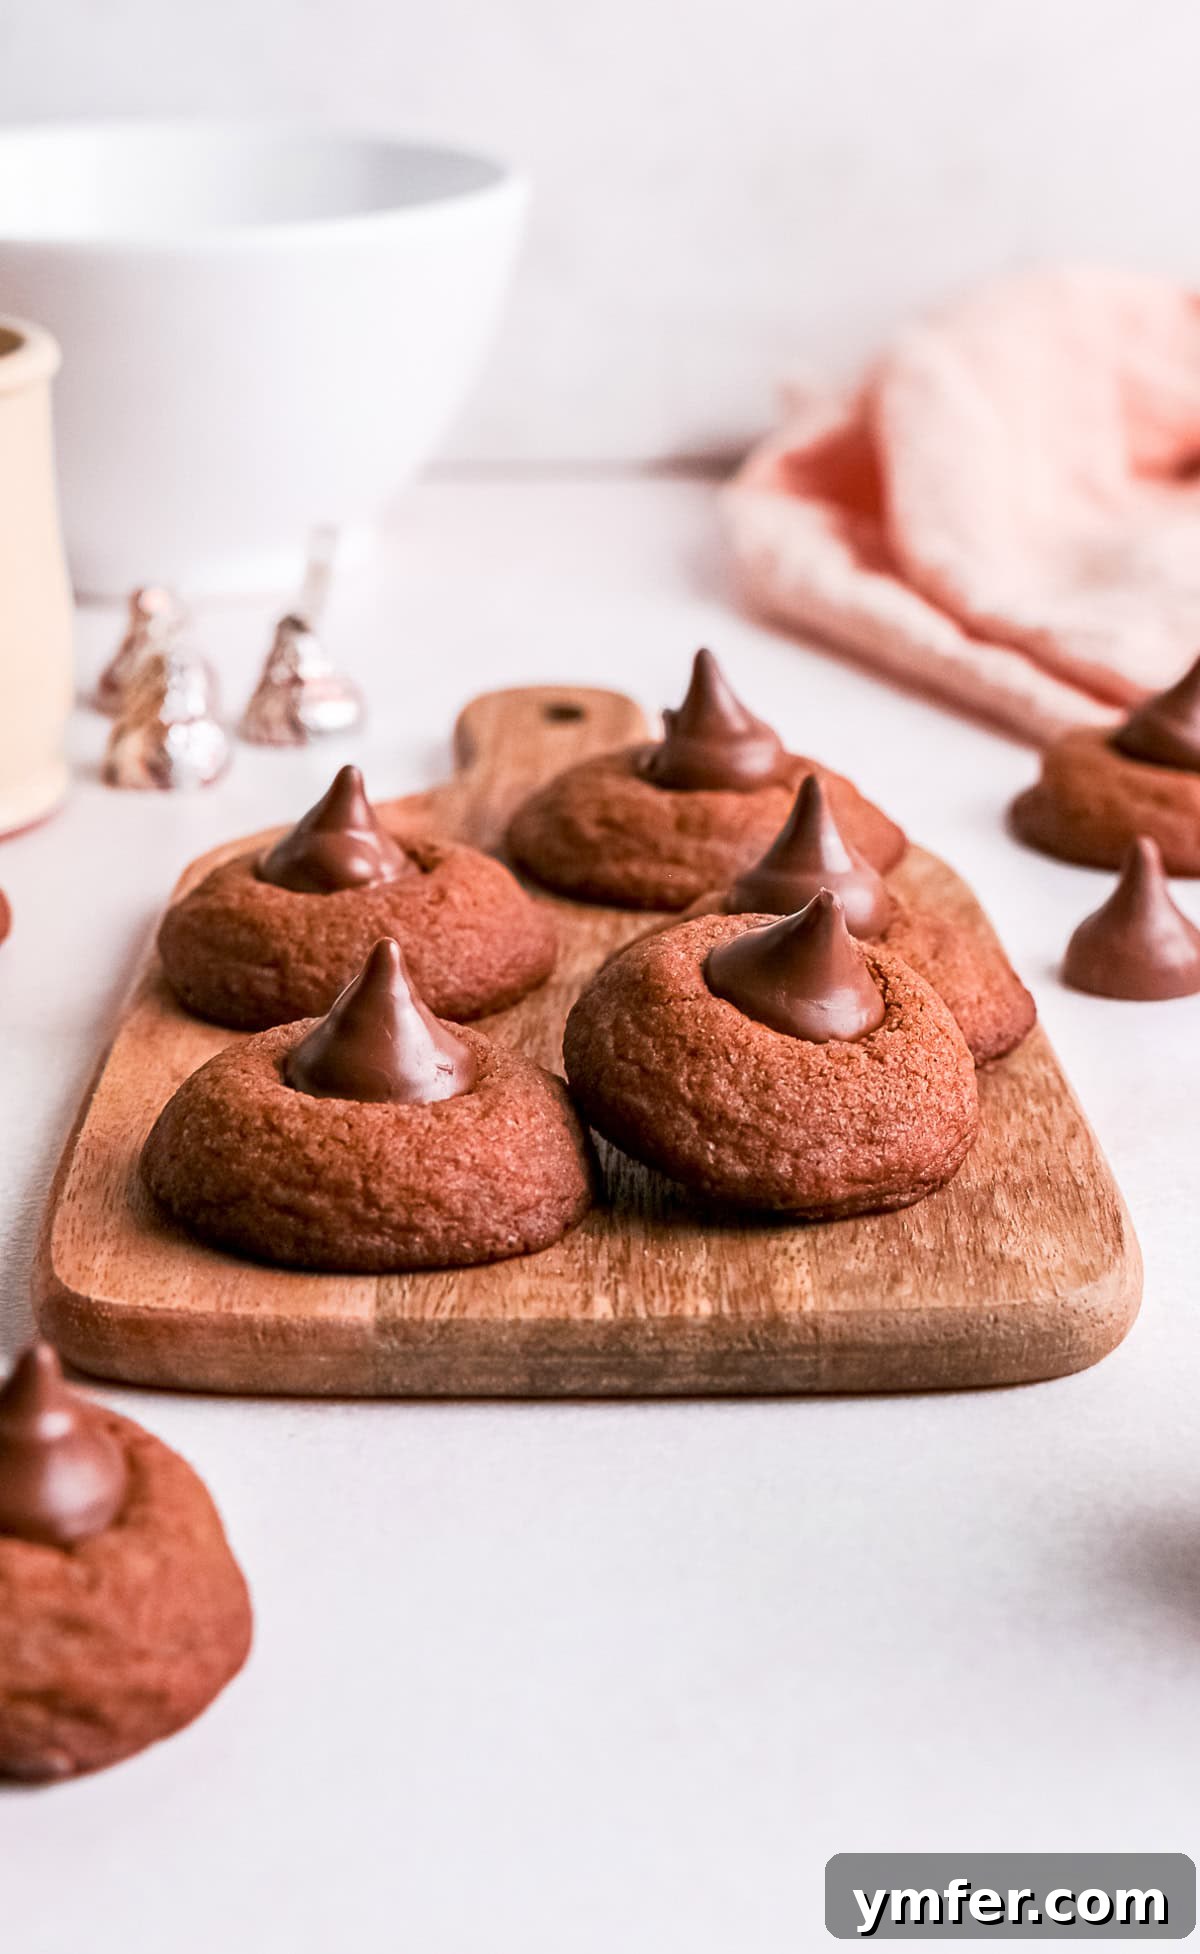
- Press Gently, But Firmly: Don’t just casually set the Kiss on top of the cookie. Gently but firmly press each Hershey’s Kiss into the center of the hot cookie. This action helps to embed the chocolate into the soft cookie, ensuring it adheres securely as it cools and melts slightly. This also creates a neat, aesthetically pleasing “blossom” effect, preventing the Kiss from falling off or sitting loosely on the surface.
- Patience for Cooling and Storage: Allow your cookies to cool completely on the baking sheet before attempting to move or store them. This cooling period is vital for the cookies to set and for the melted Kiss to firm up just enough to maintain its shape. Once fully cooled, transfer them to an airtight container. Stored properly, these delicious cookies will remain fresh and delightful for up to 5 days, making them perfect for advance preparation or sharing throughout the week.

Creative Substitutions and Delicious Adaptations for Your Blossom Cookies
While the classic chocolate-on-chocolate combination of these blossom cookies is undeniably a winner – especially when that chocolate craving hits hard! – there’s ample room for creativity and customization. You can easily adapt this recipe to suit different tastes, holidays, or simply to use what you have on hand. Here are a few easy ideas to inspire your next batch:
- Experiment with Different Hershey Kiss Flavors: The beauty of the blossom cookie lies in its iconic topping. Don’t limit yourself to classic milk chocolate. The market is brimming with exciting Hershey’s Kiss varieties that can completely transform your cookie’s flavor profile. Consider using:
- Peppermint Kisses: Perfect for the holiday season, adding a cool, refreshing zing.
- Cookies ‘n’ Creme Kisses: For a creamy, vanilla-speckled white chocolate topping.
- Caramel Stuffed Kisses: Adding a gooey, sweet caramel center to your chocolate cookie.
- Dark Chocolate Kisses: To intensify the chocolate experience for serious cocoa lovers.
- Seasonal Kisses: Keep an eye out for limited-edition flavors that can make your cookies extra special for specific times of the year.
Essentially, if it pairs well with chocolate, it will likely create a fantastic blossom cookie!
- Roll in Sugar Before Baking: For an extra layer of texture and visual appeal, try rolling the portioned cookie dough balls in various sugars before baking.
- Granulated Sugar: Creates a subtle sparkle and a slightly crisp exterior.
- Coarse Sugar (Sanding Sugar): Provides a more pronounced crunch and a beautiful, shimmering finish.
- Powdered Sugar: A less common but equally charming option, giving a delicate, crackled effect.
This simple step adds a lovely touch without altering the core flavor profile.
- Add a Pop of Color with Sprinkles: For a truly festive or playful twist, especially popular for birthdays or specific holidays, roll the cookie dough balls in sprinkles or nonpareils before baking.
- Rainbow Sprinkles: Ideal for celebrations and adding a cheerful vibe.
- Holiday-themed Sprinkles: Use red and green for Christmas, pastels for Easter, or orange and black for Halloween.
The sprinkles will bake onto the cookie, providing both visual appeal and a slight textural contrast, making them irresistible to kids and adults alike.
These simple adaptations allow you to customize your chocolate blossom cookies for any occasion or preference, proving just how versatile and fun this recipe can be.
Chocolate Blossom Cookie FAQs
Have questions about making, storing, or adapting these delicious chocolate blossom cookies? We’ve got answers to some of the most common inquiries:
How do you store blossom cookies?
To keep your chocolate blossom cookies fresh and delicious, store them in an airtight container at room temperature. They will maintain their quality and soft texture for up to 5 days. Ensure they are completely cooled before placing them in the container to prevent condensation, which can make them soggy.
Can I freeze these chocolate blossom cookies?
Absolutely! These chocolate blossom cookies freeze wonderfully. After they have completely cooled, arrange them in a single layer on a baking sheet and freeze until solid. Once frozen, transfer them to an airtight, freezer-safe container or a heavy-duty freezer bag. They can be stored in the freezer for up to 3 months. When you’re ready to enjoy them, simply thaw them at room temperature. The Hershey’s Kiss might lose a little of its initial sheen but will still taste delicious.
Can I make these gluten-free?
Yes, you can certainly adapt this recipe to be gluten-free. We’ve had great success using Bob’s Red Mill Gluten Free 1-to-1 Baking Flour. This particular blend is formulated to be a direct substitute for all-purpose flour in most recipes, yielding excellent results. If you opt for a different brand of gluten-free flour blend or a homemade mixture, it’s always a good idea to perform a small test batch first, as different blends can absorb liquids differently and may affect the final texture of the cookie.
More Irresistible Cookie Recipes to Explore
Chocolate Peppermint Bark Cookies
Almond Sugar Cookies
Peppermint Kiss Cookies
Double Chocolate Thumbprint Cookies
Chocolate Blossom Cookies

Equipment
-
Baking Sheet Pan
-
KitchenAid 5-Quart Mixer
-
Glass Mixing Bowl Set (3-Piece)
Ingredients
- 1⅓ cup all-purpose flour
- ¾ cup unsweetened cocoa powder
- 1 teaspoon baking soda
- ¼ teaspoon kosher salt
- ¾ cup unsalted butter
- ½ cup granulated sugar
- ½ cup brown sugar
- 1 large egg
- 1 teaspoon vanilla extract
- 24 unwrapped Hershey’s milk chocolate kisses
Instructions
-
Line two baking sheet pans with parchment paper or a silicone liner, then set them aside.
-
In a medium-sized mixing bowl, whisk together the all-purpose flour, unsweetened cocoa powder, baking soda, and kosher salt until well combined. Set this dry mixture aside.
-
In the bowl of an electric mixer fitted with the paddle attachment, cream together the unsalted butter, granulated sugar, and brown sugar. Mix on medium speed for about 3 minutes, or until the mixture is light in color and notably fluffy.
-
Add the large egg and vanilla extract to the creamed mixture. Continue mixing on medium speed for another 3 minutes until the mixture appears light and fluffy, incorporating air into the dough.
-
Gradually add the reserved flour mixture to the wet ingredients. Mix on low speed for approximately 2 minutes, or until all the dry ingredients are fully incorporated and a soft dough forms. Be careful not to overmix.
-
Scoop out the dough using a teaspoon, rolling each portion into smooth, uniform balls. Place these dough balls onto the prepared baking sheet pans, ensuring they are spaced about 2 inches apart to allow for proper spreading. You should have around 24 cookie dough balls.
-
Transfer the baking sheets with the rolled cookies to the refrigerator and chill for a minimum of 30 minutes. This crucial step helps the dough firm up and prevents the cookies from spreading too much during baking.
-
When you are ready to bake your cookies, preheat your oven to 350 degrees Fahrenheit (175 degrees Celsius).
-
Once the oven is preheated, place one tray of chilled cookies into the oven and bake for 8 minutes. The cookies will look slightly underdone in the center, which is perfect for their soft texture.
-
Immediately remove the cookies from the oven. While they are still hot, gently press an unwrapped Hershey’s Kiss into the middle of each cookie. The residual heat will soften the chocolate, creating that signature “blossom” effect.
-
Allow the cookies to cool completely on the baking sheet before transferring them. Once fully cooled, store them in an airtight container at room temperature for up to 5 days to maintain their freshness.
Notes
- For an extra special touch and added texture, you can roll your cookie dough balls in granulated sugar, colorful nonpareils, or coarse sugar before baking. This adds a delightful crunch and visual appeal.
- While this recipe traditionally uses regular milk chocolate Hershey’s Kisses, feel free to experiment with different flavors. Caramel, peppermint, or dark chocolate Kisses all make excellent substitutions, offering unique twists to the classic blossom cookie. Choose a flavor that complements the rich chocolate base!
Nutrition
Nutrition information is automatically calculated, so should only be used as an approximation and for informational purposes.