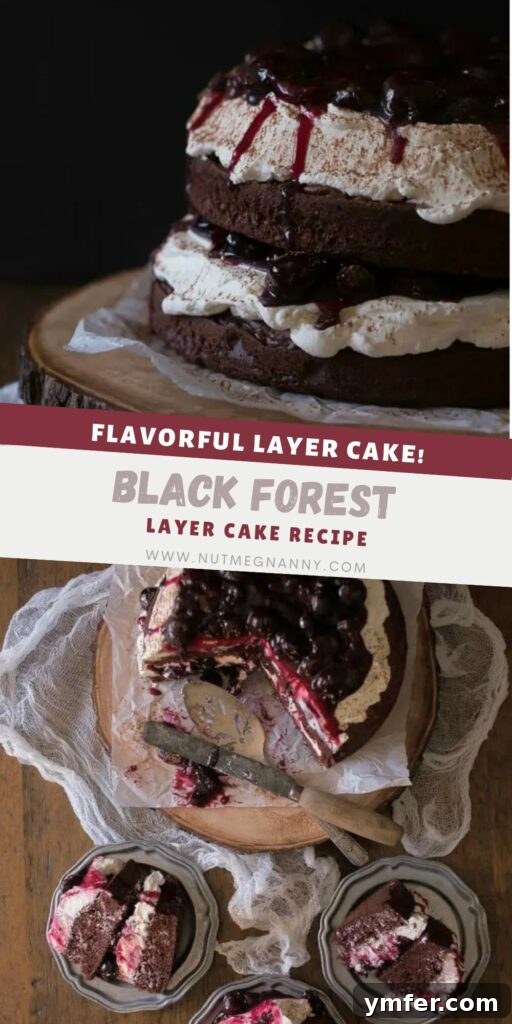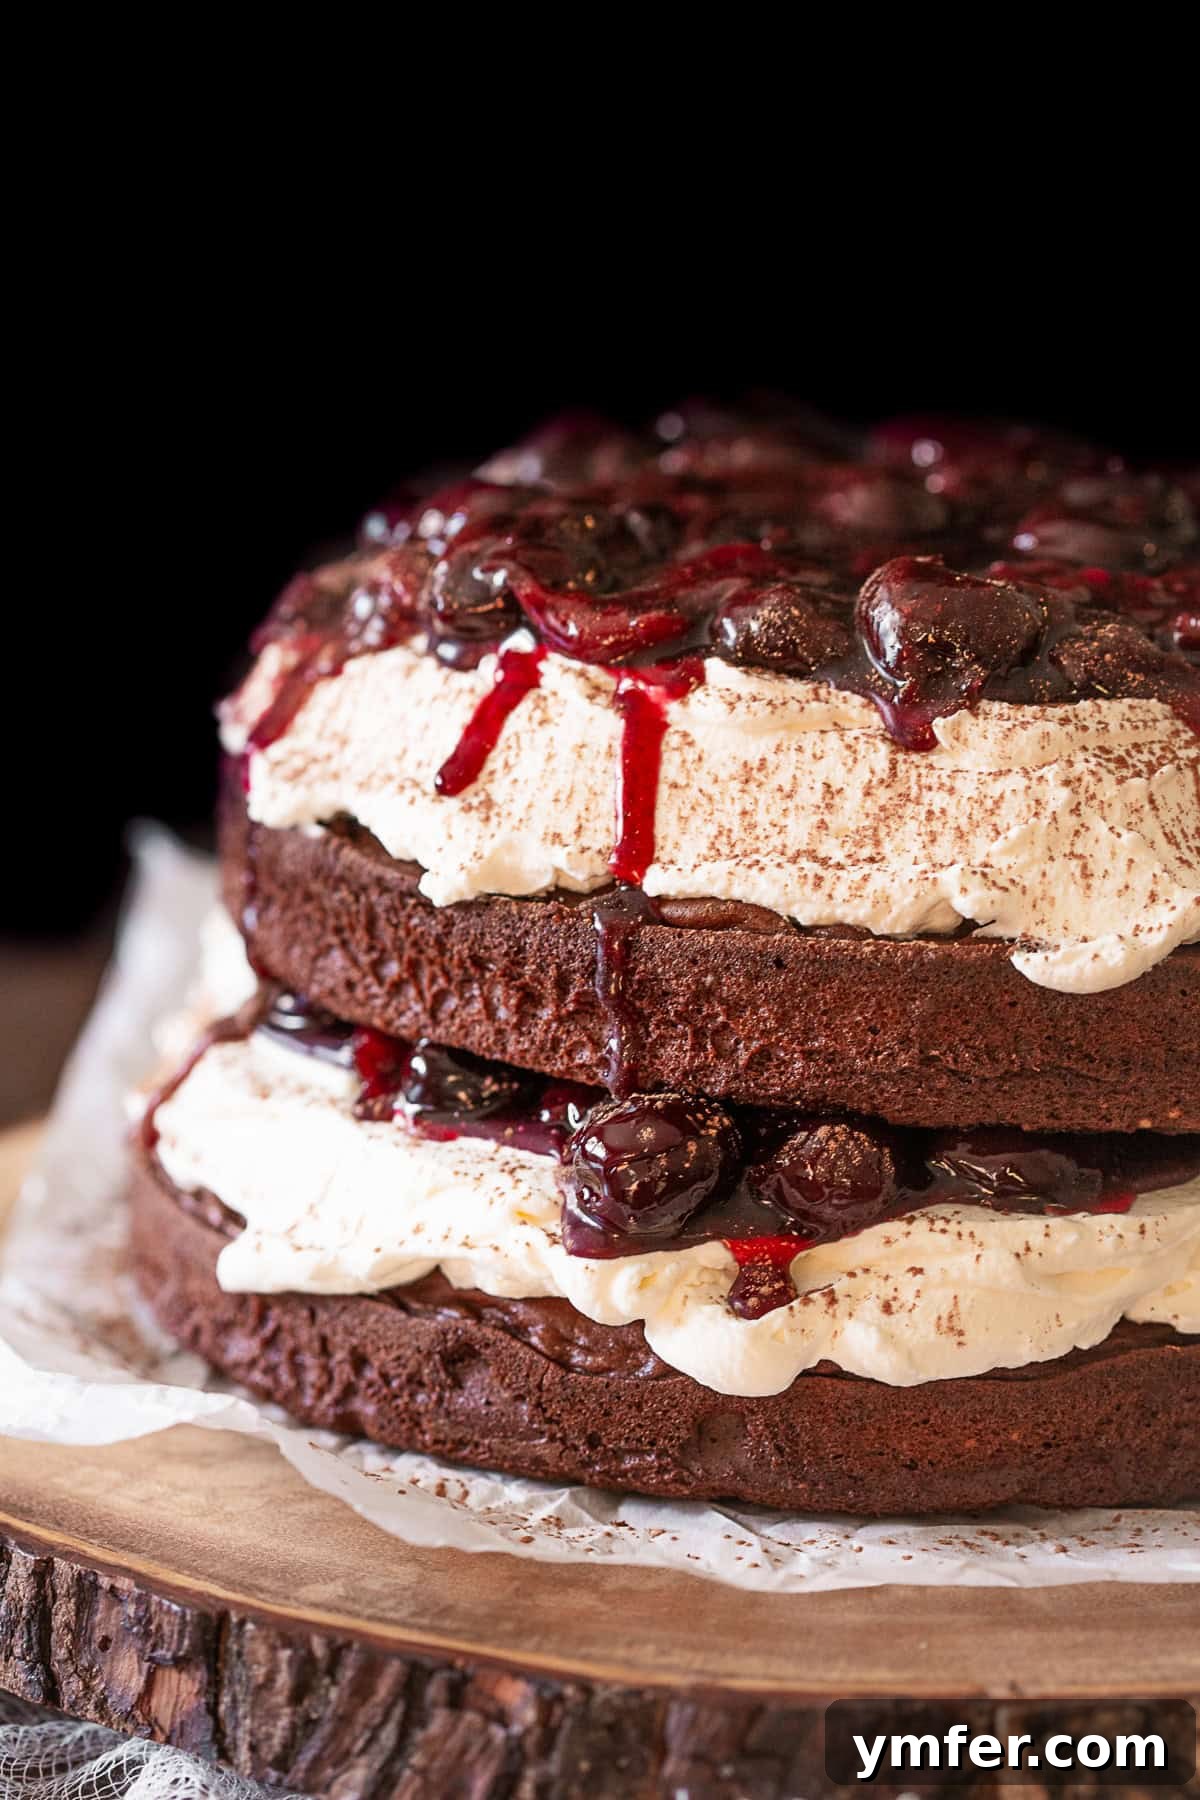
Indulge in a truly exquisite dessert experience with this showstopping Black Forest Cake. Meticulously crafted, this recipe brings together layers of incredibly moist, rich chocolate cake, generously filled with a vibrant homemade cherry compote, and crowned with a luscious mascarpone whipped cream. It’s more than just a cake; it’s a celebration of flavors and textures, perfect for any special occasion or simply to elevate an ordinary day into something extraordinary.
Why This Authentic Black Forest Cake Will Become Your Favorite Dessert!
My culinary journey with Black Forest Cake began years ago during my first unforgettable trip to Germany in my early twenties. From the moment I arrived, I was captivated by everything the country had to offer – the warmth of its people, the richness of its history, and, of course, the unparalleled culinary delights. Germany quickly ascended to the top of my list of favorite European destinations, a place I hold dear to my heart.
It was a crisp winter’s day when I found myself ascending a majestic mountain via a cable car, snow-covered peaks stretching as far as the eye could see. At the summit, amidst breathtaking panoramic views, I warmed myself with a comforting glass of mulled wine and, for the very first time, tasted a slice of authentic Black Forest Cake. The experience was nothing short of spectacular. It wasn’t just a dessert; it was a moment etched in time.
The cake was perfectly moist, with a profound chocolate flavor that sang in harmony with the burst of sweet and tart cherries. It was exactly what my soul craved on that cold, snowy afternoon. The memory of that perfect slice lingered long after I returned home, sparking a desire to recreate that magical experience in my own kitchen. Since a spontaneous trip to a German mountaintop isn’t always feasible, I knew I had to master this iconic dessert myself.
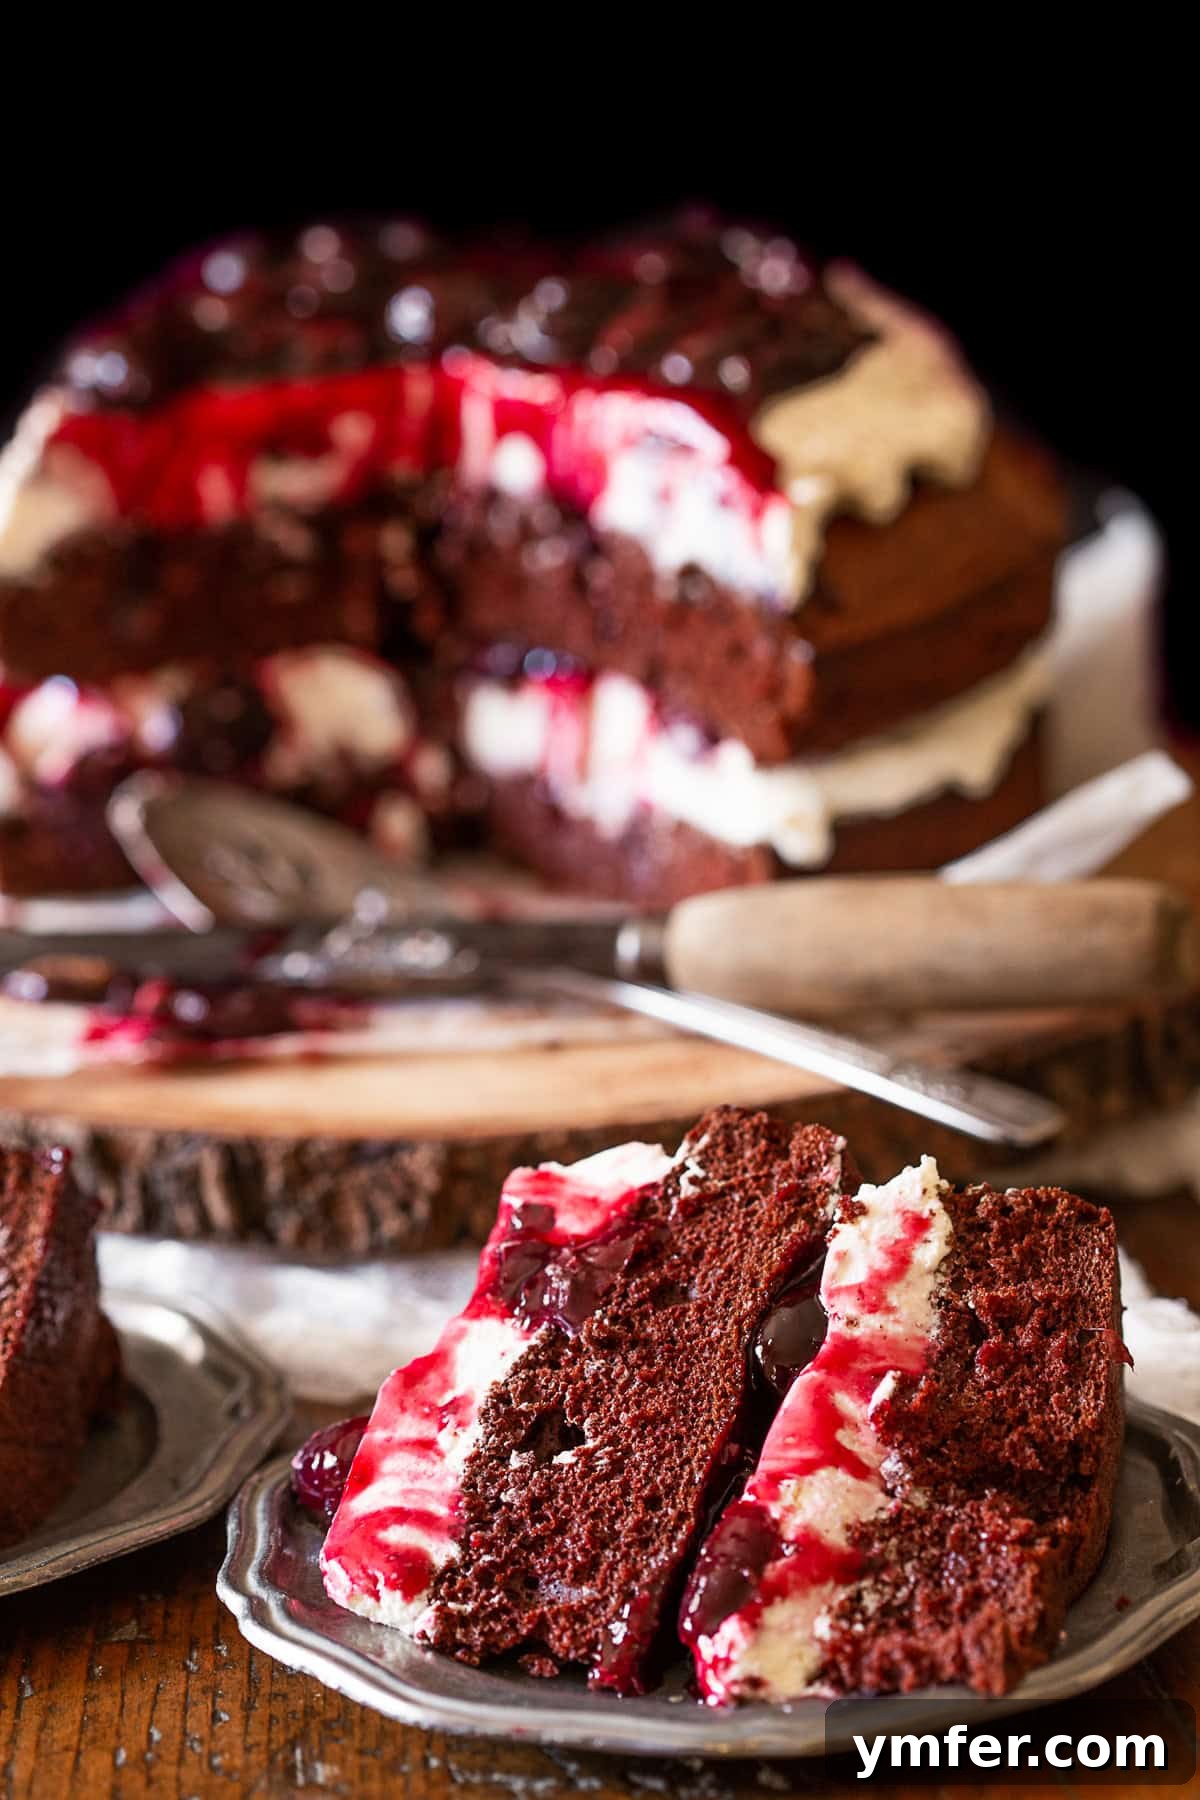
This recipe is my homage to that unforgettable German classic. It features a tender, deeply flavored chocolate sponge, generously layered with a bright, homemade cherry filling – bursting with real fruit flavor – and finished with a cloud-like mascarpone whipped cream frosting. The result is a stunning, sophisticated cake that not only looks incredible but tastes even better. It’s perfect for birthdays, holiday gatherings, or simply when you want to treat yourself and your loved ones to an extraordinary indulgence. Trust me, once you taste this homemade Black Forest Cake, you’ll understand why it’s an absolute must-have in your life!
Craving more decadent cherry and chocolate combinations? Be sure to explore my Black Forest Cupcakes for a personal-sized treat or kickstart your day with my delightful Black Forest Pancakes!
Essential Ingredients for Crafting Your Dream Black Forest Cake
Creating a truly authentic and delicious Black Forest Cake starts with selecting the right ingredients. Each component plays a vital role in achieving that perfect balance of rich chocolate, tart cherries, and creamy indulgence. Here’s a detailed look at what you’ll need for each layer of this magnificent dessert:
For the Moist Chocolate Cake Layers:
- All-Purpose Flour: The foundational dry ingredient, providing structure to our tender cake.
- Granulated Sugar: Sweetens the cake and contributes to its moist texture.
- Unsweetened Cocoa Powder: The key to the deep, rich chocolate flavor. Opt for a good quality cocoa for the best results.
- Baking Soda: A leavening agent that helps the cake rise beautifully and contributes to its light texture when combined with buttermilk.
- Kosher Salt: Enhances all the other flavors, balancing the sweetness and deepening the chocolate notes.
- Large Egg & Egg White: Provide structure and moisture, ensuring a tender crumb. The extra egg white can contribute to a slightly lighter texture.
- Buttermilk: Essential for a moist, tender cake with a slight tang that perfectly complements the chocolate. Its acidity also activates the baking soda.
- Vegetable Oil: Adds an incredible amount of moisture, keeping the cake soft and tender for days.
- Vanilla Bean Paste: Infuses a rich, aromatic vanilla flavor. You can substitute with high-quality vanilla extract.
- Hot Coffee: This secret ingredient doesn’t make the cake taste like coffee, but it intensifies the chocolate flavor significantly, making it richer and more profound.
- Brandy: A touch of brandy adds a subtle depth and warmth to the chocolate cake, enhancing its complexity.
For the Luscious Cherry Filling:
- Dark Brown Sugar: Provides sweetness and a subtle molasses note that complements the cherries.
- Cornstarch: Acts as a thickening agent, creating a beautifully jam-like consistency for the cherry filling.
- Whole Frozen Cherries (Pitted): The star of the show! Using frozen pitted cherries is convenient and ensures you can make this cake any time of year.
- Kirschwasser: This traditional German cherry brandy is the hallmark of authentic Black Forest Cake. It infuses the cherries with an unmistakable, delicate almond-cherry flavor.
For the Creamy Mascarpone Whipped Frosting:
- Heavy Whipping Cream (Very Cold): The base for our fluffy, stable whipped cream. Cold cream whips best!
- Mascarpone Cheese: Adds a luxurious richness and stability to the whipped cream, giving it a velvety texture and preventing it from deflating too quickly.
- Powdered Sugar: Sweetens the frosting without adding grittiness.
- Vanilla Bean Paste: Provides exquisite vanilla flavor and those beautiful tiny specks that hint at its quality.
Mastering the Art of Layer Cake Assembly
Assembling a beautiful layer cake might seem daunting at first glance, but I assure you, it’s far simpler than it appears. With a few careful steps and a little patience, you’ll be creating bakery-worthy masterpieces in no time. The key is preparation and allowing enough cooling time between steps. Here’s your straightforward guide to assembling this stunning Black Forest Cake:
- Step One: Bake and Cool Your Cakes. The absolute most crucial step for a stable cake is to ensure your chocolate cake layers are completely cooled before you even think about assembly. Warm cakes will cause your filling and frosting to melt and slide, leading to a messy disaster. Ideally, bake your cakes the day before and let them cool fully at room temperature, then wrap them tightly and refrigerate overnight. This also makes them easier to handle and less prone to crumbling.
- Step Two: Prepare and Chill the Cherry Filling. Just like the cake layers, your homemade cherry filling needs to be cooled and thickened. Prepare it in advance – even a day ahead works perfectly. As it cools, the cornstarch will work its magic, transforming the liquid into a rich, jam-like consistency. This thickness is vital for the filling to hold its shape between the cake layers without squeezing out the sides when sliced.
- Step Three: Whip Up the Frosting. The mascarpone whipped cream should be prepared just before assembly. Ensure your heavy whipping cream and mascarpone cheese are very cold – this is the secret to achieving stiff, stable peaks. Once whipped, keep the frosting refrigerated until you’re ready to spread it, especially if your kitchen is warm.
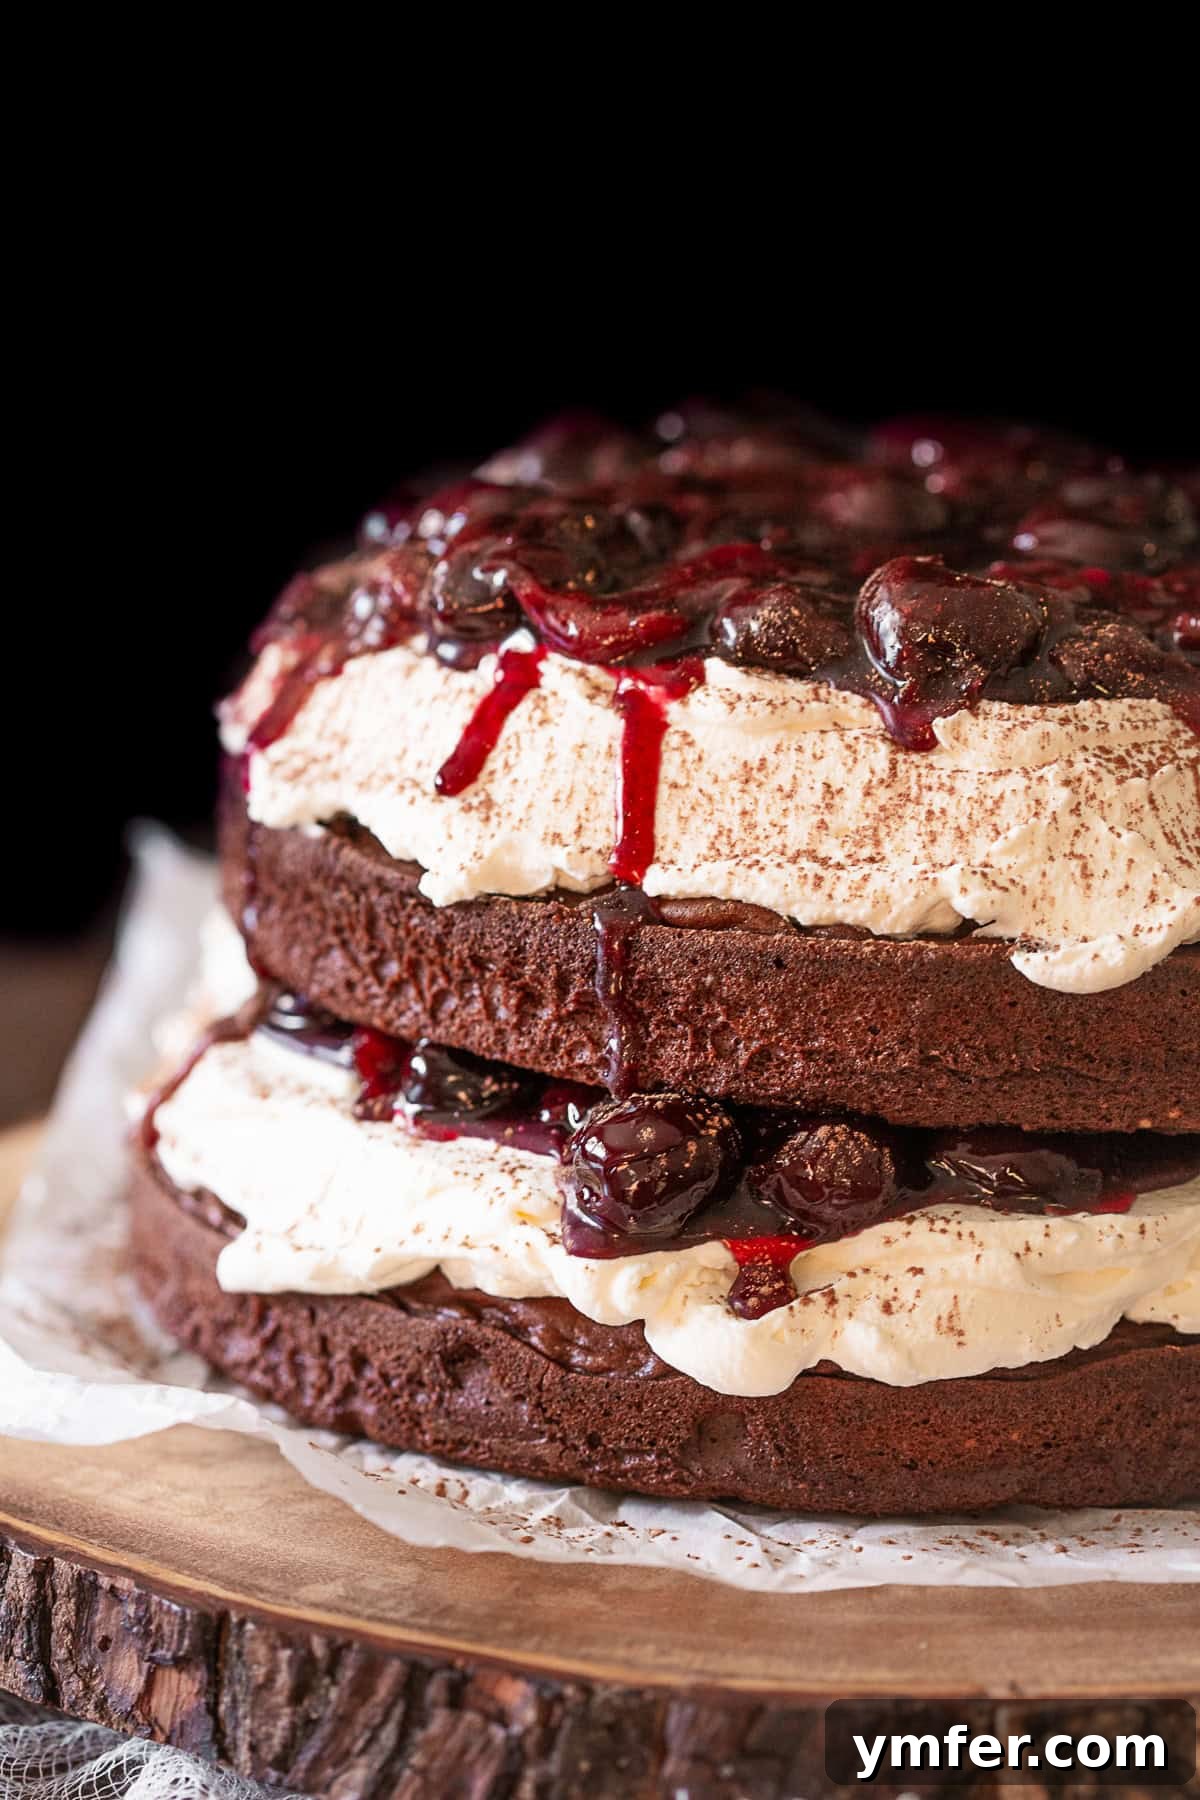
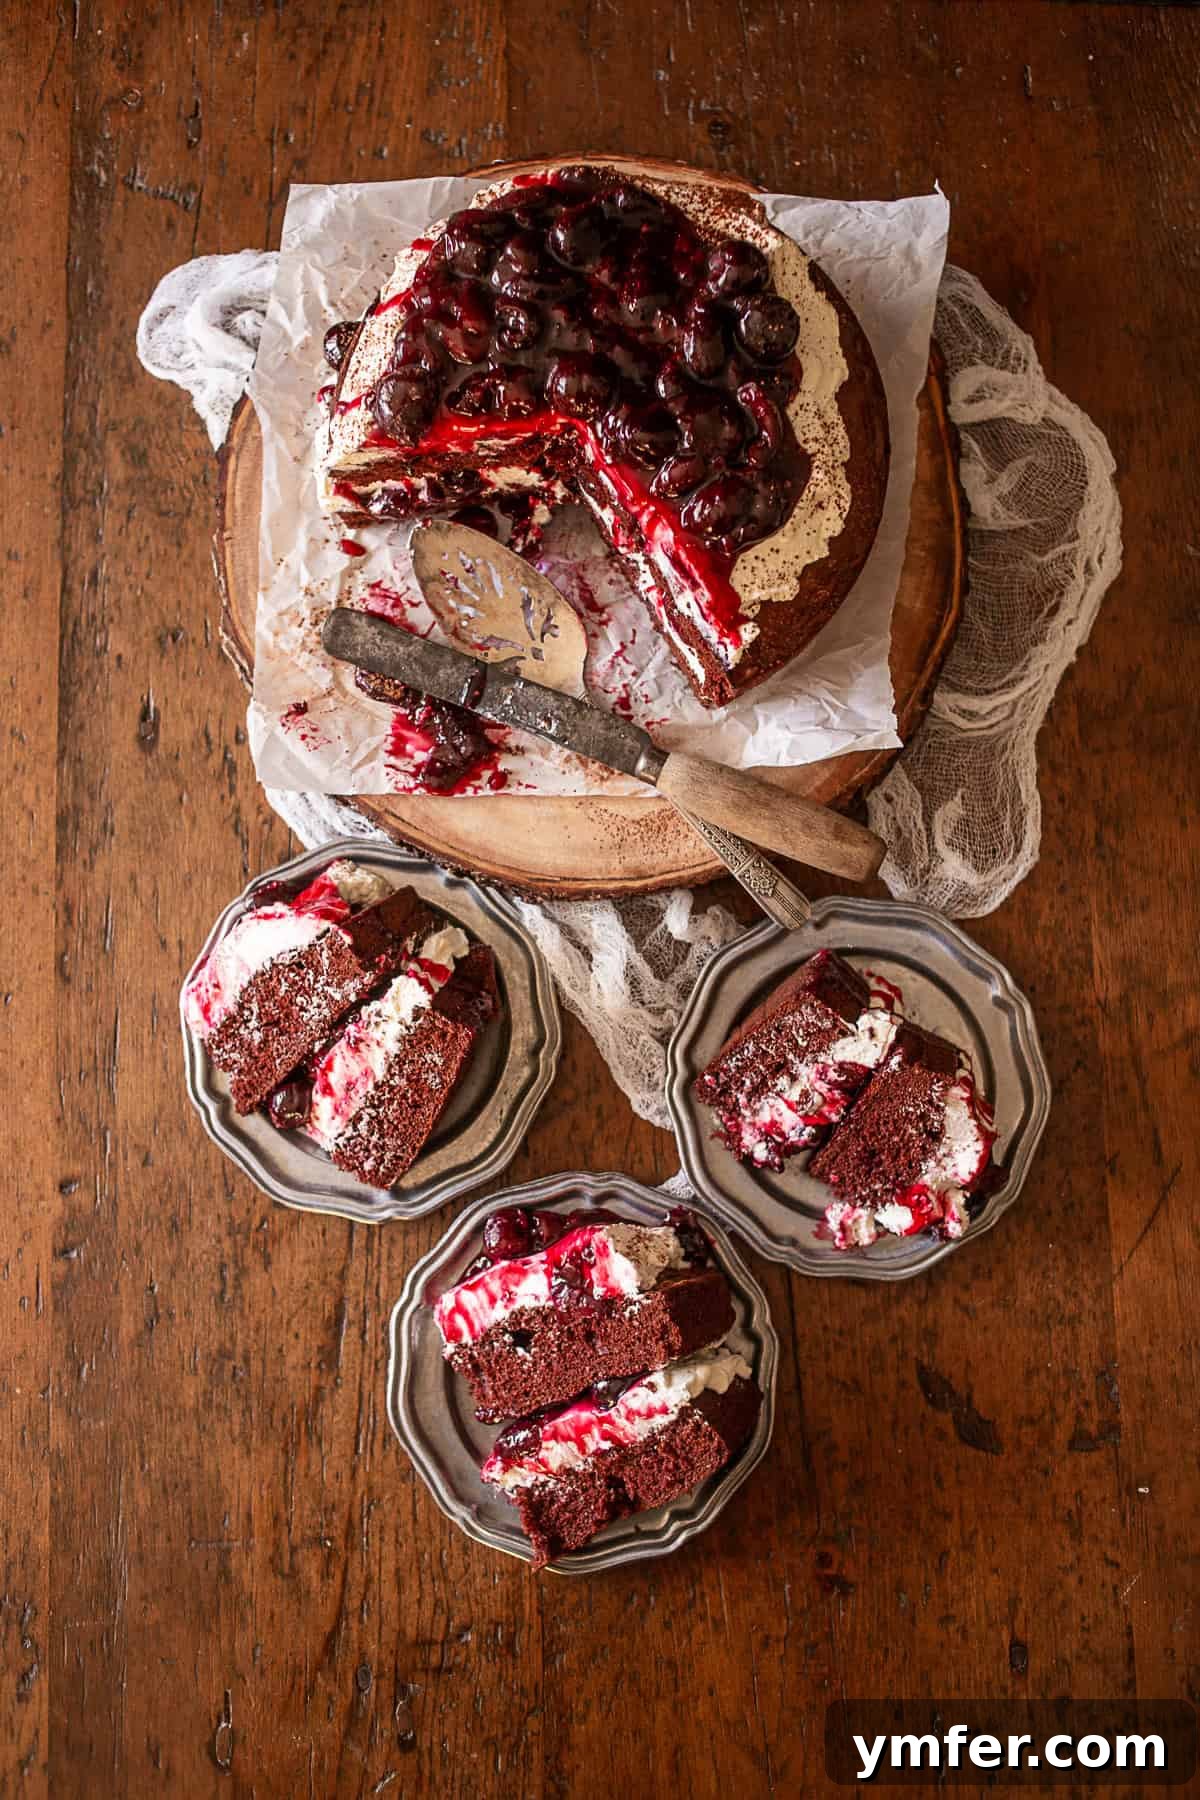
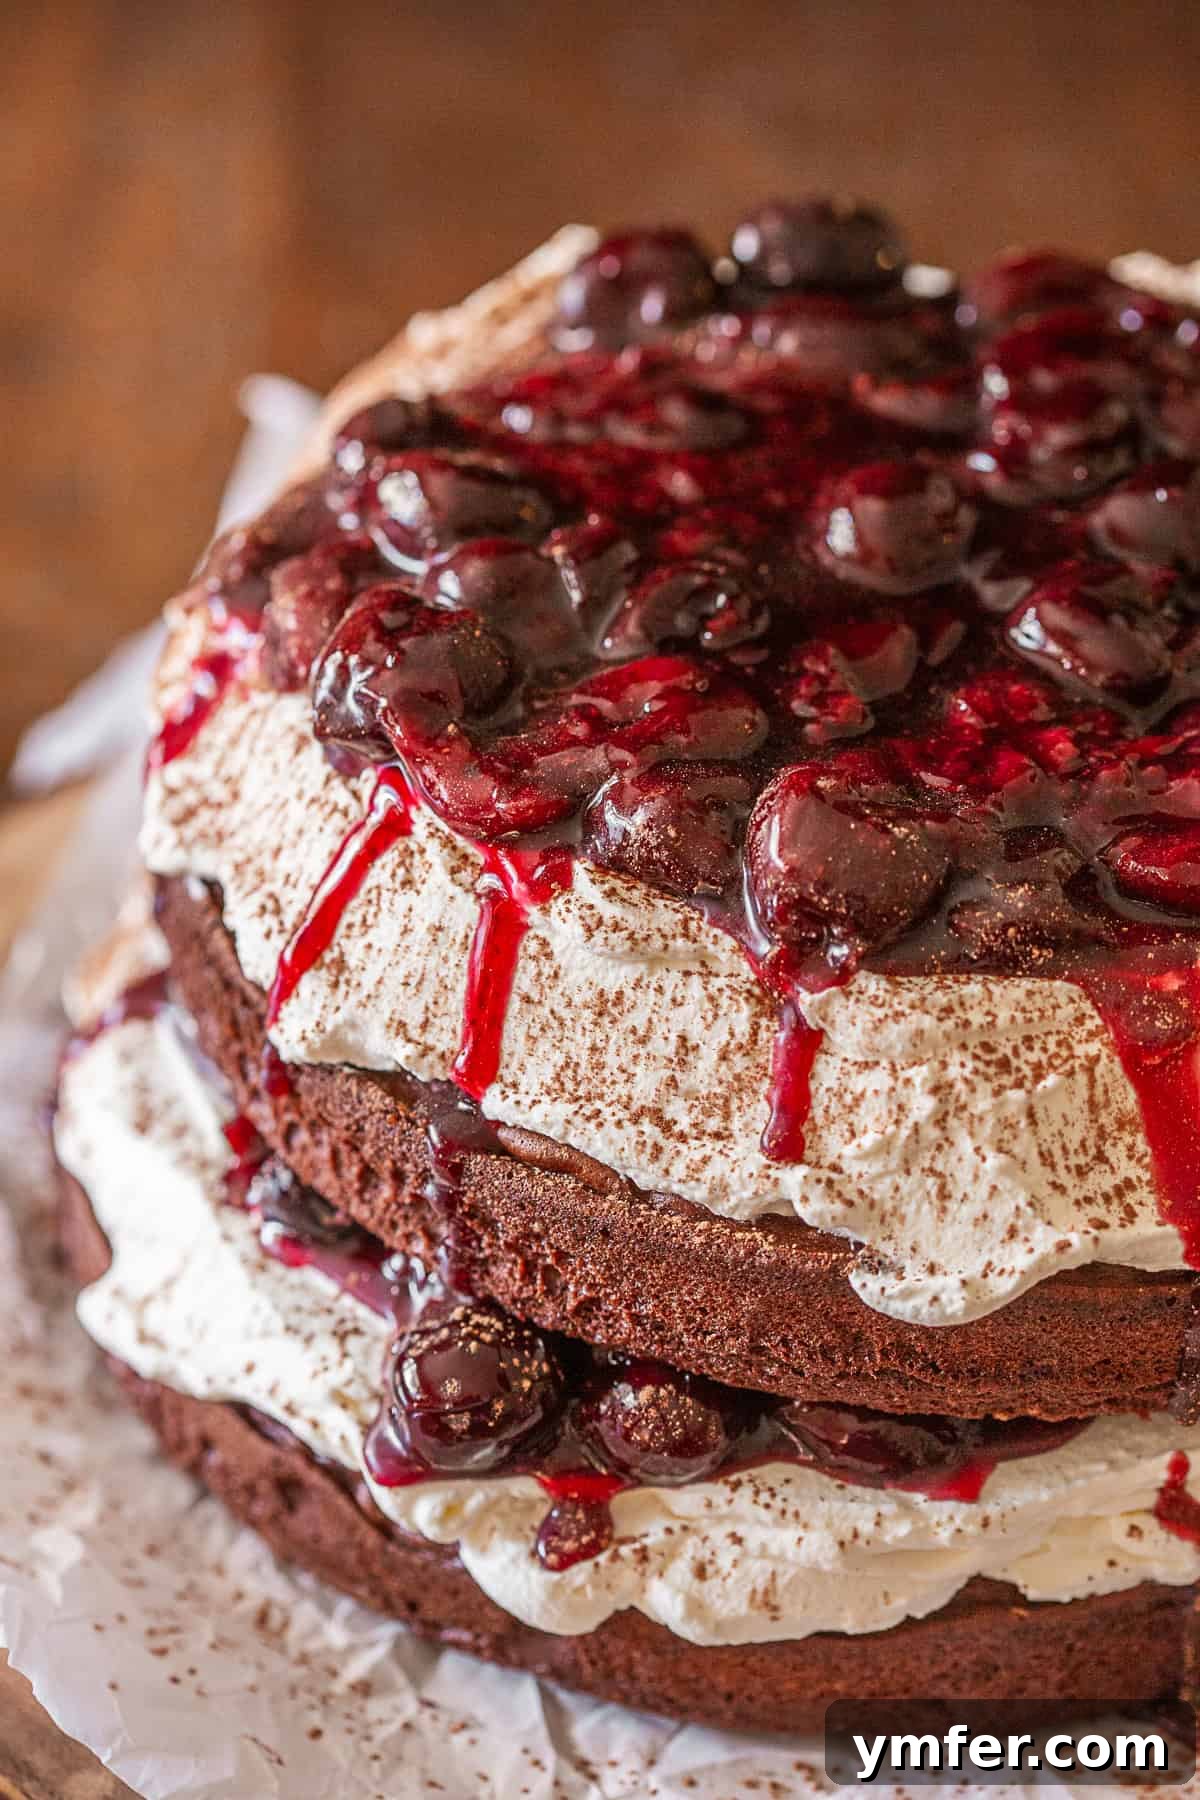
- Step Four: Begin the Layering Process. Place your first cooled cake round onto your chosen cake platter or serving tray. This will be the base of your beautiful creation. Evenly spread half of your prepared mascarpone whipped topping over this first cake layer. Don’t press too hard, just gently spread it to the edges.
- Step Five: Add the Cherry Layer. Carefully spoon half of your thickened cherry mixture over the whipped cream. For a clean look, try to keep the cherries slightly away from the very edge of the cake; this helps prevent excessive “drizzling” when the cake is sliced.
- Step Six: Stack and Frost the Top. Gently place the second cake layer on top of the cherry and cream layer. Repeat the process: spread the remaining whipped frosting evenly over the top, then artfully arrange the rest of the cherry mixture. Again, I recommend keeping the cherries centralized on the top to minimize drips and maintain a pristine appearance.
- Step Seven: Chill for Stability. For the best results and a perfectly settled cake, allow your assembled Black Forest Cake to chill in the refrigerator for at least a few hours before serving. This cooling time allows the layers to set firmly, the flavors to meld beautifully, and ensures clean, elegant slices.
My Pro Tips for Black Forest Cake Perfection
Unlock the Secrets to an Unforgettable Black Forest Cake
Crafting the perfect Black Forest Cake is an art, but with these expert tips, you’ll achieve delicious results every time. Whether you’re a seasoned baker or just starting, these insights will help you elevate your homemade creation to new heights.
Choosing Your Cherries: For the most authentic and flavorful cherry filling, you have options! You can use either frozen or fresh bing cherries. I personally prefer using frozen pitted cherries because they are incredibly convenient and readily available year-round, ensuring you can whip up this cake whenever the craving strikes. They also release their juices beautifully when cooked, creating a rich compote.
A Time-Saving Shortcut (Semi-Homemade Option): While this recipe provides a fantastic from-scratch experience, I understand that sometimes time is of the essence. In a pinch, you can absolutely opt for a high-quality boxed chocolate cake mix for the cake layers. This is an excellent solution for a semi-homemade approach that still delivers a wonderful dessert, especially when paired with the homemade cherry filling and mascarpone frosting.
Understanding Kirschwasser: Perhaps you’ve never encountered Kirschwasser before, and that’s perfectly fine! It’s a clear, unaged brandy (a type of schnapps) traditionally made in Germany and the Black Forest region itself. It’s distilled from Morello cherries, including their pits, which imparts a distinctive, slightly bitter almond note along with the intense cherry flavor. This unique characteristic is what gives authentic Black Forest Cake its signature taste.
Kirschwasser Substitutions: If Kirschwasser is hard to find or not to your taste, don’t worry! You can successfully substitute it with other cherry-flavored alcohols or non-alcoholic options. Excellent replacements include a good quality cherry liqueur, cherry brandy, or for a non-alcoholic version, tart cherry juice will still provide a lovely fruity essence to your filling.
Vanilla Bean Paste vs. Extract: I specify vanilla bean paste for both the frosting and the cake layers. Vanilla bean paste offers a more intense, complex vanilla flavor and, as a bonus, leaves those beautiful, tiny black flecks that signify authentic vanilla goodness. However, if you don’t have paste on hand, a good quality vanilla extract can be used as a direct substitute without compromising the overall deliciousness of your cake. The key is using a pure vanilla product.
Storing Your Black Forest Cake for Lasting Freshness
To ensure your delicious Black Forest Cake remains as fresh and delightful as the day it was baked, proper storage is essential. Due to its cream-based frosting and fresh cherry filling, this cake requires refrigeration.
Any leftover cake should be stored in the refrigerator. For optimal freshness, it will keep beautifully for up to 3 days. I highly recommend investing in a good quality cake carrier. This not only keeps your cake perfectly covered and protected from drying out or absorbing refrigerator odors, but it also makes transport a breeze if you’re bringing it to a gathering. Simply cover tightly and enjoy slices as needed!
Explore More Decadent Cake Recipes
If you’ve enjoyed crafting this Black Forest masterpiece, you’re in for a treat! My kitchen is always baking up new and exciting cake creations. Dive into these other irresistible cake recipes that are sure to impress and satisfy your sweet tooth, perfect for any occasion.
Gingerbread Layer Cake
Thanksgiving Piecaken
Strawberry Coconut Layer Cake
Christmas Piecaken
Classic Black Forest Cake
Brandy O’Neill
8 servings
25 mins
40 mins
1 hr 5 mins
Pin Recipe
Equipment
-
Vanilla Bean Paste
-
Hershey’s Special Dark Baking Cocoa
-
9-inch cake pan
Ingredients
For cake:
- 1-1/2 cups all-purpose flour
- 1-1/2 cups granulated sugar
- 1/2 cup unsweetened cocoa powder
- 1-1/4 teaspoons baking soda
- 3/4 teaspoon kosher salt
- 1 large egg
- 1 large egg white
- 3/4 cup buttermilk
- 1/3 cup vegetable oil
- 1 teaspoon vanilla bean paste
- 1/2 cup hot coffee
- 1/4 cup brandy
For cherries:
- 1/3 cup dark brown sugar
- 1 tablespoon cornstarch
- 3 cups frozen whole cherries, pitted
- 2 tablespoons kirschwasser
For whipped topping:
- 2 cups heavy whipping cream, very cold
- 8 ounces mascarpone cheese
- 6 tablespoons powdered sugar
- 1 teaspoon vanilla bean paste
Instructions
For cake:
-
Preheat oven to 350 degrees F (175°C). Prepare two (9-inch) round cake pans by lining the bottoms with parchment paper. Lightly spray the pans with non-stick cooking or baking spray to ensure easy release.
-
In a large bowl of an electric mixer, combine the dry ingredients: all-purpose flour, granulated sugar, unsweetened cocoa powder, baking soda, and kosher salt. Whisk these ingredients together thoroughly to ensure they are well combined and there are no lumps.
-
In a separate medium-sized mixing bowl, whisk together the wet ingredients: large egg, egg white, buttermilk, vegetable oil, and vanilla extract or paste until smooth. Gradually drizzle in the hot coffee and brandy while continuously whisking for about 2 minutes. This slow addition helps prevent the eggs from scrambling.
-
Pour the wet egg mixture into the dry ingredients. Mix on low speed, then increase to medium until fully combined. The batter will be quite runny, which is perfectly normal for this moist chocolate cake.
-
Divide the cake batter evenly between the two prepared pans. Bake for approximately 25 to 30 minutes, or until a wooden toothpick inserted into the center of a cake comes out clean. Once baked, remove from the oven and allow the cakes to cool completely on a wire rack before attempting to assemble.
For cherries:
-
In a small bowl, thoroughly mix together the dark brown sugar and cornstarch. This step helps prevent lumps when cooking the cherries.
-
In a small saucepan, combine the frozen cherries, the brown sugar-cornstarch mixture, and the kirschwasser. Cook over low heat, stirring occasionally, until the mixture begins to simmer, the cherries soften, and the sauce thickens to a jam-like consistency. This usually takes about 10-15 minutes.
-
Once thickened, remove the cherry mixture from the heat and transfer it to a separate bowl to cool completely. The mixture will continue to thicken significantly as it cools. For best results, chill the filling in the refrigerator until ready to use.
For whipped cream:
-
In the chilled bowl of an electric mixer fitted with a whisk attachment, add the very cold heavy whipping cream. Beat on high speed until soft peaks begin to form.
-
Once soft peaks are achieved, add the mascarpone cheese, powdered sugar, and vanilla bean paste. Continue to whip on high speed until stiff peaks have formed, ensuring the mixture is light, airy, and stable. Be careful not to over-whip, which can turn it grainy. Keep refrigerated until ready to assemble.
For cake assembly:
-
Carefully place one of the completely cooled chocolate cake layers on your chosen cake stand or serving plate.
-
Evenly spread half of the mascarpone whipped topping over the first cake layer. Follow by spooning half of the cooled cherry mixture over the whipped cream, spreading it gently. Try to keep the cherries slightly in from the edge to prevent excessive dripping.
-
Gently place the remaining cake layer on top of the cherry and cream layer. Then, spread the remaining whipped topping generously over the top of the cake. Finally, arrange the rest of the cherries on top, concentrating them towards the center for an elegant presentation and to manage any potential drizzling.
-
For the best flavor and stability, refrigerate the assembled cake for a minimum of 2-3 hours before slicing and serving. This allows the layers to settle and the flavors to fully meld together. Before serving, you can optionally dust the top with a light sprinkling of cocoa powder or chocolate shavings for an extra touch of elegance. Enjoy your magnificent homemade Black Forest Cake!
Nutrition
Serving: 1g
Calories: 857kcal
Carbohydrates: 103g
Protein: 10g
Fat: 45g
Saturated Fat: 23g
Polyunsaturated Fat: 19g
Trans Fat: 1g
Cholesterol: 130mg
Sodium: 950mg
Fiber: 3g
Sugar: 73g
Nutrition information is automatically calculated and should only be used as an approximation.
Additional Information
Dessert
German
Tried this recipe?
Mention @NutmegNanny or tag #nutmegnanny!