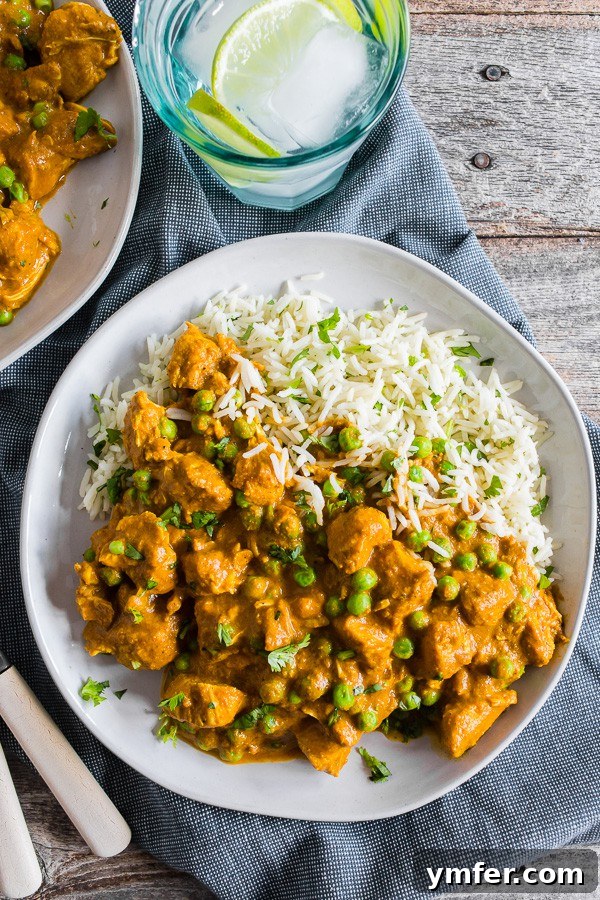
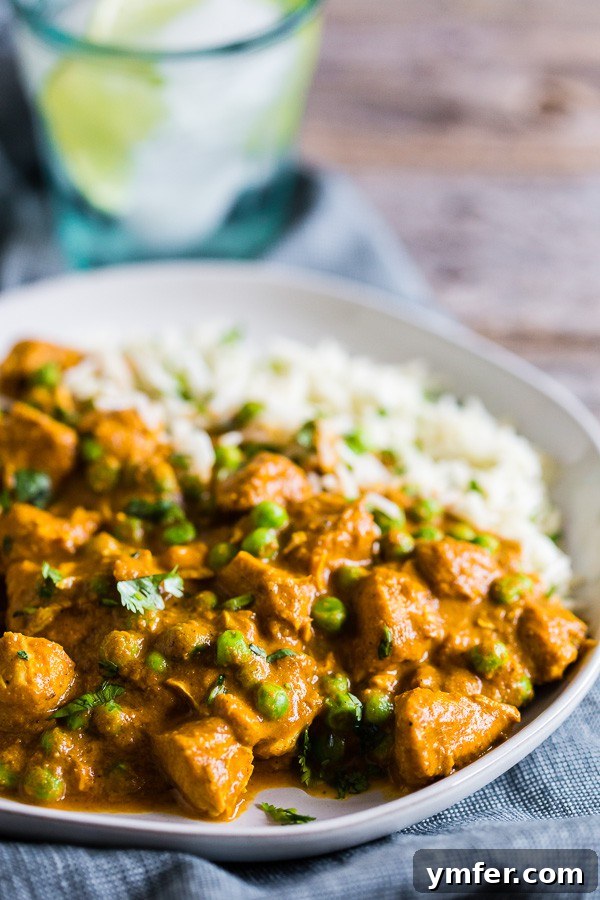
Welcome to the ultimate guide for crafting the most delectable **Instant Pot Chicken Tikka Masala**! This beloved dish, celebrated for its rich, creamy texture and aromatic spice blend, is now made incredibly accessible and fast thanks to the magic of your Instant Pot. Imagine tender, succulent chicken pieces swimming in a thick, vibrant tomato and coconut milk-based sauce, perfectly balanced with warm ginger, earthy turmeric, and a hint of zesty lemon. Add a scattering of sweet peas, and serve it all over fluffy basmati rice, and you have a meal that’s not just delicious but also incredibly comforting and satisfying. This recipe promises a restaurant-quality experience right in your kitchen, making it a perfect addition to your weekly menu, especially on busy weeknights when you crave something special without the lengthy cooking process.
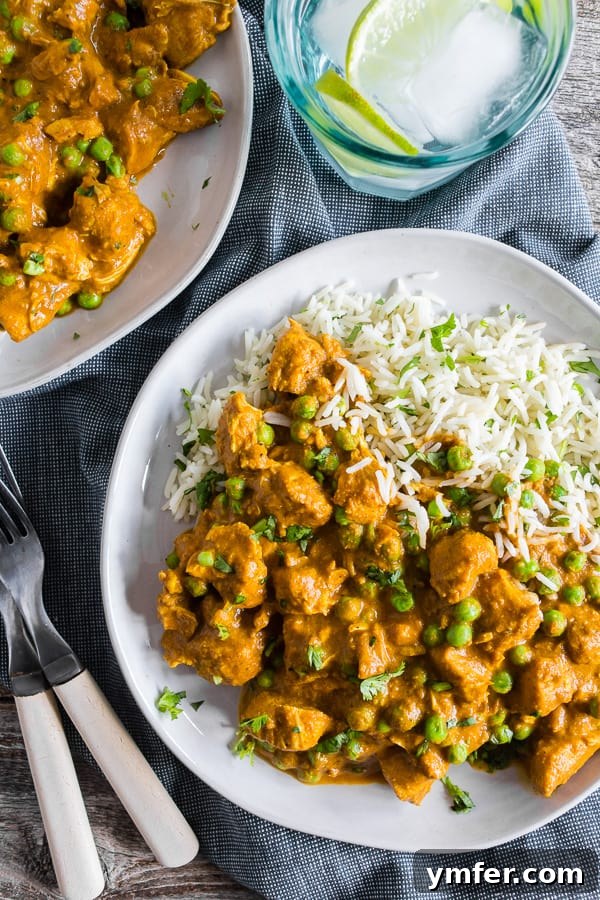
Are you ready to unlock the full potential of your Instant Pot? For many home cooks, this versatile kitchen gadget has revolutionized the way we approach meal prep, transforming complex dishes into simple, one-pot wonders. Living that best pressure cooker life means enjoying incredible flavors with significantly less effort and time. This particular Instant Pot Chicken Tikka Masala recipe is a testament to that convenience. It captures all the authentic, deep flavors you cherish in traditional tikka masala – the aromatic warmth of ginger, the subtle sweetness of coconut milk, and the savory depth of turmeric – all without the usual extensive cooking time. Paired with some perfectly cooked basmati rice, you’ll have a complete, gourmet meal ready in a fraction of the time. The best part? The flavors only deepen overnight, making the leftovers even more delightful. Trust us, once you try this Instant Pot Chicken Tikka Masala, it’ll quickly become a cherished favorite in your recipe rotation!
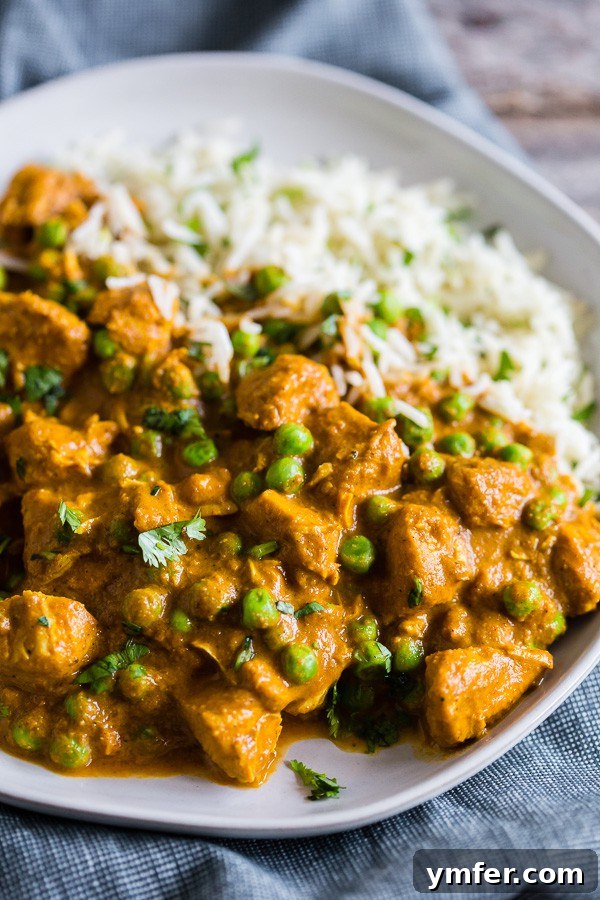
Key Ingredients for Your Instant Pot Chicken Tikka Masala
Crafting an outstanding Chicken Tikka Masala begins with a selection of fresh, high-quality ingredients. Each component plays a crucial role in building the layered flavors and rich texture that makes this dish so irresistible.
- Boneless, Skinless Chicken Breast – We opt for chicken breast because its lean nature readily absorbs the vibrant flavors of our marinade and the creamy sauce. For those who prefer a richer texture, boneless, skinless chicken thighs can be an excellent substitute, offering a slightly more tender and succulent result.
- Greek Yogurt – This creamy, tangy ingredient is essential for marinating the chicken. It helps tenderize the meat while imparting a delicate tanginess that brightens the overall flavor profile of the sauce.
- Garam Masala – A cornerstone of Indian cuisine, Garam Masala is a warm and intensely fragrant spice blend. While specific compositions can vary by brand, it typically includes spices like cumin, coriander, cardamom, cloves, cinnamon, and black pepper, providing a complex, aromatic foundation for the dish.
- Other Essential Spices – To further enhance the flavor complexity, we include **turmeric** for its earthy warmth and golden hue, **ground ginger** for a pungent, spicy kick, **cayenne pepper** for adjustable heat, and **ground garlic** to deepen the savory notes.
- Lemon Juice – A splash of fresh lemon juice is vital for cutting through the richness of the sauce. Its acidity brightens the flavors, uplifting the aromatic spices and adding a delightful freshness.
- Tomato Sauce – This forms the sweet and savory base of our luscious sauce. It contributes to the characteristic red-orange color and provides a robust, umami-rich foundation for the other ingredients to meld with.
- Light Coconut Milk – For that signature creamy texture and subtle sweetness, light coconut milk is a perfect choice. It balances the spices beautifully and adds a delicate, tropical hint without overpowering the other flavors.
- Frozen Peas – Added at the end, these tiny green gems bring a pop of color, a hint of sweetness, and a lovely tender texture. Frozen vegetables are harvested at their peak, ensuring you get the freshest and sweetest peas possible, even when out of season.
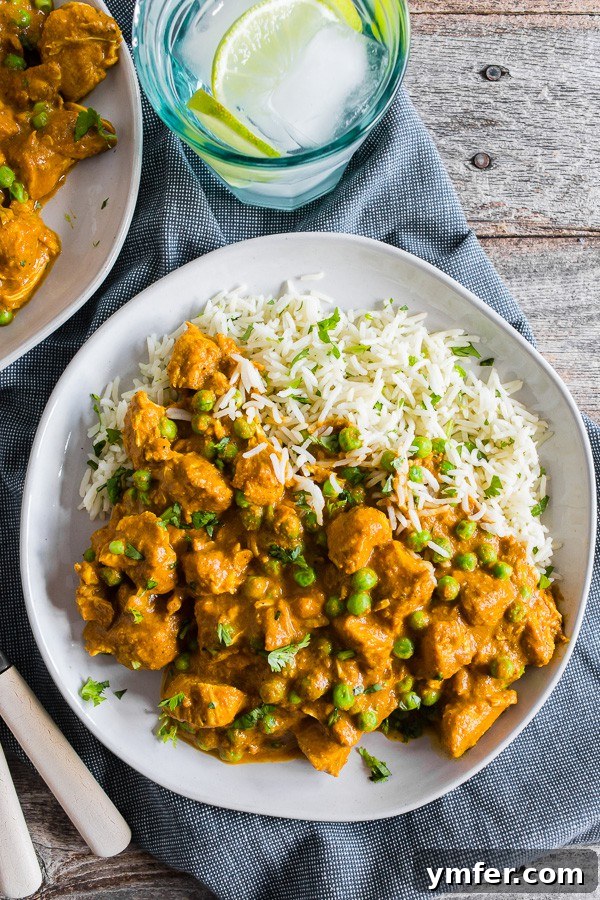
Understanding Light Coconut Milk
Coconut milk is a creamy liquid extracted from the grated pulp of mature coconuts. It’s made by pureeing the coconut flesh with water and then straining out the solids. The result is a rich, flavorful liquid that’s a staple in many global cuisines, especially in Southeast Asian, Indian, and Caribbean dishes.
Light coconut milk, specifically, is a version that contains a higher percentage of water and consequently, less coconut fat than its full-fat counterpart. This makes it a lighter option for those looking to reduce fat content without sacrificing flavor entirely. It still imparts that distinctive sweet, nutty coconut flavor and creamy texture to your dishes, just in a more subtle way.
If you desire a more intensely rich and prominent coconut flavor, or a thicker sauce, you can certainly substitute full-fat coconut milk for light coconut milk in this recipe. Be aware that this will increase the fat and calorie content of the dish, but it can also lead to an even more luxurious texture. Always shake your can of coconut milk well before opening, as the cream and water tend to separate when sitting.
The Magic of the Instant Pot: A Culinary Game Changer
An Instant Pot is far more than just a pressure cooker; it’s a multi-functional kitchen appliance designed to simplify your cooking process. This electric device combines the capabilities of a pressure cooker, slow cooker, rice cooker, steamer, sauté pan, yogurt maker, and food warmer all in one sleek unit. It’s a true workhorse that can drastically cut down cooking times and make weeknight meals an absolute breeze.
Many people associate pressure cooking with the intimidating stovetop models of the past, fraught with “horror stories” of hissing steam and potential kitchen mishaps. However, modern electric pressure cookers like the Instant Pot are remarkably different. They are engineered with multiple safety mechanisms, making them incredibly safe and user-friendly. These devices use high-pressurized steam to cook food at an accelerated rate, locking in moisture and flavor. This means meats become incredibly tender, vegetables retain their nutrients, and tough cuts are transformed into fall-apart perfection in a fraction of the time it would take with traditional methods.
If you’re new to the world of electric pressure cooking, there’s no need to worry! Instant Pots are designed for ease of use, featuring intuitive controls and pre-set programs. You’ll be amazed at how quickly you adapt to it and wonder how you ever cooked without one. Get ready to fall in love with the convenience and delicious results!
Instant Pot vs. Electric Pressure Cooker: Clarifying the Name
Often, the terms “Instant Pot” and “electric pressure cooker” are used interchangeably, leading to some confusion for those new to the kitchen appliance world. The distinction is quite simple: Instant Pot is actually a specific brand of electric multi-cooker. Just as “Band-aid” has become a common term for any plastic bandage, or “Kleenex” for facial tissue, “Instant Pot” has become synonymous with the broader category of electric pressure cookers.
While Instant Pot is certainly the most popular and widely recognized brand, there are many other excellent electric pressure cookers on the market, such as those made by Crock-Pot, Ninja Foodi, and Cuisinart, to name a few. These alternative brands offer similar functionalities and often yield equally delicious results. So, when you see a recipe titled with “Instant Pot” or “IP,” it generally refers to a recipe designed for any electric pressure cooker that functions in the same way. The core principles of pressure cooking remain the same across these devices, ensuring that this Chicken Tikka Masala recipe will work beautifully no matter which brand of electric pressure cooker you own.
Natural Release vs. Quick Release: Mastering Pressure Control
When cooking with an Instant Pot or any electric pressure cooker, you’ll frequently encounter instructions to either “natural release” or “quick release” the pressure. Understanding the difference between these two methods is key to achieving perfect results and ensuring safety.
Natural Pressure Release (NPR) means that you simply allow the Instant Pot to cool down on its own after the cooking cycle is complete. The pressure will gradually decrease over time as the pot naturally depressurizes. This process can take anywhere from 10 to 30 minutes, or even longer, depending on the volume and type of food inside. Natural release is often preferred for dishes that benefit from a slight extension of cooking time, such as large cuts of meat (like roasts or whole chickens), stews, soups, or anything with a high liquid content. It helps prevent foamy liquids from spraying through the steam vent and results in more tender, rested meats and prevents delicate foods from overcooking or breaking apart too quickly. The lid will remain locked until all pressure has been released.
Quick Pressure Release (QPR), on the other hand, involves manually opening the steam release valve to rapidly vent the pressure. To do this, you’ll carefully turn the valve from the “Sealing” position to the “Venting” position. A strong stream of hot steam will be released, so it’s crucial to keep your hands and face away from the vent. Using a wooden spoon or kitchen towel can help protect your hand. Quick release is typically used for foods that cook quickly and might overcook if left under pressure for too long, such as vegetables, seafood, or delicate grains. It immediately stops the cooking process once the timer goes off, preserving texture and preventing mushiness. Once all the steam has escaped, the float valve will drop, and the lid will unlock.
Cooking Tips & Tricks for Perfect Instant Pot Tikka Masala
Achieving a perfectly tender and flavorful Chicken Tikka Masala in your Instant Pot is incredibly easy, but a few simple tips can elevate your dish from good to extraordinary:
- Marination is Key: Don’t skip the marinating step! The Greek yogurt and spices work wonders to tenderize the chicken and infuse it with deep flavor. Even an hour makes a difference, but if you have the time, letting it marinate for 4-8 hours (or even up to 24 hours) will yield incredibly succulent and flavorful chicken.
- Brown in Batches: When browning the chicken, avoid overcrowding the Instant Pot. Cook the chicken in batches to ensure each piece gets a nice sear. This caramelization adds a crucial layer of flavor to the sauce that you won’t get if the chicken just steams. Add a little extra olive oil between batches if the pot seems dry.
- Deglaze After Browning: After browning the chicken and before adding other liquids, use a splash of water or broth (not listed in ingredients but optional) and scrape up any browned bits stuck to the bottom of the pot. This is vital to prevent the “Burn” error, as these fond bits can cause scorching under pressure. It also adds more flavor to your sauce!
- Adjust Spice Levels: The cayenne pepper in this recipe provides a moderate level of heat. If you prefer a milder curry, reduce the amount or omit it entirely. For those who love a fiery kick, feel free to add a bit more cayenne or even a finely minced green chili to the sauté step.
- Thickening the Sauce: After pressure cooking, if your sauce isn’t as thick as you prefer, use the Sauté function to simmer it down to your desired consistency. The coconut milk will also help enrich it. If it’s still too thin after simmering for 10 minutes, you can create a slurry with a tablespoon of cornstarch mixed with an equal amount of cold water, then stir it into the simmering sauce until it thickens.
- Don’t Skimp on Cilantro: Fresh cilantro is not just a garnish; its bright, herbaceous notes provide a perfect counterpoint to the rich, creamy sauce. Stir some into the dish right before serving and sprinkle a little extra on top.
Serving Your Delicious Instant Pot Chicken Tikka Masala
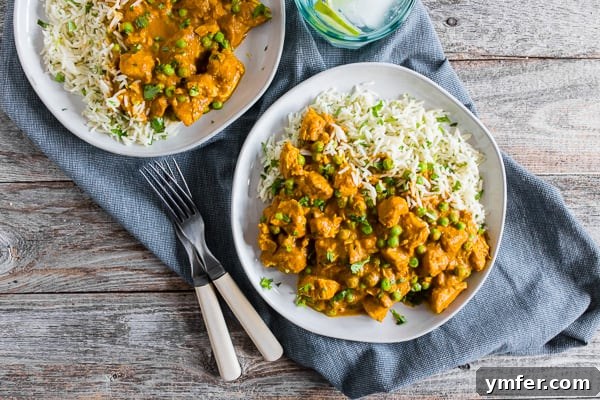
Once your Instant Pot Chicken Tikka Masala is ready, the possibilities for serving are endless, ensuring a complete and satisfying meal. The classic pairing is with light and fluffy basmati rice, which soaks up the creamy, flavorful sauce beautifully. However, don’t limit yourself!
Consider serving it alongside warm, pillowy naan bread or a simple roti, perfect for scooping up every last drop of the sauce. For a lighter, low-carb option, cauliflower rice makes an excellent substitute. A refreshing side salad with a light vinaigrette can provide a crisp contrast to the rich curry. You might also add a dollop of extra Greek yogurt or sour cream as a cooling garnish, along with a generous sprinkle of fresh minced cilantro for a burst of color and herbaceous freshness. No matter how you choose to serve it, this dish is sure to impress!
Storage and Leftovers: Even Better the Next Day!
One of the many joys of this Instant Pot Chicken Tikka Masala is that its flavors deepen and meld even further overnight. The leftovers are arguably even better the next day, making it an ideal meal for batch cooking and meal prep!
To store, allow the chicken tikka masala to cool completely. Then, transfer it to an airtight container and refrigerate for up to 4 days. For reheating, simply place your desired portion in a microwave-safe dish. Cover it loosely with a damp paper towel to prevent drying and cook for 3-4 minutes, or until thoroughly heated through. You can also reheat it gently on the stovetop over medium-low heat, stirring occasionally, until hot. If the sauce has thickened too much in the refrigerator, you can add a splash of water or coconut milk during reheating to reach your desired consistency.
For longer storage, this dish freezes wonderfully! Transfer cooled chicken tikka masala to freezer-safe containers or heavy-duty freezer bags, leaving some headspace for expansion. It can be frozen for up to 3 months. When ready to enjoy, thaw overnight in the refrigerator, then reheat as directed above. This makes it a fantastic make-ahead option for busy weeks!
Explore More Instant Pot Recipes
If you’ve fallen in love with the convenience and delicious results of your Instant Pot, you’re in luck! This versatile appliance can revolutionize countless meals. Here are some other fantastic Instant Pot recipes to expand your culinary repertoire:
- Looking for some tender ribs? Try my Instant Pot Red Wine Rosemary Short Ribs for a rich and comforting meal.
- Need something quick and easy for lunch or meal prep? My Instant Pot Hard Boiled Eggs are perfectly cooked every time.
- Craving something comforting on a chilly evening? My Instant Pot Asian Chicken and Rice Soup is both warming and nourishing.
- Love good Tex Mex flavors? Don’t miss my robust and flavorful Instant Pot Pork Chili Verde.
Instant Pot Chicken Tikka Masala
Brandy O’Neill – Nutmeg Nanny
4 servings
20 mins
20 mins
40 mins
Share by Email
Print Recipe

Ingredients
- 1 pound boneless skinless chicken breast
- 1/2 cup fat-free Greek yogurt
- 2 tablespoons garam masala, divided
- 2 teaspoons turmeric, divided
- 1 teaspoon ground ginger
- 1 teaspoon ground garlic
- 1 tablespoon lemon juice
- 1 tablespoon olive oil
- 1 5 ounce can tomato sauce
- 1/2 teaspoon kosher salt
- 1/4 teaspoon cayenne pepper
- 1 cup light coconut milk
- 2 cups frozen peas
- Minced cilantro (for garnish)
Instructions
- Cut chicken breast into 1-inch cubes.
- In a medium-sized bowl add Greek yogurt, 1 tablespoon garam masala, 1 teaspoon turmeric, ground ginger, ground garlic, and lemon juice.
- Whisk to combine and stir in chicken. Cover with plastic wrap and let marinate in the refrigerator for at least 1 hour or up to 24 hours.
- When you’re ready to make the chicken add oil to your Instant Pot and press the sauté button.
- When the oil is hot add the chicken in batches and brown. Add your browned meat to a plate and add more oil between batches if necessary.
- Add the chicken back to the Instant Pot and add in the tomato sauce, kosher salt, cayenne pepper, and remaining garam masala and turmeric. Stir to combine.
- Secure the lid, make sure the nozzle is placed to “seal” and cook on the high manual setting for 10 minutes. The Instant Pot will take about 10 minutes to reach pressure.
- When the cooking time is over manually release the pressure and remove the lid when unlocked.
- Gently stir to combine, turn the Instant Pot back on to sauté mode, and pour in the coconut milk.
- Simmer for about 10 minutes or until the mixture has thickened.
- Turn off the Instant Pot and stir in the frozen peas and let them warm in the sauce, about 5 minutes.
- Serve over rice with a sprinkle of cilantro.
Nutrition
Serving:
1g
Calories:
363kcal
Carbohydrates:
20g
Protein:
43g
Fat:
12g
Saturated Fat:
5g
Polyunsaturated Fat:
6g
Cholesterol:
98mg
Sodium:
568mg
Fiber:
5g
Sugar:
8g
Nutrition information is automatically calculated, so should only be used as an approximation.
Additional Info
Main Course
Indian
Tried this recipe?
Mention @NutmegNanny or tag #nutmegnanny!