
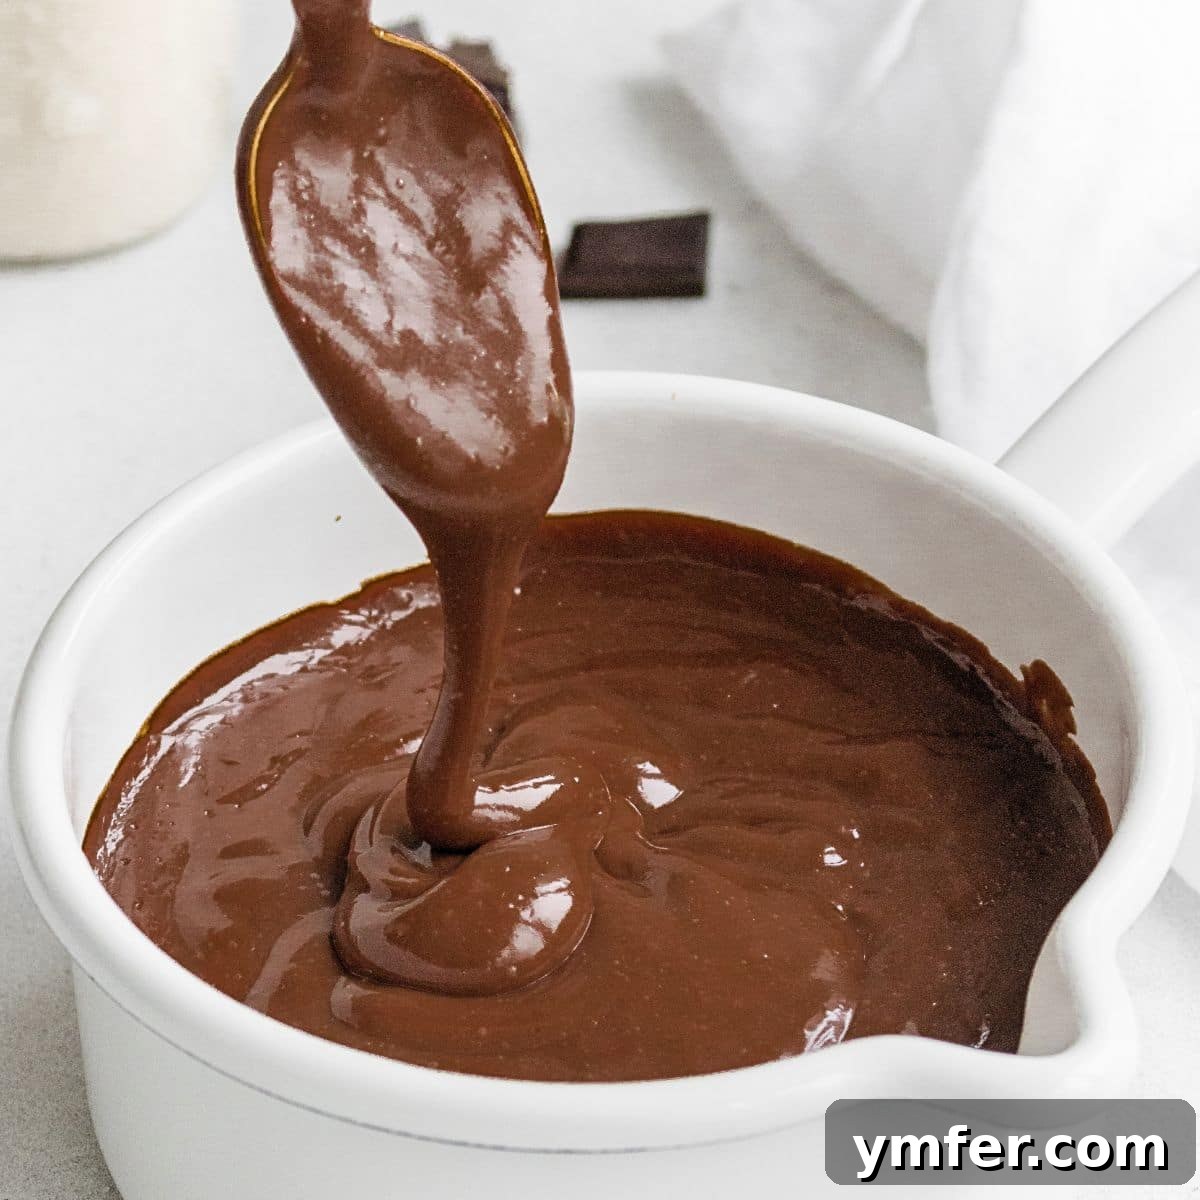
Indulge in the Perfect Rich & Velvety Egg-Free Chocolate Custard
Welcome to your new favorite dessert! This luscious **chocolate custard** is an incredibly **easy recipe** that promises a deep, rich chocolate flavor and an irresistibly creamy, velvety texture. Whether you’re a seasoned baker or a beginner in the kitchen, this recipe is designed for simplicity and maximum delight.
What makes our recipe truly special is its accessibility: it’s crafted **without eggs and butter**, making it naturally **gluten-free** and easily adaptable for **dairy-free** and **vegan** diets when using plant-based milk. You can whip up this delightful **easy dessert recipe** using just **five simple, readily available ingredients**, including your preferred dark chocolate.
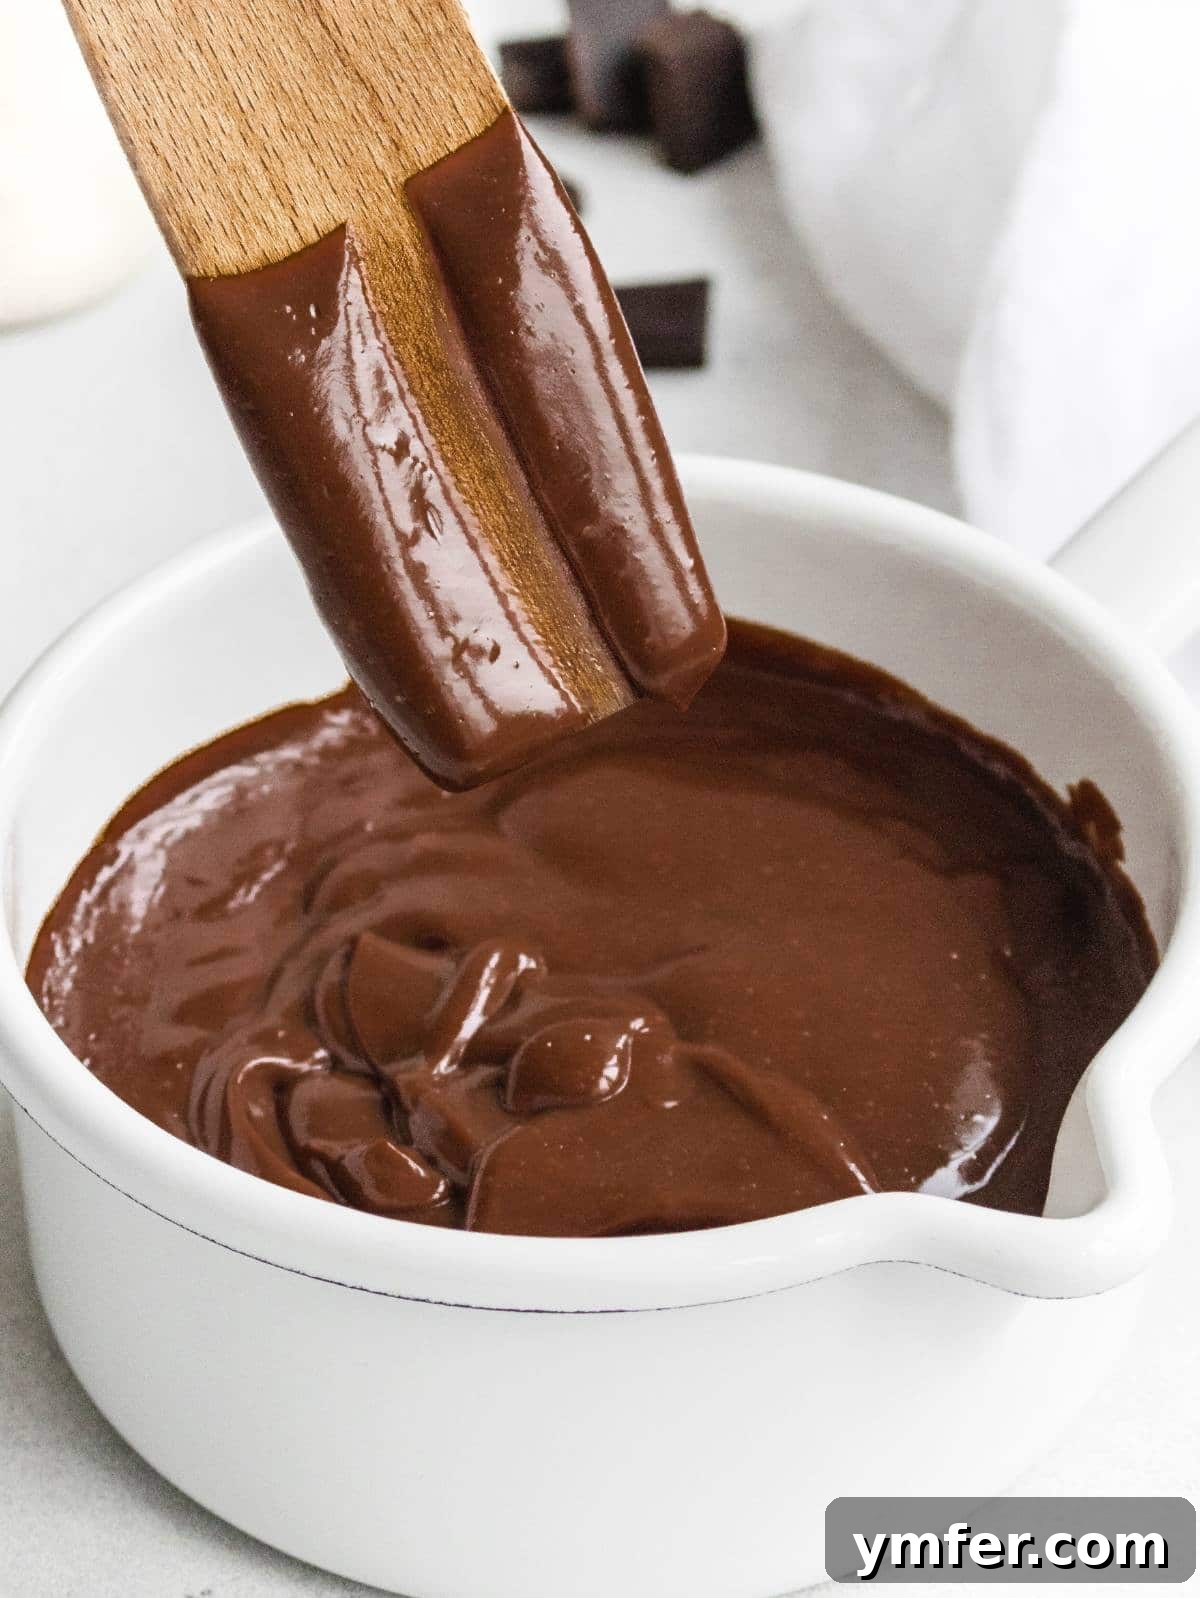
Table of Contents
- A Delight for Every Chocolate Lover
- Why You’ll Love This Chocolate Custard
- Essential Ingredients for Your Custard
- How to Make Perfect Chocolate Custard: A Step-by-Step Guide
- Cooling and Storage Tips for a Smooth Finish
- Serving Suggestions & Flavor Variations
- Troubleshooting Common Custard Issues
- More Easy Dessert Recipes to Explore
- Chocolate Custard Recipe Card
A Delight for Every Chocolate Lover
Prepare to tantalize your taste buds with a truly creamy and intensely indulgent chocolate treat. This particular recipe stands out as one of our most **effortless desserts**, requiring minimal ingredients and even less fuss. It’s the perfect solution for satisfying those sudden chocolate cravings or impressing guests with a sophisticated yet simple creation.
This rich chocolate custard is a quick, mouth-watering variation of our popular egg-free vanilla custard. While both share the same fundamental simplicity, this chocolate version introduces a delightful twist: the incorporation of finely chopped **dark chocolate**, which melts effortlessly into the warm custard base, infusing it with deep cocoa notes and an unparalleled richness.
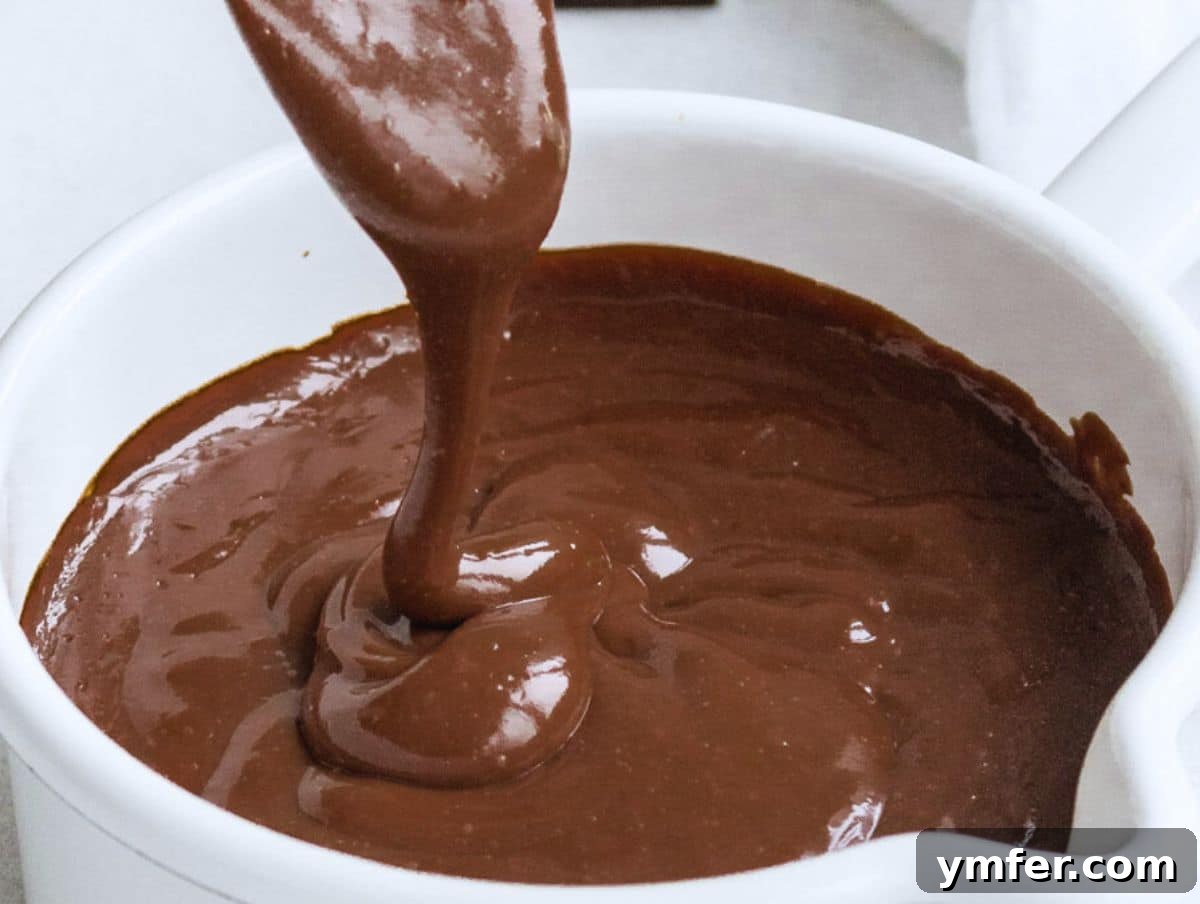
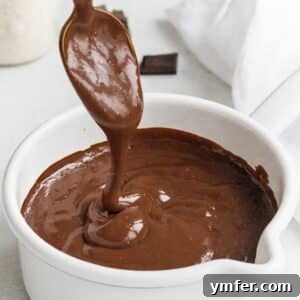
The result is a luscious cream that is perfectly thick but never overly firm, boasting an exquisite **smooth** and **velvety consistency** that coats the palate beautifully. Each spoonful delivers a harmonious blend of sweetness and a satisfying chocolate punch, making it a truly unforgettable dessert experience.
Why You’ll Love This Easy Chocolate Custard
Beyond its incredible flavor and texture, this chocolate custard recipe offers numerous advantages that make it a staple for any dessert enthusiast:
- **Quick & Easy:** Forget complicated baking techniques. This custard comes together in under 10 minutes active time, making it ideal for spontaneous treats.
- **Minimal Ingredients:** With just five core ingredients, you likely already have everything you need in your pantry.
- **Egg-Free & Butter-Free:** Perfect for those with egg allergies, dietary restrictions, or those looking for lighter dessert options.
- **Naturally Gluten-Free:** Using cornstarch as a thickener ensures this dessert is completely gluten-free, suitable for coeliac diets or those avoiding gluten.
- **Dairy-Free & Vegan Adaptable:** Easily swap regular milk for your favorite plant-based milk (almond, oat, soy, or rice milk all work wonderfully) to make a delicious vegan chocolate custard.
- **Versatile:** While delightful on its own, it’s also a fantastic component for other desserts, adding a rich, creamy element.
We’ve enjoyed this rich chocolate custard in countless ways. It’s truly wonderful for **enriching other sweets**, such as layering it into a light vanilla cake, adding a generous dollop to fluffy egg-free pancakes for a luxurious breakfast, or filling sweet bomboloni (Italian doughnuts). It also makes an exquisite filling for a vibrant strawberry tart, offering a beautiful contrast of flavors and textures.
For any chocolate lover seeking a quick, **easy treat** that delivers on taste and texture, this homemade chocolate custard is an exceptional way to **satisfy your cravings**. My colleague Louise and I often find ourselves simply enjoying its decadent simplicity with a spoon, perhaps garnished with a swirl of whipped cream and a fresh strawberry for an added touch of elegance.
Essential Ingredients for Your Decadent Chocolate Custard
Creating this rich and creamy chocolate custard requires just a handful of simple ingredients. The quality of these ingredients, especially the chocolate, will significantly impact the final flavor and texture of your dessert. Here’s a closer look at what you’ll need and why each component is important:
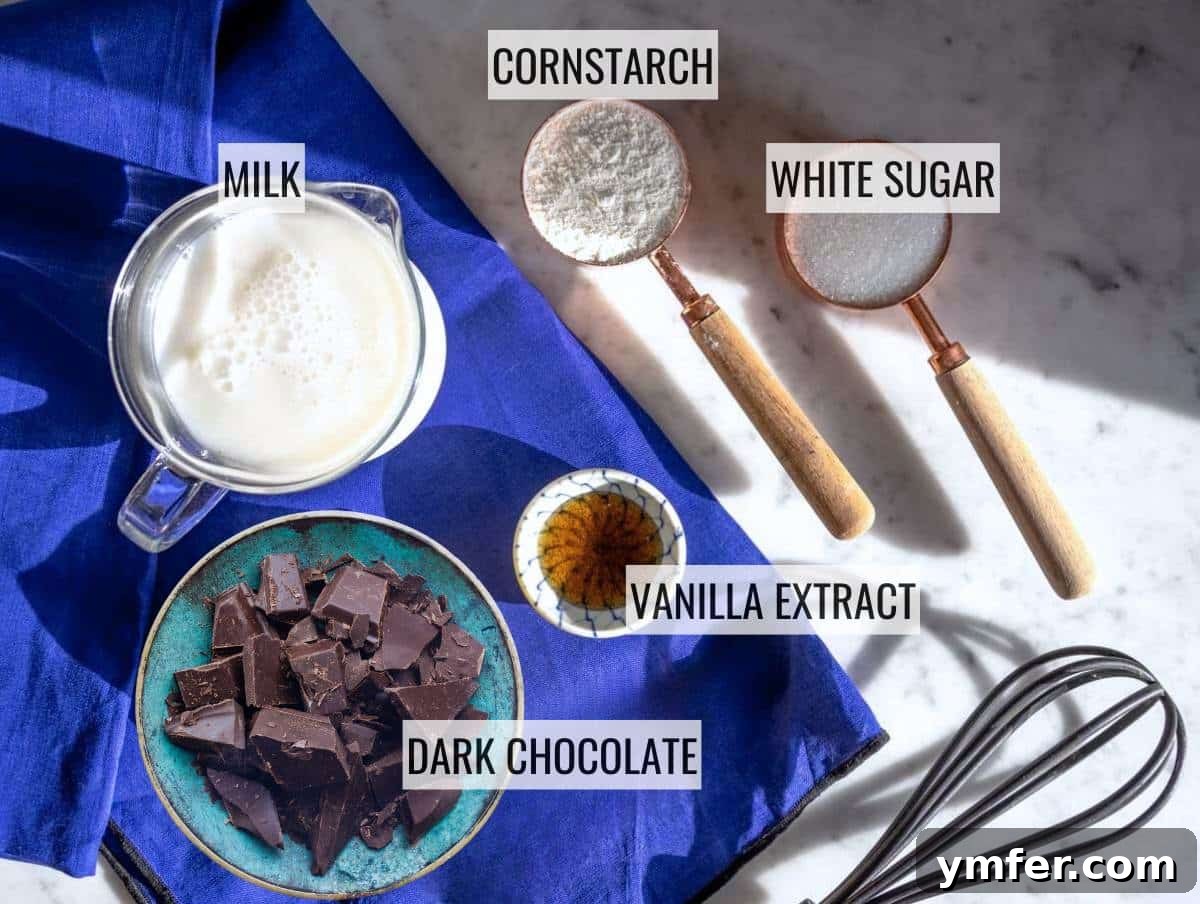
- Milk: This forms the creamy base of your custard. You have complete flexibility here! We’ve successfully made this recipe with various types of milk, including traditional cow’s milk. For a **dairy-free** or **vegan chocolate custard**, excellent plant-based alternatives include almond milk, oat milk, soy milk, and rice milk. Each will impart a slightly different subtle flavor, so choose your favorite.
- Sugar: Sweetness is key in any dessert. You can use either white granulated sugar for a classic taste or brown sugar for a deeper, slightly caramel-like note. Adjust the amount to your personal preference, especially if your dark chocolate is particularly bitter or sweet.
- Dark Chocolate: This is where the magic happens! We highly recommend picking your favorite high-quality dark chocolate brand. For the best flavor and richness, look for chocolate with a cocoa percentage of **50% or higher**, and even better if it’s **70% or higher**. A higher cocoa content will yield a more intense and complex chocolate flavor. If you only have chocolate chips on hand, they can be substituted for chopped dark chocolate, though the melting time might vary slightly.
- Cornstarch: Our secret weapon for achieving that wonderfully thick and smooth custard texture without eggs. Cornstarch acts as a natural thickening agent, giving the custard its body and preventing it from becoming runny. If you don’t have cornstarch, potato starch makes an excellent substitute, providing similar thickening properties.
- Vanilla Extract: A touch of vanilla extract is essential. It doesn’t just add a light, aromatic vanilla note; it also enhances and complements the rich chocolate flavor, making it even more pronounced and delicious. Don’t skip this!
How to Make Perfect Chocolate Custard: A Step-by-Step Guide
Making this velvety chocolate custard is surprisingly straightforward. Follow these simple steps for a consistently perfect result every time:
Step 1: Prepare Your Ingredients
Begin by finely chopping your chosen **dark chocolate** into small, even pieces. This is crucial for ensuring it melts quickly and smoothly into the hot custard, preventing any lumps. A sharp knife and a cutting board will make this task easy. Set the chopped chocolate aside for later.
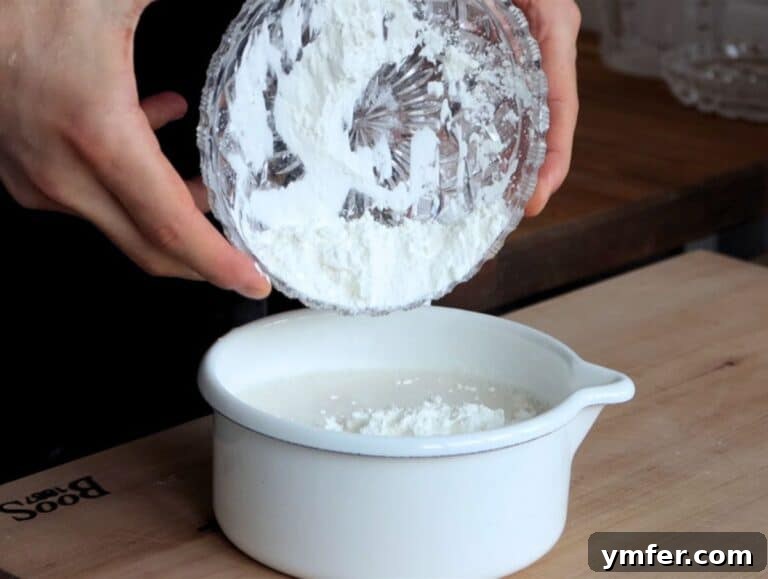
Next, grab a medium-sized saucepan. Before placing it on the heat, add your **milk**, **sugar**, **cornstarch**, and **vanilla extract**. This order is important.
Pro Tip for Lumps: Always add cornstarch to a cold liquid and off the heat. Whisk thoroughly until the cornstarch is completely dissolved. This crucial step prevents lumps from forming, ensuring a silky-smooth custard.
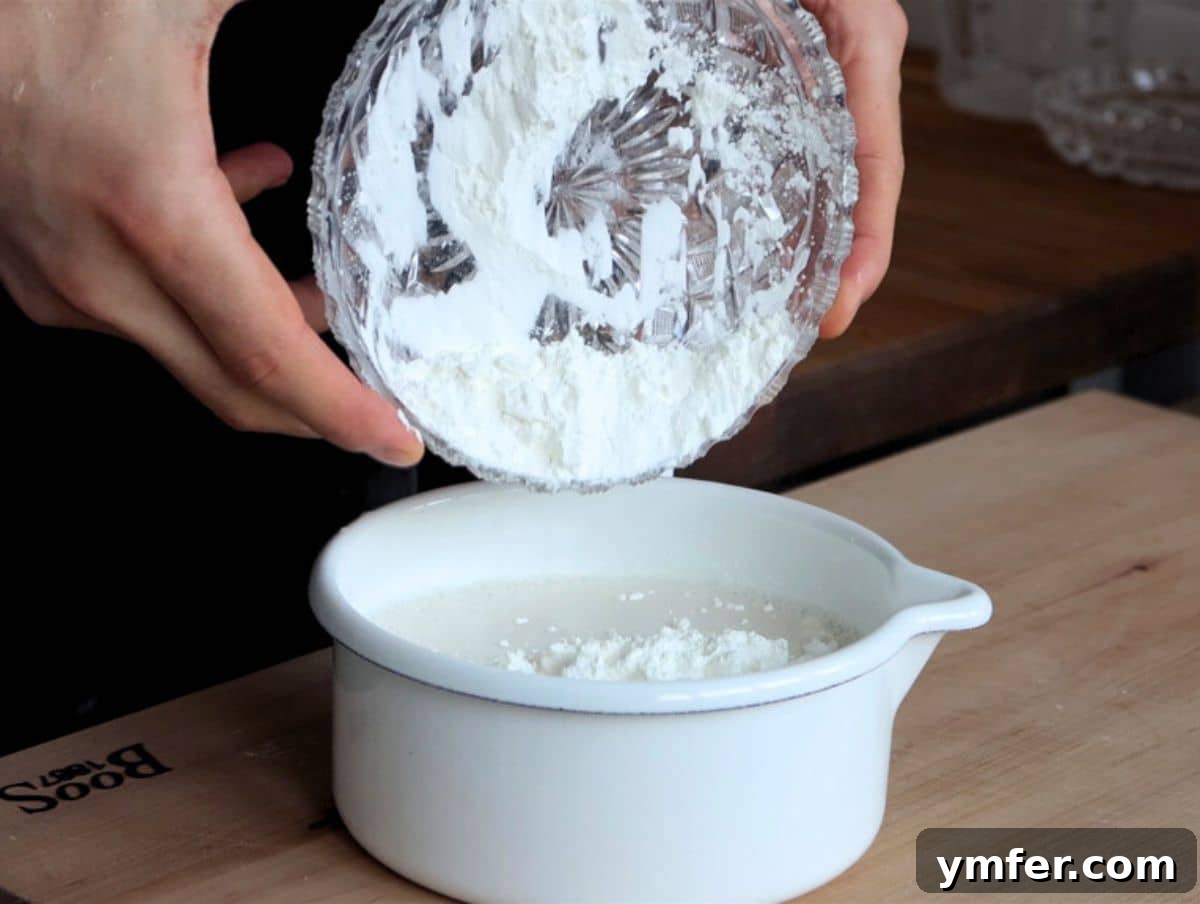
Step 2: Cook and Thicken the Custard Base
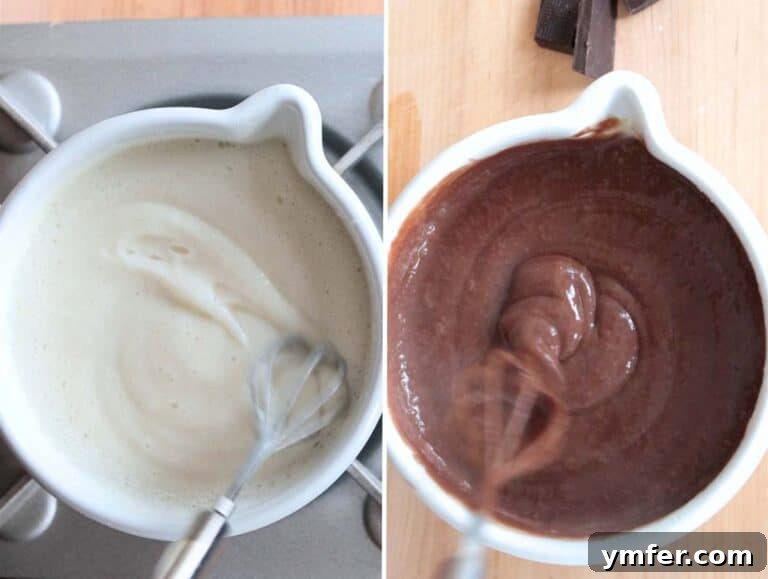
Now, place the saucepan on your stovetop and set the heat to medium. Begin to stir the mixture continuously. You’ll notice the liquid gradually thickening into a beautiful custard. This process usually takes about **2 to 3 minutes** for smaller batches. For larger quantities, it might extend up to 5 minutes.
Once the custard reaches your desired thickness (it should be thick enough to coat the back of a spoon), immediately remove the saucepan from the heat. This is a critical moment for adding the **finely chopped dark chocolate** you prepared earlier.
Perfect Timing Tip: Remember that custard continues to thicken as it cools. For this reason, it’s often best to remove it from the heat a few seconds before you think it’s perfectly ready. This foresight will help you achieve the ideal final consistency.
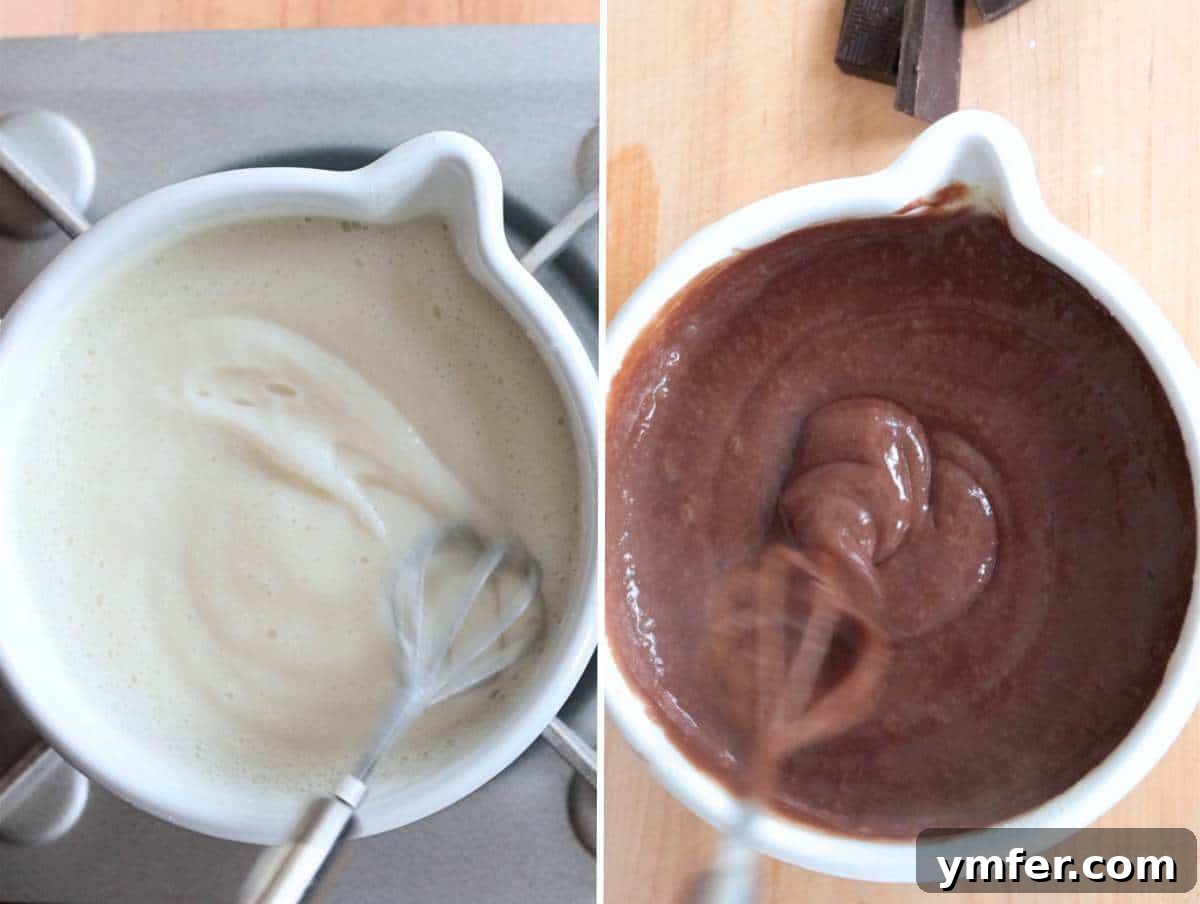
Step 3: Melt in the Chocolate
With the saucepan off the heat, stir for one more minute, or until the chocolate is fully melted and completely incorporated into the custard. The residual heat from the custard will be sufficient to melt the chocolate perfectly. You’ll see the mixture transform into a glossy, rich chocolate custard.
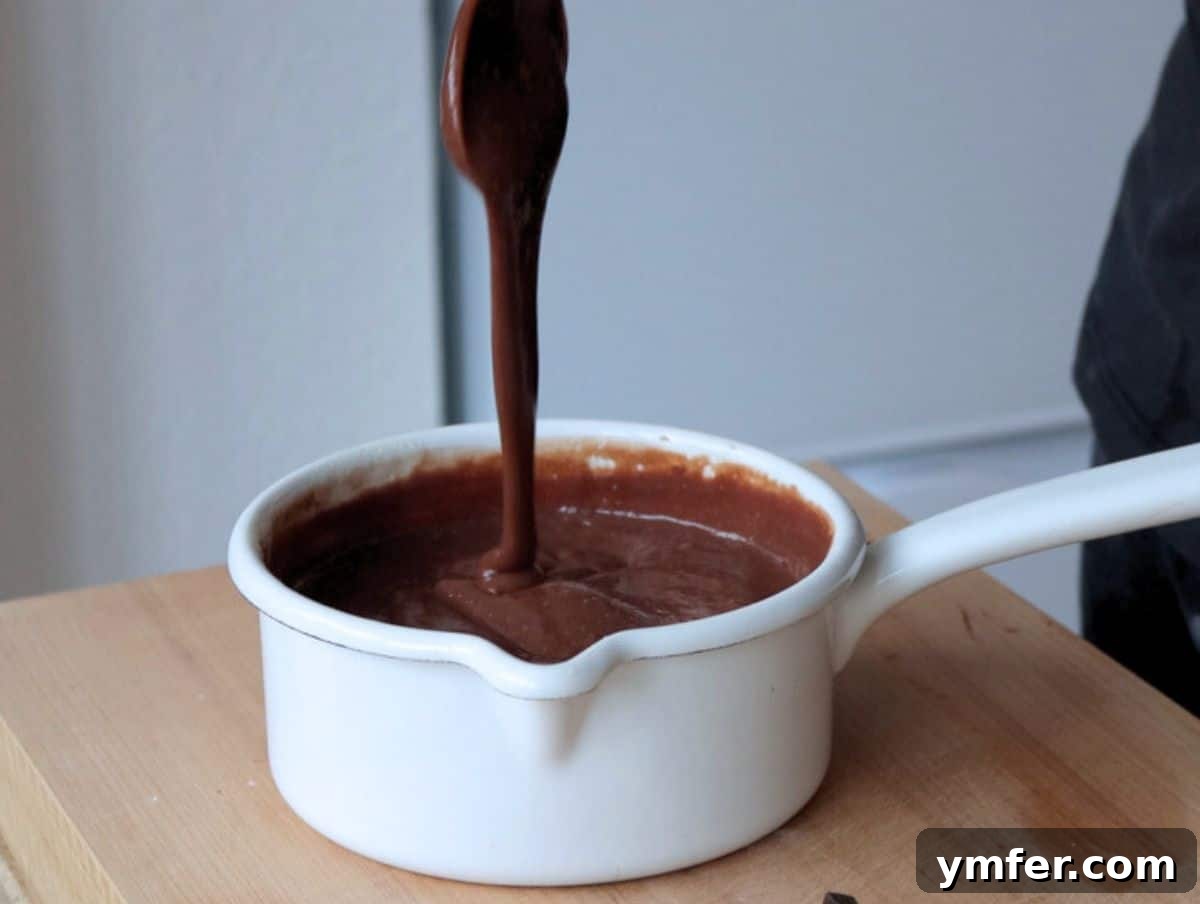
At this point, your creamy chocolate custard is ready!
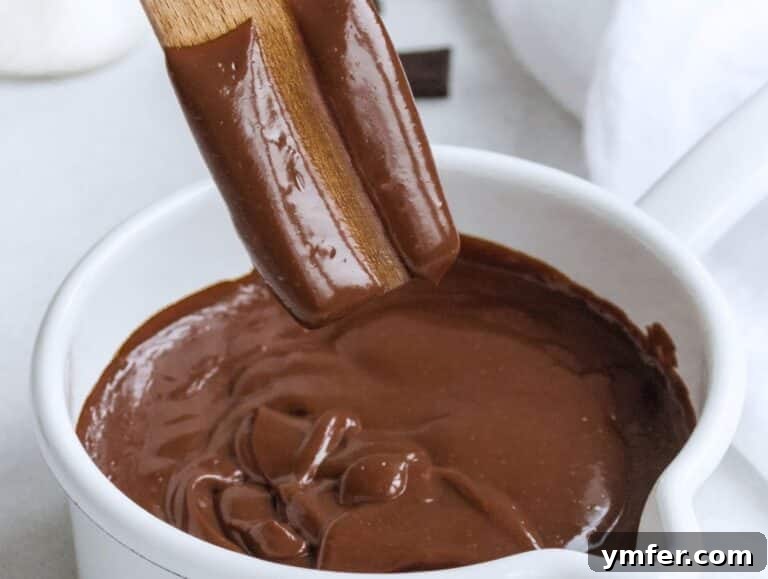
Adjusting Consistency: If you prefer a thicker chocolate custard, you can return it to low heat and cook for an additional minute while stirring. If you desire a slightly thinner consistency, simply remove it from the heat a bit earlier in the thickening stage.
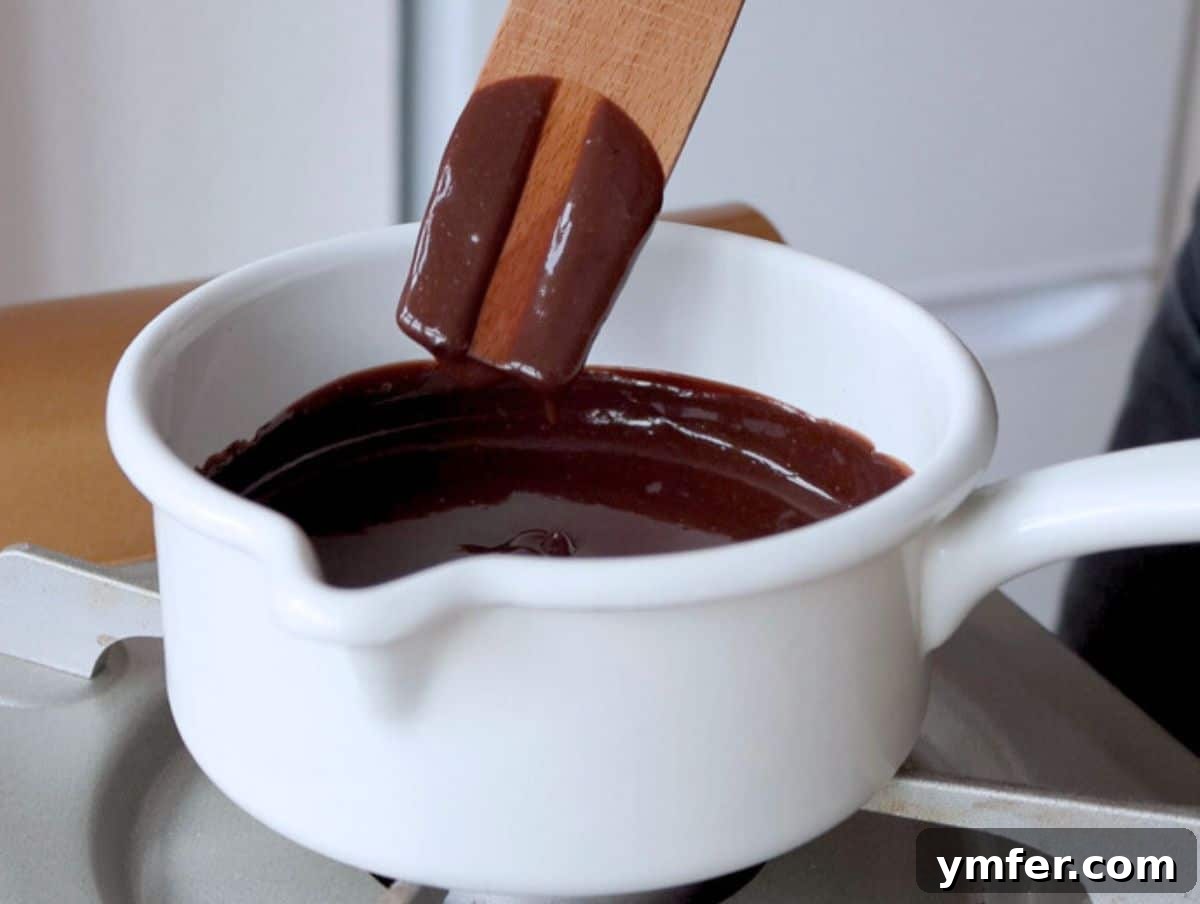
The Spatula Test for Readiness: To confidently check if your custard has reached the perfect consistency, dip a wooden or silicone spatula into the custard. Then, run your finger across the back of the spatula. If the trail your finger leaves remains clean and doesn’t run, your custard is perfectly cooked.
Cooling and Storage Tips for a Smooth Finish
Properly cooling your chocolate custard is just as important as cooking it, especially if you want to avoid a lumpy texture or a skin forming on top. Follow these steps for the best results:
Rapid Cooling Technique (Bain-Marie)
Before storing, you must bring your chocolate custard to **room temperature quickly** and, crucially, while continuously stirring. We know it might sound a bit tedious, but this process is actually quite fast and essential for maintaining that desirable smooth consistency. If you skip this step, the custard is prone to forming a thin, dry layer or “skin” on top, which will result in an undesirable lumpy texture when you go to serve it.
The most effective and fastest way to cool your custard is to immediately transfer it from the hot saucepan to a **cold glass or metal bowl**. These materials conduct cold efficiently, helping to dissipate heat quickly.
Next, set this bowl in a larger bowl or pot filled with **cold water and ice (bain-marie method)**. Continuously whisk the custard in the inner bowl until it reaches a lukewarm temperature. The cold water bath will accelerate the cooling process while the whisking prevents skin formation.
Storage Best Practices
Refrigerator Storage
Once your chocolate custard has cooled to lukewarm, cover it tightly with plastic wrap. Ensure the **plastic wrap directly touches the surface** of the custard. This creates an airtight seal that prevents a dry layer or thin crust from forming as it chills further. Store the custard in the refrigerator for up to **3 days**.
Reheating for a Warm Treat
If you wish to enjoy your custard warm, you can gently reheat it on low heat on the stovetop. To restore its creamy texture, add a small dash of your preferred plant milk (or regular milk if not dairy-free) while continuously stirring until it reaches your desired warmth and consistency. This helps to loosen it up and make it perfectly smooth again.
Freezing Considerations
We generally **do not recommend freezing** this custard as a standalone dessert, as the texture can become grainy or separate upon thawing due to the cornstarch base. However, if you’re feeling adventurous, it can be a fantastic base for making homemade chocolate ice cream!
Troubleshooting Lumps After Storage
Despite best efforts, sometimes lumps can still form during the cooling or storage process, especially if the plastic wrap didn’t maintain perfect contact with the surface. If you find your custard has annoying lumps, don’t despair! You can easily fix this by blending the custard with an **immersion blender** (hand blender) until it becomes perfectly smooth and velvety once more. Alternatively, you can push it through a fine-mesh sieve.
Serving Suggestions & Flavor Variations
This easy chocolate custard is incredibly versatile. Here are some ideas to elevate your dessert experience:
- **Classic & Simple:** Enjoy it chilled on its own, perhaps garnished with fresh berries (strawberries, raspberries), a sprinkle of cocoa powder, or a few chocolate shavings.
- **Creamy Topping:** A dollop of whipped cream (dairy or plant-based) adds an extra layer of indulgence.
- **Fruit Pairing:** Serve alongside sliced bananas, oranges, or a medley of your favorite seasonal fruits.
- **Dessert Enhancer:** Use it as a filling for tarts, cakes, crepes, or between layers of sponge cake. It’s also divine in parfaits with granola or crushed cookies.
- **Warm Treat:** Serve it slightly warm with a scoop of vanilla ice cream for a delightful contrast.
Flavor Variations to Try:
- **Mint Chocolate Custard:** Add a few drops of food-grade peppermint extract along with the vanilla.
- **Spiced Chocolate Custard:** Infuse the milk with a cinnamon stick, a pinch of cayenne pepper, or a touch of chili powder for a Mexican hot chocolate twist.
- **Orange Chocolate Custard:** Use orange zest or a few drops of orange extract instead of or in addition to vanilla for a bright, citrusy note.
- **Coffee Chocolate Custard:** Dissolve a teaspoon of instant espresso powder or strong coffee in the milk for an even deeper flavor profile.
Troubleshooting Common Custard Issues
While this recipe is designed to be straightforward, here are a few common issues you might encounter and how to resolve them:
- Custard is too thin: If your custard isn’t thickening, it usually means it hasn’t cooked long enough or the heat was too low. Return it to medium-low heat and continue whisking. Ensure you’ve used the correct amount of cornstarch. If it’s still too thin, you can dissolve a small additional amount of cornstarch (1-2 teaspoons) in a tablespoon of cold milk, then whisk it into the hot custard and cook for another minute.
- Custard is lumpy: This often happens if the cornstarch wasn’t fully dissolved in cold milk before heating, or if the custard wasn’t stirred continuously while cooling. If lumps appear, you can fix them by either whisking vigorously, pressing the custard through a fine-mesh sieve, or using an immersion blender to smooth it out.
- Custard forms a skin: This occurs if the custard cools uncovered or if the plastic wrap doesn’t touch the surface. While a skin is unappealing, it can be removed or blended in as described above for lumps. Prevention is key: always cover tightly with plastic wrap directly touching the surface.
- Chocolate not melting smoothly: Ensure your dark chocolate is finely chopped. If added to custard that isn’t hot enough, it might not melt completely. You can gently reheat the custard on low heat while stirring constantly until the chocolate is fully incorporated.
More Easy Dessert Recipes to Explore
If you’ve enjoyed making and tasting this delightful chocolate custard, we’re sure you’ll love these other easy and delicious dessert recipes from our collection:
- Pistachio Pastry Cream: A unique and aromatic twist on traditional custard.
- Vegan Lemon Curd: Bright, zesty, and refreshingly tangy – perfect for citrus lovers.
- Coffee Mousse: A light, airy, and intensely flavored dessert for coffee enthusiasts.
- Homemade Hazelnut Spread: A rich and creamy spread, perfect for toast or straight from the spoon.
- 35 Easy Desserts: A comprehensive collection of quick and simple treats for any occasion.
Chocolate Custard Recipe
By: Nico Pallotta
Rating: 5 out of 5 stars (Based on 4 votes)
Summary: This chocolate custard is an easy recipe with a rich chocolate flavor and a creamy, velvety texture. Our recipe is without eggs and butter and suitable for gluten-free diets.
Prep Time: 5 minutes
Cook Time: 5 minutes
Total Time: 10 minutes
Servings: 6 people
Course: Dessert
Cuisine: Italian
Print Recipe
Share on Facebook
Ingredients
- 2 cups milk (see notes for substitutions)
- 7 tablespoons sugar
- 5 tablespoons cornstarch
- 2 ounces dark chocolate, finely chopped
- 1 teaspoon vanilla extract
Instructions
-
PREP INGREDIENTS:
Finely chop 2 ounces of dark chocolate into small pieces and set aside. In a saucepan (off the heat), combine 2 cups milk, 7 tablespoons sugar, 5 tablespoons cornstarch, and 1 teaspoon vanilla extract. Whisk thoroughly until the cornstarch is completely dissolved and the mixture is smooth.

-
COOK AND STIR:
Place the saucepan on medium heat. Stir continuously for 2 to 5 minutes (depending on batch size) until the liquid thickens into a creamy custard. Remove from heat immediately. Add the chopped dark chocolate and whisk for about 1 minute, or until the chocolate is fully melted and incorporated. The custard will continue to thicken as it cools.
-
COOL DOWN:
For best results, transfer the hot custard to a cold glass or metal bowl. Place this bowl into a larger bowl filled with cold water and ice (bain-marie). Whisk the custard continuously until it reaches a lukewarm temperature. Cover the surface directly with plastic wrap to prevent a skin from forming and refrigerate until fully chilled and set.
Recipe Notes & Tips
Substitutions:
- Milk: Use any milk you prefer – cow’s milk or plant-based options like soy, almond, oat, or rice milk.
- Sugar: White or brown sugar works well. If using sweeter chocolate, you might reduce the sugar slightly.
- Dark Chocolate: Feel free to experiment with your favorite chocolate. Adjust sugar if using a sweeter type.
- Cornstarch: Potato starch is an excellent alternative.
- Vanilla Extract: Orange zest or extract can be used for a complementary citrus note, or combine both.
Storage:
- Refrigerate cooled custard for up to 3 days. Ensure plastic wrap touches the surface to prevent skin formation.
- Not recommended for freezing as it can alter the texture.
- To reheat, warm gently on low heat with a dash of milk, stirring constantly.
- If lumps occur after storage, use an immersion blender or push through a sieve to smooth.
Tips for Success:
- Always dissolve cornstarch in cold liquid before heating to prevent lumps.
- Cooking time varies; smaller batches thicken faster (2-3 minutes), larger batches may take up to 5 minutes.
- Custard continues to thicken as it cools, so remove from heat just before it reaches your perceived readiness.
- Perform the “spatula test”: dip a spatula, run a finger across it. If the trail holds, it’s ready!
Nutrition Facts (per serving)
Serving: 1 out of 6
- Calories: 143kcal
- Carbohydrates: 23g
- Protein: 1g
- Fat: 5g
- Saturated Fat: 2g
- Polyunsaturated Fat: 1g
- Monounsaturated Fat: 2g
- Trans Fat: 0g
- Cholesterol: 0.3mg
- Sodium: 111mg
- Potassium: 69mg
- Dietary Fiber: 1g
- Sugar: 16g
- Vitamin A: 4IU
- Vitamin B6: 0.003mg
- Vitamin E: 0.1mg
- Vitamin K: 1µg
- Calcium: 107mg
- Iron: 1mg
- Manganese: 0.2mg
- Magnesium: 22mg
- Zinc: 0.3mg
Tried this recipe?
We’d love to hear from you! Leave a comment below or mention @theplantbasedschool on Instagram. We love seeing your creations! ⭐ 💚
You might also enjoy these related recipes:
Collections
30 Easy Italian Recipes
Collections
35 Easy Desserts
Collections
35 Vegetarian Thanksgiving Recipes
Collections
40 Vegan Desserts